Paint: 2 step system automotive finish base coat and clear coat (I use ppg
Steps-
Step 1: Wash the entire part you are painting with a mild solution of water and dish soap (no lotion just plain cheap dish soap) this cuts the grease.
Step 2: Wipe the entire part with grease and wax remover until your paper towel is no longer coming out dirty.
Step 3: Spray 2 light coats of bull dog adhesion promoter. This will help against chips and make for a excellent all around great paint job.
Step 4: Spray the piece with 3 medium coats of sandable filler primer. After it dries for a couple hours sand the piece with 220 wet sand paper. If any color of the original part is showing you need to coat it again.
Step 5: Now that you have a nice ever coat of primer spray the piece with 2 medium coats of primer sealer. This will not need to be sanded. Let dry for the appropriate time.
Step 6: Shoot your base color. I do about 3 medium coats sometimes 4 depending if my color is coming out the way it should.
Step 7: Clear coat your piece 2-3 heavy coats. The heavier you can get it without i repeat without dripping the less you will have to wet sand and buff.Let your clear dry for about a week to get nice and hard since you cant bake it like a autobody shop would.
Step 8: Wet sand from 1500 to 3000 then buff with fine cut buffing glaze.
And your done!! I shoot all of my skies with a devilbis millennium lphv automotive gun with a 1.4 tip

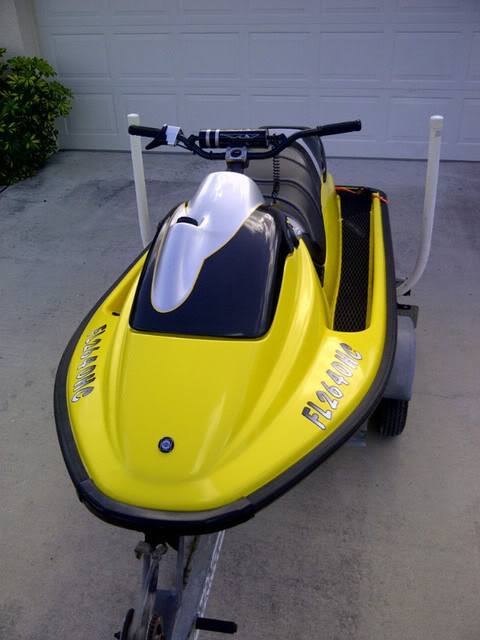
Comes out like that


") Shoot me a text at 563-570-0713 for whoever would be interested in making a little extra cash. Thanks!
Shoot me a text at 563-570-0713 for whoever would be interested in making a little extra cash. Thanks!