• This site contains eBay affiliate links for which Sea-Doo Forum may be compensated.

RESTO My 97 XP Mini Resto Project

Status
Not open for further replies.
Dang, I could have sworn I hit post yesterday, I had a big post typed up, sorry man. Here's the condensed version

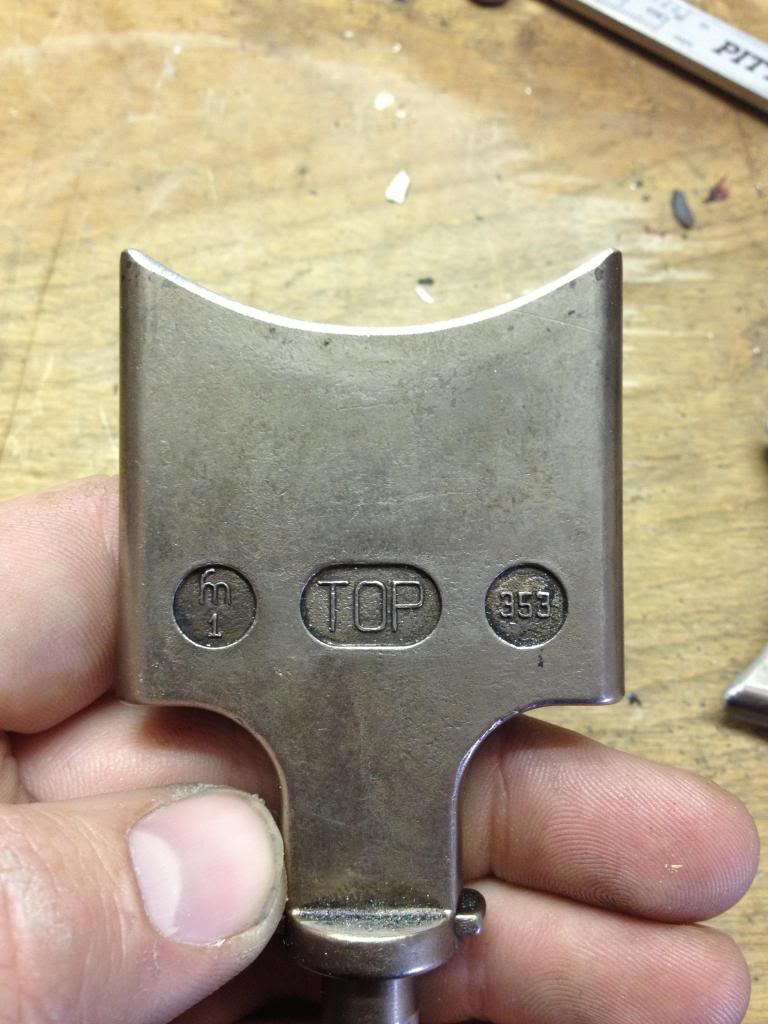
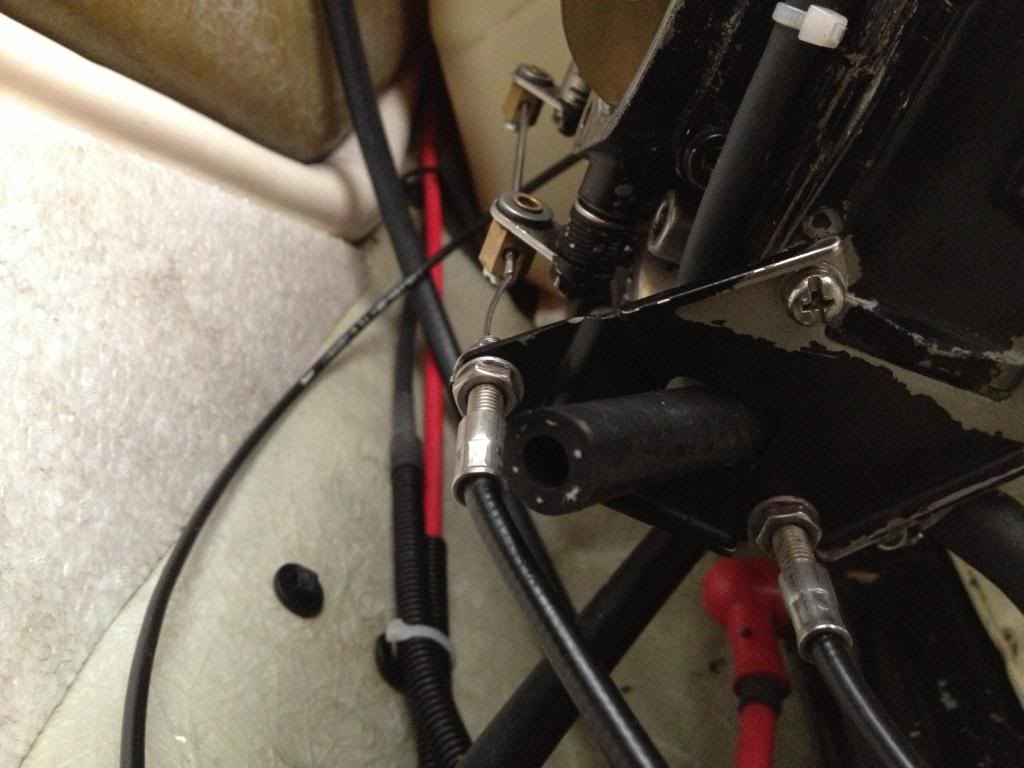
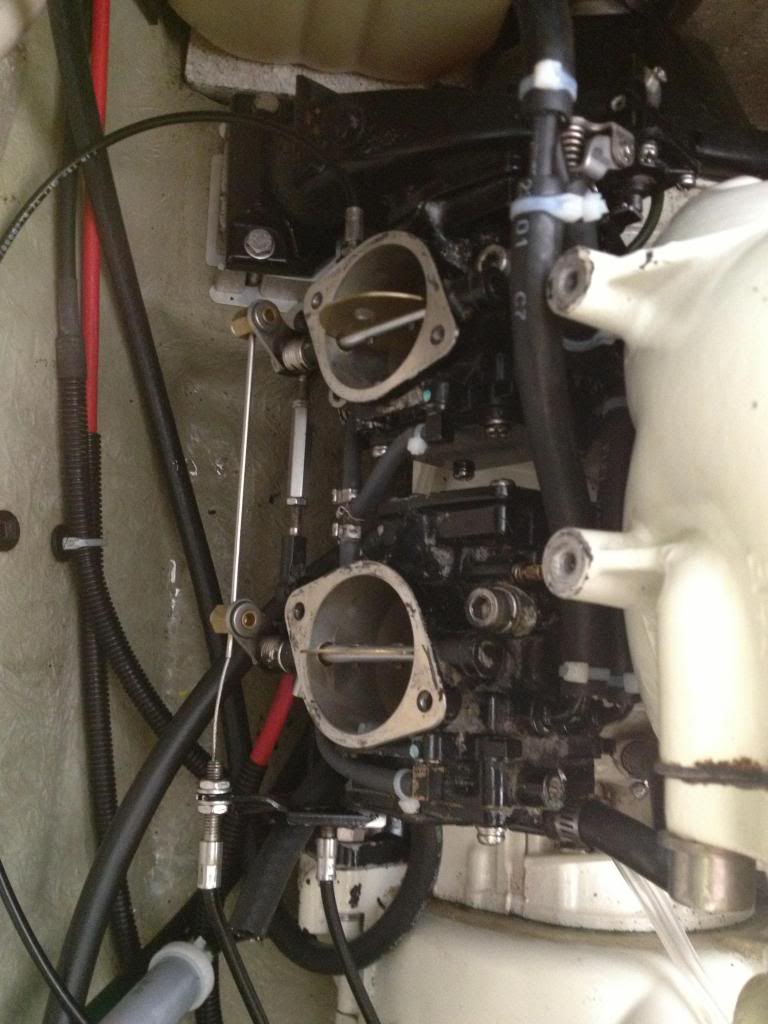
Yes the .033 is a good number, check that you have the scribe correct, it looks a bit wider than .033 by my calibrated eyes. Also, measure with the tips of you calipers not the thick of the jaw, if there are any abnormalities the thick parts will "bridge" them. Techincally you should be measuring the shaft with a micrometer not calipers, but it will get you close enough. I list the dimensions in the thread below of NEW parts. So the .392 is good, the housing is a worn like .004-.005, now add that to the other RAVE that is .390 and now your pushing .006+. As long as they are not dragging in the cylinder I guess it's OK, just lightly grease or oil the shaft before assembly. Just be sure to follow the contour of the arc.

The easy way to do it is take your bore (1.5mm oversize) which measures .059 for us PROUD Americans, now take half of that .0295 (round up) = .030. So .033 is good, no need to back measure the valve.

http://www.seadooforum.com/showthre...AVE-Guillotine&p=281220&viewfull=1#post281220


For those who can't convert from Metric:D
Use the convertor

http://bit.ly/WZ4AMP
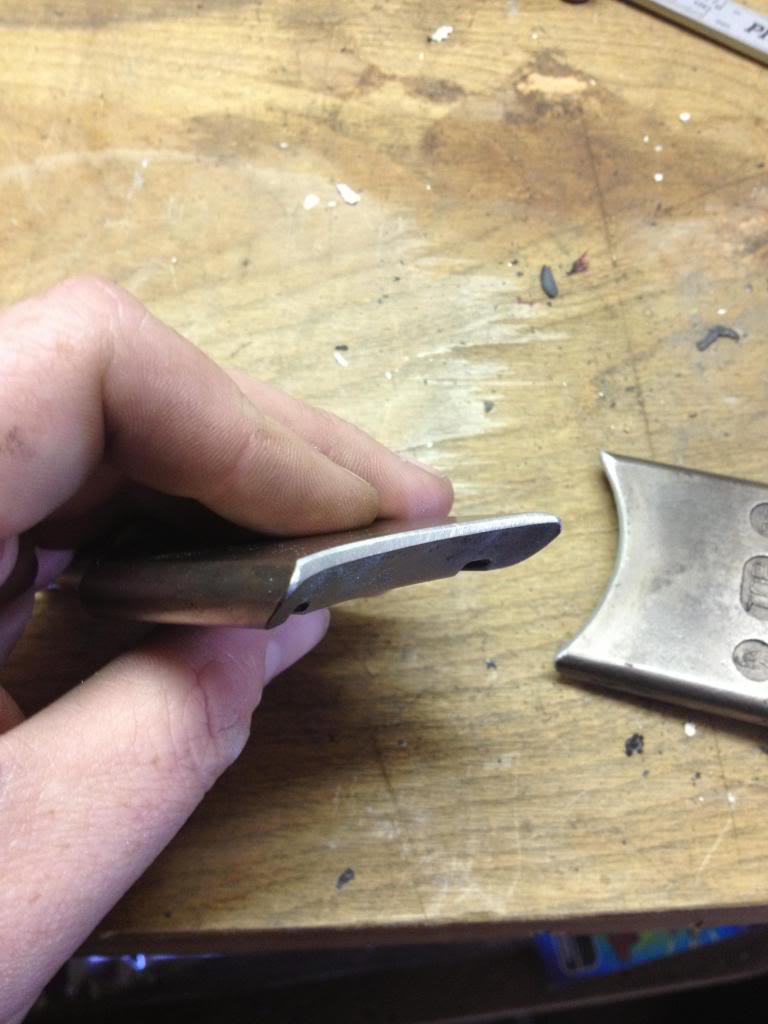
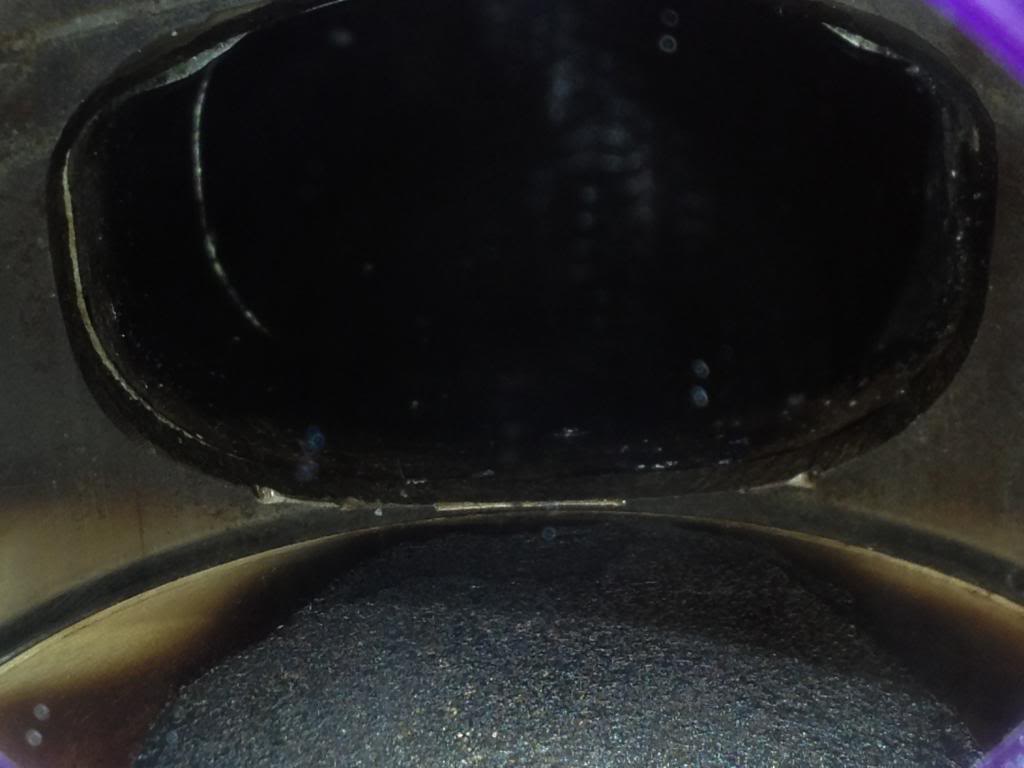
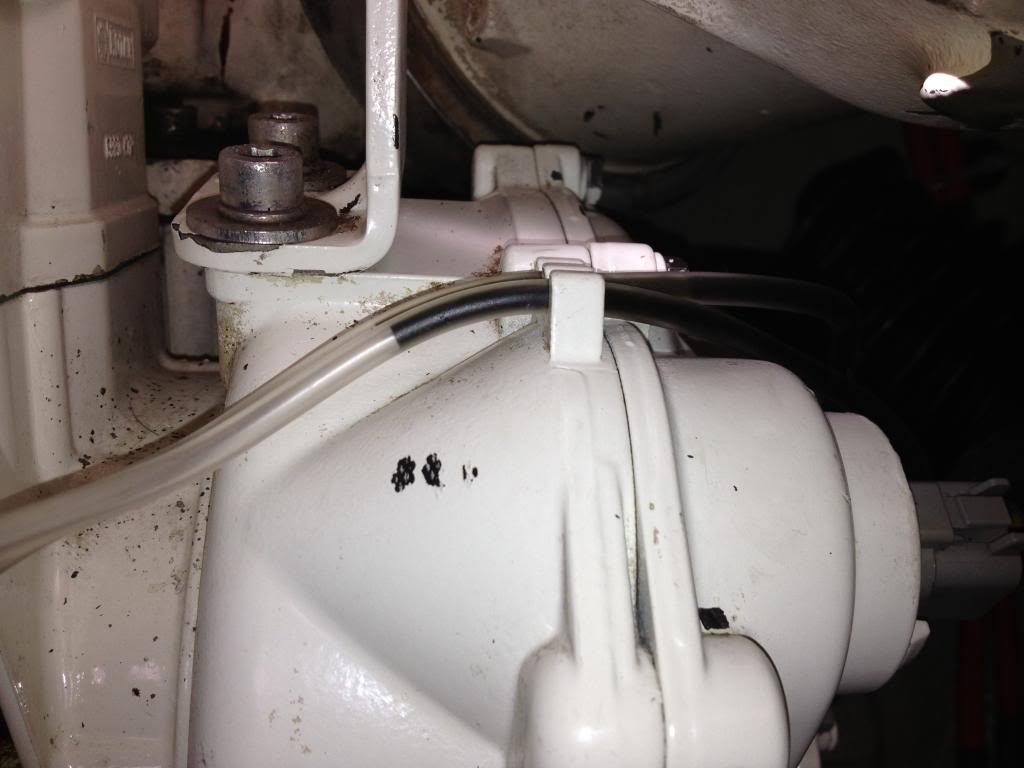
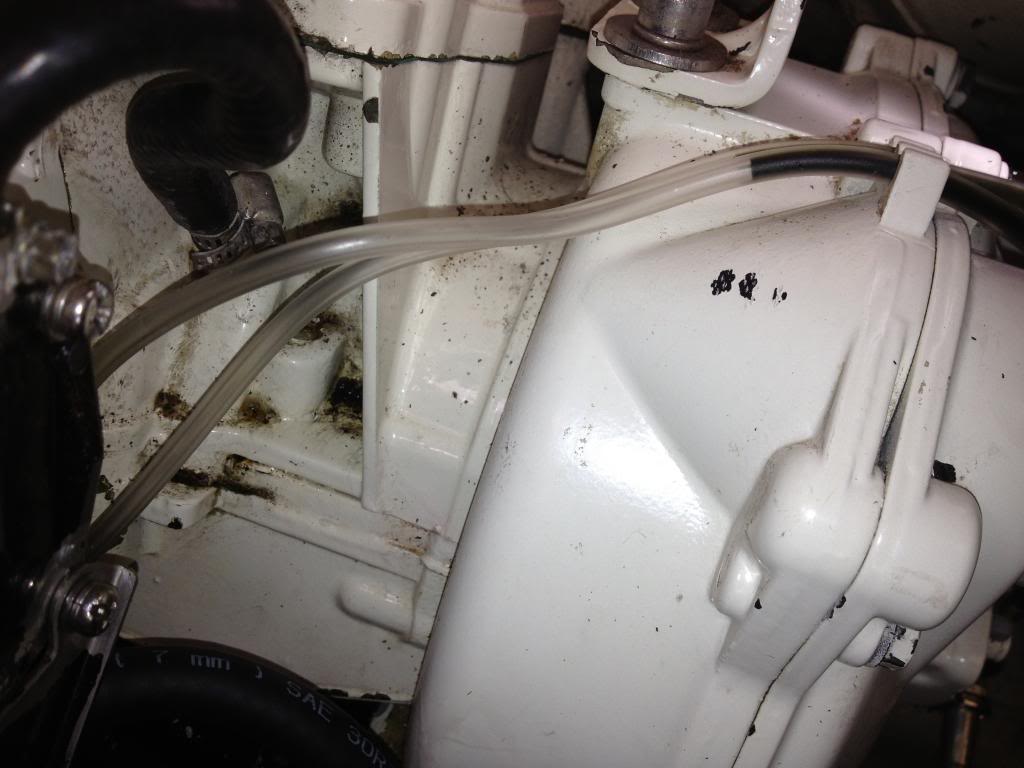
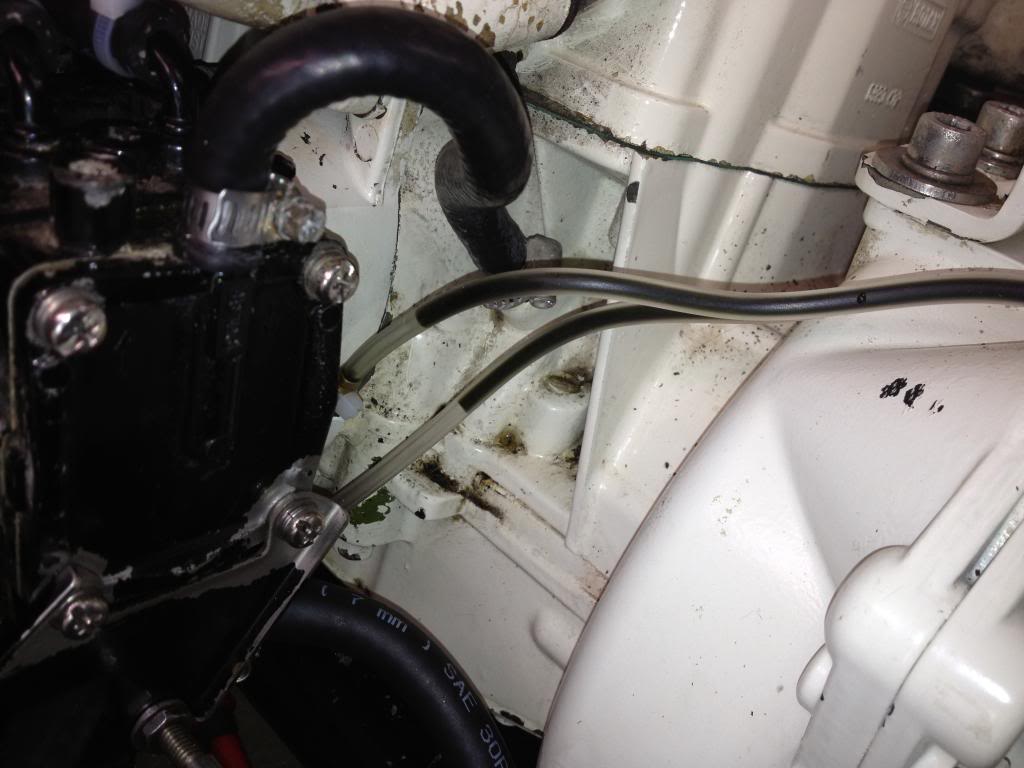
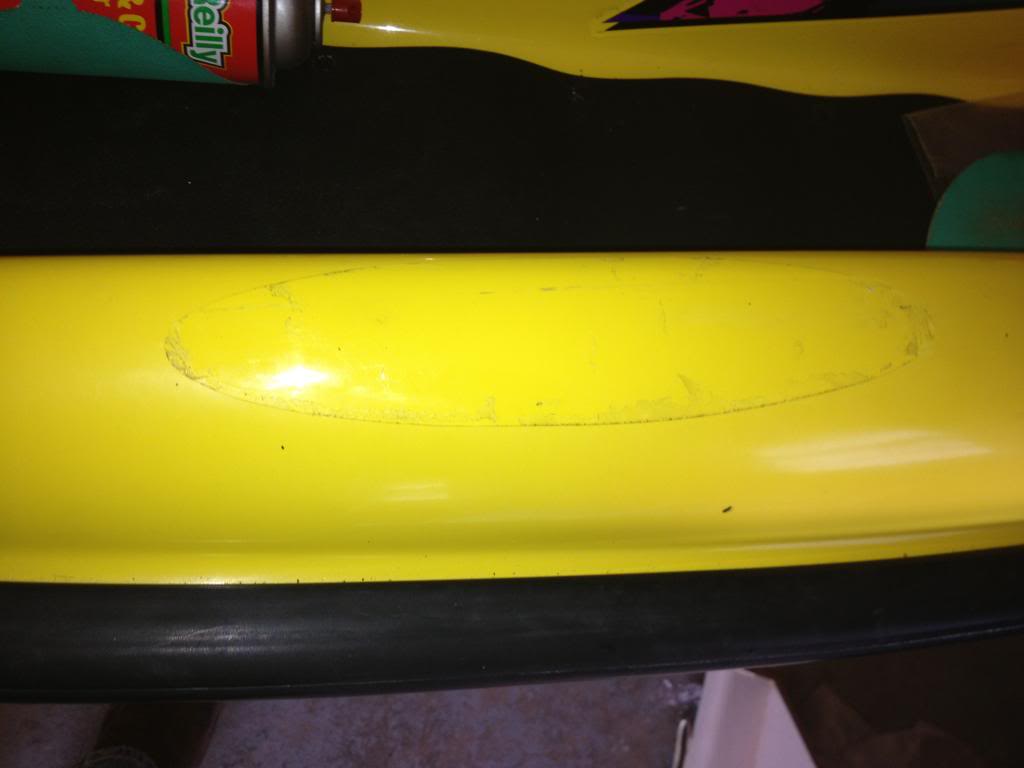
 
IMO everything looks good and your calculations are correct, the only thing you will want to double check is that there is no wear on the bottom of the collar where the valve sits on the cylinder. If there is wear there that will drop the valve further inside the cylinder and your measurements have not accounted for that.

121.jpg

Also check that the abutment face on the cylinder is not worn as well. When I'm checking clearance on rave valves I like to take a direct measurement between the end of the valve and the ring when the valve is inserted into the cylinder slot. I use a plastic feeling guage to slide between the valve and ring. If the valve needs to be cut back, I use an old piston wrapped in sand paper. It usually only takes 5-10 strokes to get the proper clearance. This method will give you a nice consistent arc across the end of the valve versus using a bench grinder, dremel, etc. A direct measurement when possible is always better than stacked indirect measurements.
 
Last edited by a moderator:
Welp, thanks for the advice guys. Here is where im at,

I cut the rave back, my advice for people doing it. Do it with a rough grit sandpaper, I have the biggest overbore piston that is on the market, and it still didnt take too long to cut it back. I cant find any of my old pistons, somehow my father threw them away when i was storing them in his garage (as well as 2 extra cylinders and oil pumps, and my damn rotary timing tool:banghead::banghead:). Anyways, i found a can of carb cleaner and wrapped sandpaper around it, wasnt perfect but it got the job done.

So here is my prediciment now. I installed the new valves, and i probably even trimmed them down further than the that was in the engine that had been cut back, and I was using it to measure so i know how to cut these new ones. The thing is that I cant get see for sure if the valve is hitting the ring as the side of the hull, and the angle of the engine makes it impossible to get a view. I could probably find a mirror, but it is just frustrating. When I turn the engine over by hand, the valves dont seem to hit the piston, because they dont move at all, but at the same time, when i put my feeler gauge between the rave and the ring, I dont have .015 clearance. Of course the feeler gauge doesnt follow the same contour as the piston or rave since it is straight. So its hard to tell what my clearance really is...

Any ideas guys?
 
If it was me, I would take the manifold off and so I could see for sure that it is not going to catch a ring. There are to many variables when cutting them down to know for sure you got it right.

At the very least I would try and get some sort of visual with a mirror so you can see that you got it right, possibly us something like a spray nozzle from a fogging can or something similar and see how the clearance is, I am not sure what the spec is.
 
Stock Bore is 81.89mm with .5mm clearance (.020")
First over is 82.14mm with .38mm clearance (.015") This is fine to run without clearance cut (OEM First over)
Second Over is 82.39mm with .25mm Clearance (.010") You need to clearance the valve a minimum of .13mm or .005" or .010" (.5mm over)
Third Over is 82.89mm with zero clearance You need to clearance the valve a minimum .38mm or .015" or .020" (1.0mm over size)
Fourth Over is 83.39mm with -.127mm (-.005") You need to clearance the valve a minimum of .5mm or .020" or .025" (1.5mm over size)

The red gets you to the factory .020 clearance


So for a piston that is Standard bore there is .5mm or .020" clearance.

So for a piston that is .25mm over size that is an OEM first over which will cut your clearance by .005" (.020" to .015")

So a piston that is .5mm over you need to shave the rave by .005" to get back to the minimum of .015", if you wanted to get back to stock clearance you would go .010" to get you back to the .020" clearance.

So a piston that is .75mm over you would need to shave the rave by .010" to get back to the minimum of .015", if you wanted to get back to the stock clearance you would go .015" to get you back to the .020" clearance.

So a piston that is 1.0mm over that is piston to rave no clearance you need to shave the rave by .015" to get to the minimum clearance or go .020" to get back to the original .020" clearance from the factory

So a piston that is 1.5mm over you are negative .005", so you need to clearance the valve .020" to get to the minimum of .015" or go .025" to get to the original .020 clearance from the factory.

So, you went .033" which is .008" over the factory "max", meaning you have more than enough room! I have been thinking about this and re-read the seadoo racing manual and started plugging away at it when the thread came back up. If someone would like to check my math it would be greatly appreciated.

I think it's clear as mud, right?

** I threw the .75mm over size in there to follow the math easier.
 
Last edited by a moderator:
Stock Bore is 81.89mm with .5mm clearance (.020")
First over is 82.14mm with .38mm clearance (.015") This is fine to run without clearance cut (OEM First over)
Second Over is 82.39mm with .25mm Clearance (.010") You need to clearance the valve a minimum of .13mm or .005" or .010" (.5mm over)
Third Over is 82.89mm with zero clearance You need to clearance the valve a minimum .38mm or .015" or .020" (1.0mm over size)
Fourth Over is 83.39mm with -.127mm (-.005") You need to clearance the valve a minimum of .5mm or .020" or .025" (1.5mm over size)

The red gets you to the factory .020 clearance


So for a piston that is Standard bore there is .5mm or .020" clearance.

So for a piston that is .25mm over size that is an OEM first over which will cut your clearance by .005" (.020" to .015")

So a piston that is .5mm over you need to shave the rave by .005" to get back to the minimum of .015", if you wanted to get back to stock clearance you would go .010" to get you back to the .020" clearance.

So a piston that is .75mm over you would need to shave the rave by .010" to get back to the minimum of .015", if you wanted to get back to the stock clearance you would go .015" to get you back to the .020" clearance.

So a piston that is 1.0mm over that is piston to rave no clearance you need to shave the rave by .015" to get to the minimum clearance or go .020" to get back to the original .020" clearance from the factory

So a piston that is 1.5mm over you are negative .005", so you need to clearance the valve .020" to get to the minimum of .015" or go .025" to get to the original .020 clearance from the factory.

So, you went .033" which is .008" over the factory "max", meaning you have more than enough room! I have been thinking about this and re-read the seadoo racing manual and started plugging away at it when the thread came back up. If someone would like to check my math it would be greatly appreciated.

I think it's clear as mud, right?

** I threw the .75mm over size in there to follow the math easier.

I believe you math is correct, but you are assuming that ALL rave valves are exactly the same length, all cylinders are the same thickness, etc... and this simply is not true. There are variances in the actual dimensions of all the parts in the stack. The proper way to do this is to actually measure your clearance from the end of the valve to the ring. As previously posted, I have found a plastic feeler guage works well and easily conforms to the arc of the valve/ring. If you are doing this in hull, a mirror is needed to get a good visual.
 
Yeah, I guess the clearance that I was talking about was the gap between the rave and the piston, my bad on the misunderstanding. I will find a mirror since I cant really see. I am using a standard spark plug feeler gauge. So you guys are saying that I need to have .015 clearance MINIMUM between the rave and the ring? Is that correct? I will try and contour my feeler gauge so that way It isnt flat and giving me a bad reading...
 
Welp. DONE on the top end work...I hope. I didnt really take too many pictures of the shaving down of the raves, but here are some of the finished product.

Regarding the raves, here is what I did. The first cut that I did to them the other day didnt seem to be enough even though it was already cut a little further than the one that was previously in the engine. Racer said that from the factory it had .02" clearance between the rave and the piston, so I went out and found .02" feeler gauge and kinda bent it a little so it was rounder (following the contour of the piston and rave end). I had to trim it down probably about another .05 from where it was to get the proper clearance I wanted. It was very time consuming and had to check and recheck alot. It was also weird to try and get a good feeling if you were clearing or not. You will have to turn the engine up and down a little because the rave clearance is different throughout the stroke, it was kinda hard to explain but if you have ever measured the clearance you know what I mean...

240.jpg


241.jpg


242.jpg


243.jpg


244.jpg


This was the head that I got from Spim, it looks pretty good on there. Its so clean that junk on the exhaust is now bothering me...

245.jpg


246.jpg


Also, take a look here. This is the lower part of my exhaust port, there are a couple small gouges in the cylinder...hope it will be okay, im not pulling it apart lol

247.jpg


Pretty much all to do left is to order a rotary timing wheel, so I can get it timed up. The carbs and all other parts are waiting to go back on...
 
Last edited by a moderator:
So I have been thinking about deleting the decals, well most of them at least. What do you guys like better?

This?(Keep in mind, like all of the decals are in MINT condition0

428.jpg


Or this?(Sorry, i was using paint, but you get the idea)

1.png


If I do the delete, I will probably add the big seadoo decal back on the bottom, and the one on the dash, except they will be all black. I really like less colors on skis. I will cut around the one under the seat and save it, and remove the color part...what you think?
 
Strip them. I hate the pink. If you are going to keep it, do what you think looks best. I am with you in not liking the sock decals.
 
Last edited by a moderator:
Hmm decisions decisions...JSG. You know about what it would cost to replace the ones im talking about? The ones on the hood, the big ones below the rub rail. And maybe 2 custom xp ones for the rear quarter and one for the hood/glove compartment?
 
Just pm Dr Honda with what you are thinking and he will give you a price. I do not want to be wrong by telling you a price.


I would also get some new registration numbers while you are at it. So they will all flow nicely and have the same look.
 
I'm thinking of doing the same think. But my decals are in rough shape. Also, the pink, purple and green looked nice in the 90's but today the black and yellow looks sleek.

Plus when I take off the decals it will give me a chance to polish/buff the entire hull.

I know if you buy the decals off ebay you will spend about $350 for all of them..not worth it
 
Ugh, we will see. I'm not sure how long I am actually going to keep it, hopefully ride it a few times this year to make sure everything is good on it, and then sell it depending on how much I like it. I really want to get a 96 XP, bit I can't find one for a decent price, or any at all for that matter. I would like to find a project one an do it my way
 
I love that we are like 50/50 on peeps pulling off decals.

I am of the thought that you leave them on if they arent faded and scratched. Once they are gone they are gone and there are less and less unmolested 90s machines out there. I guess that will make the ones that still have decals be worth even more.
 
Lol yeah, those skis are too rich for my blood. Like you racer, I am cheap. I have less than $400 in this XP right now as it sits. If I gotta put a bunch of work into a 96, I'm not paying more than 500 alone, 700with trailer
 
Close, but no cigar..

Well, almost got her buttoned up today. I was going to order a degree wheel, but i realized you can find printable ones online. Went to time her up, and I realized that the rebuilder had already made marks to line up the rotary valve. So got that on, put some new carb gaskets and threw on the carbs. Then it was time to bleed the oil lines. Does it always take so long to do that, i probably spent an half hour or so to get it all the way bled. For everyone who has done it before, does it always jump line to line, like one like moves, then the other, then back? Ive never used injection so not sure if that was right. After that, I threw on the airbox and put the plugs back in. Put them in and it turn over a few times, then quit. Tried again, did the same thing. Then I got a clunk, and then im pretty sure the starter solenoid gave up on me because I got buzzing and then clicking. I will probably pull the brand new OEM I put on my GSX last year and see if that fixes it, but im not sure why it would give up after working the whole time....

The starter solenoid was an aftermarket one, and the whole front black box was extremely clean, not sure why it would just give up like that.

Here are some pics through the day.

This was a mod I made to the idle screw, makes it way easier to adjust on the fly. I cant take credit for the idea, that would go to Lou. I did this to my GSX, and it is such a timesaver. Makes it easy to adjust the idle, even on the lake...

456.jpg


457.jpg


458.jpg


Bleeding the oil lines...

459.jpg


460.jpg


461.jpg


Airbox back on...

462.jpg


463.jpg


Started taking off some Hardline stickers some moron put all over the ski, two came off real easy with a razorblade, the last one has taken 3 times as long and is only halfway done, it just kinda chips off...

464.jpg


465.jpg


466.jpg


Anyways, gunna switch out that solenoid tomorrow, and hope she fires!
 
It was fully charged...I think. I have it on the trickle charger again all night tonight. It is a sealed, agm super sport battery i think. I think its only 2 years old, should be fine, who knows tho, stranger things have happened. At least I have another ski where I can switch things around and test!
 
Status
Not open for further replies.
Back
Top