• This site contains eBay affiliate links for which Sea-Doo Forum may be compensated.

RESTO 98 spx restoration

Status
Not open for further replies.
I wont forget, the bracket for the bilge pump was mounted to that. I think it may be a mitsubishi window motor. I guess if you can find one of those cheaper it will work. I do not know which model or what side motor you need but the motor is identical.

JSG, what makes you say it's a Mitsubishi window motor?
My VTS on my GSX doesn't work....(I have not looked it yet to repair it so it could only be a fuse) I'll investigate it more in April in Florida.
 
http://www.ebay.com/itm/NEW-POWER-T..._Accessories_Gear&hash=item564ef6b190&vxp=mtr


410.jpg


It is not a mitsubishi motor, I just foumd it on ebay.


But you can use a mitsubishi window motor, do these look familiar. I know you need one from certain models and a certian side. I will try and find a link where it shows which model is compatable

411.jpg


412.jpg


Those are both images from ebay. I know the bolt patter and gear are the same. I am looking for the link now
 
This site contains eBay affiliate links for which Sea-Doo Forum may be compensated.
Last edited by a moderator:
This site contains eBay affiliate links for which Sea-Doo Forum may be compensated.
I don't. I just thought I'd seen a new one for a 86 Sentra or something. I couldn't find it so I just did a lowest first search and failed to take the time to re-read the GH thread that I have not seen in a year. I meant to say "that's the way I would roll if it was new and really worked" :blush:

Now I would Roto-Zip it to make it fit if it showed up in the mail.
 
Well ya because I sometimes force it on myself. If I mistakenly pulled the trigger on that baby then I would rout it out and splice 'er in.

Keep in mind I've got lots of extra worm gears.
 
Me too, it easy to experiment with things when you have a bunch of extra ones to replace the one you broke. Thats how my x4 handlebar pad mod came to be. I dont think I would have spring for the parts if I didnt have them laying around
 
We haven't done anything the last couple days, we had alot of other stuff going on but we did manage to organize all of our spare parts. My basement was littered with random parts everywhere. This is just the stuff that is at my house. My buddy has most of the motor parts at his house, and the shop has alot there too. We took all the hardware and organized all of it into organizers from harbor freight and that took hours alone.

501.jpg


502.jpg


503.jpg


504.jpg


505.jpg


506.jpg


507.jpg


508.jpg


509.jpg


510.jpg


511.jpg


512.jpg


513.jpg


514.jpg
 
Last edited by a moderator:
That looks good, and well organized
Its a bit of a PITA to do, but it always feel good once your done. I Did the same thing a few weeks ago in my shop, now it seems more enjoyable to be working in there again.
 
i just love those organizer boxes :) and at $10 ish, they are a good value, and hold up pretty well.

521.jpg


I'm curious.... why have you saved so many mirrored hoods ?
I would have saved the best one and threw the others in the dumpster.
same for the seats, only because they are so bulky.
 
Its cuz he obviously has the space!

Sorting hardware is KEY...I spent prob 10 hours a few years ago and Prob saved 20-30 since then.
 
i just love those organizer boxes :) and at $10 ish, they are a good value, and hold up pretty well.


I'm curious.... why have you saved so many mirrored hoods ?
I would have saved the best one and threw the others in the dumpster.
same for the seats, only because they are so bulky.

The hoods still have gauges in them, and the seats I save to rewrap them and sell. Plus you never know when you are going to need spare parts. Whenever I sell something I only have one of, the next week I end up needing that part. Happens all the time, usually it is a steering cable or starter. Then I end up paying more for one than what I sold it for.

I do love the organizers. We buy all of the styles they have, we have the other 2 styles as well, they have strictly electrical connectors in those.
 
Last edited by a moderator:
Today we were wrapping up the 98 spx.

This is the gauge we put in
278.jpg


We hooked all of the electrical back up after we cleaned the outside of the ebox

279.jpg


280.jpg


The inside is nice and clean

281.jpg


282.jpg


283.jpg


284.jpg
 
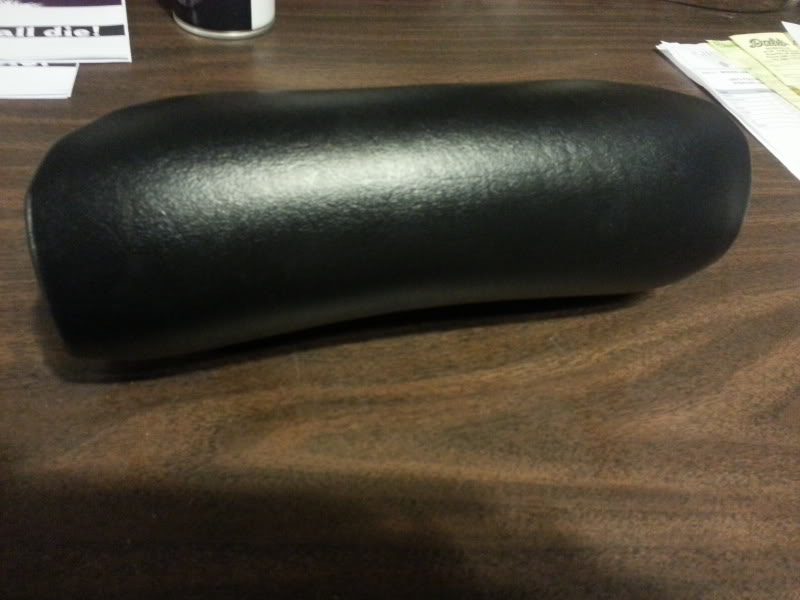
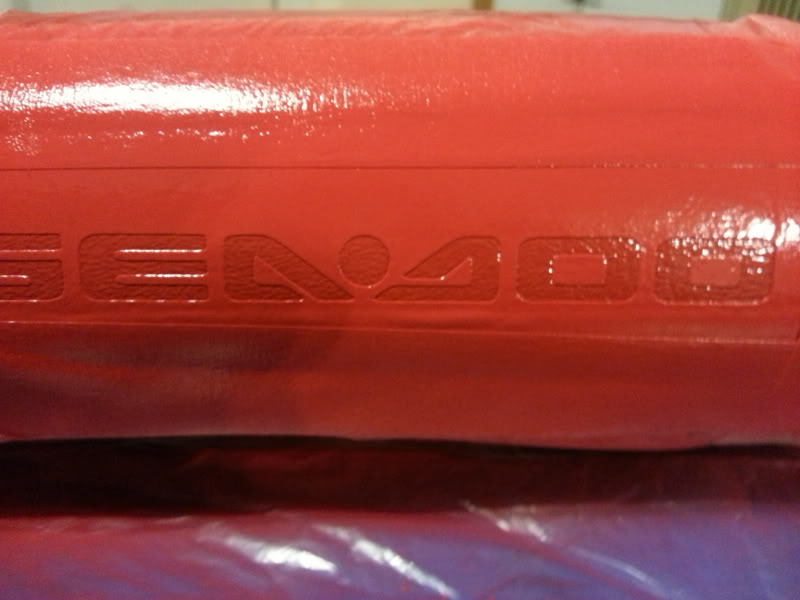
We also stenciled a seadoo logo on the handlebar pad. This time I took more pictures of the steps and even the coats of paint, so you can see how light the coats should be

285.jpg


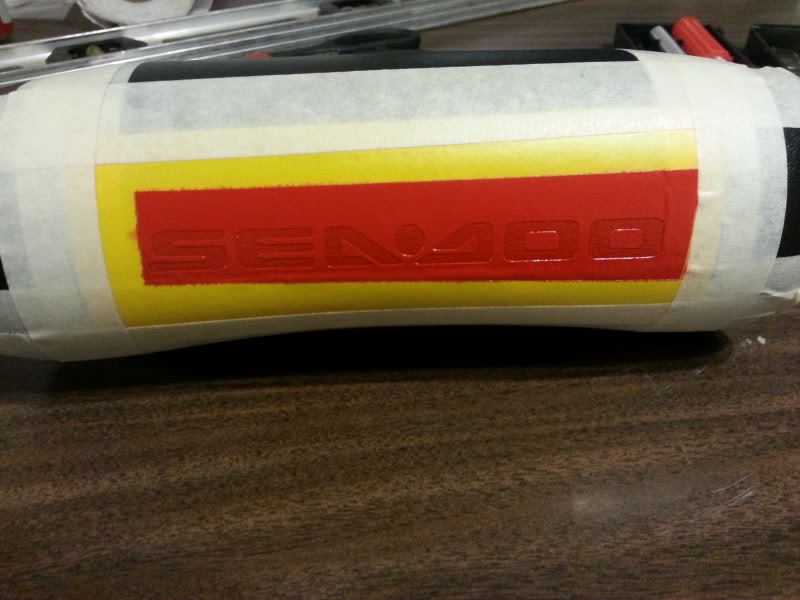
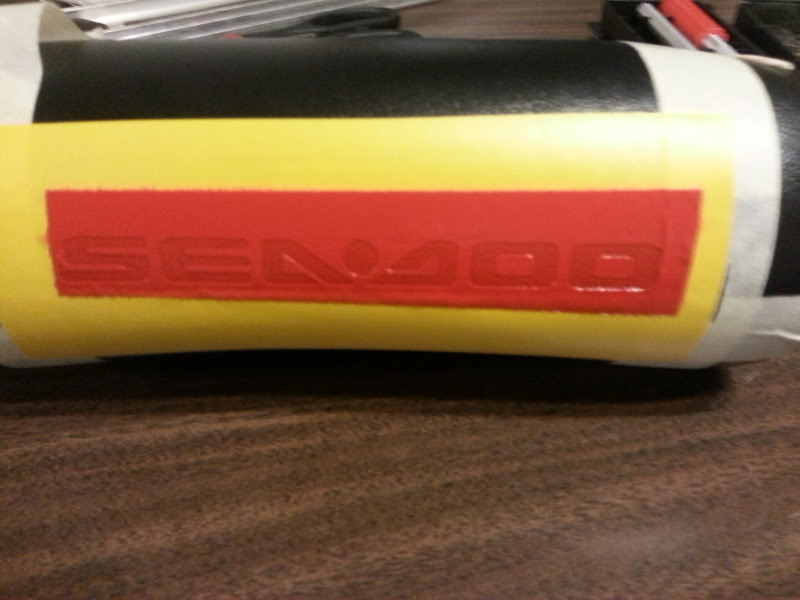
To center the stencil, I measured the outside edge of the letters, the distance was 5 inches. I then measured the handlebar pad length, it was 9 1/2 inches. So I had a difference of 4 1/2 inches. Now I cut that in half which is 2 1/8 inches. So I measured 2 1/8 inches from each edge and I used tape to mark the spot. So as long as the edge of the letters are in between them it will be centered.

286.jpg


Now what I do to get the right height I want is this. On the stencil itself I measure 1 inch down from the letters on each end. I then will mark it and scribe a line across them. Then I use 1" masking tape and I place the top edge of the tape where I want the bottom of the stencil. Just cut on the line you make. Now just place the bottom edge of the stencil to the bottom edge of the masking tape. The stencil should now be in the perfect spot.

287.jpg


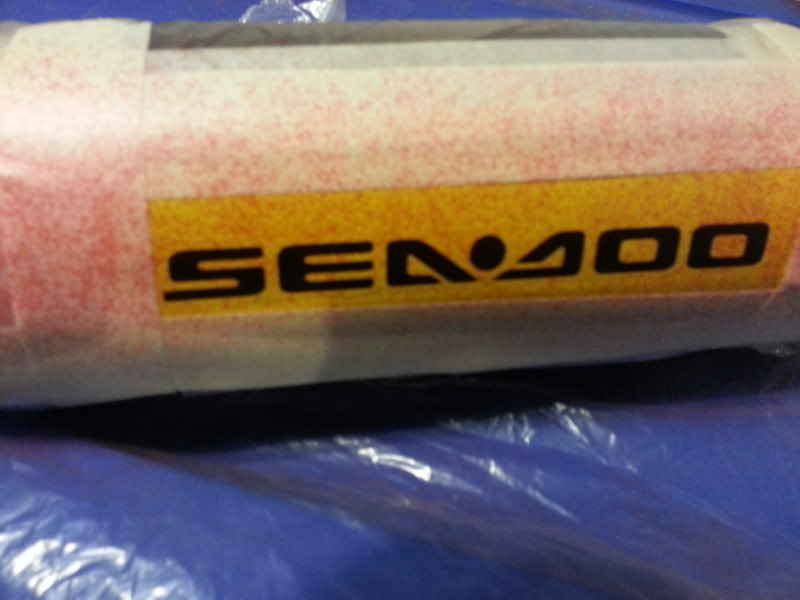
Peel the back mask off of the stencil

288.jpg


Place the stencil on your marks and make sure you put the stencil on straight and go over the stencil applying pressure to make sure the stencil adheres well.

289.jpg


Then pull the top mask off of the stencil

290.jpg


Make sure you tape off the rest of the area around the stencil. I used clear plastic and just taped it down


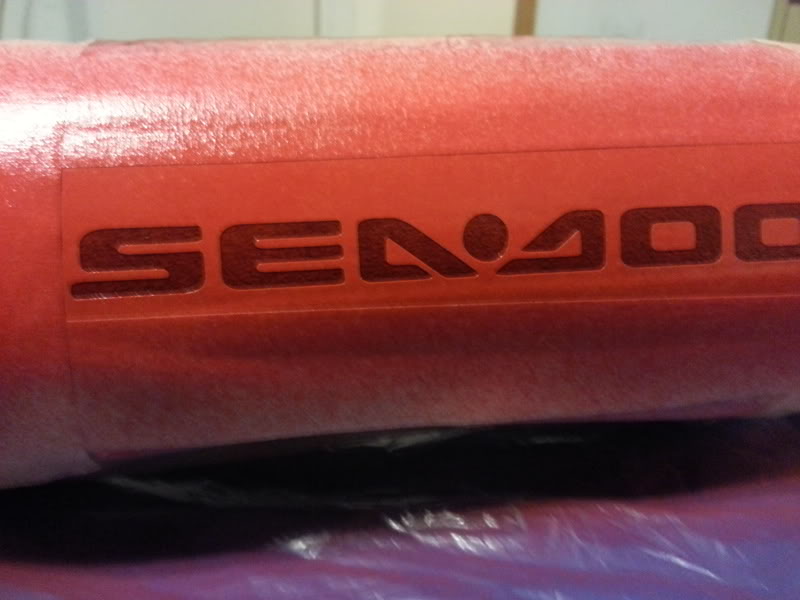
Now make sure to use very very light coats the first few coats just look like speckles
Coat 1
291.jpg


I wait 10-15 seconds per coat, I will then touch the tape around the stencil to make sure it is dry or just slightly tacky. Then I spray the next coat.

Coat 2
292.jpg


Coat 3
293.jpg


Coat 4
294.jpg


Coat 5
295.jpg


Coat 6 you can now see the stencil is almost red but the viynl still has a long way to go

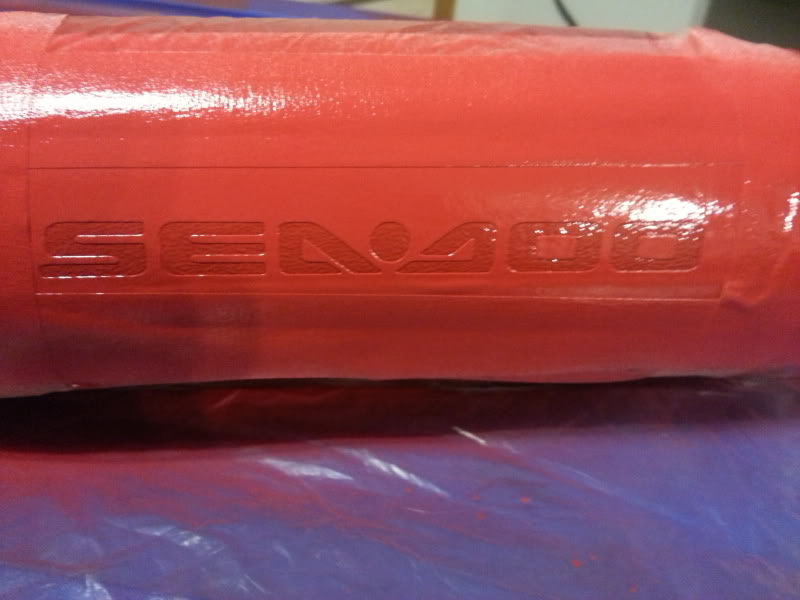
Now that you see how light each coat is here is some pics a couple coats later at a time


I use about 15-20 coats
296.jpg


297.jpg


298.jpg


299.jpg


300.jpg


301.jpg


Now as soon as your last coat is done give the paint about a minute and then pull off the plastic

302.jpg


Then pull off the tape around your stencil

303.jpg


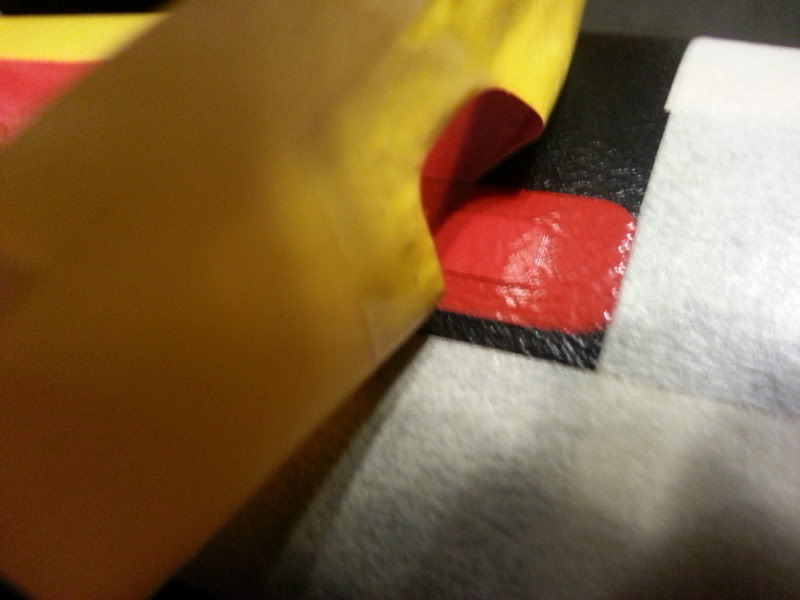
Then pull off your stencil. Start in one corner and peel it off slowly on a downward angle

304.jpg


305.jpg


306.jpg


Now after the main part of the stencil has been pulled off there is a few portions that were left behind inside the o's. To remove those I take the dull side of an exactoknife and gently pull up a corner. I will usually use tweezers and grab the corner that was pulled up but I forgot them today.

307.jpg


308.jpg


309.jpg


There was a little bleeding on this one but not enough to notice unless you get really close.

Here are some important tips.

Make sure your vinyl is clean when you start.
Make sure the room,vinyll and paint are all ate 70 degees.
Do really light coats, if you do not the paint will run and the stencil will crinkle.
Pull off the stencil before the paint completely dries or the paint may come off with the stencil. You do not have to rush, take your time pulling off the stencil. I just mean do not leave it sit a couple hours before you peel it off.
Make sure to shake the can between coats.


It looks like I just posted a mini how to in the middle of this thread.
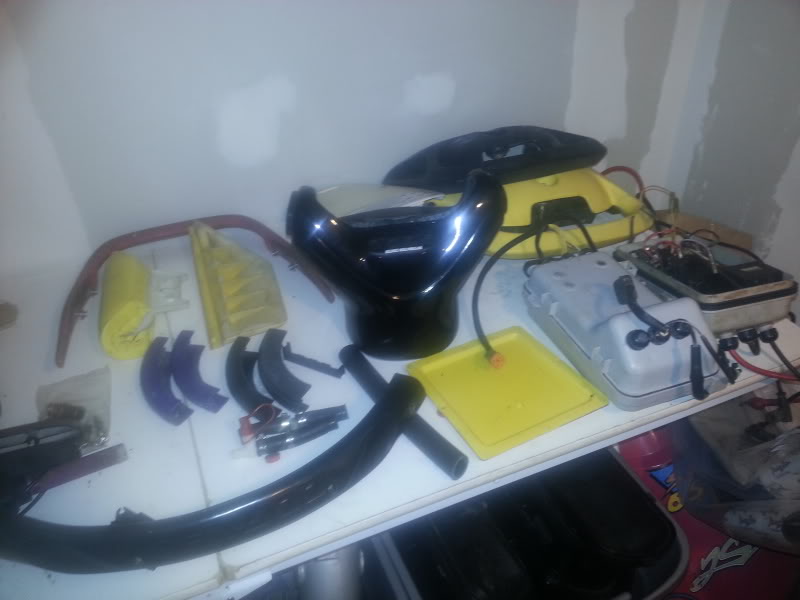
 
Last edited by a moderator:
Looks great, that really will give that pad a nice touch.

This is a great "How To" can we get post 193 moved to the how to forum?
 
Awesome work as always JSG...your work is amazing. When you enjoy what you are doing the quality shows. I'd hate to add up every minute and hours you put into each one, but its gotta be a ton.
 
I wouldn't recommend that. I do not know how the vinyl paint would react to it. The paint I use is just for vinyl and plastic.
 
Status
Not open for further replies.
Back
Top