• This site contains eBay affiliate links for which Sea-Doo Forum may be compensated.

RESTO 98 spx restoration

Status
Not open for further replies.
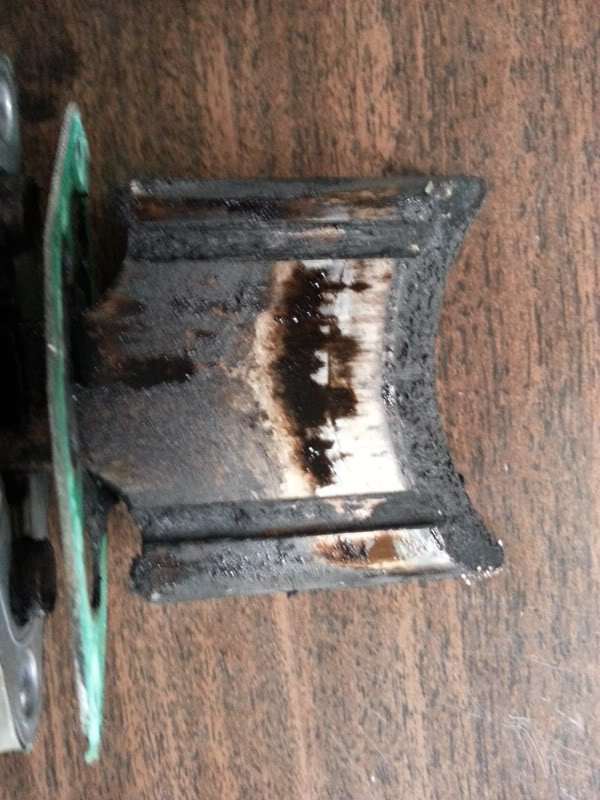
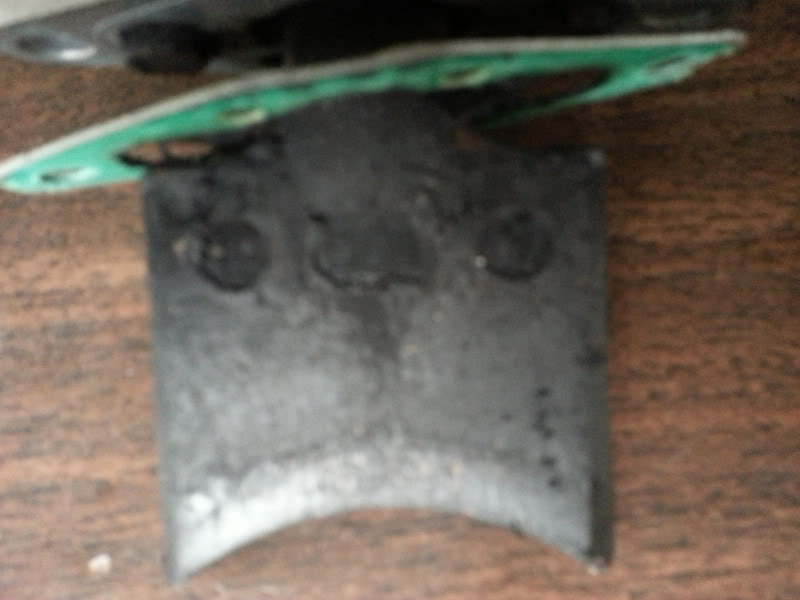
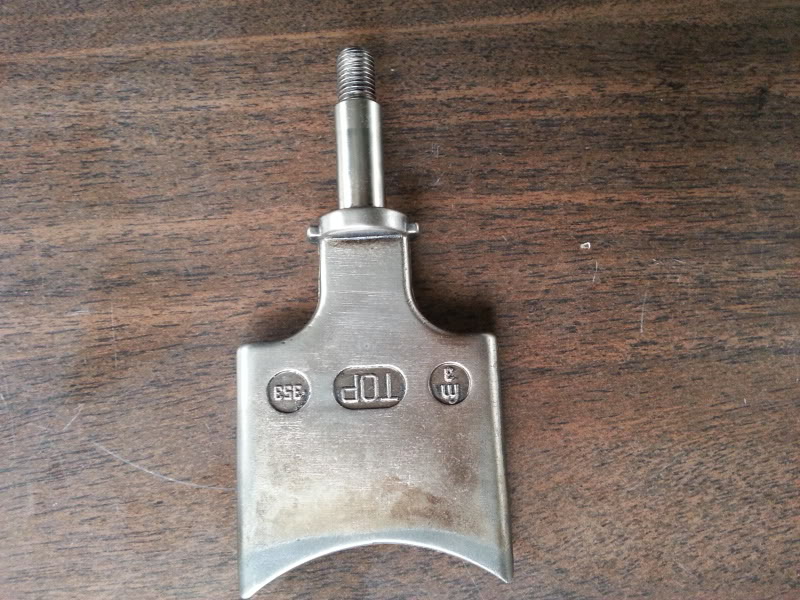
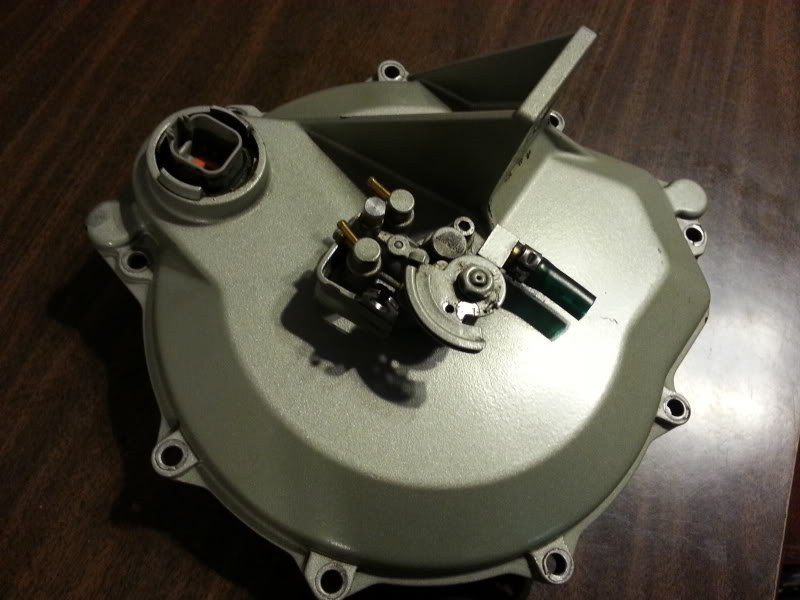
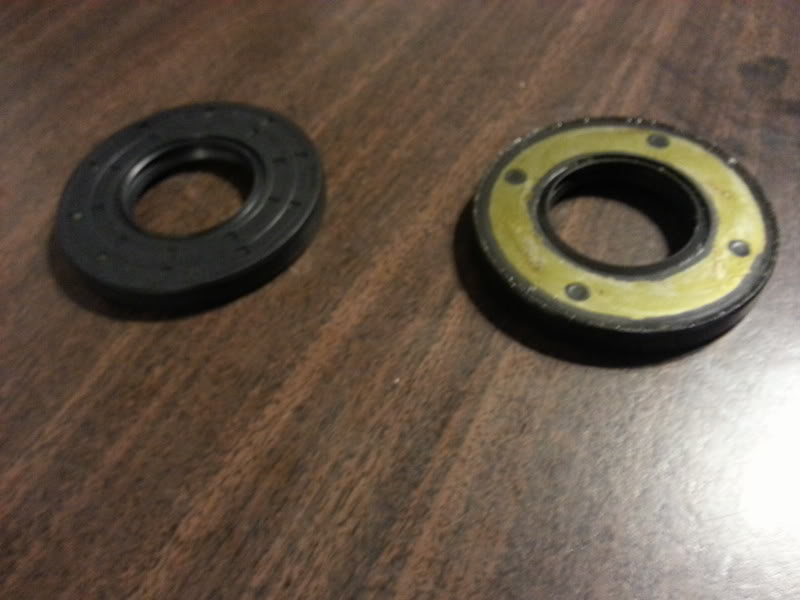
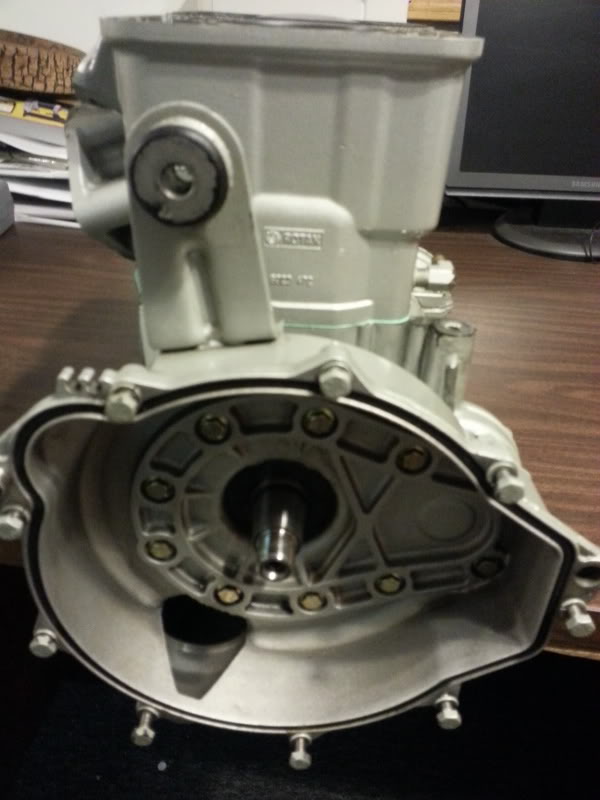
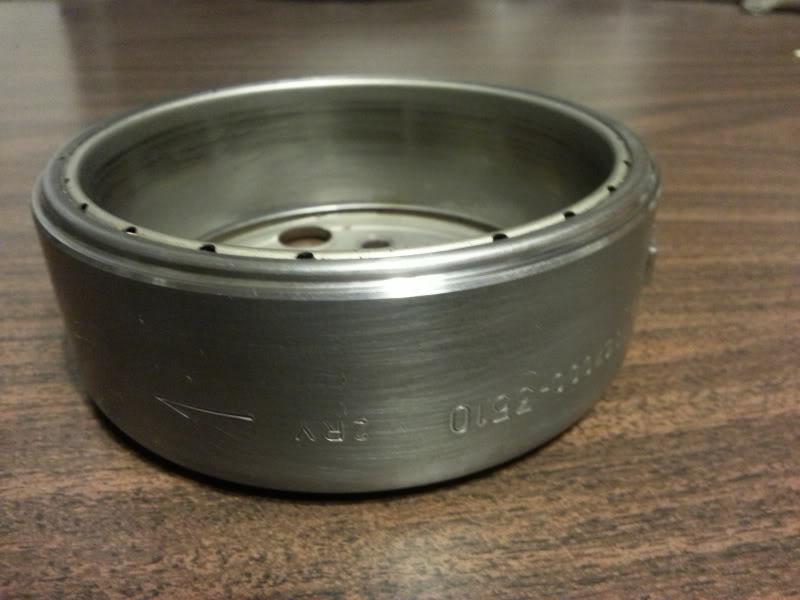
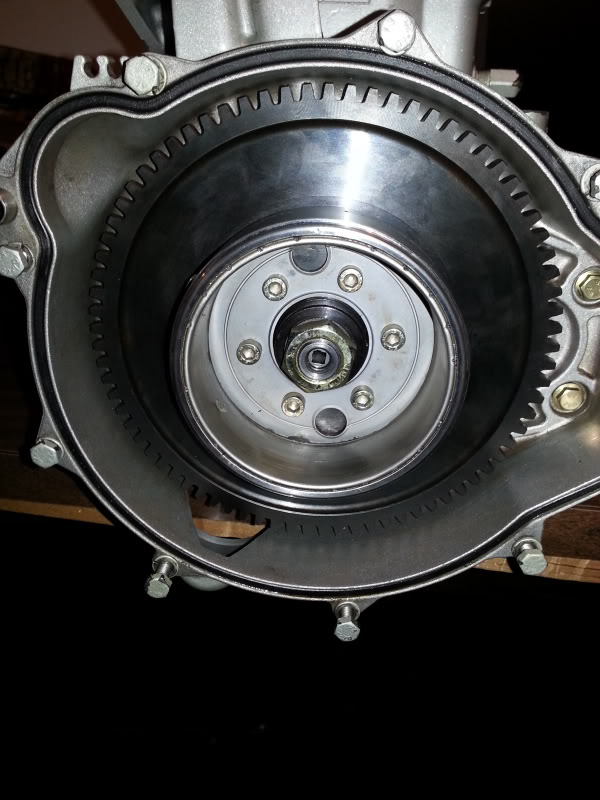
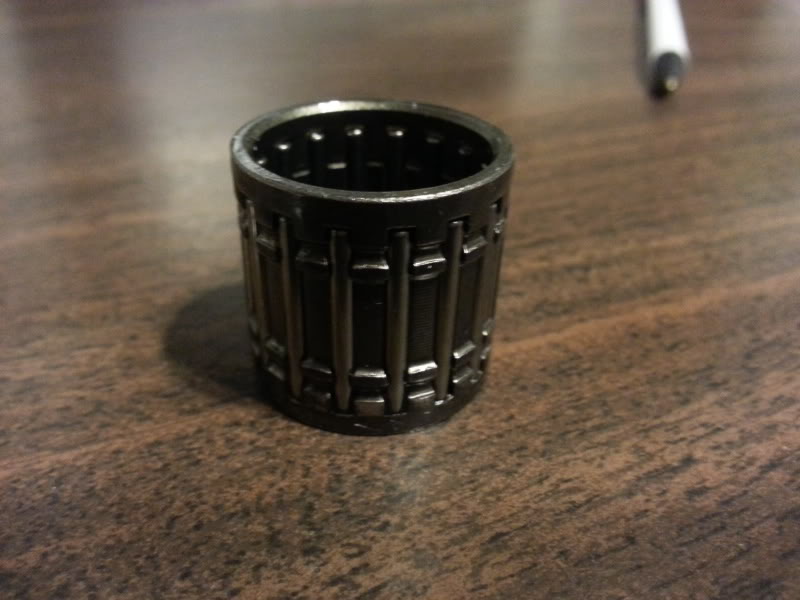
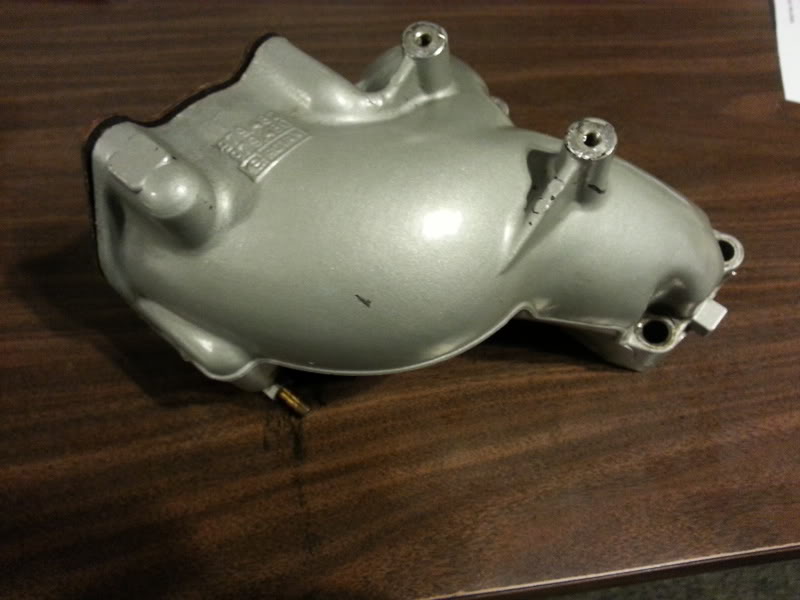
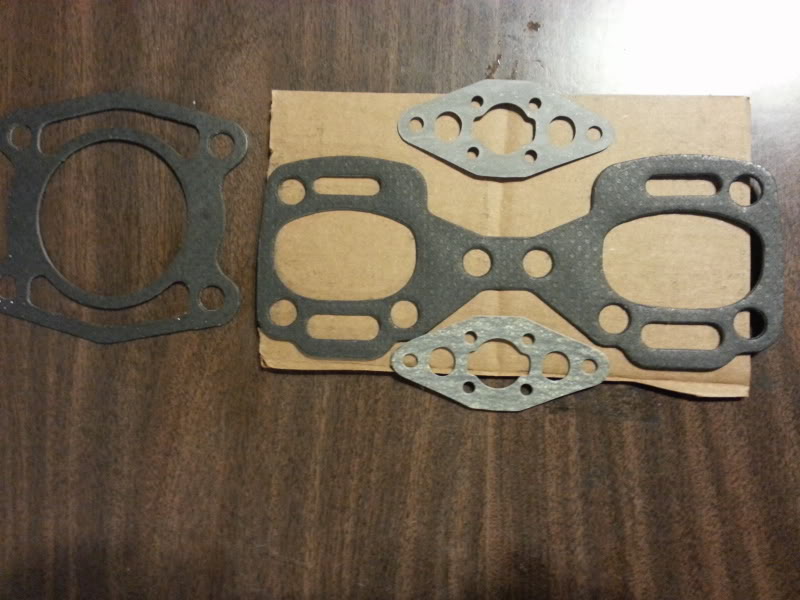
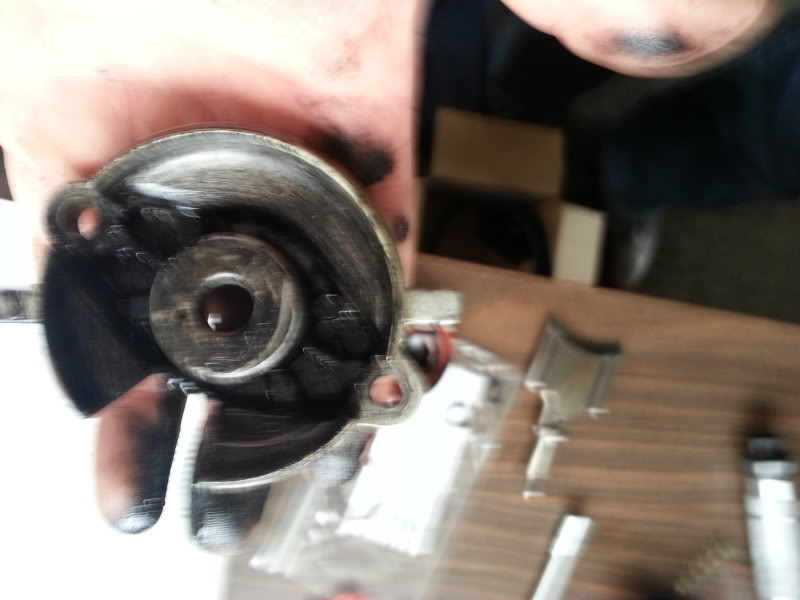
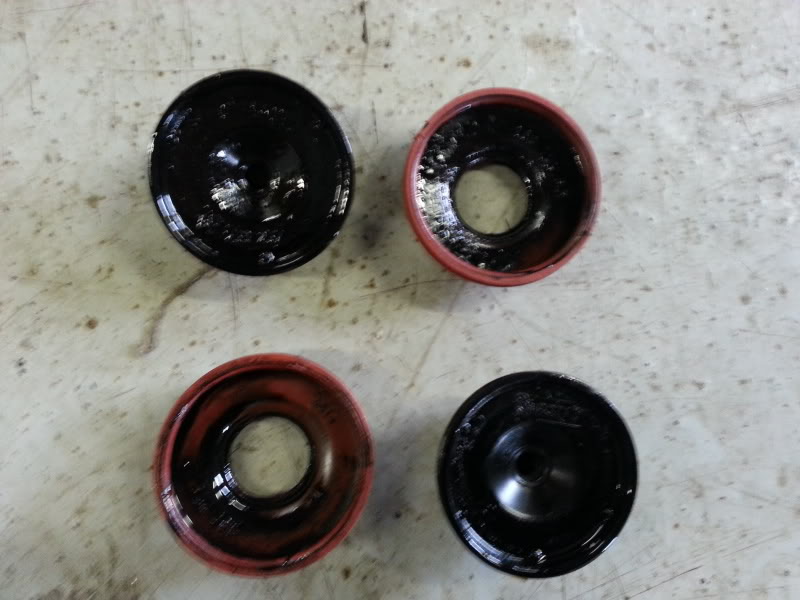
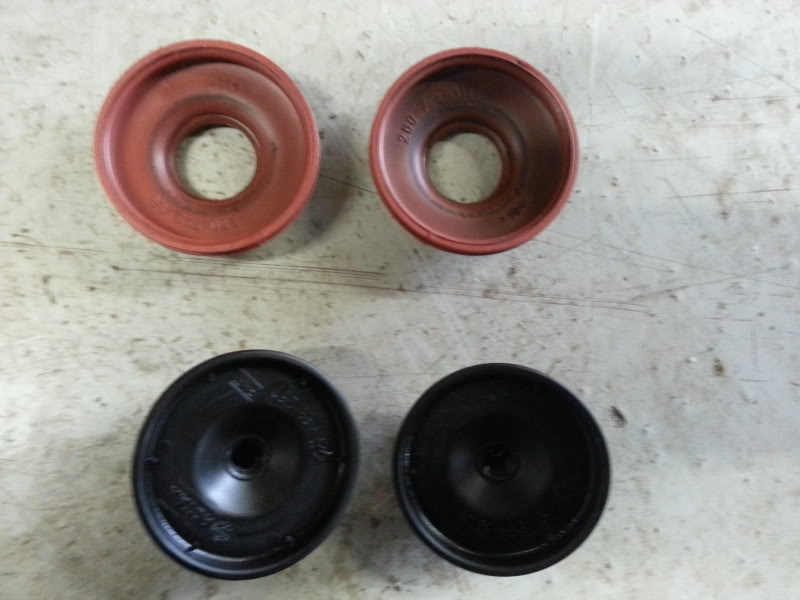
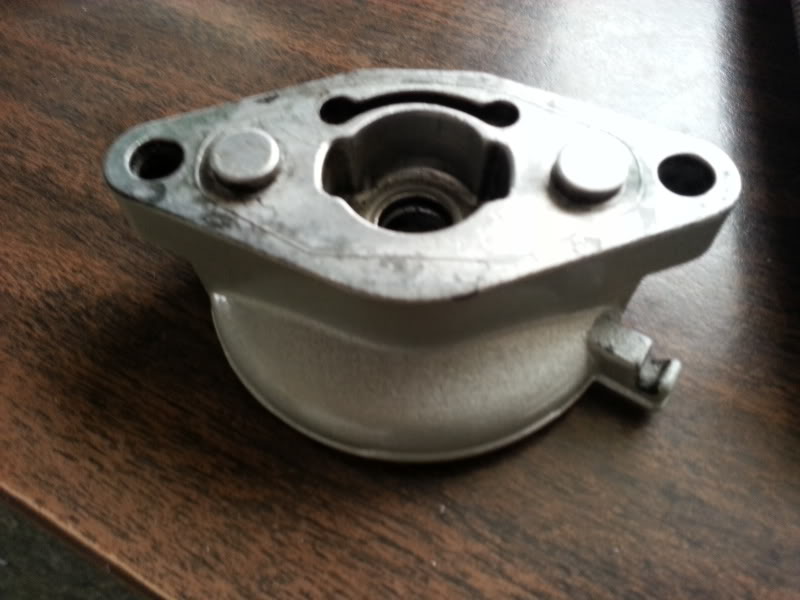
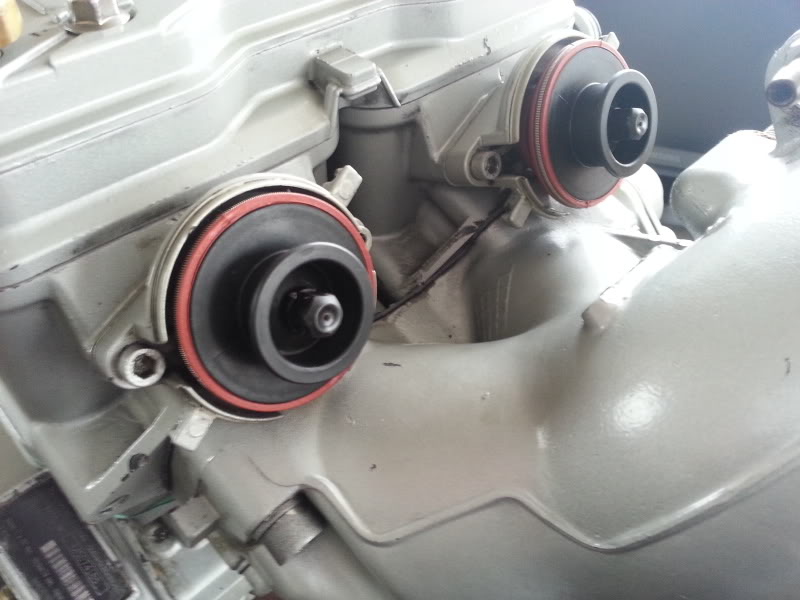
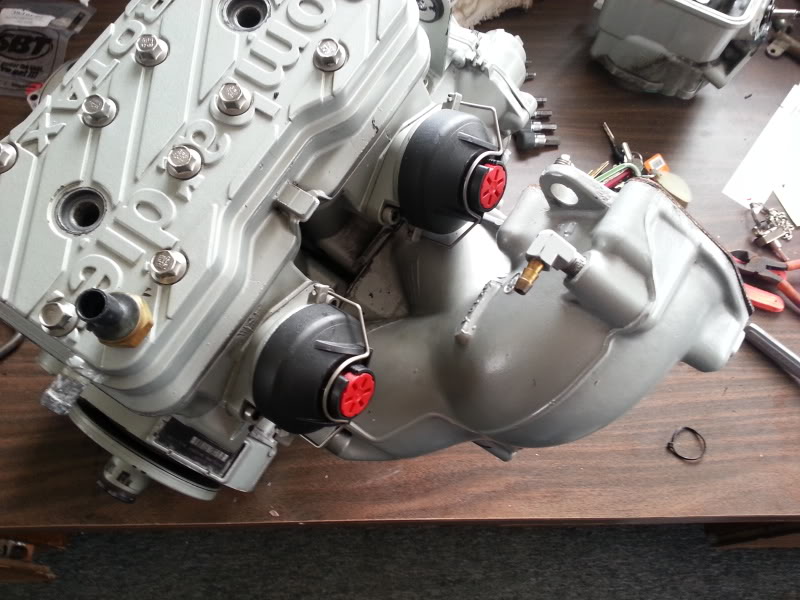
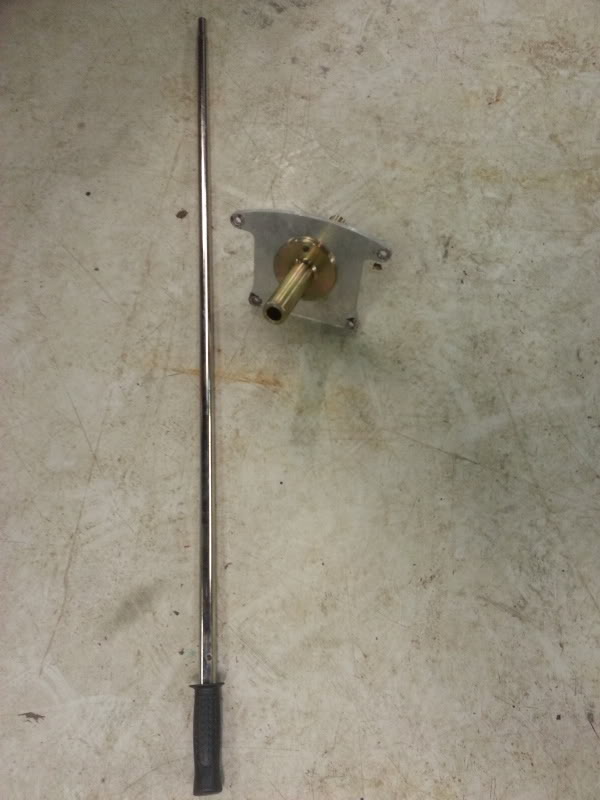
1 of the rave valves before and after
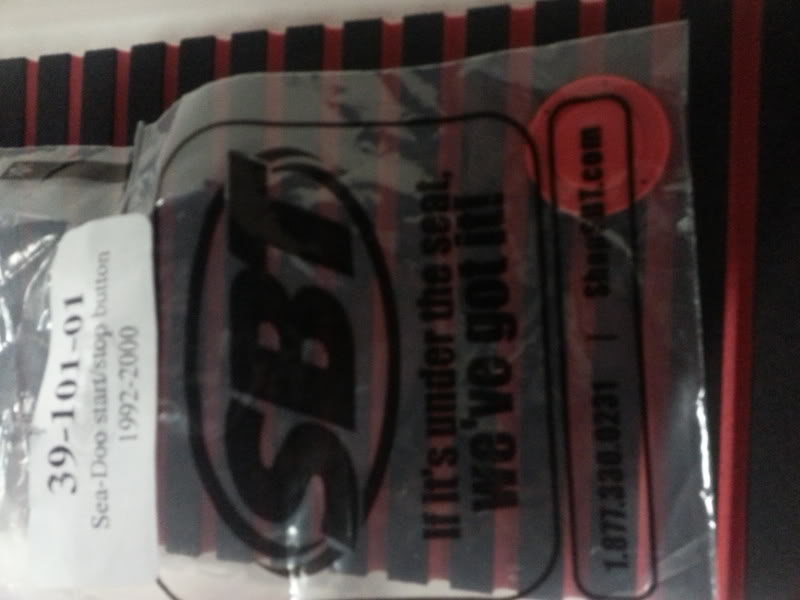
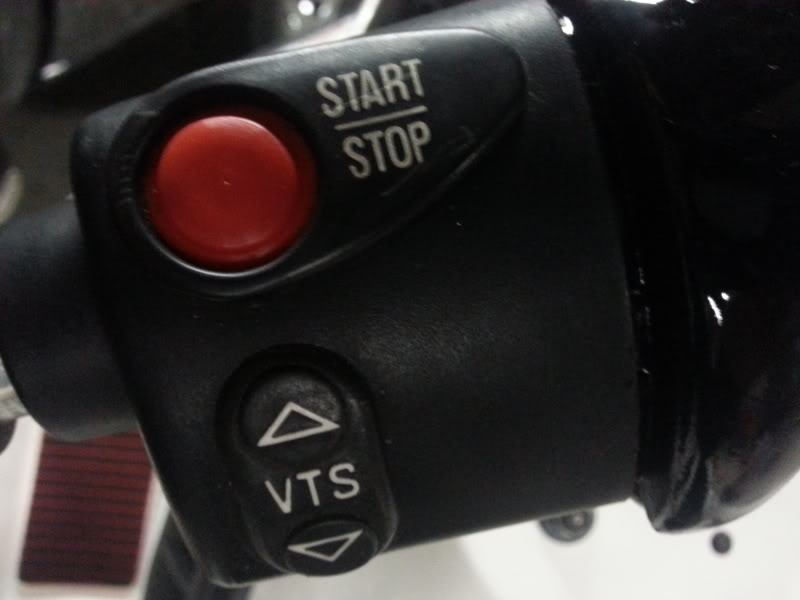
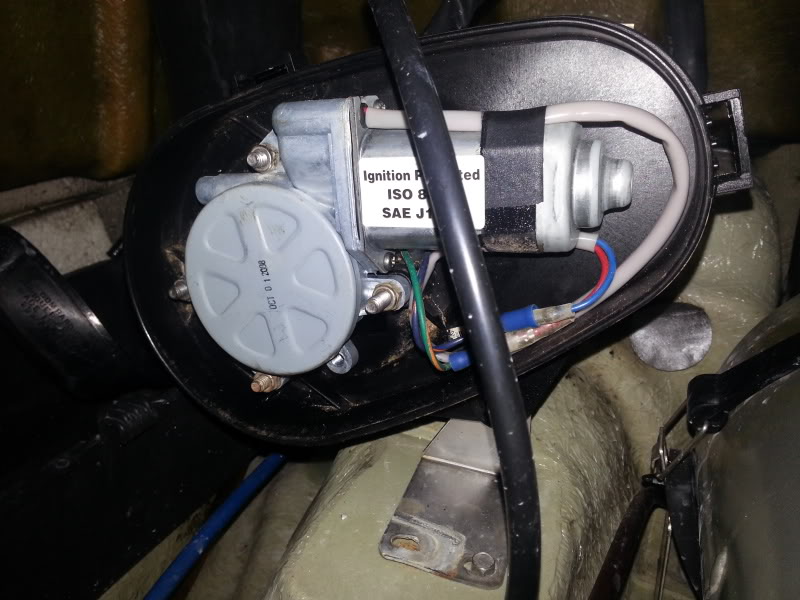
247.jpg


248.jpg


249.jpg


250.jpg
 
Do not sell yourself short I wouldnt take less than 3g!!! Anyone hassles you just show them this thread and show them the gazillion hours you put into it.
 
Great work man!! I agree with Minnetonka, this ski will pull top dollar. Its practically a new ski and will run for years if taken care of!
 
Hell they could even abuse this one for a while and be OK. Run a little gas station tcw-3 through her, run it back to shore at .5mph with the grate stuffed full of weeds and the buzzer signing off, pull it up on a sandy shore and then fiddle fart around before they get it shut off (filling the water jackets up with sand).

Those are horrible thoughts for this beauty but that's what happens out there most of the time after you let it out of your sight.
 
Exactly...I never disassemble the motor. I always do the best I can with cleaning it up, maintenance, working electronics, etc. and just let a customer know that the motor is the only thing not gone thru.
 
Some more engine work.

Stator housing
259.jpg


260.jpg


Stator
261.jpg


262.jpg


New and old seal

263.jpg


264.jpg


New stator housing gasket
265.jpg


Housing tourqed down
266.jpg


267.jpg


268.jpg


New base gasket and caged wrist pin bearings
269.jpg


270.jpg


Manifold and exhaust gaskets
271.jpg


272.jpg


The jugs are not bolted down yet, we forgot the manifold bolts at home so that was it for the night. Tomorrow she should be all togethor
 
Last edited by a moderator:
Question cleaned my valve raves with a wire wheel attached to my drill a they cleaned up nice, but there's a lot of pitting is that alright?
Also why does one rave say m2 and the other say m3? Any difference?
 
Some more engine work, we put the manifold back on to align the jugs, then torqued those down, we also cleaned up the rave housings and bellows and installed new orings and gaskets.

Sorry a bit blurry
288.jpg


289.jpg


290.jpg


291.jpg


292.jpg


293.jpg


Head bolts got 242 threadlocker and then torqued down

287.jpg


294.jpg


Flywheel cover, stator installed. We also added oil to the counterbalancer cavity. All that is left is to time it.

295.jpg
 
The paint is not perfect but it didnt warrant a paint job. If we were going to keep it then maybe we may have painted it. To paint it, it would set us back another day or 2 and we still have to get to 2 gsx's and the 99 spx should be here this weekend. So we wont see anymore money out of painting just more time and money. We will be painting the head pipe. Probably black, that was sandblasted to have the plugs welded.
 
Nice job! Glad to see some non iPad pics too, I don't need to have a few in me to see these clearly.;)

CLEAN OUT YOUR PM'S, please.
 
I can't tell you how much those pic's will be appreciate by so many !

I've had engines in vaerious states of being torn down or rebuilt and I took Zero pic's.

so on behalf of myself, and many to come,

Thank you for taking the time to provide all those detailed pic's and updates, its so rare to see so much detail.

3.gif
 
My new white phone didnt like me taking pics lol. I need my phone cases to come in asap. I would have taken more with the torque wrench and setting the pins on the crank, installing pistons, jugs, but I didnt want to mess up my phone.
 
The next step is very important if you pulled the motor out. We aligned the motor

This is the tool that is needed.
389.jpg


First mount the plate to the hull using your stock nuts that held the pump on. Then insert the shaft into the opening(i know some of you are laughing away)
390.jpg


On the inside you will need to shim the mounts until the tip slides in without hitting the pto

391.jpg


392.jpg
 
We also changed out the start sop button

First use a flat head screw driver and gently pull out the old one

Here is a picture where we pulled out the old one
393.jpg


New one that is $2.10 from watercraft superstore.
394.jpg


New one installed

395.jpg


Big improvement for a little cash
 
396.jpg


Vts motor was changed at one point but looks good, there was a little bit of rust in the housing but I think that was residue from the original motor.
 
What's up with the VTS motor, I never saw one with the ignition protected sticker? It looks aftermarket? Don't forget to put the other mounting screw back in.
 
I wont forget, the bracket for the bilge pump was mounted to that. I think it may be a mitsubishi window motor. I guess if you can find one of those cheaper it will work. I do not know which model or what side motor you need but the motor is identical.
 
Damn, just went through the entire thread and it makes me cry when I think I paid 2700$ for a ski that doesn't look 1/3 as good as this one...but that's how much they're worth up north...anyway, from what model are these handle bar cover from?

86f01c2f142a3f756fe79eff76ba5e54.jpg

Are they a bolt-on thing on the X4 handle bars or you need to swap the entire thing?
 
It is the easiest thing you can do to these. You can pull out the old one just by prying it up with a flathead screw driver. Then make sure the groove is cleaned out as seen in the picture above. Then you just insert the new one, a pick tool works better to remove it, you can also use it to help guide the new one back in.
 
Status
Not open for further replies.
Back
Top