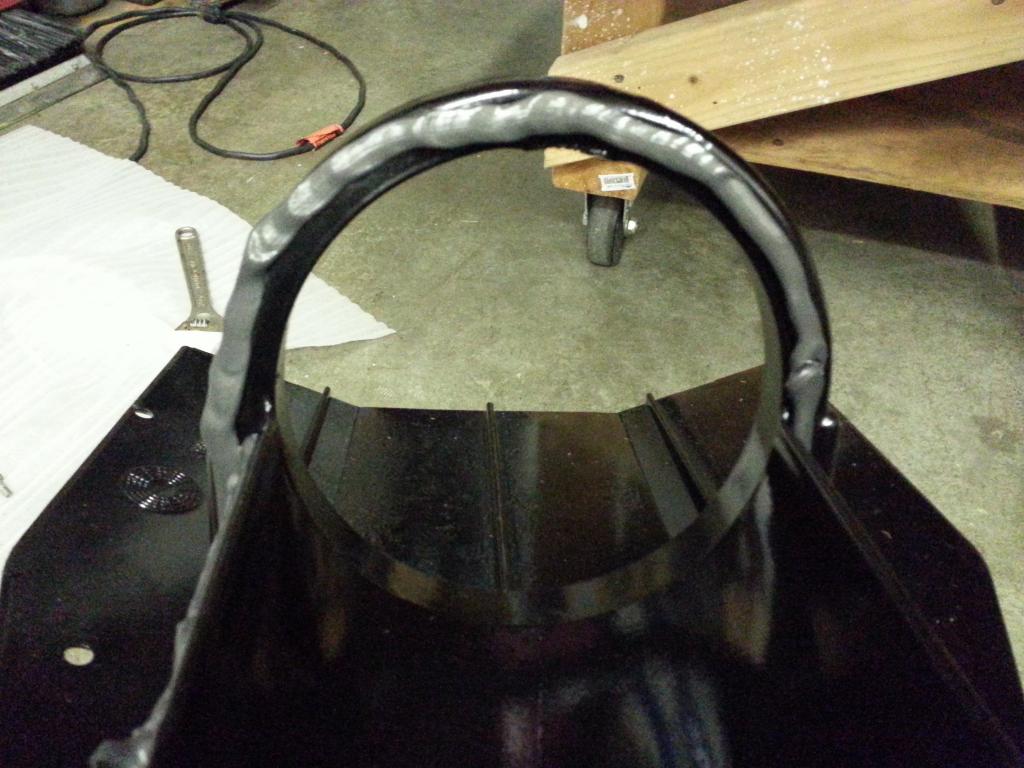
Dan, the parts came out very nice! Curious, what powder coating unit do you use? I never considered power coating but the results and durability have me thinking for the next project.
I have an Eastwood unit, the cheap one not even the dual voltage unit. I bought it years ago to cower a bunch of my old Honda 3 wheeler parts. It works well. I get my powder from Columbia Coatings. The worst part is you have to bead blast the parts bare first, then clean, treat, outgas, powder, enjoy! The biggest positives are the powder is dirt cheap, clean up is simple, and it's not solvent based and durable. Liquid paint is expensive, messy and has to dry/cure. I literally can remove a part from the oven, let it cool and install. With paint I could never do that.
This is what I have, eventually I wold like to upgrade to a pro type gun and build a bigger oven so I could do motorcycle frames and such. I'll try to post some pics of some of the stuff I've done.
http://www.eastwood.com/powder-gun-promo-kit.html