jammin777
Well-Known Member
I just arranged a paint booth and equipment to re gelcoat the bottom of the hull.
The teardown will start tonight.
You guys are always a bad influence on me!")
you're welcome.:thumbsup:


I just arranged a paint booth and equipment to re gelcoat the bottom of the hull.
The teardown will start tonight.
You guys are always a bad influence on me!


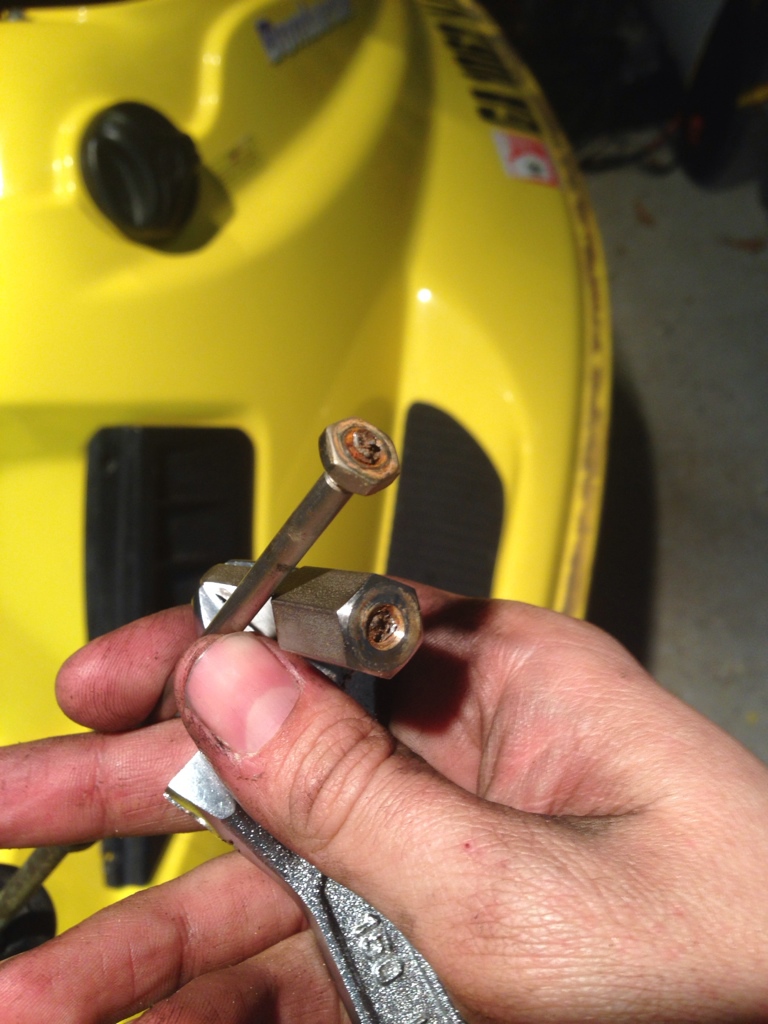
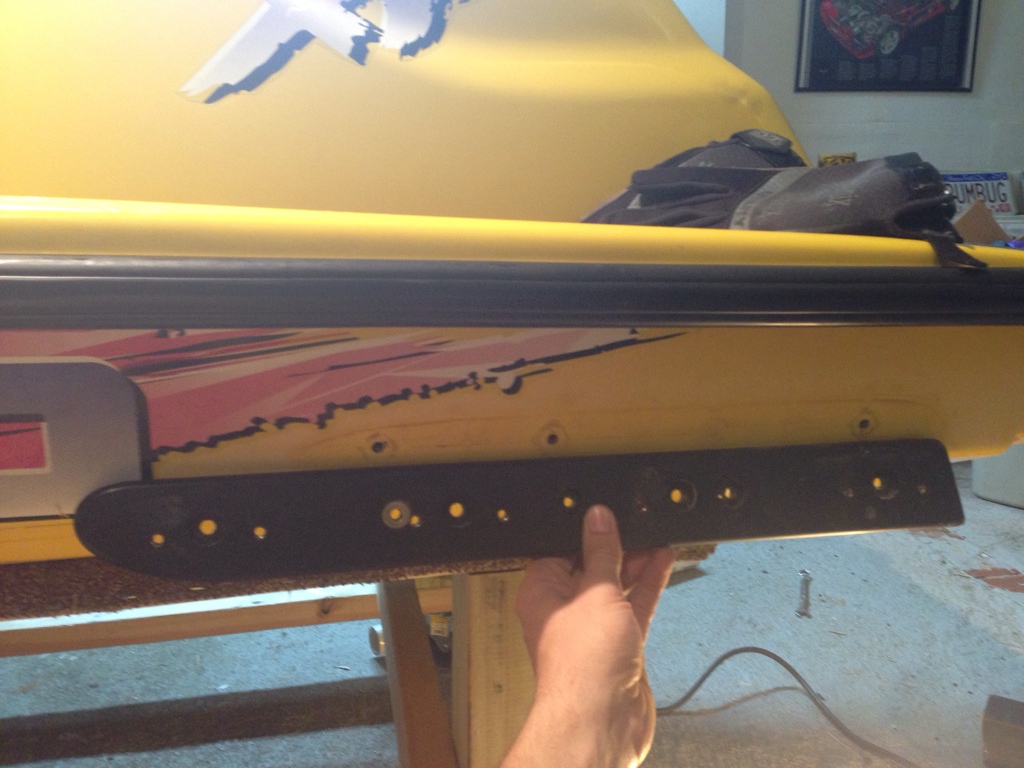
The rubrails you will need to take off the corners and nose first. Remove the round inserts and drill out the rivets, the nose has 4 and each corner has 3. After those are removed you will have to slide the inner part off the rubrail out. Sometimes they pull out easy and some times you need to beat them out. I take a small block of wood and place the outer corner in the groove butted up against the inner rubrail and then use a hammer and hit the block sliding the rail out. After you have the inner rail out you will need to drill out the rest of the rivets out. Take about a hour for the whole process
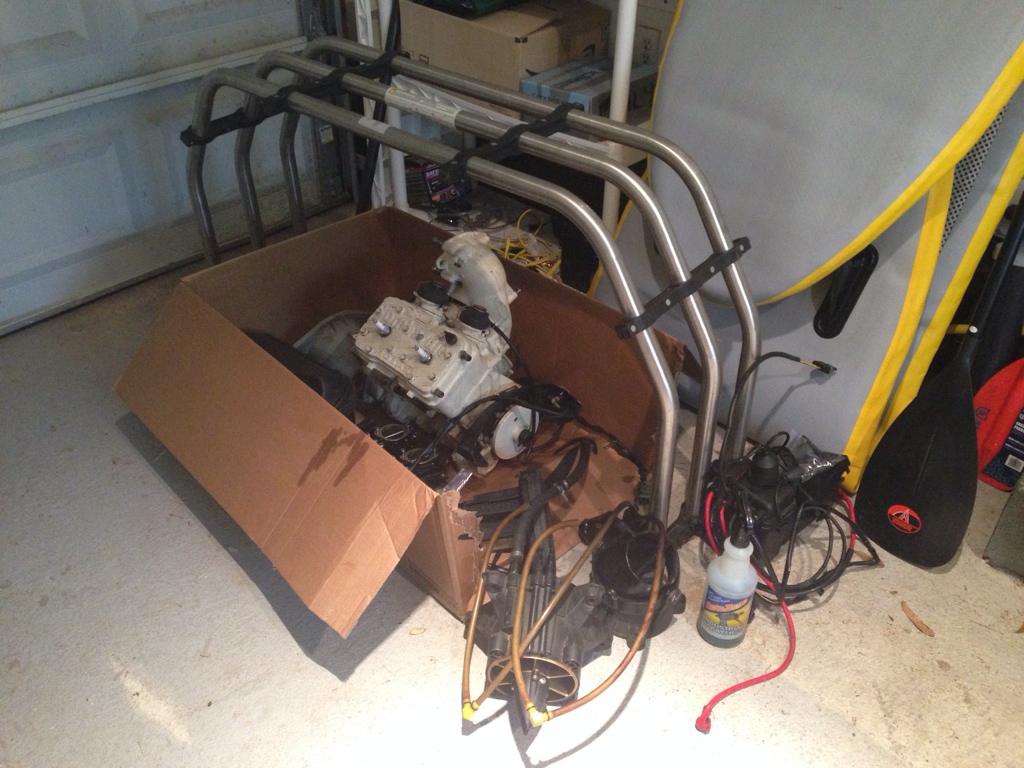
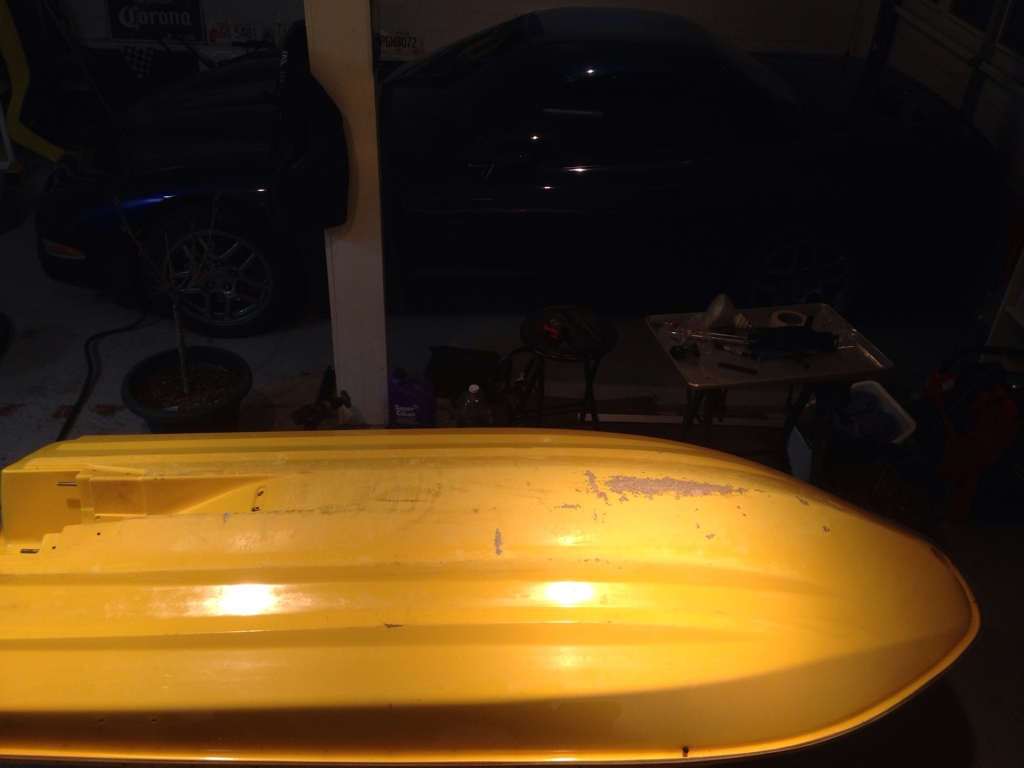
I really don't want to pull the engine until I have to for a rebuild. I think I am going to try and roll it over on its side on some old used tires and moving blanket. I may build a |_| type channel to support the bonded surface between the hull upper and lower so it doesn't just rest on my garage floor. then figure some way to hold it in place while I fill/ patch these areas.
Then, assuming I need a rebuild after this season, when the engine is out perform a full flip on some stands and re-gelcoat the whole bottom (hold your breath 96 purists) black ala 99 spx....
That is how I am feeling at the moment. Subject to change...
Opinions welcome!
I just arranged a paint booth and equipment to re gelcoat the bottom of the hull.
The teardown will start tonight.
You guys are always a bad influence on me!
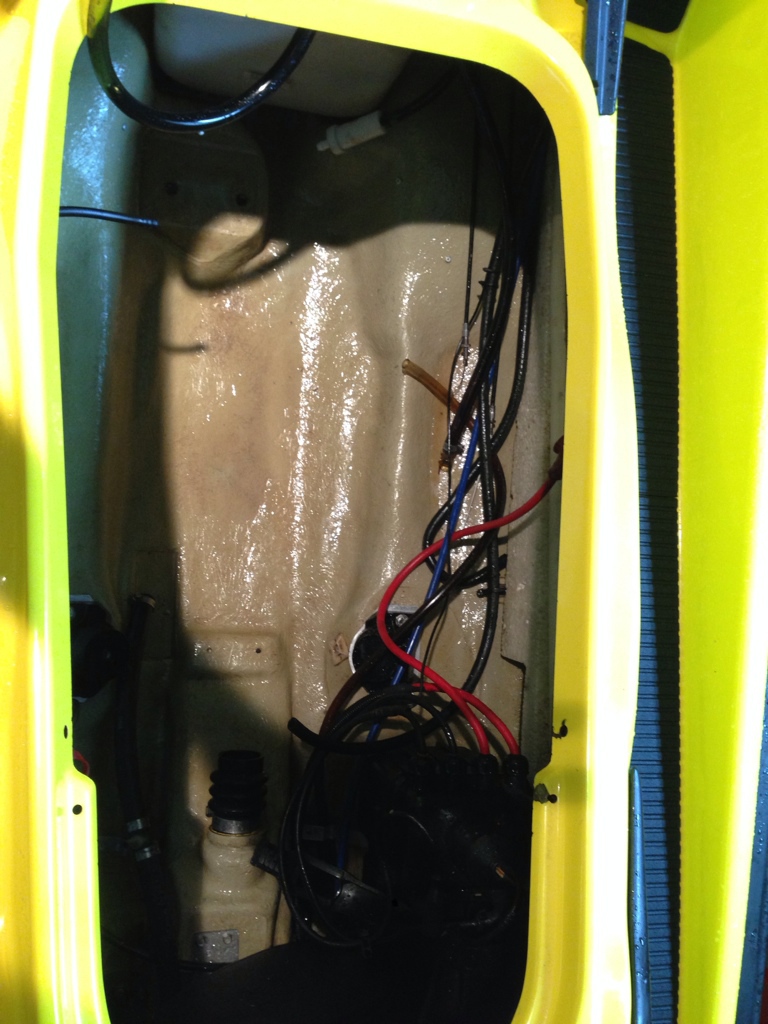
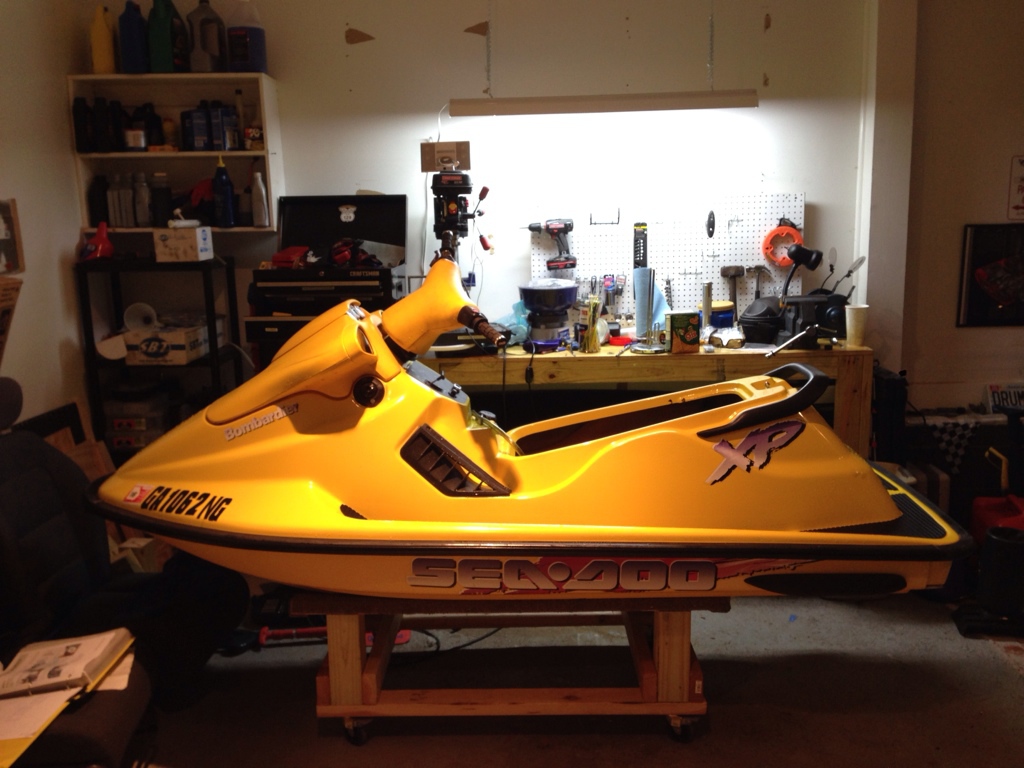
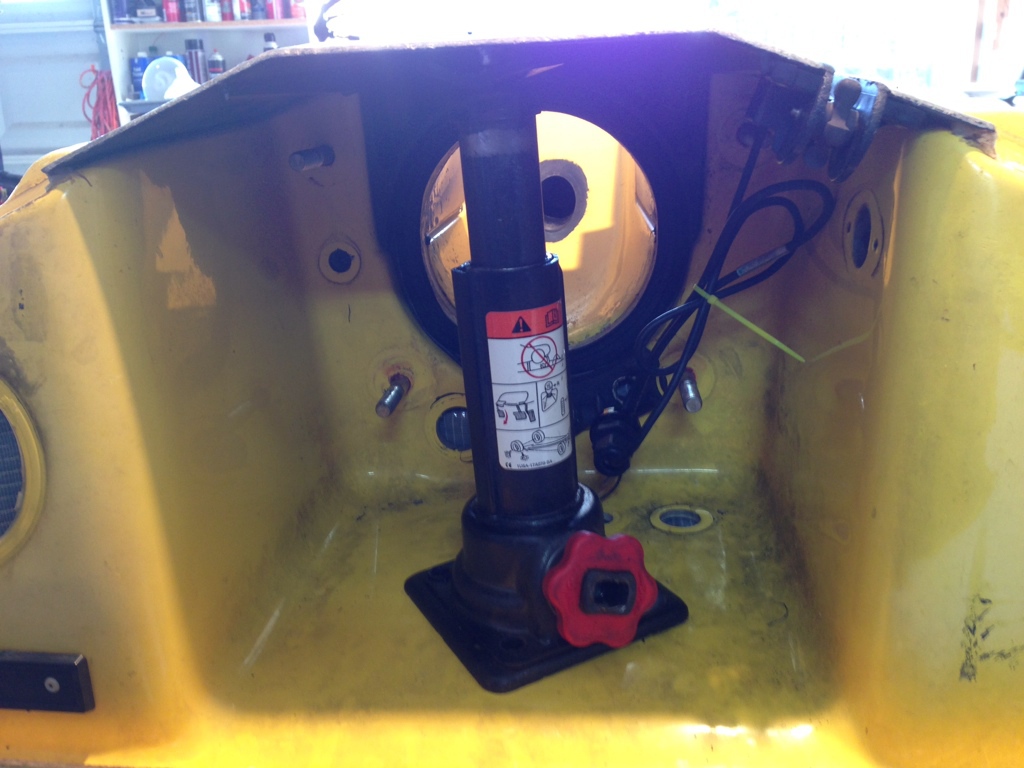
Well I have put a bit of work into the XP tonight and yesterday.
Yesterday I pulled everything surrounding the engine leaving the engine itself in the hull.
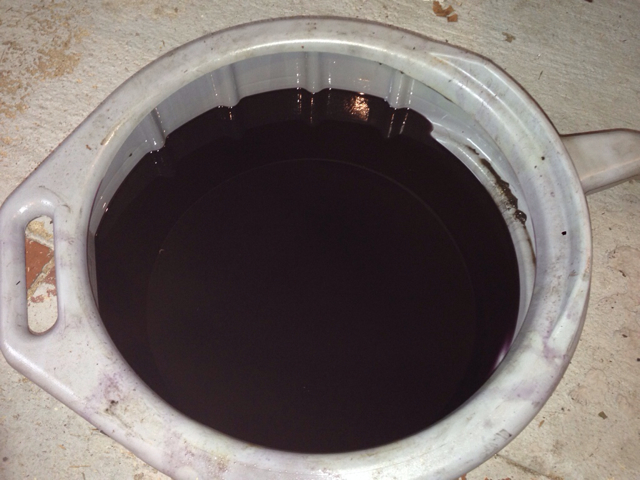
Drained nearly a full tank of good oil into my pan! Anyone want to buy it? Includes trace amounts of diff and trans oil.
Siphoned out the old gas into the pressure washer and mower.
Cleaned the inside of the hull, might give it one more round tomorrow, then off with some more bits, including the pump and bars, possibly the hood.
All this just to fix some scratches...
Sent from my iPhone using Tapatalk
I really don't want to pull the engine until I have to for a rebuild. I think I am going to try and roll it over on its side on some old used tires and moving blanket. I may build a |_| type channel to support the bonded surface between the hull upper and lower so it doesn't just rest on my garage floor. then figure some way to hold it in place while I fill/ patch these areas.
Then, assuming I need a rebuild after this season, when the engine is out perform a full flip on some stands and re-gelcoat the whole bottom (hold your breath 96 purists) black ala 99 spx....
That is how I am feeling at the moment. Subject to change...
Opinions welcome!
You can knock the towards the hull and pull them out from the back side with pliers. Rivet gun is fine, I'll get you the part number for the rivets from McMaster, box of 100 is like 16 bucks shipped I think.
Sent from my SGH-T889 using Tapatalk 2

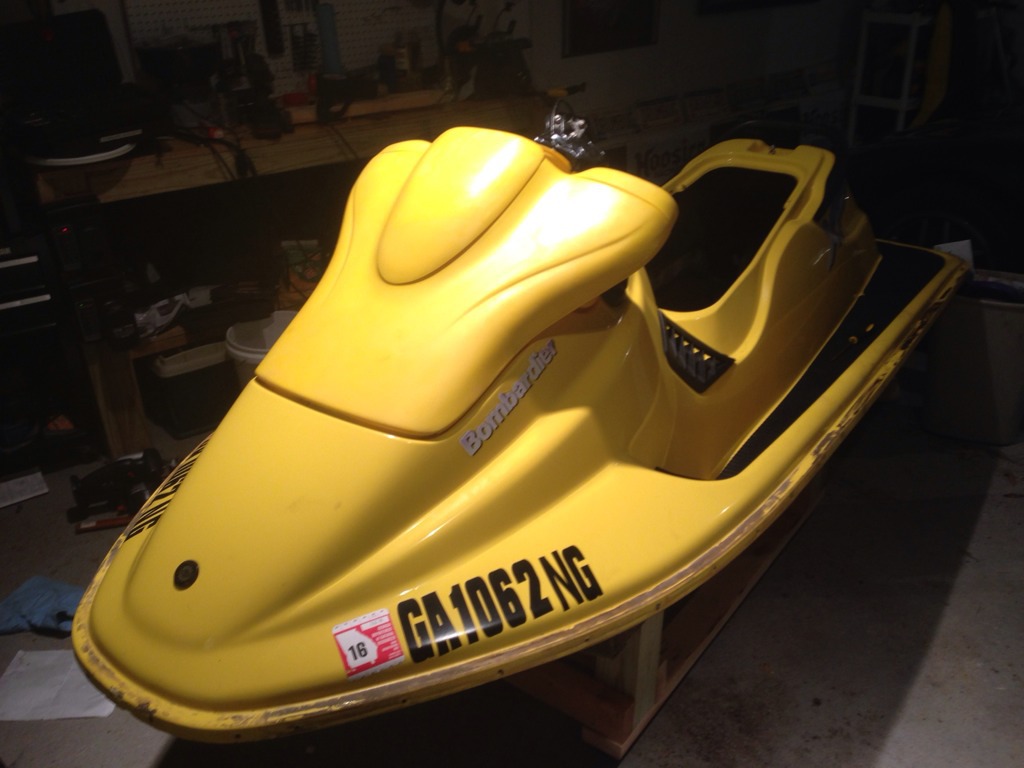

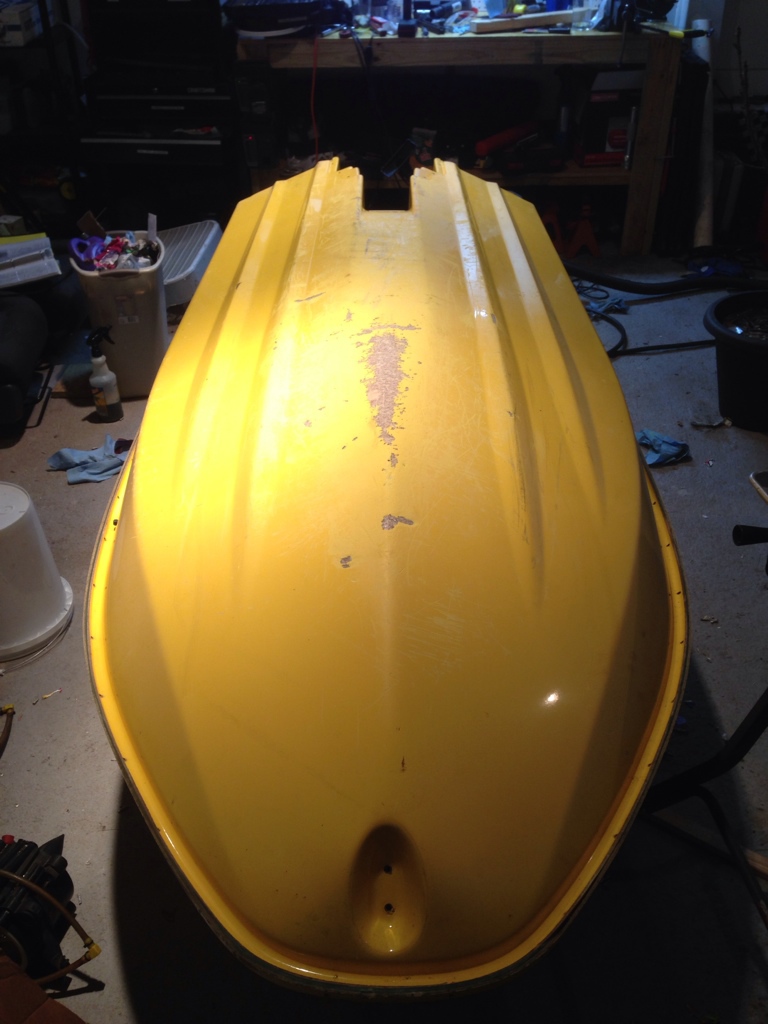
Today was a pretty big day. I offered to drive my coworkers to lunch and made an unexpected stop by the house to flip the ski. My stand ended up being just the right height to clear the hood I didn't install.
Tonight the priority was to remove the ride plate/ pump shoe and Seadoo stickers.
First off the man that designed the pump shoe and decided it should be glued in can eat a dick.
") even tho it seems to just be a bunch of crazy ol coots! Im not gunna lie I laughed pretty hard reading that
even tho it seems to just be a bunch of crazy ol coots! Im not gunna lie I laughed pretty hard reading thathaha you suckered your co workers into this? They mustve thought you were crazy!
And remember this is a family friendly forum


 on his sweet 99spx resto). Targeting 15-20 mil thickness on each coat, waiting about 2 hours between coats.
that duratec is great stuff!
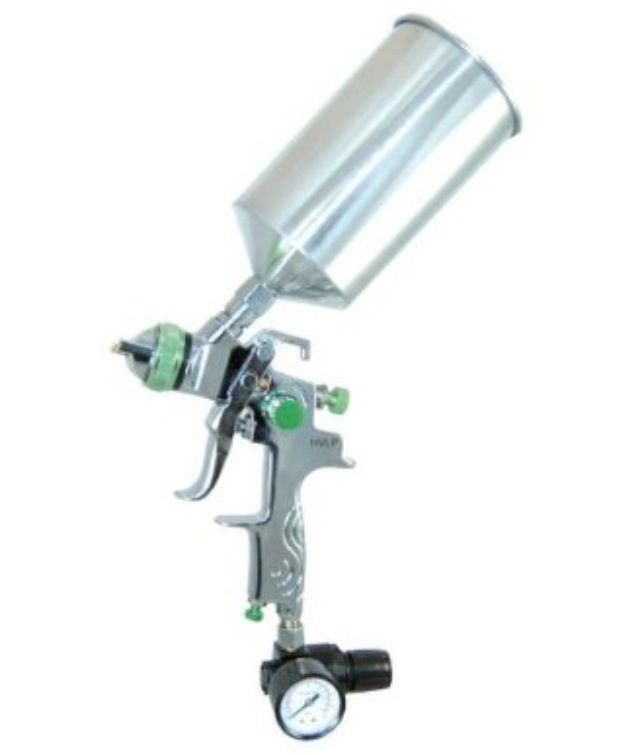
yes i did first several coats mixed 20% duratec and last 50/50. got it all spayed using 1.7mm tip withing 45 min and was sanding with 180 grit within 4 hours, not sure of how many mils but was pretty thick. waited a few days and finish sanded with 400,600,800 and finally 1000 grit the buffed. as a surprise to me the gel goat came with wax which is best for under the waterline if it going to be in the water for long periods. of time like days on in.
the duratec definitely helps flow through the gun with less orange peel for less sanding and dries very nice. i did a ton of reading before i did my gel coat. and was nervous but it,s easy if you know how to spray paint. i just kept layering the coats on to desired thickness. sands sort of like bondo.
just remember that you have 20 min of pot life or you risk throwing away your new spray gun. acetone works very well to clean the gun. between batches.
...