


-
This site contains eBay affiliate links for which Sea-Doo Forum may be compensated.
You are using an out of date browser. It may not display this or other websites correctly.
You should upgrade or use an alternative browser.
You should upgrade or use an alternative browser.
RESTO 98 spx restoration
- Thread starter Jetskigoodies
- Start date
- Status
- Not open for further replies.
Jetskigoodies
Well-Known Member
Tonight we went back over this with 220 in areas that need a little more attention to get off the yellow, it is easier to see what you missed after it has dried. After that we used 320,then 400, then 500, then 600, then 800, then 1000, then 1200. It sounds like alot but it only took us 2 hours to do all of those steps. I was going to start buffing it tomorrow but it looks like we are going to get hit with an alberta clipper, so we should get 3 inches of snow so i will be plowing all night.
Sselzer we use harbor freight sand paper too. I wouldnt go lower than what you are using most people start much higher than what you are using. You should not need to go any lower.
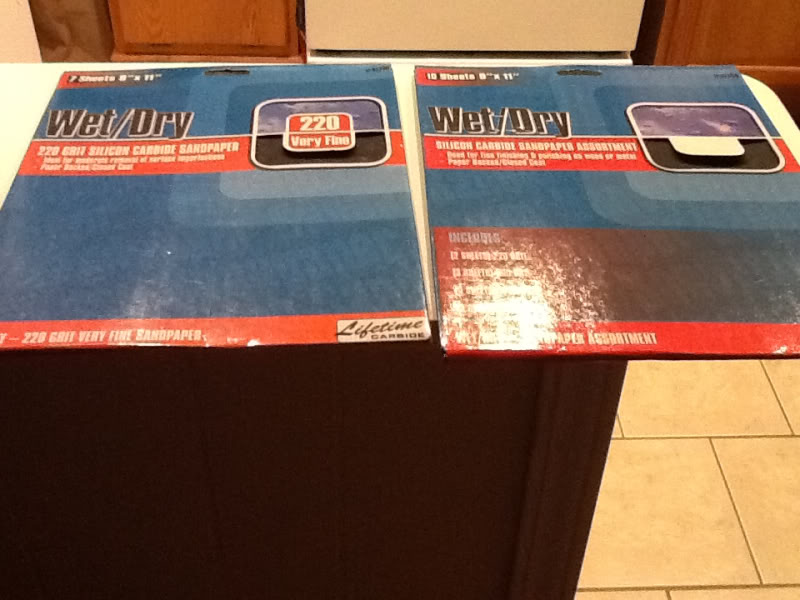
Sselzer we use harbor freight sand paper too. I wouldnt go lower than what you are using most people start much higher than what you are using. You should not need to go any lower.
Last edited by a moderator:
Jetskigoodies
Well-Known Member
Thats weird in my email, it showed sselzer left a post on this thread and that is why i replied to him but now i am not seeing the post in this thread.
Edit....
Nm looks like its showing up now
Edit....
Nm looks like its showing up now
Last edited by a moderator:
Jetskigoodies
Well-Known Member
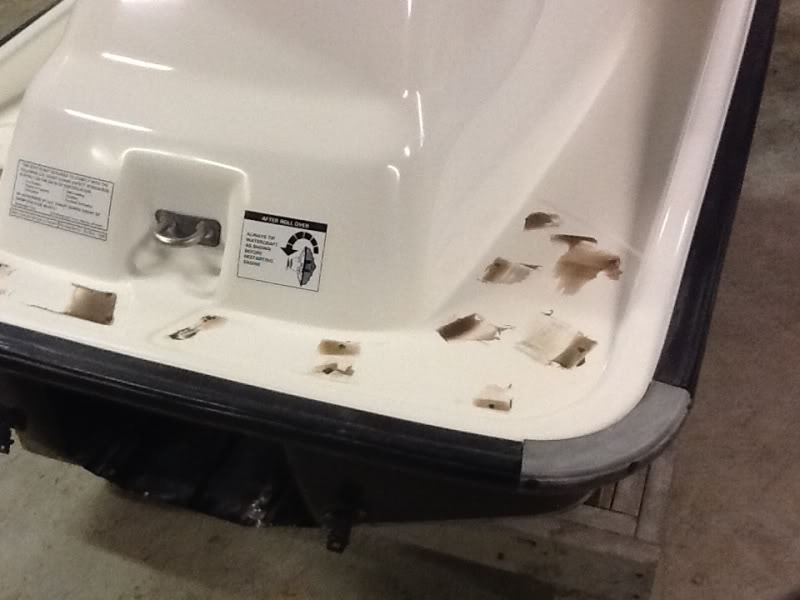
Only got an inch of snow so we were able to get some work done. The hull was really dull after all the wet sanding, in the pictures it is hard to tell.
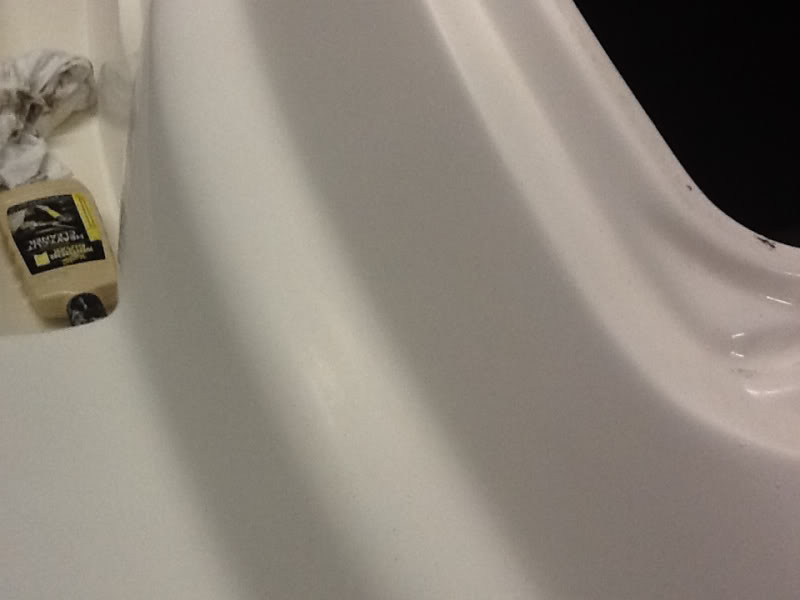
You could see in the pictures there isnt any shine.
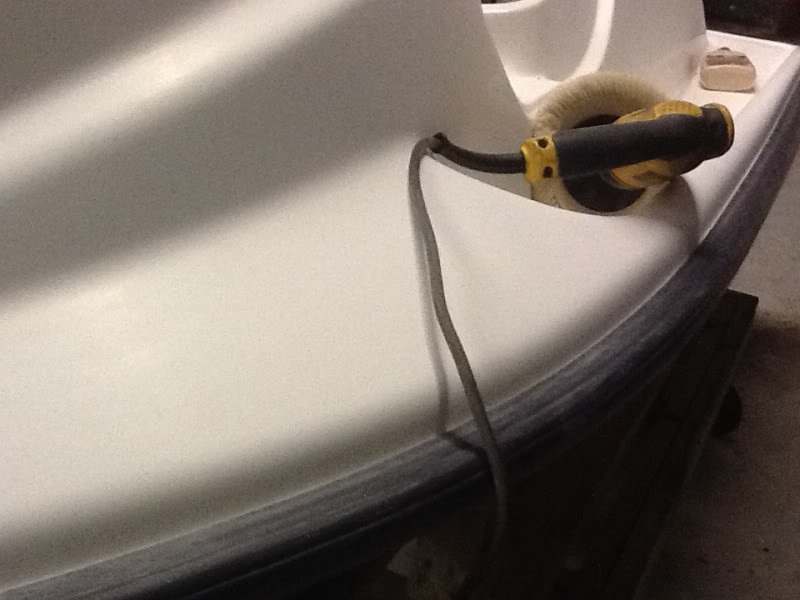
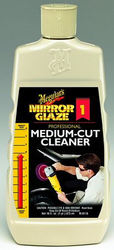
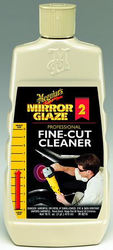
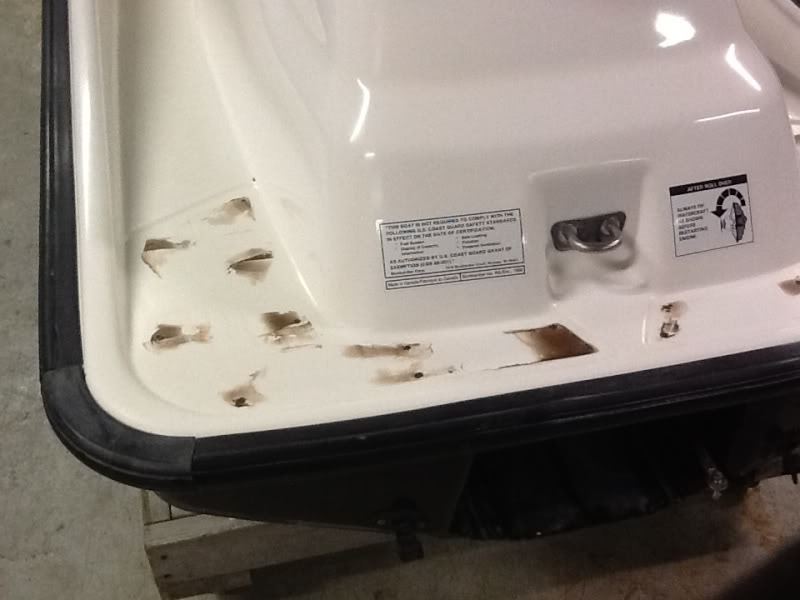
Tonight we used heavy cut and medium cut on the hull
You can see the shine coming back
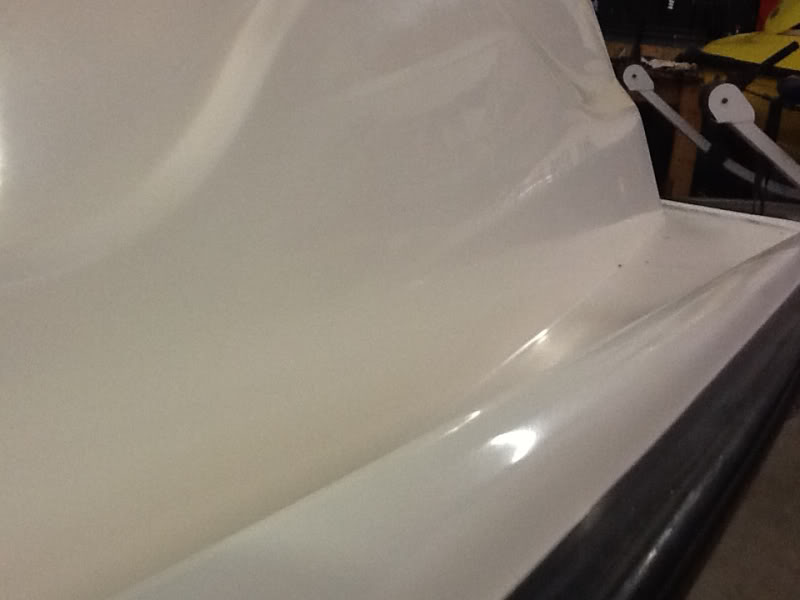
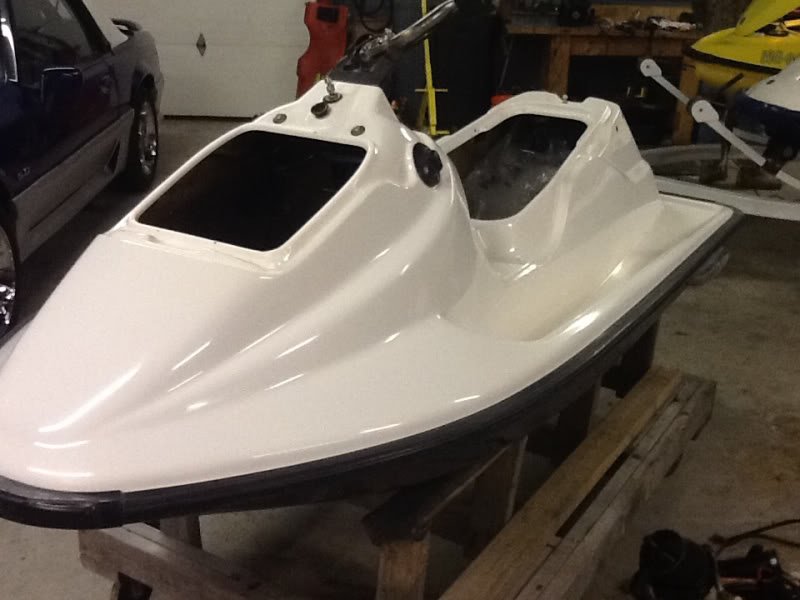
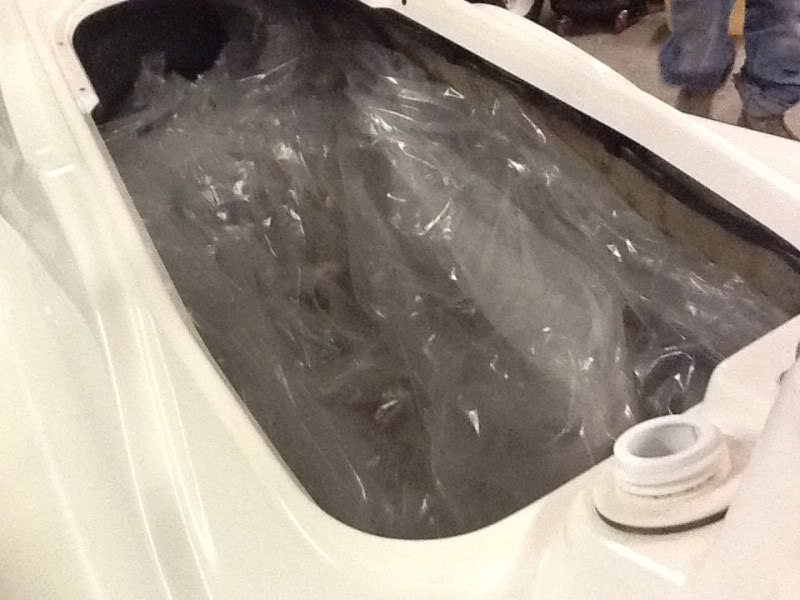
I put plastic inside the hull so that when i am buffing the compound doesnt get all over everything
You could see in the pictures there isnt any shine.
Tonight we used heavy cut and medium cut on the hull
You can see the shine coming back
I put plastic inside the hull so that when i am buffing the compound doesnt get all over everything
Last edited by a moderator:
Jetskigoodies,
What do you mean by this comment - "Tonight we used heavy cut and medium cut on the hull"? What product are you using in this step?
I just wondering if you were able to remove all the yellowing, basically give me hope. I order Meguiar s Heavy Duty Oxidation Remover. And Meguiars mirror glaze fine cut.
Jetskigoodies
Well-Known Member
Were you able to remove all the yellowing?
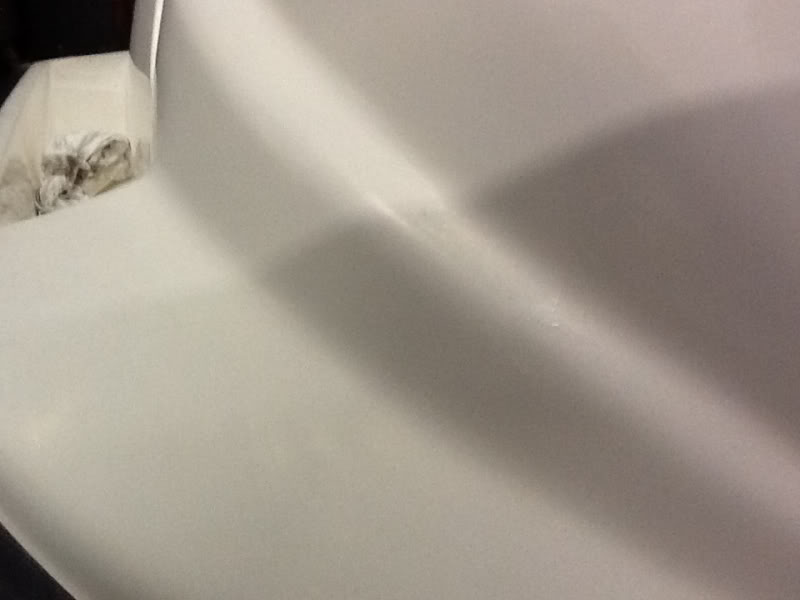
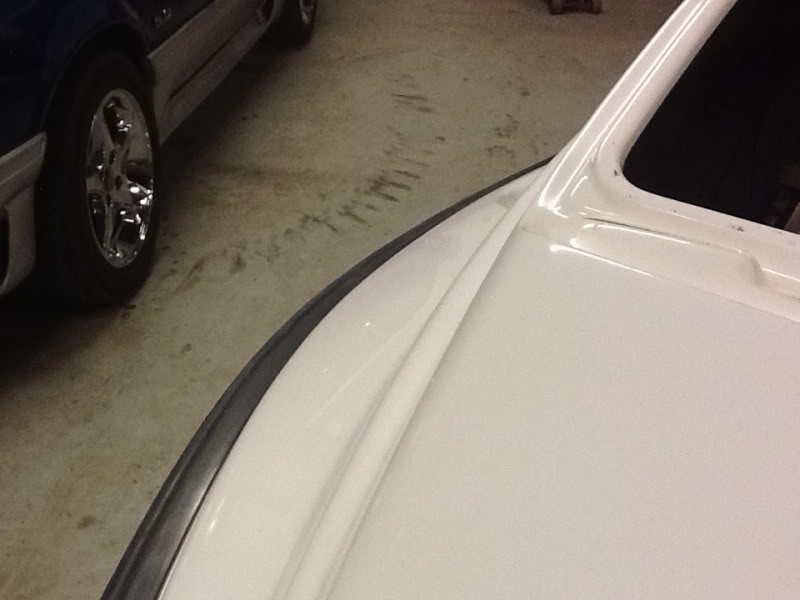
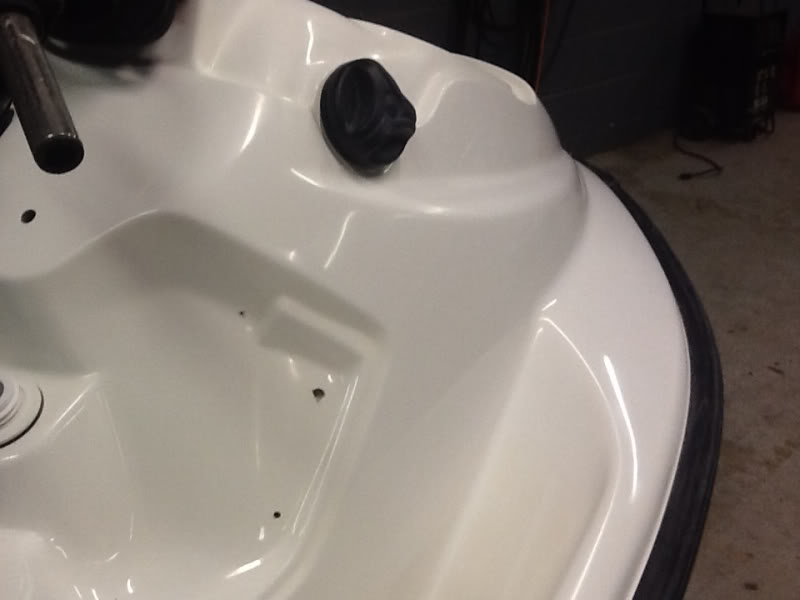
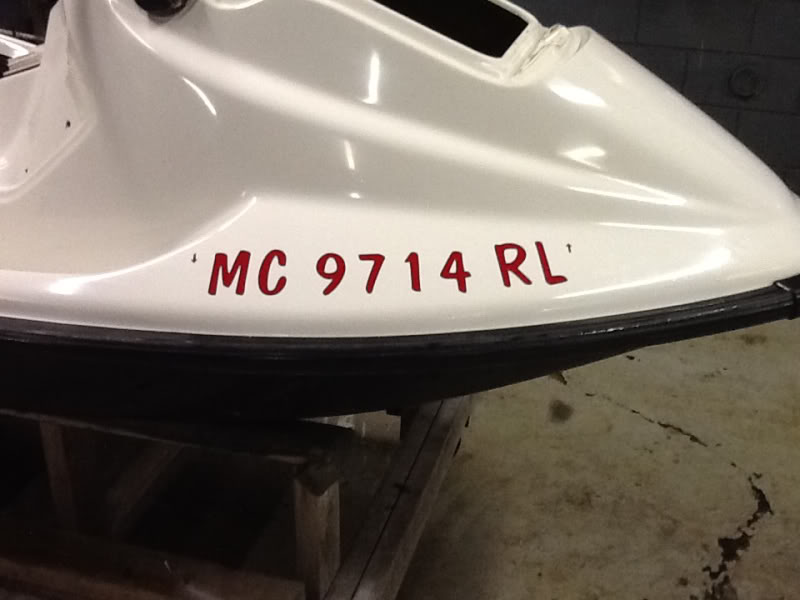
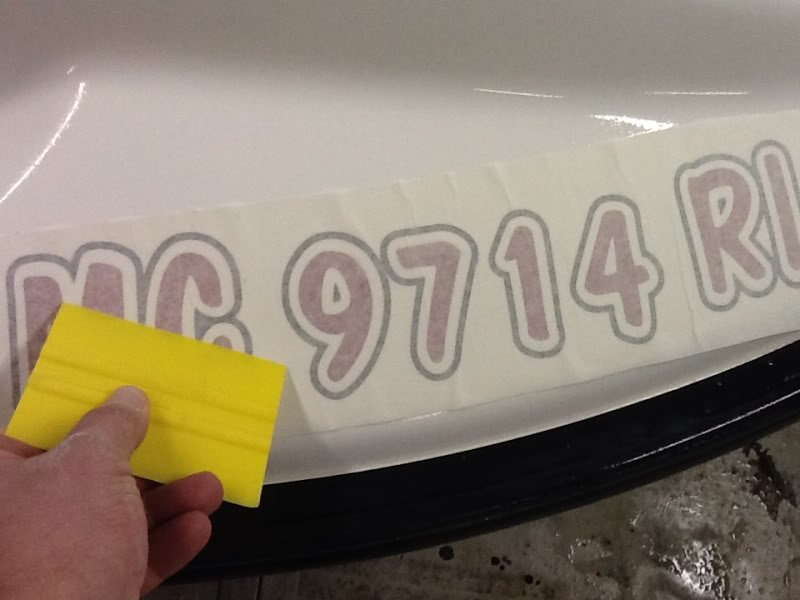
I would say 95% is gone there is still a couple spots where it was hard to sand in circle paterns like around the plastic nut for the bilge pump and a little around the bump rails but you dont see any decals anymore, the pictures pretty much say it all, look how white it is and no more outlines of the old decals.
Jetskigoodies
Well-Known Member
Jetskigoodies,
What do you mean by this comment - "Tonight we used heavy cut and medium cut on the hull"? What product are you using in this step?
I have a thread on how to buff hulls, check that out for the complete steps and process I use

Jetskigoodies
Well-Known Member
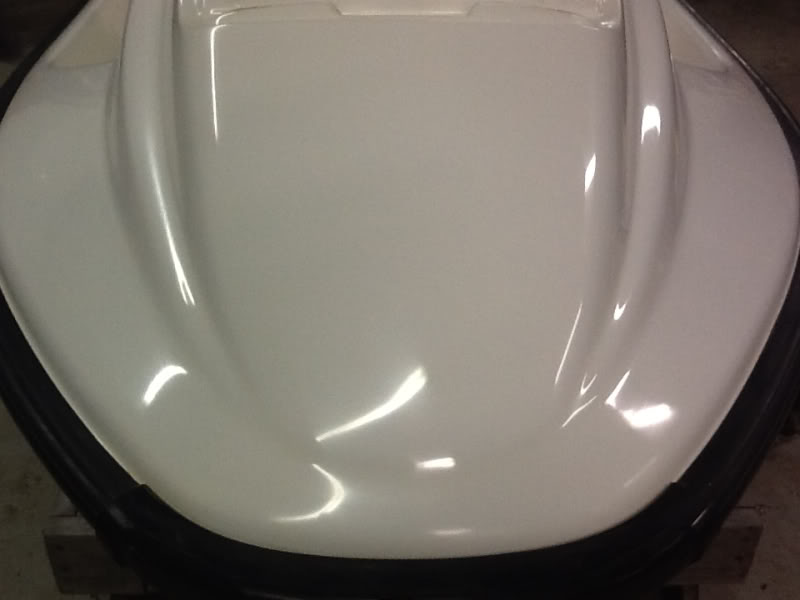
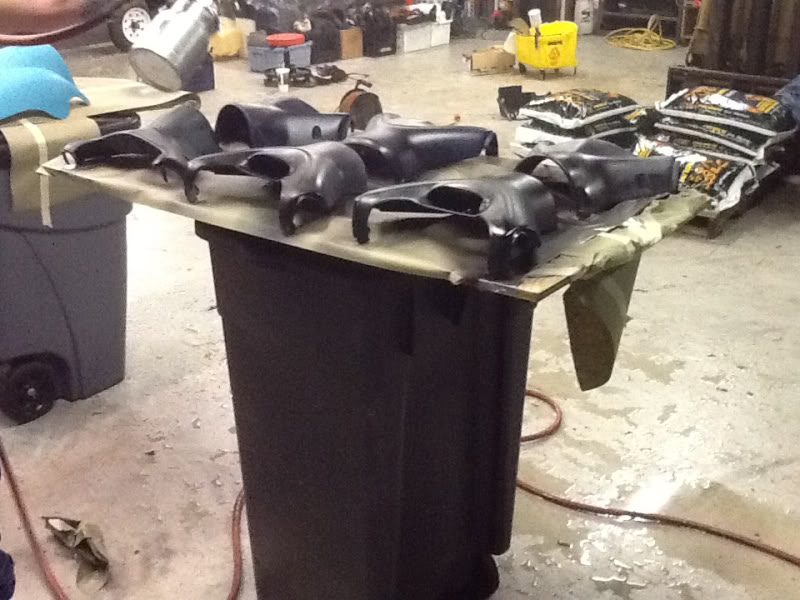
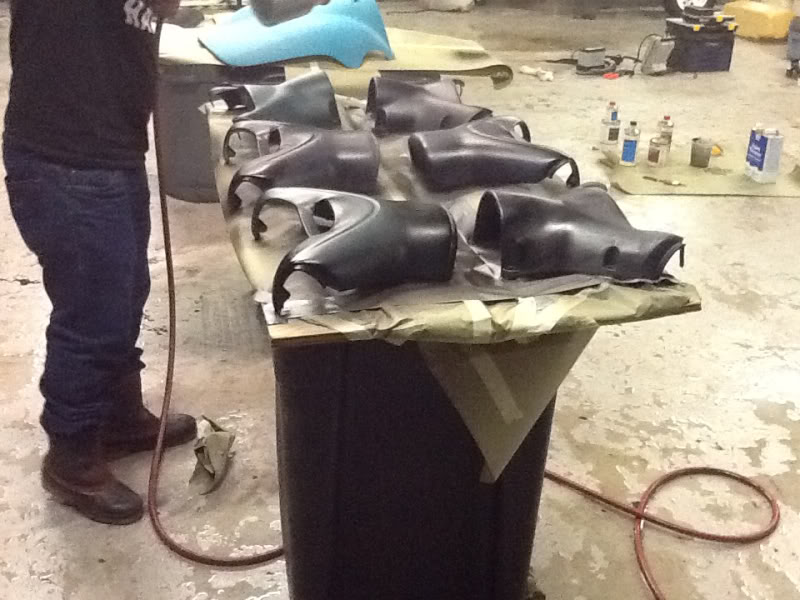
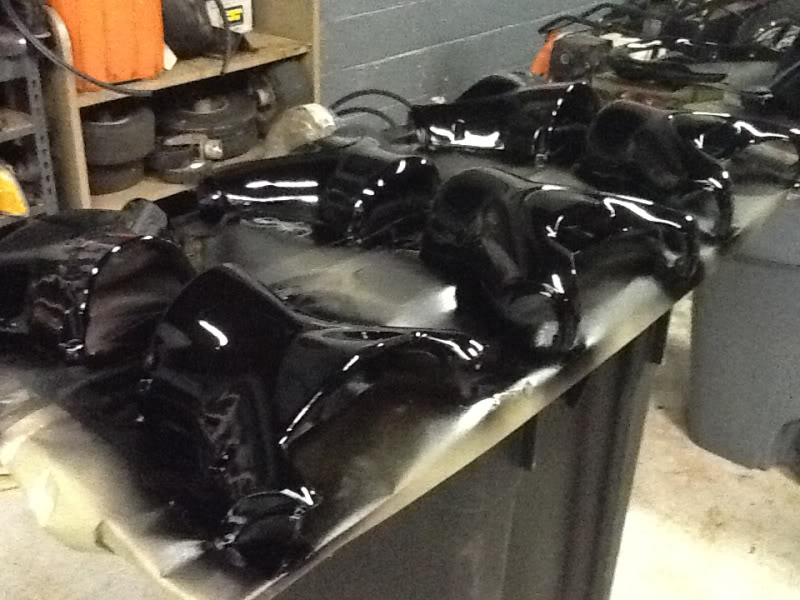
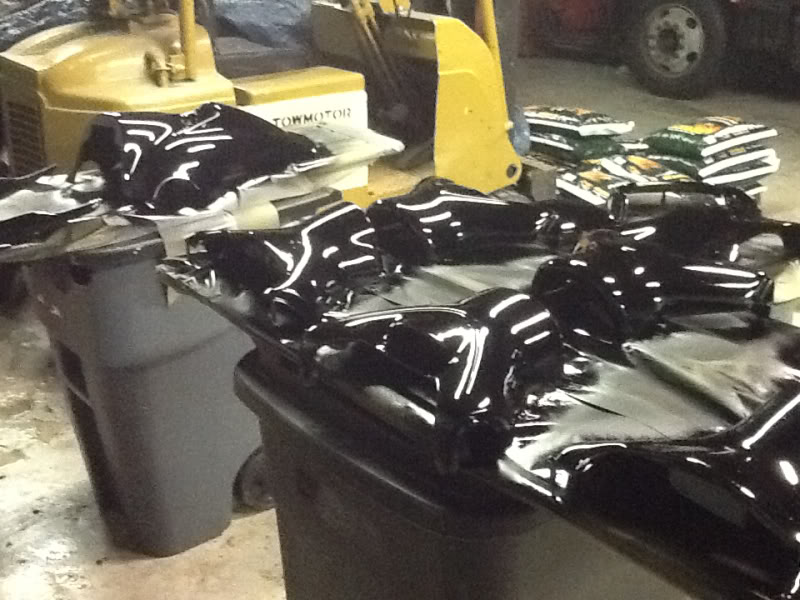
Today we painted some parts, the single gauge hood and one of the handlebar pads are for thie 98 spx,
First I fill in the holes for the dess post and the choke
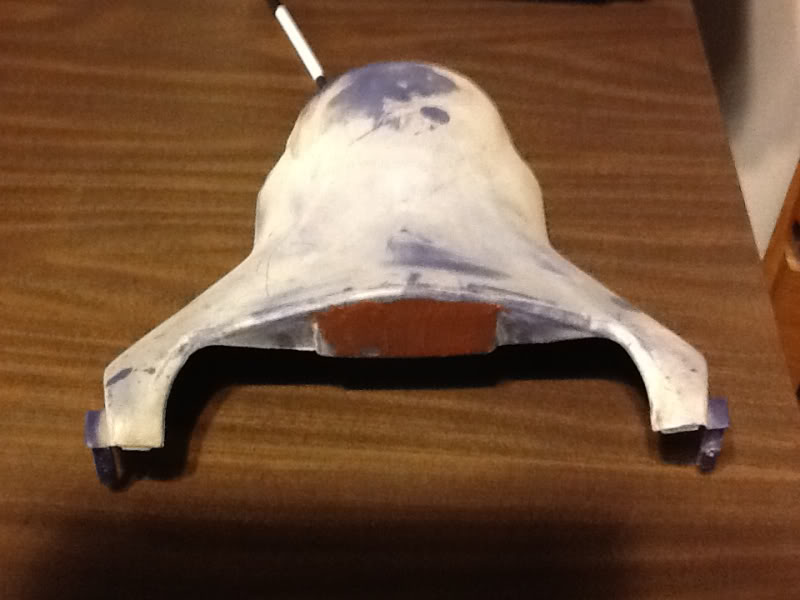
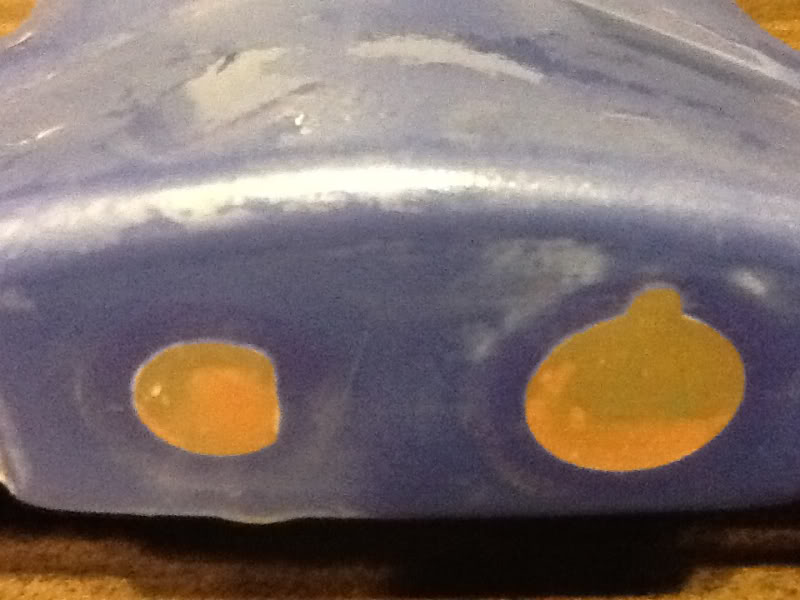
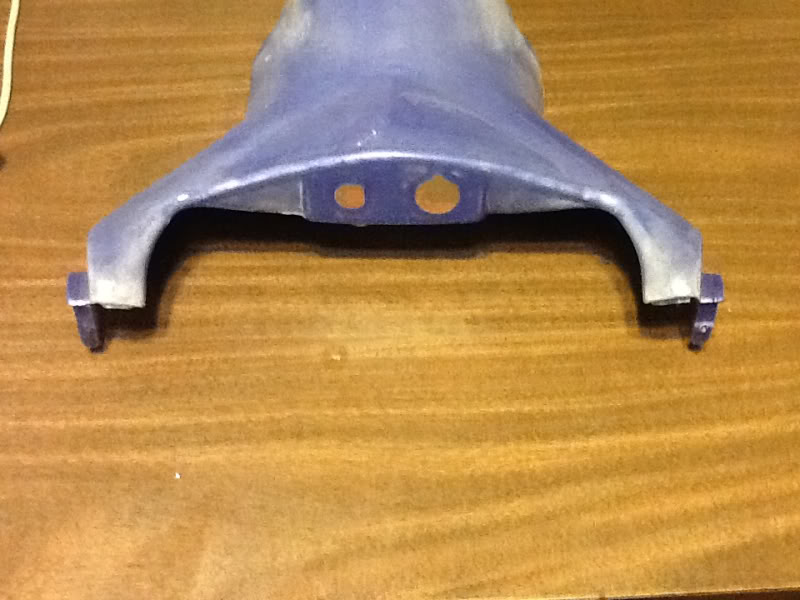
Then the entire thing was wetsanded. Then wiped with acetone.
Before
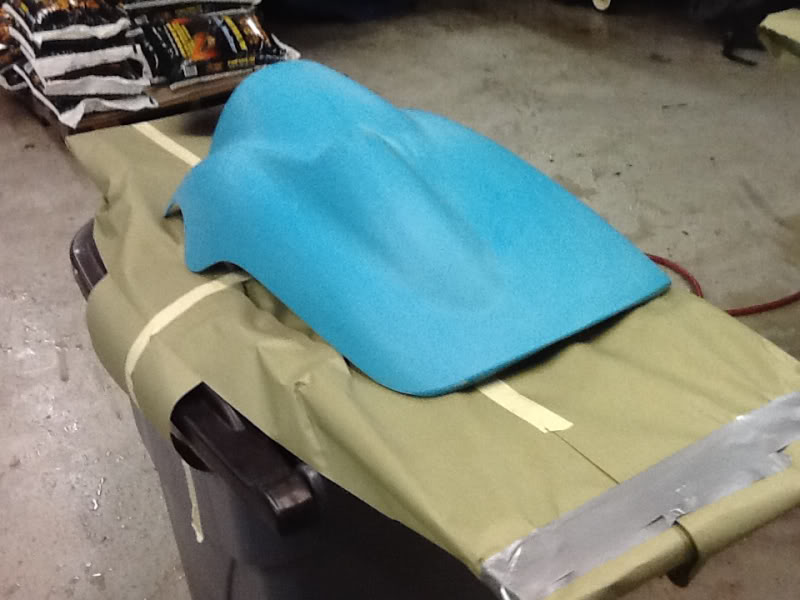
During

After
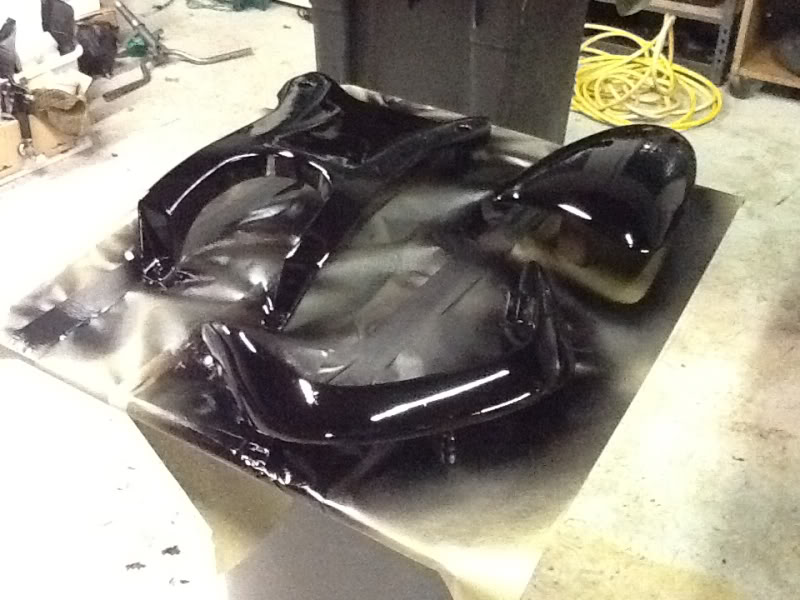
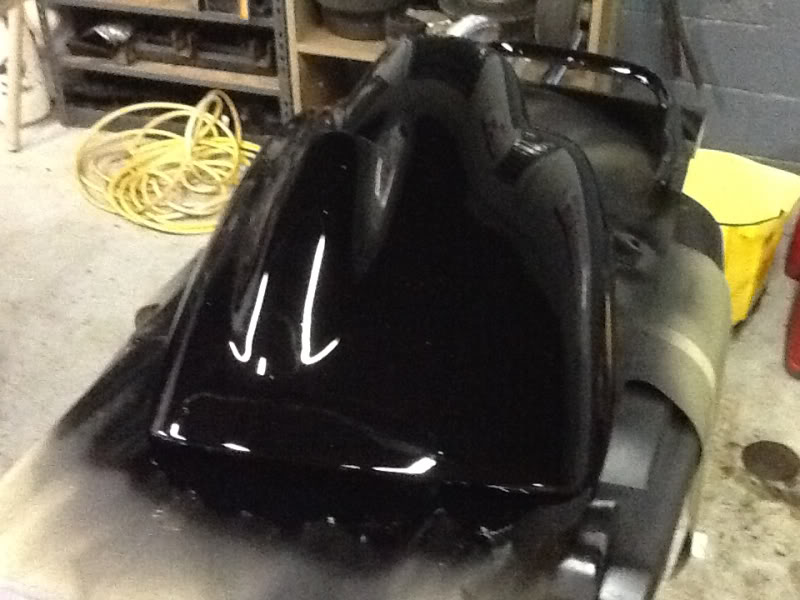
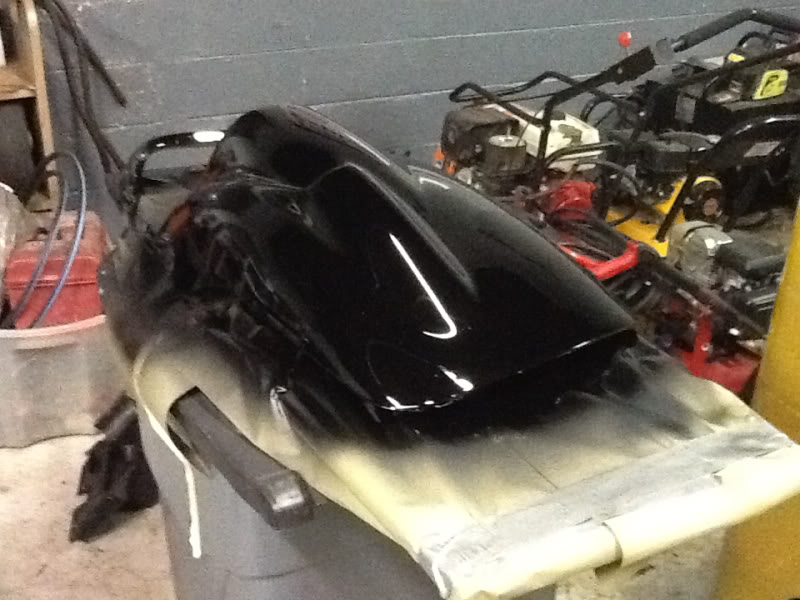

They will need to cure, then i will sand any imperfections then buff
First I fill in the holes for the dess post and the choke
Then the entire thing was wetsanded. Then wiped with acetone.
Before
During
After
They will need to cure, then i will sand any imperfections then buff
Last edited by a moderator:
Jetskigoodies
Well-Known Member
Ppg base coat, clear coat. Everything that is needed is about $300 to intially buy. Paint, reducer....clear coat, hardener, reducer, adhesion promoter. It will do alot though, probably 5-6 hoods, and a bunch of other stuff. last night we did 8 pieces and we still have alot left and we already have painted a few hoods with it. If you are going to just do one hood go to a automotive paint store and have them mix the paint into a rattle can, What we use here will be different than what you would use, I had to heat the warehouse to 60 degrees so the paint will cure correctly, the hardeners are based on temp,and humidity. So yours will be different then mine, you have to buy the hardener that goes with your conditions. When I say rattle, i dont mean krylon, they will mix the same quality paint that we use into a can, $15-$20 a can. There are youtube videos on how to do it. The key to painting is the prep work, lots of sanding
Last edited by a moderator:
Spimothy Leary
Well-Known Member
coming along nicely !!!
Jetskigoodies
Well-Known Member
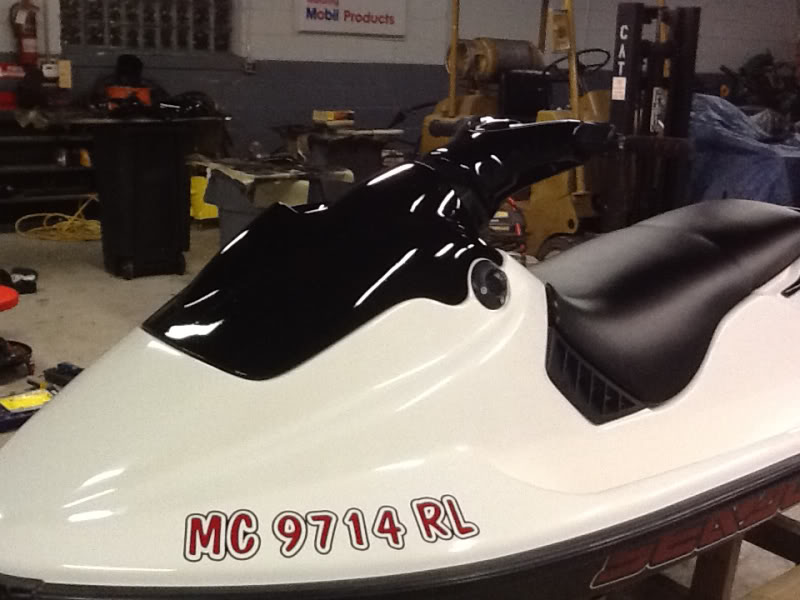
I was going to hold off on putting up pictures of the colors im using until the mats came in, but its been 8 days since i have ordered them and I havent got a tracking number yet, and ive been dying to get some more pics up.

Once everything is assembled with the hood, handlebar pad and mats, I think this will look great.
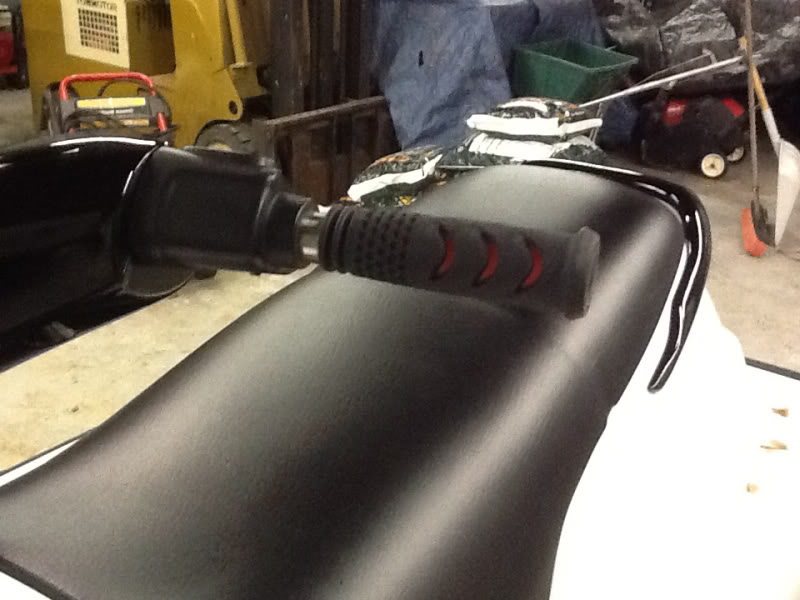
Here are the grips that are going on it
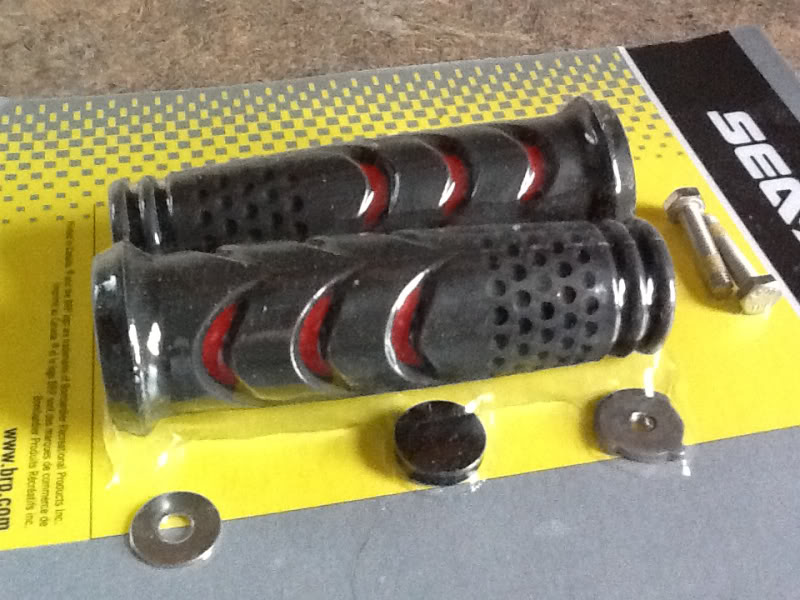
Once everything is assembled with the hood, handlebar pad and mats, I think this will look great.
Here are the grips that are going on it
Last edited by a moderator:
Getemkustom
Active Member
The painted parts look good.. Ever try Bulldog before you prime / paint? Great adhesion promoter, and lets the parts flex without paint cracking.
Last edited by a moderator:
Jetskigoodies
Well-Known Member
The painted parts look good.. Ever try Bulldog before you prime / paint? Great adhesion promoter, and lets the parts flex without paint cracking.
Nope, we use ppg Plastic Adhesion Promoter
SX1050
Or
Dpx801
Its used for bumpers or other plastics that flex. We just use ppg because we are familiar with it
Last edited by a moderator:
Getemkustom
Active Member
Interesting - last time I used Dpx801 we got alot fisheye looking results, thought it was the part, tried in on other item and got the same result. To cut down the cost a bit were using Omni - Its PPG's generic line up , pretty good stuff.
Jetskigoodies
Well-Known Member
So this is what you use? We will have to try it out, if it cuts cost may as well try.
Omni
Plastic Primer
MP178
Omni
Plastic Primer
MP178
Spimothy Leary
Well-Known Member
The painted parts look good.. Ever try Bulldog before you prime / paint? Great adhesion promoter, and lets the parts flex without paint cracking.
bulldog is a good product ! I used it a couple of times with good results, but the others are probably much the same product with a different label.
Jetskigoodies
Well-Known Member
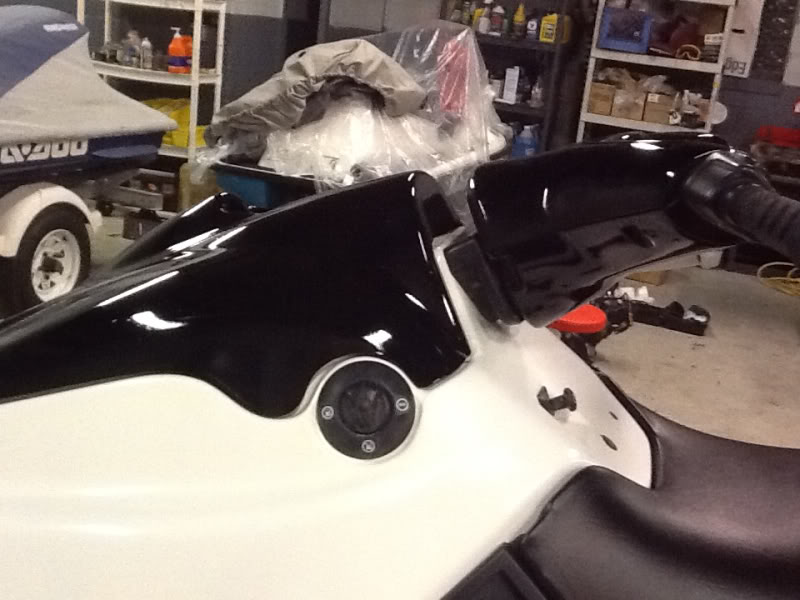
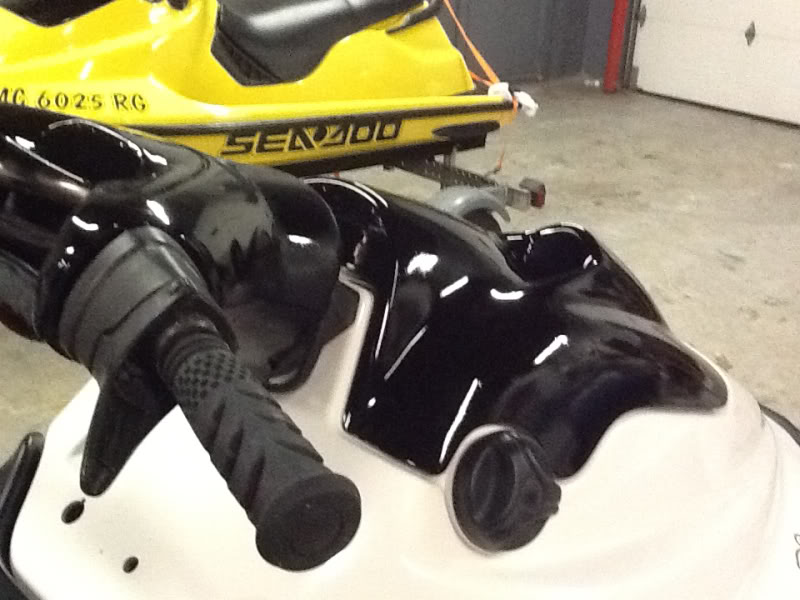
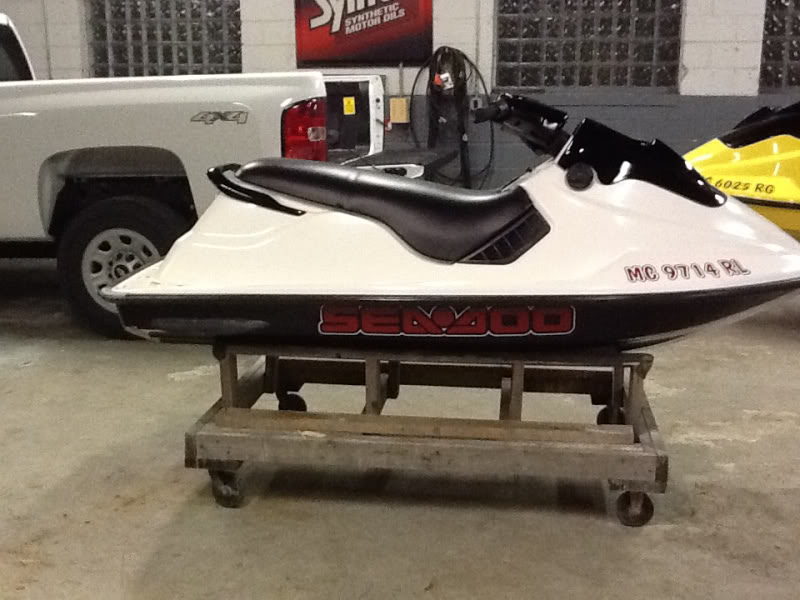
Tonight we filled in the holes with bondoglass,
We put on the rear grab bar, you can also see in these pictures how well the seat was wrapped, there isnt any creases or folds on the back, alot of people leave little creases that show on the back.
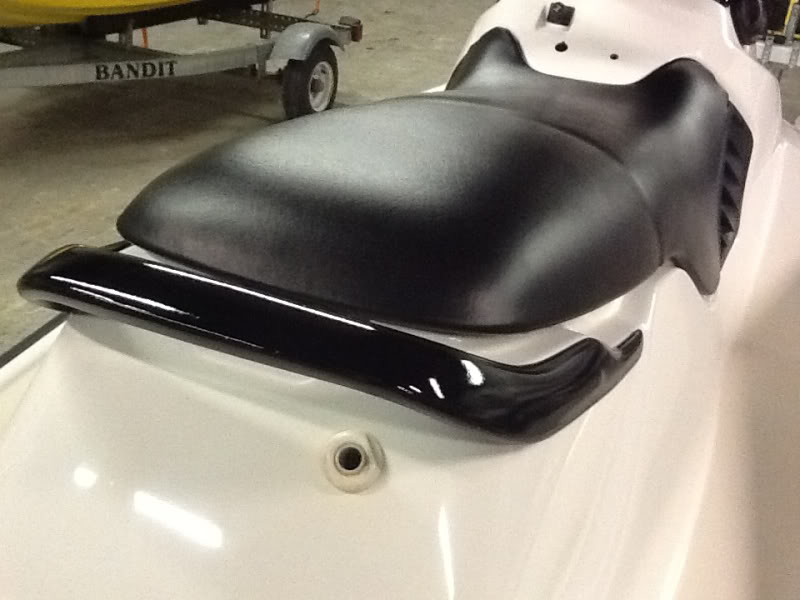
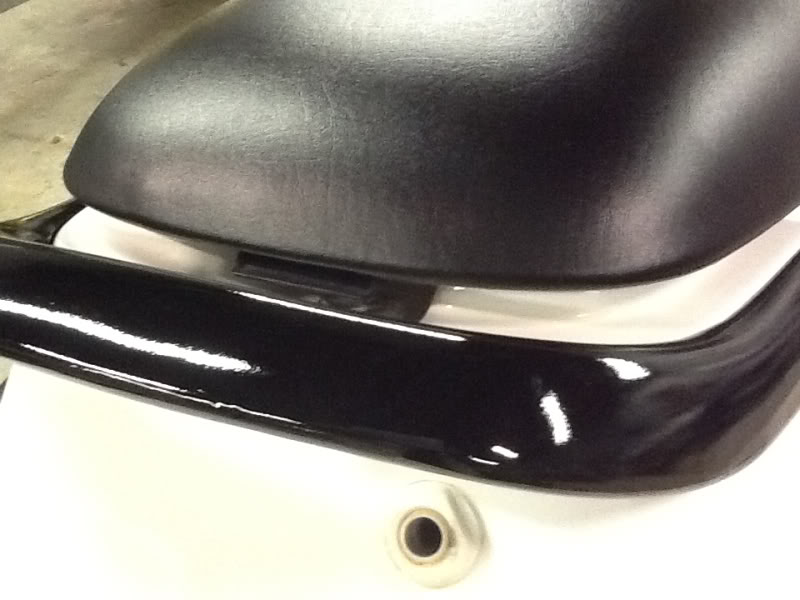
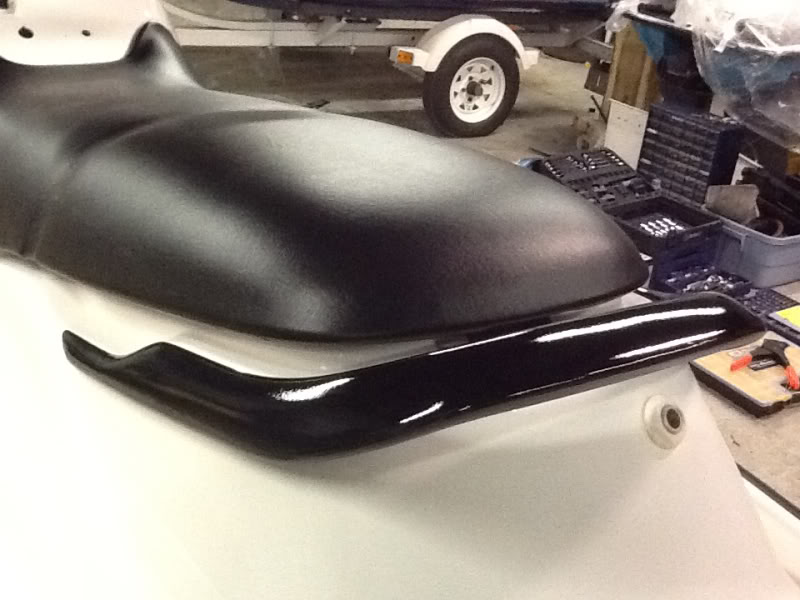
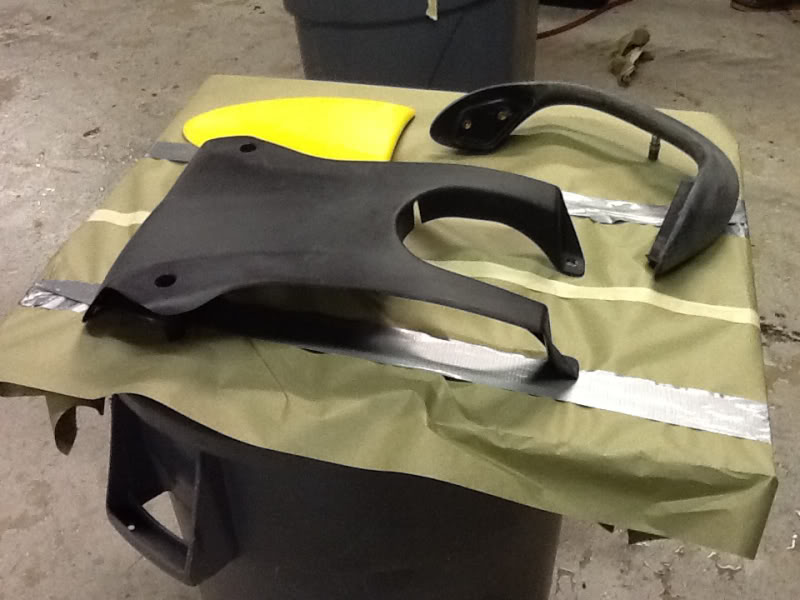
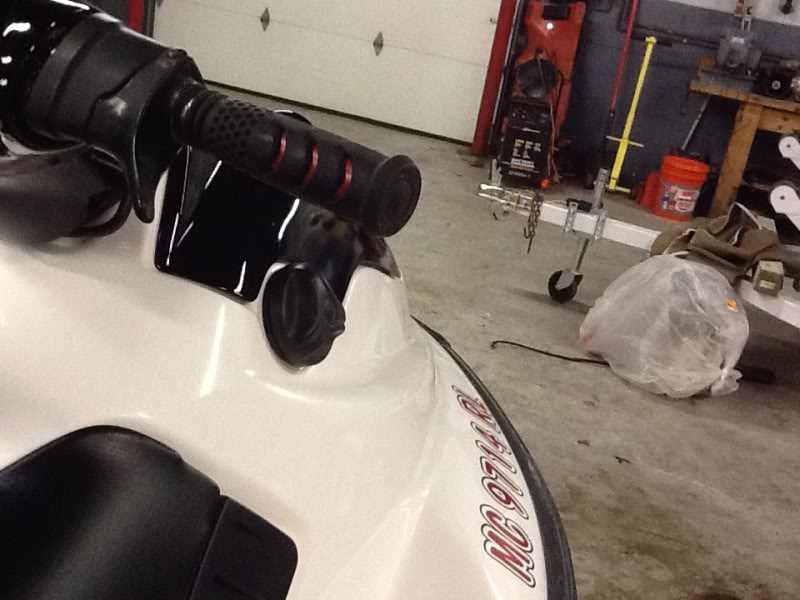
Then we placed the hood and handlebar pad cover, and grips on just to see how it will look. They are not bolted in place yet we still have to wrap a pad in red material, and my buddy is making more brackets.


We put on the rear grab bar, you can also see in these pictures how well the seat was wrapped, there isnt any creases or folds on the back, alot of people leave little creases that show on the back.
Then we placed the hood and handlebar pad cover, and grips on just to see how it will look. They are not bolted in place yet we still have to wrap a pad in red material, and my buddy is making more brackets.
manolocross
Well-Known Member
Some red in the mats would make that thing look incredible!! Damn it looks good!!! I'm jealous...") .
.
.Jetskigoodies
Well-Known Member
Way ahead of you.
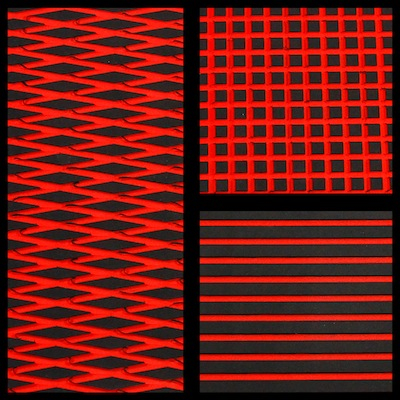
We ordered 2 toned mats, black on red cut groove. We ordered them over a week ago.
We ordered 2 toned mats, black on red cut groove. We ordered them over a week ago.
Last edited by a moderator:
- Status
- Not open for further replies.
Similar threads
- Replies
- 7
- Views
- 334
- Replies
- 11
- Views
- 607
- Replies
- 46
- Views
- 1,997
- Replies
- 1
- Views
- 524
- Locked
- Replies
- 0
- Views
- 451
Share: