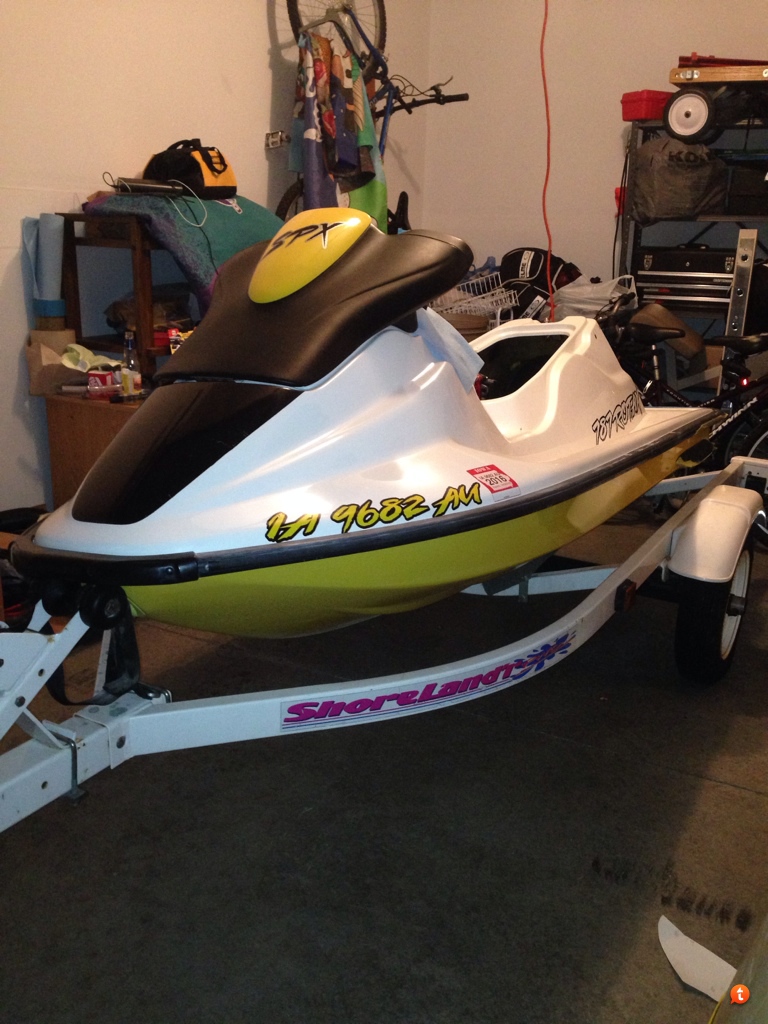
If you (or anyone for that matter) need more Westside decals I just got a bunch made up. Just send me a pm!
Sent from my HTC6525LVW using Tapatalk
Sent from my HTC6525LVW using Tapatalk


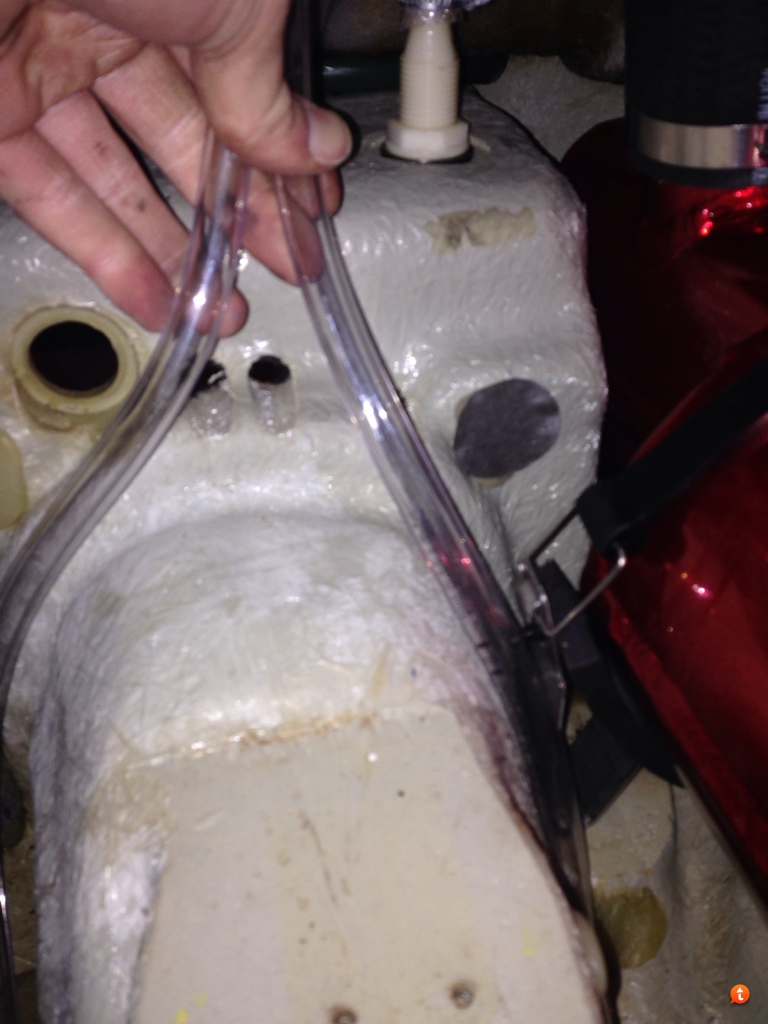
Question for you guys, why is it that seadoo mounts their bailer lines all the way at the top then run them down again, could I just shorten the lines and hook them right to the pump inputs?
Sent from Cody's iPhone


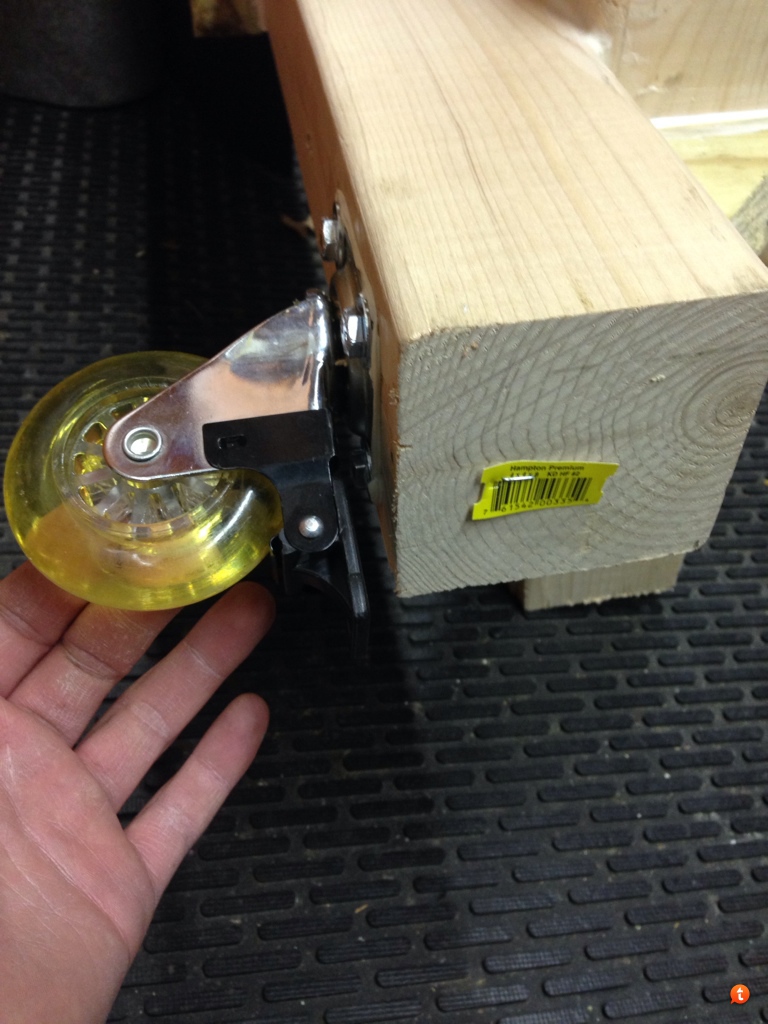
I'm not too terribly tall nick but ya maybe some bigger casters would do her good..
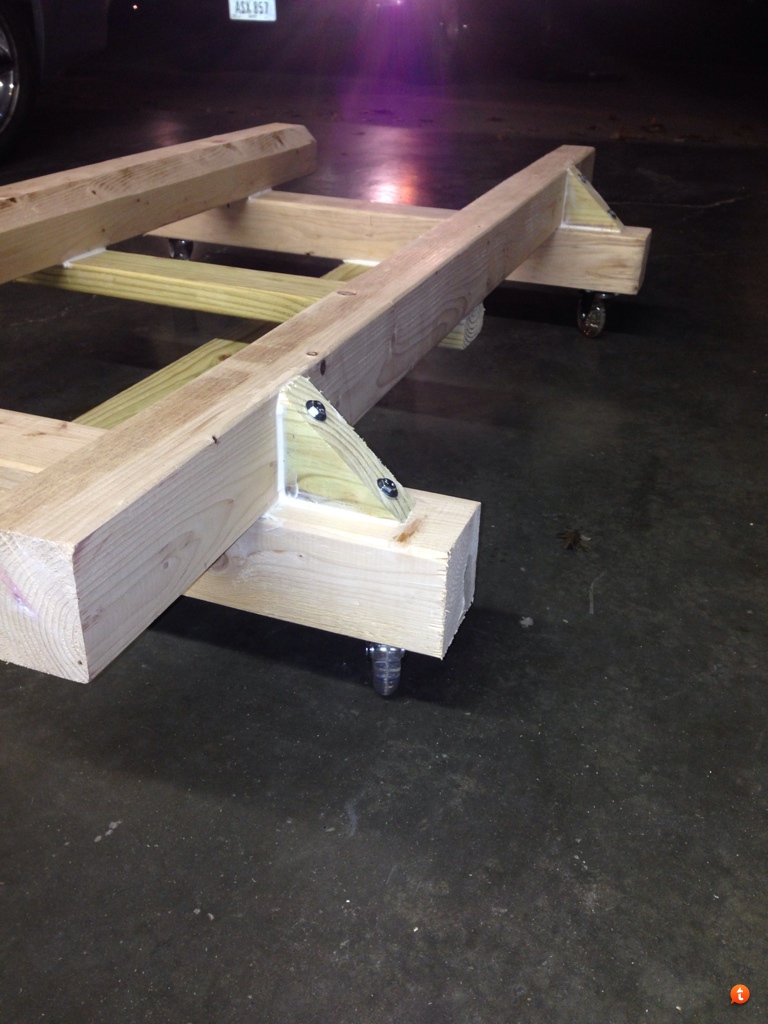
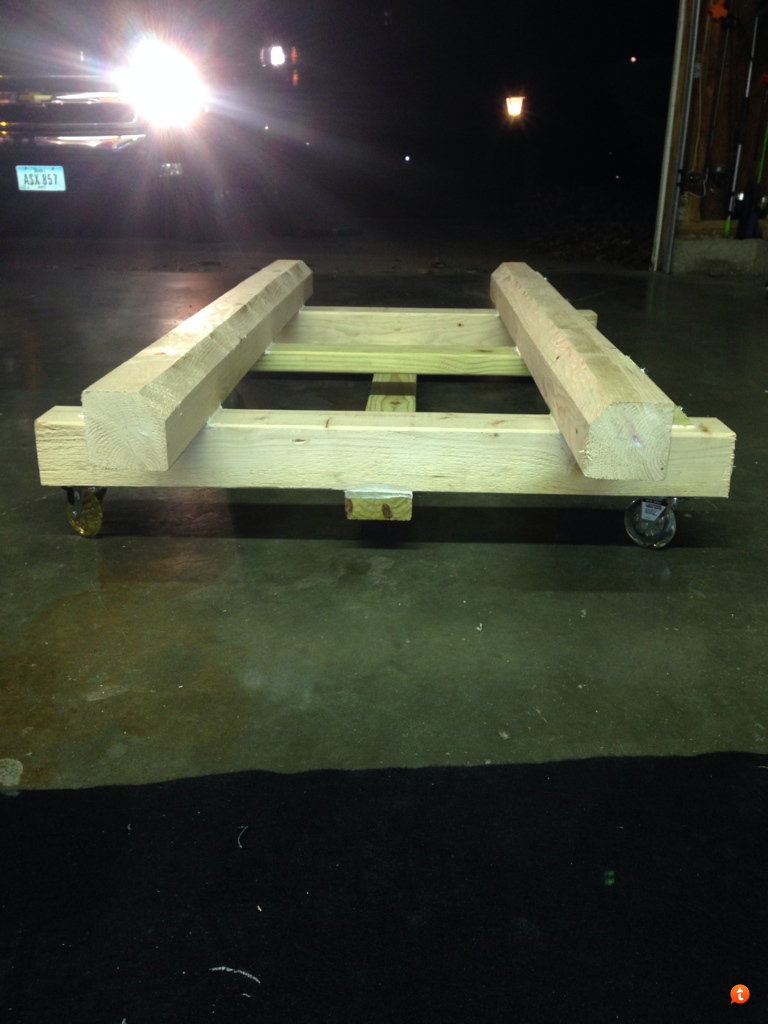
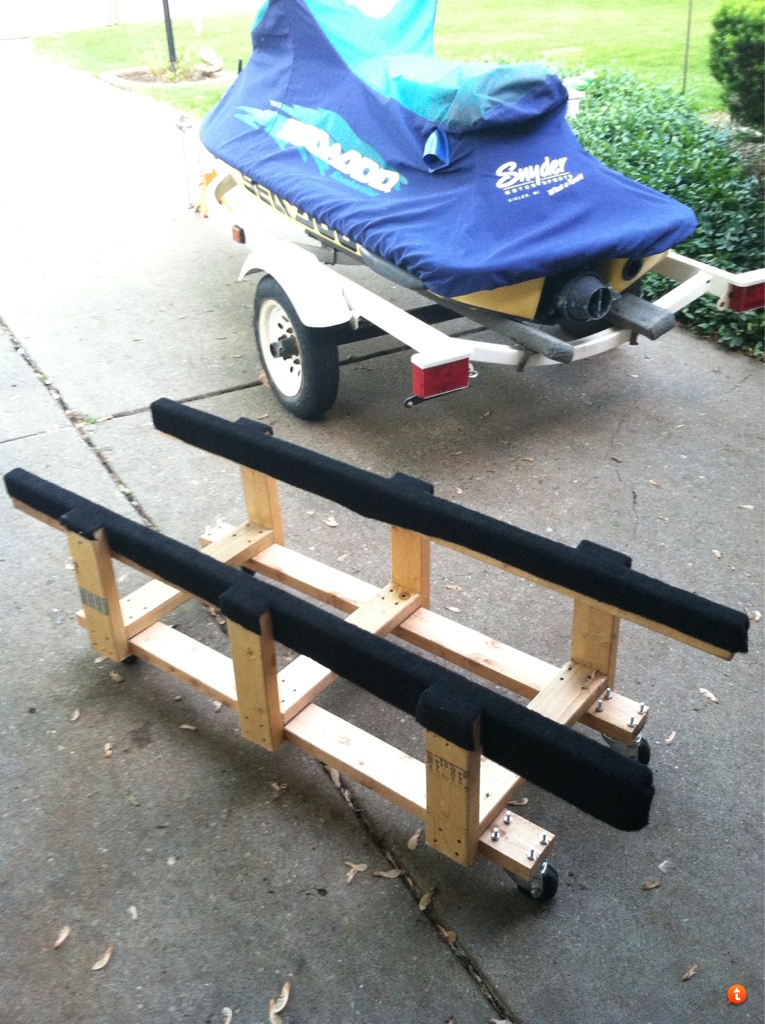
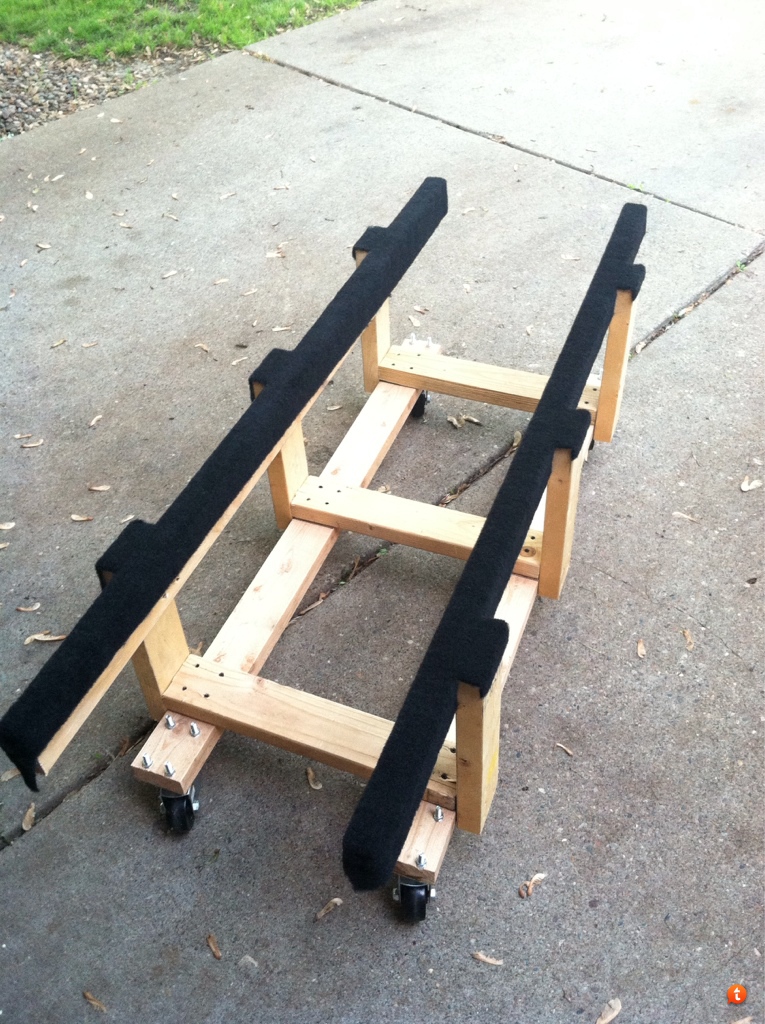
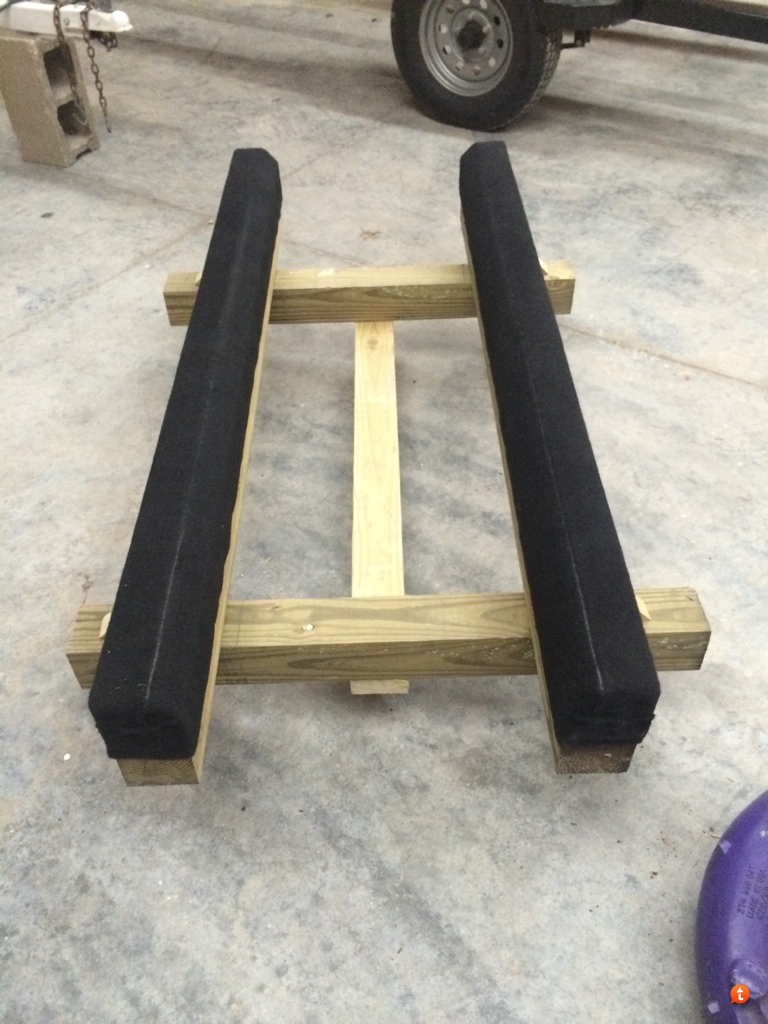
Here's my other one I threw together last year, this ones higher and the nice thing is I made it exactly the same height as my trailer bunks for easy unloading and loading:
(Pics are before I put the 2 cross braces in the middle)
Sent from Cody's iPhone
")