Jetskigoodies
Well-Known Member
Read my thread on buffing. It has all the steps on buffing and either my 98 or 99 spx thread has the steps for wetsanding


 LOLOL
LOLOL...snip
I also asked him if he had a file saved for the decal that goes around the dess post, choke plate (located in front of the seat and underneath the handlebars). Waiting to hear back on that. If he doesn't have that hopefully somebody can steer me in the right direction to get that piece purchased or made.
snip...
Now that everything is back in my hands, putting it all back together shouldnt take too long. There are a few miscellaneous things I still need to get but nothing that should hold me up.
I need to have the head milled by group k, and get the right gaskets for correct squish. I have proks ready to throw on, So that means i will need a jet kit as well. Lastly, to compliment the flame arrestors, jet kit, and shaved head i have a skat trak 17/22 impeller. This should yield me a pretty reliable machine im thinking.
Questions, comments, concerns all welcome :thumbsup:
")
Krispy I was the guy that brought your dash decal thread back from the dead remember? Lol, I made one last week after you sent me the template and it turned out great!
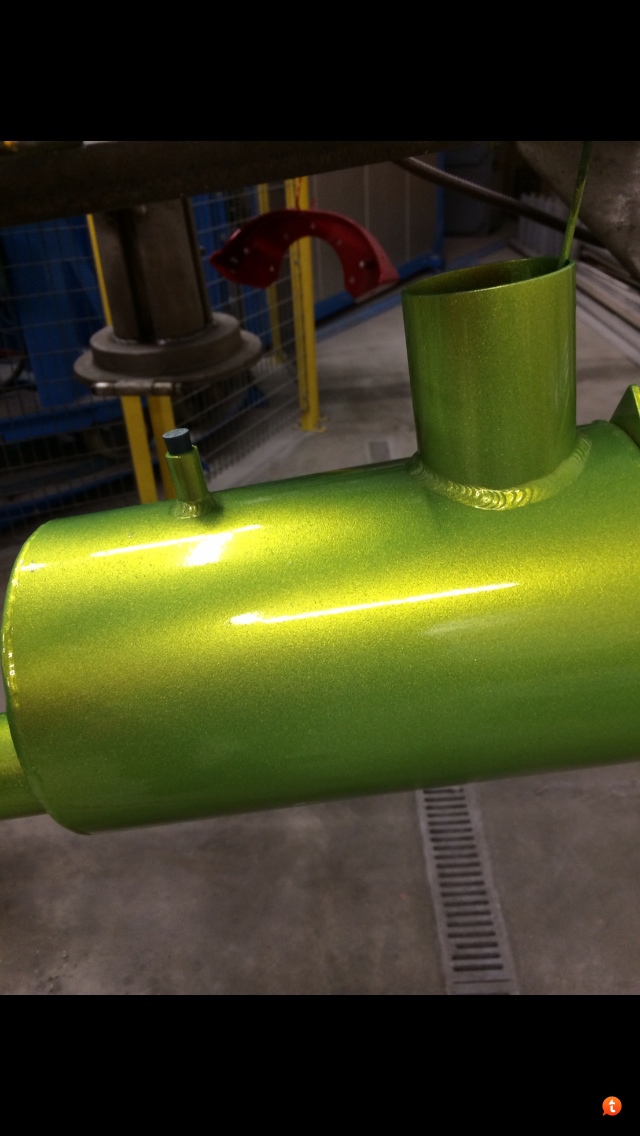
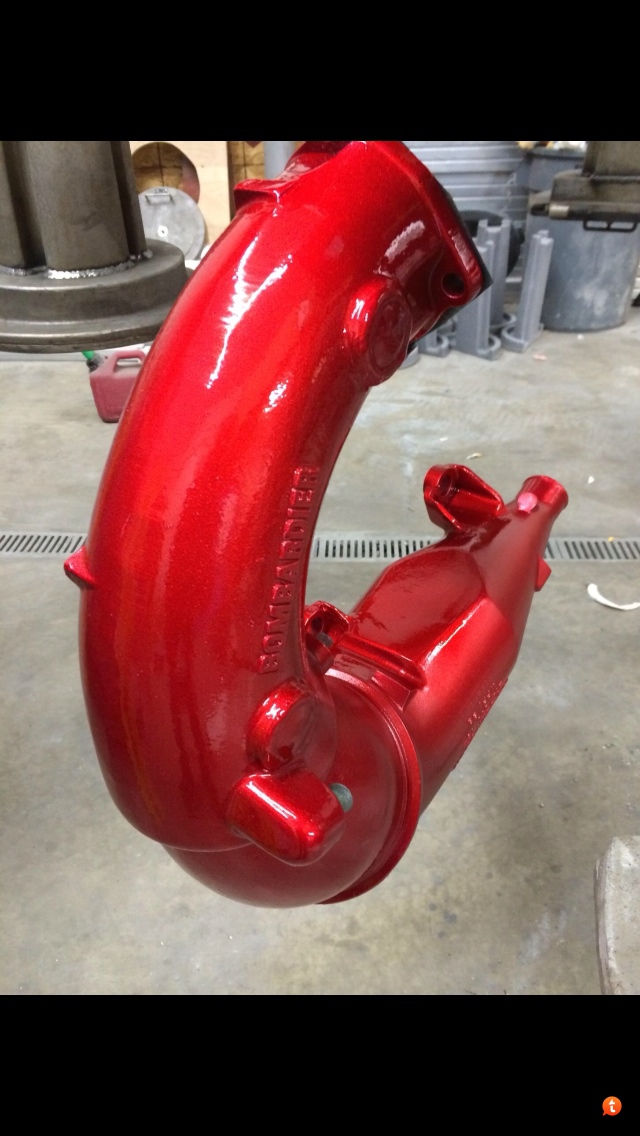
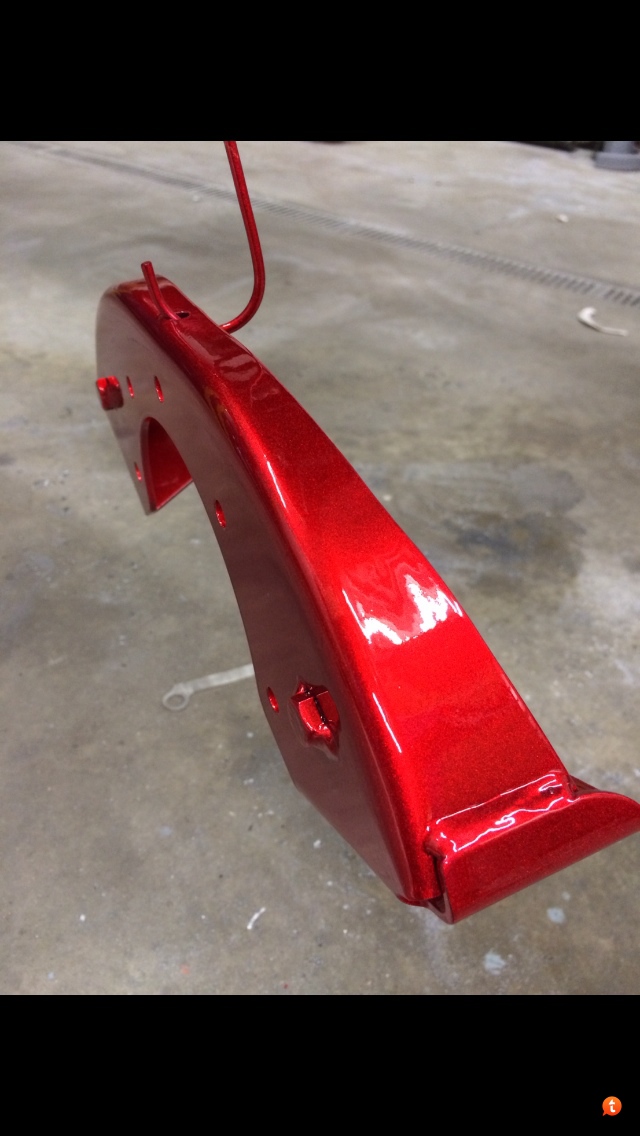
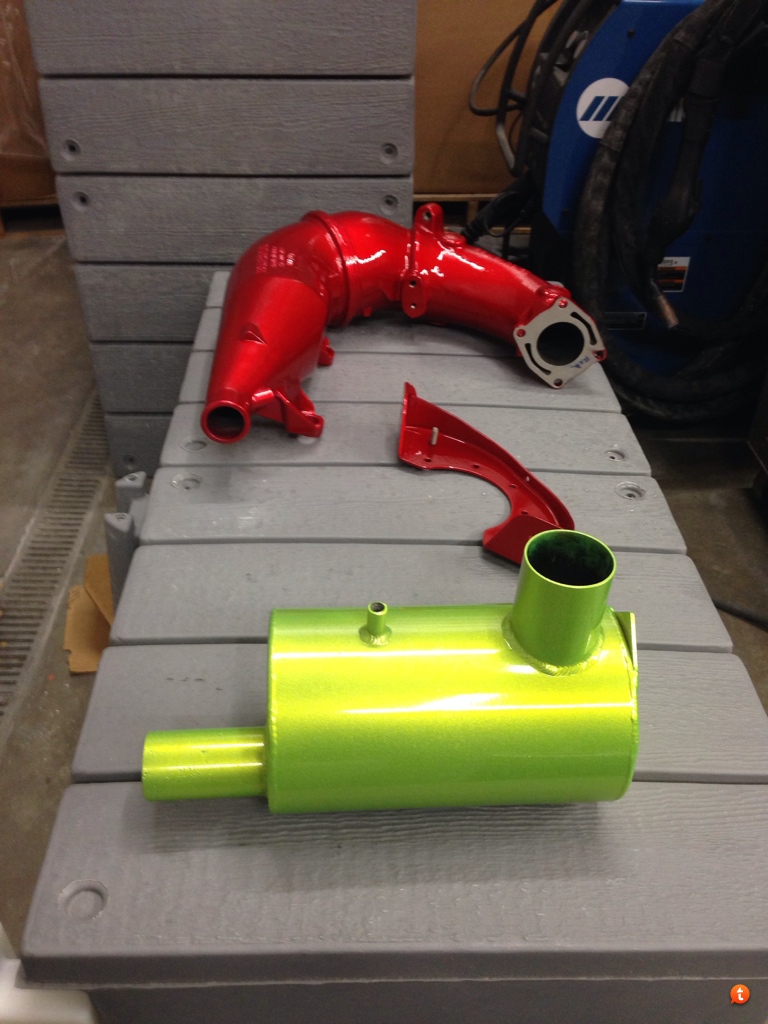
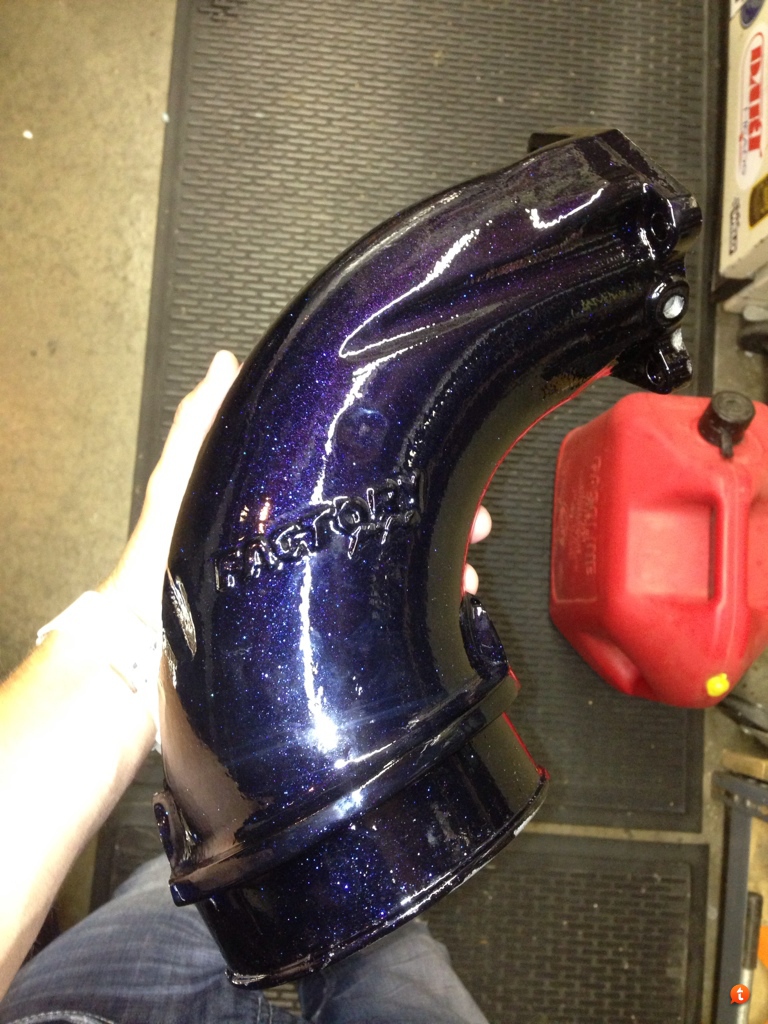
The powder coat did turn out great, my buddy never disappoints.
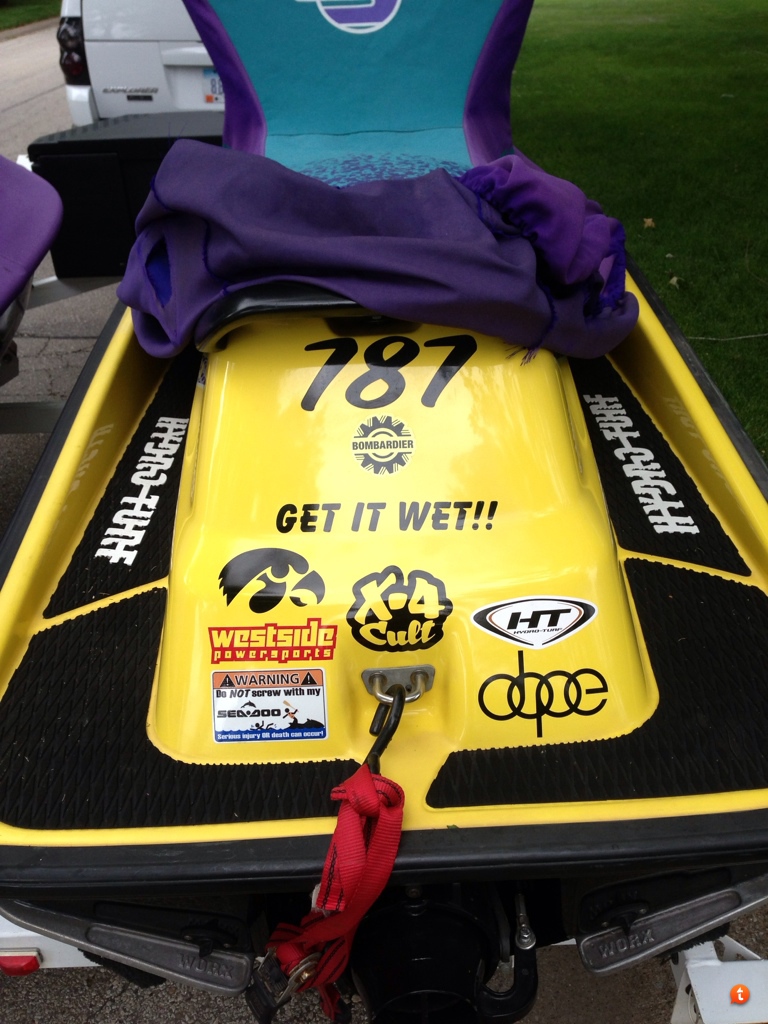
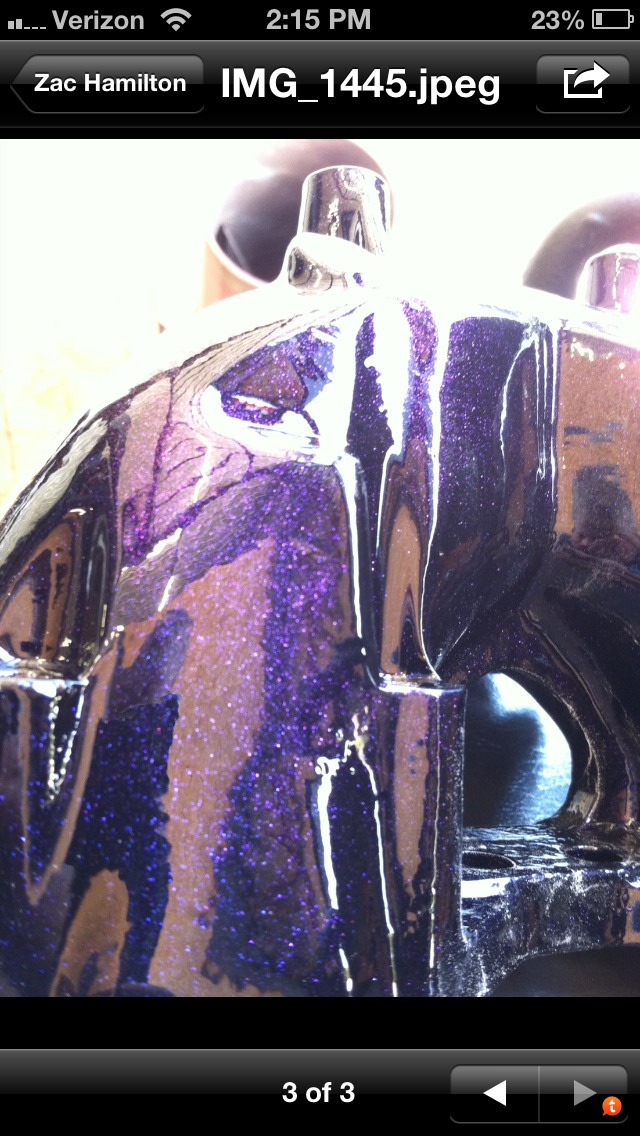
The color on the Tdr box is called shocker yellow (which does appear greenish) and yes the picture doesn't even do it justice, I couldn't pick up the crazy sparkle or depth of it from my crappy iPhone camera. It's gonna look unreal matched with my purple spec 2
Sent from Cody's iPhone