


-
This site contains eBay affiliate links for which Sea-Doo Forum may be compensated.
You are using an out of date browser. It may not display this or other websites correctly.
You should upgrade or use an alternative browser.
You should upgrade or use an alternative browser.
RESTO 96 GTX Project Shamu
- Thread starter soccerdad
- Start date
- Status
- Not open for further replies.
Late to the party...but at some point in time Seadoo rebuilt starters and painted them black. You can tell by the ND on the bendix and you can see the ND decal painted over.
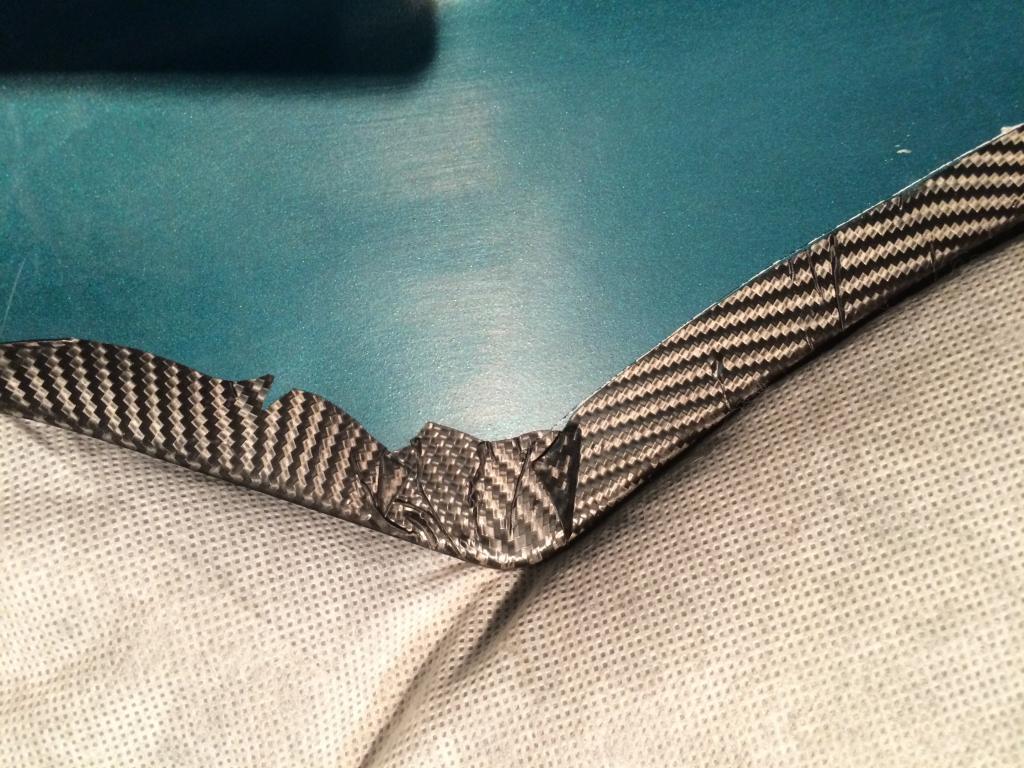
Cool, I'm not trying to get you to show the nasty, lol but it's a bitch. I use clear nail polish to seal the cf wrap on my HX rear cover but there were a few wrinkles that wouldn't seal totally and they haven't gotten any worse. And that cover sees a lot of water. But post pics if you don't mind.
Sent from my SGH-T889 using Tapatalk
Sent from my SGH-T889 using Tapatalk
soccerdad
Well-Known Member
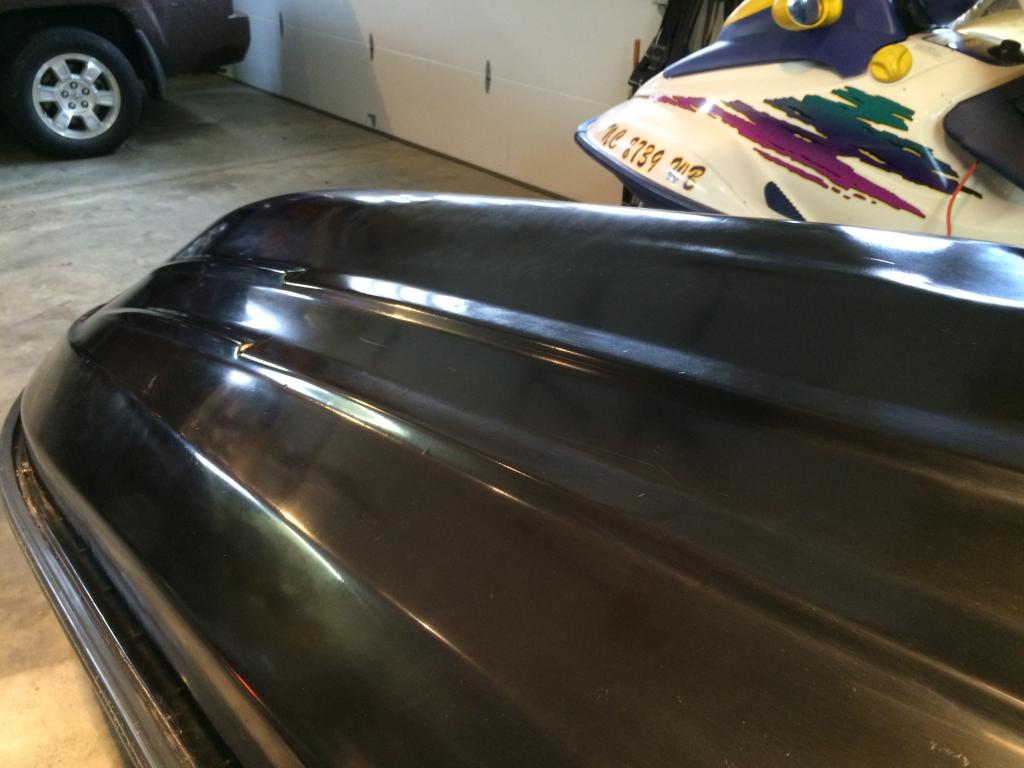
Well here is the hood with its pants down! These are the worst areas. I really did not try to keep the wrinkles out in the inside. But I did post heat them a bunch and rolled them with my roller. They are hard and mostly tight to the flange. The straight edges are all pretty much flat.
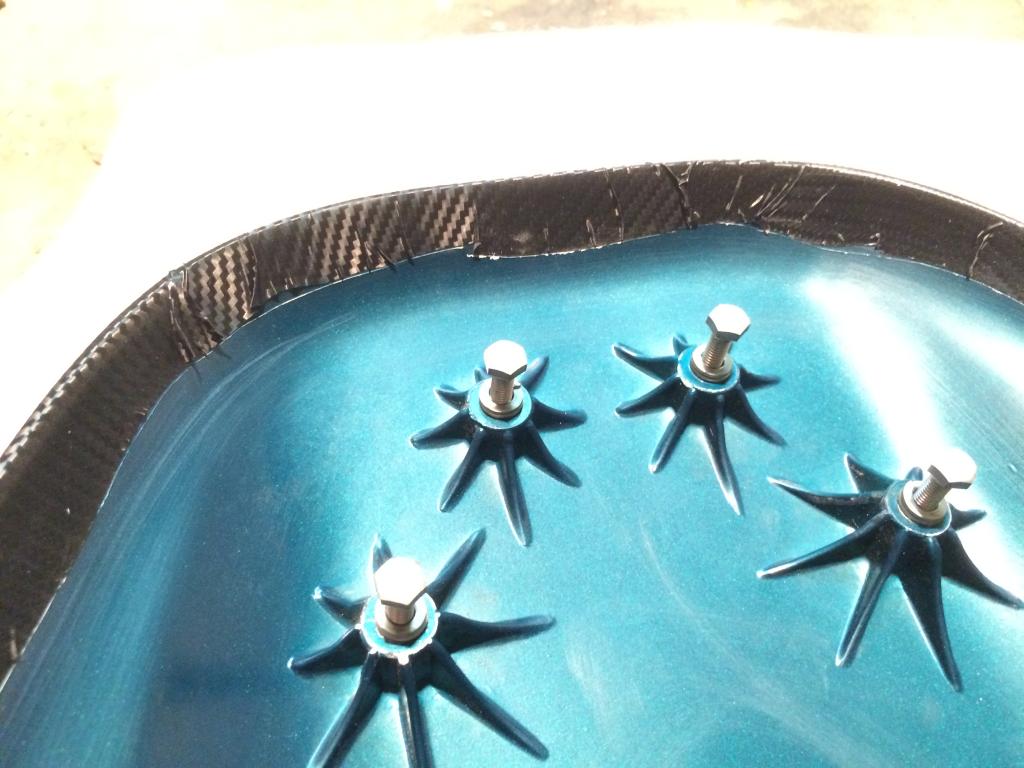
I did cut this too close to the edge, but I am hoping that the insert grill will keep it in place.
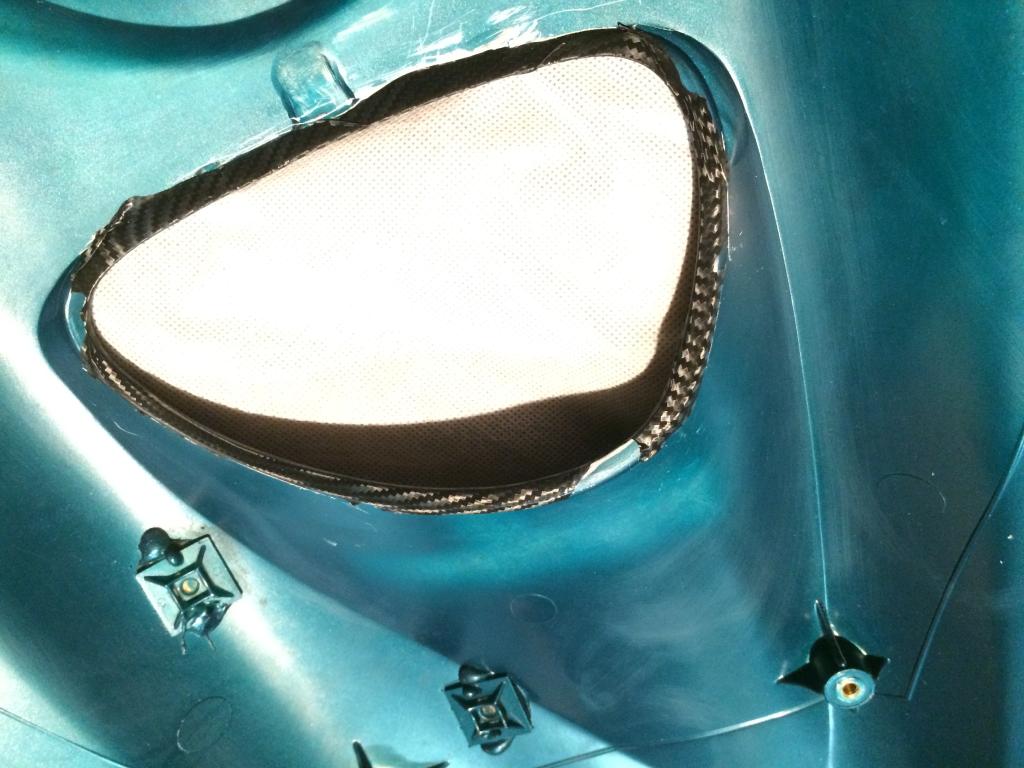

I did cut this too close to the edge, but I am hoping that the insert grill will keep it in place.


soccerdad
Well-Known Member
OK, a huge amount of labor, and some good stuff to show for it. First, a picture of my favorite tool in the garage!
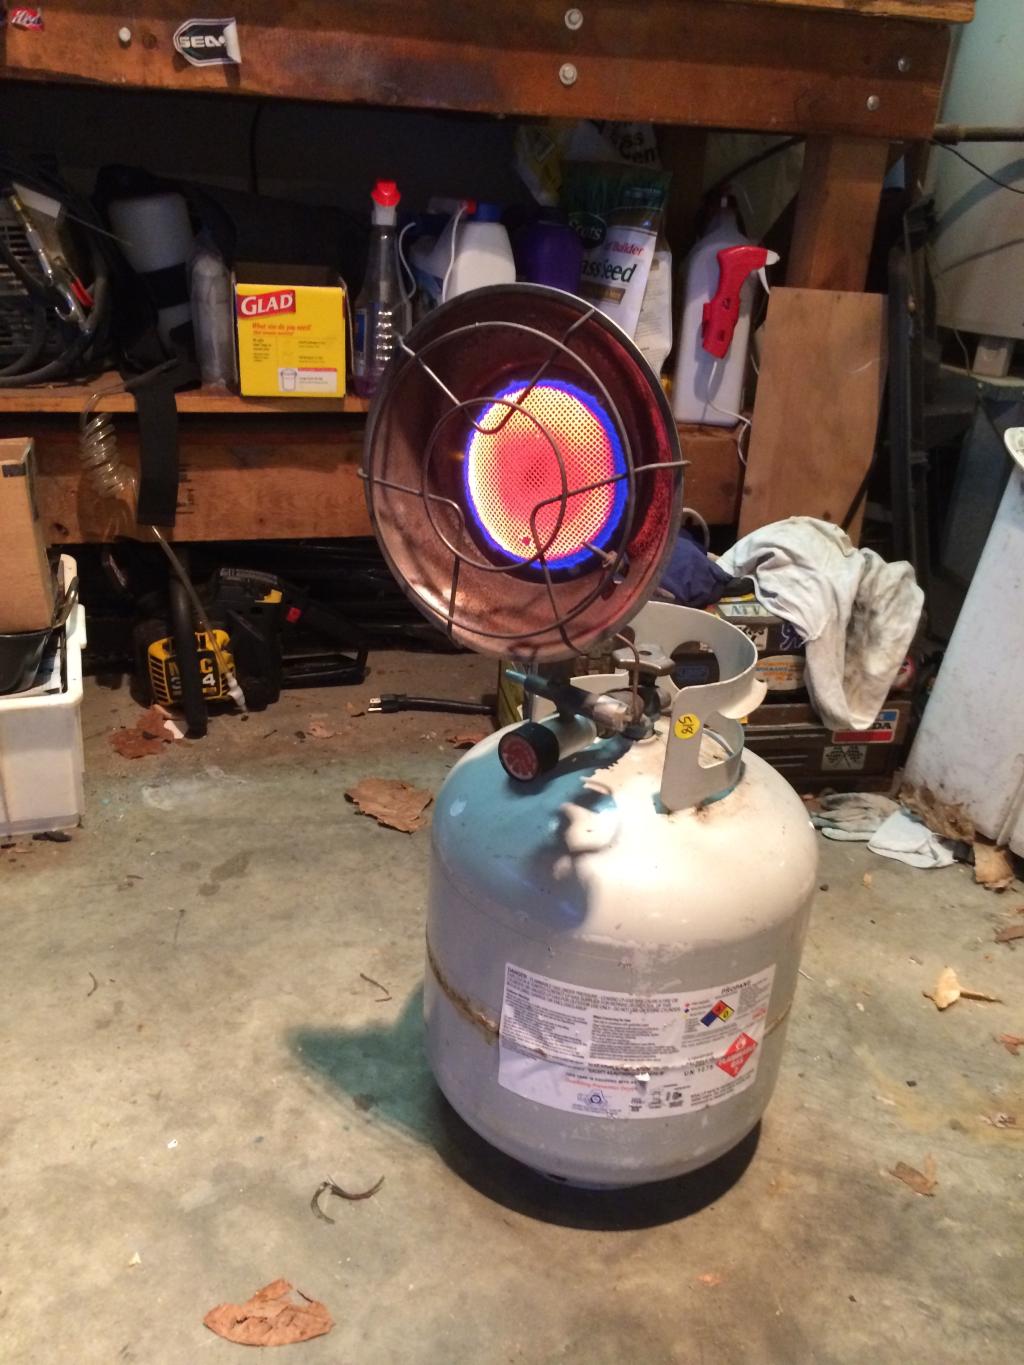
This thing let me keep working during the cold times the last two weeks.
So I looked at the ski and decided that I just could not live with a messed up green bottom. It was structurally sound, but just too ugly. So I painted it. I used Rustoleum Black Appliance paint. It is an epoxy paint that has some good reviews around the internet for use on the bottom of skis. We will see how it holds up. I painted the bottom, then sanded out the orange peel with 1000 grit, then medium cut and then polishing compound. I am thrilled how well it came out. Hopefully it will stand up to some abuse.
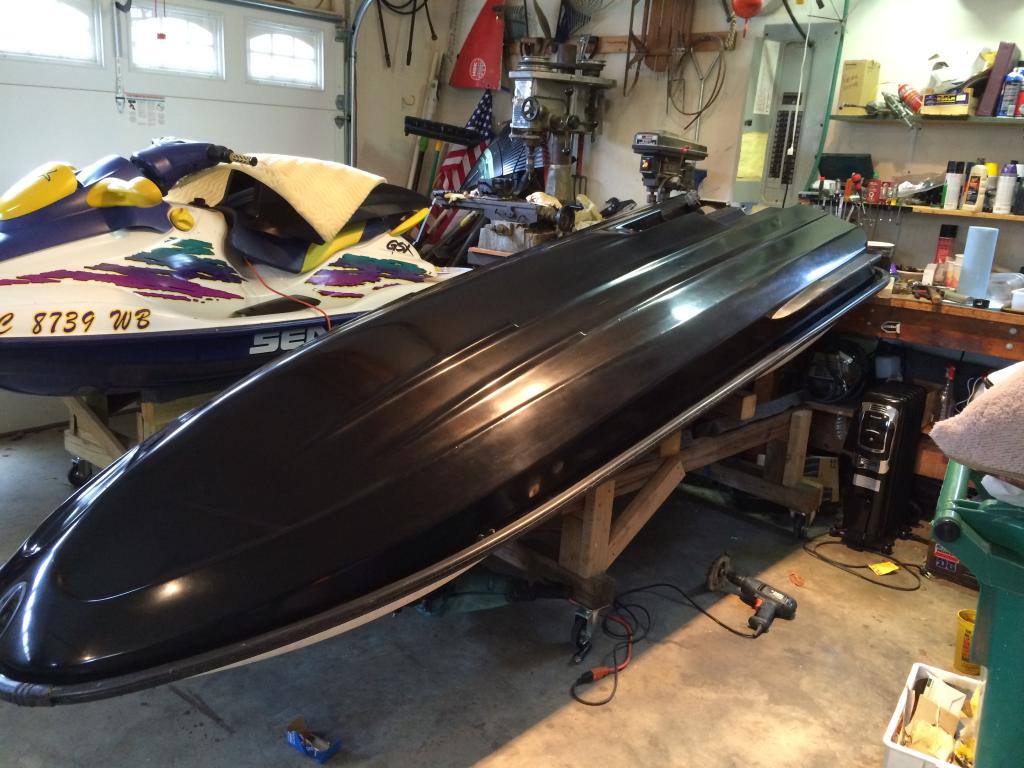
I then rebuilt the pump with a new delrin wear ring and installed the pump back while the ski was still upside down. Much easier to work on that way. I also repaired the gelcote in the inlet and replaced the inlet shoe. Sealed it all back up and hopefully I am good to go.
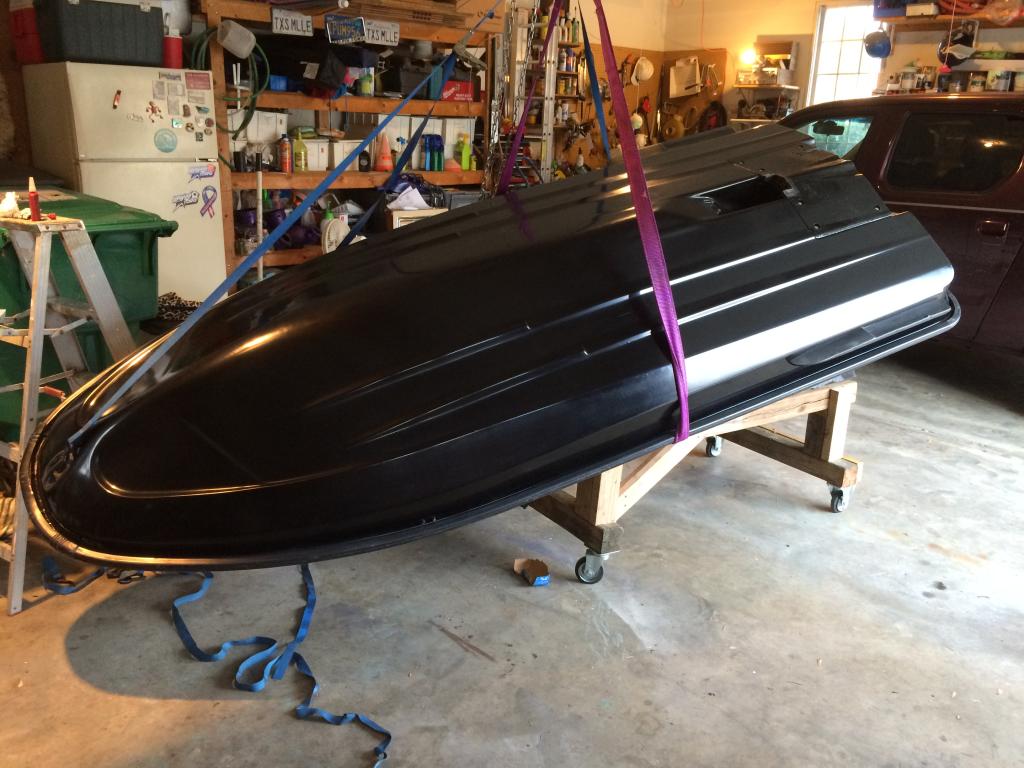
Then I put it back in the sling and turned it back over.
I also recovered the seats. They turned out well. I removed the old covers and used double sided foam tape to fill the strap indentation.
I sat the hood on it along with the seats to get a preview of the look. It looks better in person. My garage lights are kind of green.
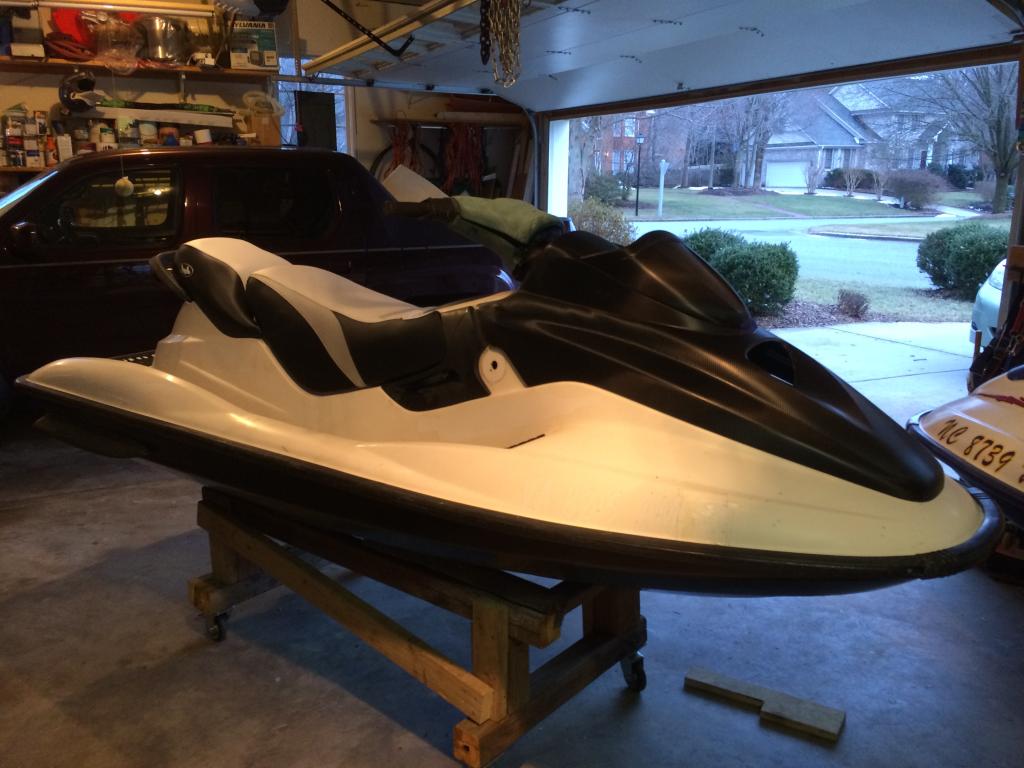
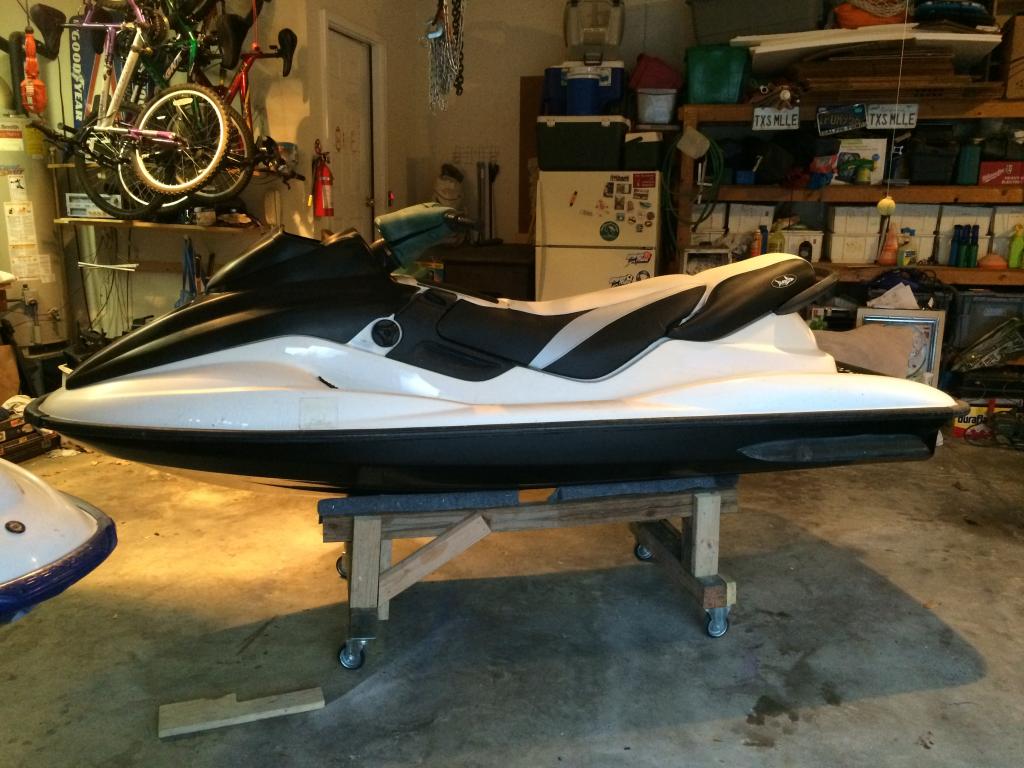
I still have to buff out the white parts of the ski and also deal with the handle bar pad. I did cover the glove box with carbon fiber wrap. It came out great! There will be lots of detail pix when I get this thing complete.

This thing let me keep working during the cold times the last two weeks.
So I looked at the ski and decided that I just could not live with a messed up green bottom. It was structurally sound, but just too ugly. So I painted it. I used Rustoleum Black Appliance paint. It is an epoxy paint that has some good reviews around the internet for use on the bottom of skis. We will see how it holds up. I painted the bottom, then sanded out the orange peel with 1000 grit, then medium cut and then polishing compound. I am thrilled how well it came out. Hopefully it will stand up to some abuse.


I then rebuilt the pump with a new delrin wear ring and installed the pump back while the ski was still upside down. Much easier to work on that way. I also repaired the gelcote in the inlet and replaced the inlet shoe. Sealed it all back up and hopefully I am good to go.
Then I put it back in the sling and turned it back over.

I also recovered the seats. They turned out well. I removed the old covers and used double sided foam tape to fill the strap indentation.
I sat the hood on it along with the seats to get a preview of the look. It looks better in person. My garage lights are kind of green.


I still have to buff out the white parts of the ski and also deal with the handle bar pad. I did cover the glove box with carbon fiber wrap. It came out great! There will be lots of detail pix when I get this thing complete.


soccerdad
Well-Known Member
Some more good progress. I got the carbs, pipe, waterbox. MPEM, and rear electrical box back in. Then I started cleaning up the white gelcote on the top of the hull. What a pain! My carpel-tunnel is killing me. I'm typing this with numb right fingers 
The gelcote was very yellowed. Under the stickers was still bright white.

It was also filthy under the covers.

I tried starting with the JSG method. But quickly found out that the yellow was just too deep. So I started again with 1000 grit wet dry- still taking forever... Then 800, still no love- Then 600-400. Making progress. But still needed to go to 220 wet dry in some areas!. Then worked my way all the way back up to 1000. Then medium cut, then fine cut compounds.
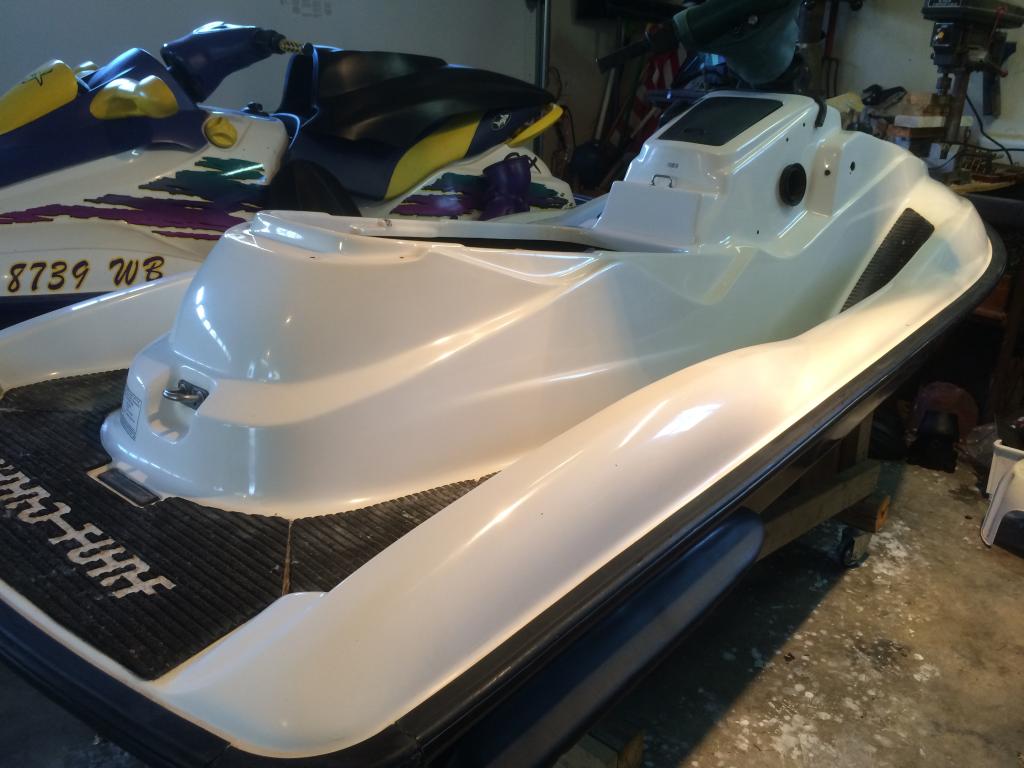
But boy was it worth the work! She sparkles! It makes my GSX look like it is painted in flat white! The photo does not do it justice! Haven't waxed it yet since I don't know where the decals will go.
The gelcote was very yellowed. Under the stickers was still bright white.

It was also filthy under the covers.

I tried starting with the JSG method. But quickly found out that the yellow was just too deep. So I started again with 1000 grit wet dry- still taking forever... Then 800, still no love- Then 600-400. Making progress. But still needed to go to 220 wet dry in some areas!. Then worked my way all the way back up to 1000. Then medium cut, then fine cut compounds.
But boy was it worth the work! She sparkles! It makes my GSX look like it is painted in flat white! The photo does not do it justice! Haven't waxed it yet since I don't know where the decals will go.

soccerdad
Well-Known Member
I then started working on the other parts. I tried the mixture of 50% paint thinner and 50% boiled linseed oil on the reverse bucket and nozzle. Not sure if it will hold up but it made an AMAZING difference!
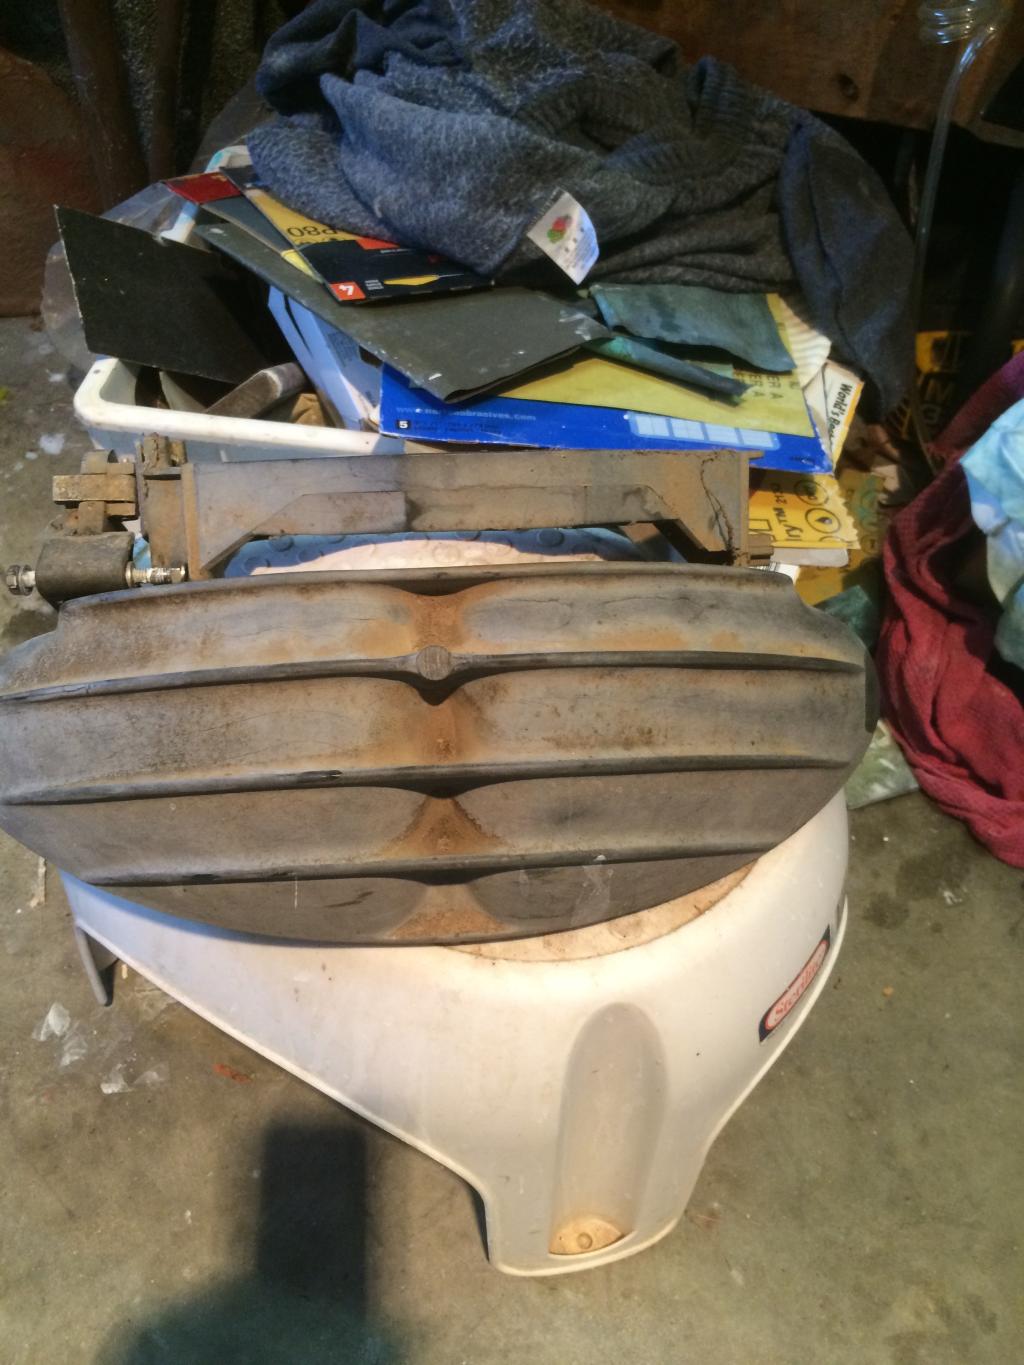

It worked so well, I hit my rub rails and sponsons with it. They also look great. Time will tell how long it lasts. The original poster with the mixture claims it holds up well.


It worked so well, I hit my rub rails and sponsons with it. They also look great. Time will tell how long it lasts. The original poster with the mixture claims it holds up well.
SaltyBones
Active Member
Wow! This thread makes me wanna get out to the garage and start cleaning! Looks great so far
Jetskigoodies
Well-Known Member
Looking good. However my method will include wetsanding if it needs it. Most white hulls need it. The yellow just wont come out without it. I have wet sanded many hulls, the 98 resto and 99 resto I did shows me wetsanding. I have went down to 220 before but try not to. Getting those 220 scratches out takes alot of work to get that smooth finish back. Let us know how long that linseed trick holds up. i have been using wipe new but do not know how long it will hold up with water usage. Everything I have put it on has been sitting in a temperature controlled warehouse since it was applied.
soccerdad
Well-Known Member
Yep. I knew you did it some but thought you only used 1000 or 800. I was just letting everyone know that you really have to hit this white stuff hard if it has yellowed and you are removing decals. Anyway, didn't mean to imply that your method did not work, because it does! This thing is sparkling and it would not be half as nice without me following your polishing method, Thanks for posting it!
Sent from my iPad using Tapatalk
Sent from my iPad using Tapatalk
krazybob738
Member
Wow this looks awesome I am deff gonna have to follow this cant wait to see how se holds up!
soccerdad
Well-Known Member
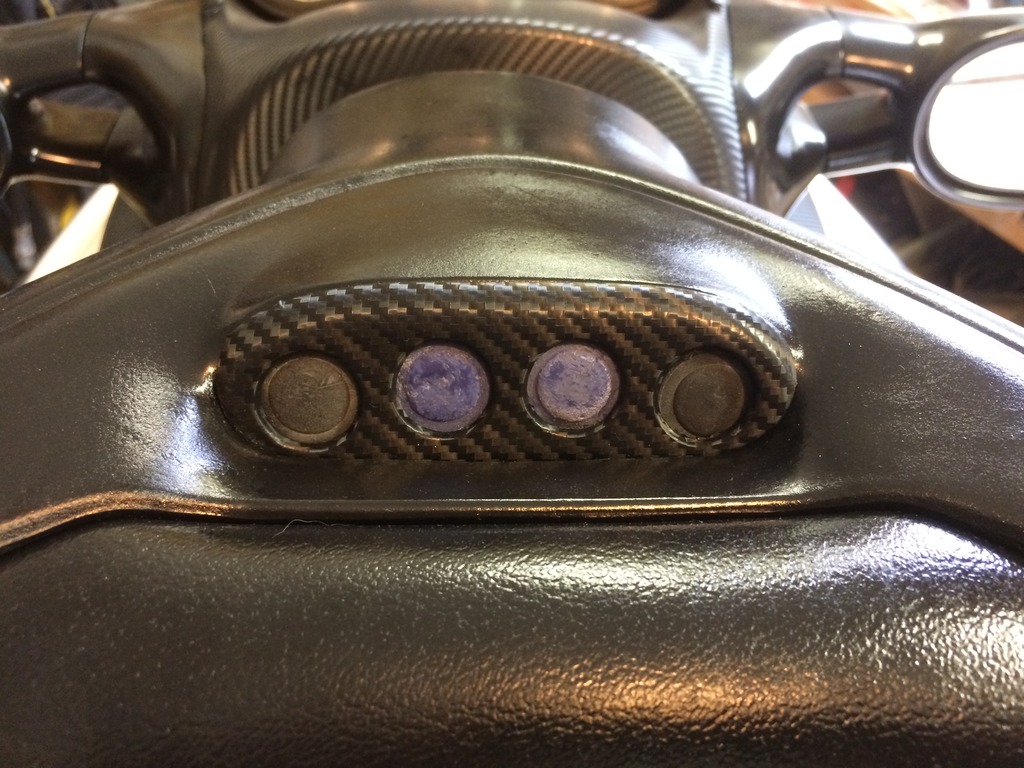
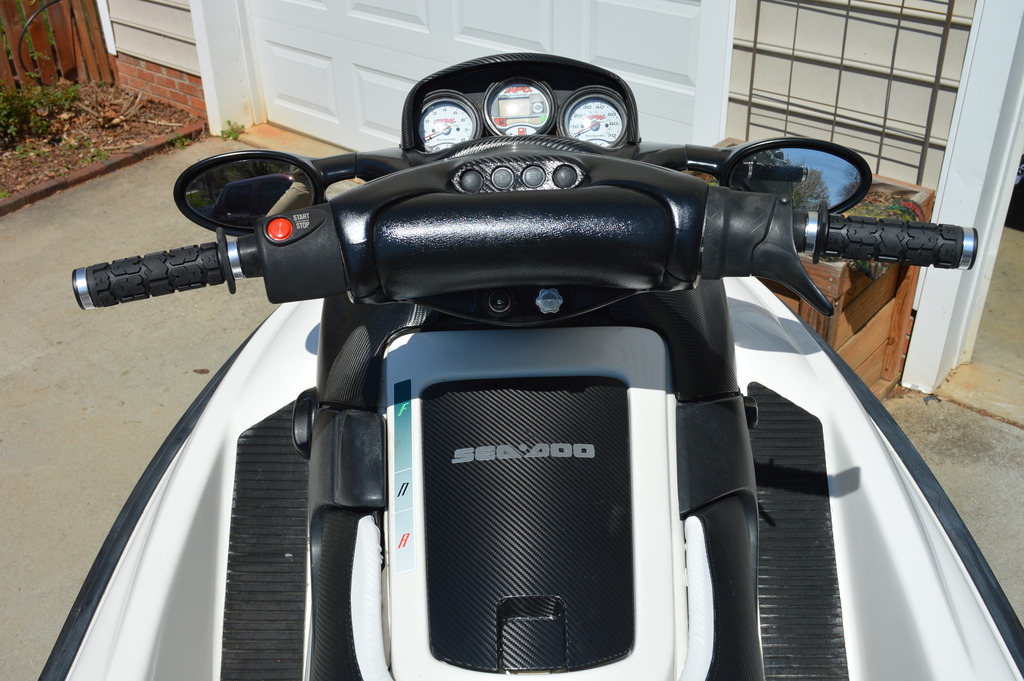
I am working on it again! I painted the handlebar cover and wrapped the info center button bezel. Where in the world do you find the blue buttons? I want to replace them but cant find them on fleabay or anywhere on the web for that matter. I know I have seen them in the past out there. I can find the red ones but not the blue/indigo. Help! It will look much better with new buttons.

soccerdad
Well-Known Member
You're getting good at that carbon wrap!
96 XP800!
Keep the 2 strokes alive!
Thanks! I was thinking about doing the start/stop and throttle plastic stuff but decided not to. I may do a finger throttle on it though.
I also wanted to wrap my daughter's pinewood derby car, but she would not let me.
So we did an ombre (fade) airbrush job on it. I made her paint it.ernieboy2006
New Member
Just picked up 96 gtx and gsx super clean.. Not sure what to inspect b4 taking them out..anyone
Spimothy Leary
Well-Known Member
I am working on it again! I painted the handlebar cover and wrapped the info center button bezel. Where in the world do you find the blue buttons? I want to replace them but cant find them on fleabay or anywhere on the web for that matter. I know I have seen them in the past out there. I can find the red ones but not the blue/indigo. Help! It will look much better with new buttons. QUOTE]
not sure where those buttons can be located, curious, are they the same size as the stop/start buttons ? if yes, then maybe use those.. (I have a bunch of those at home if you need some cheap)
but if you find a source for the other buttons, and they're different, please pass along the info here or via PM, i'd love to know where I can pick up a few of those.
soccerdad
Well-Known Member
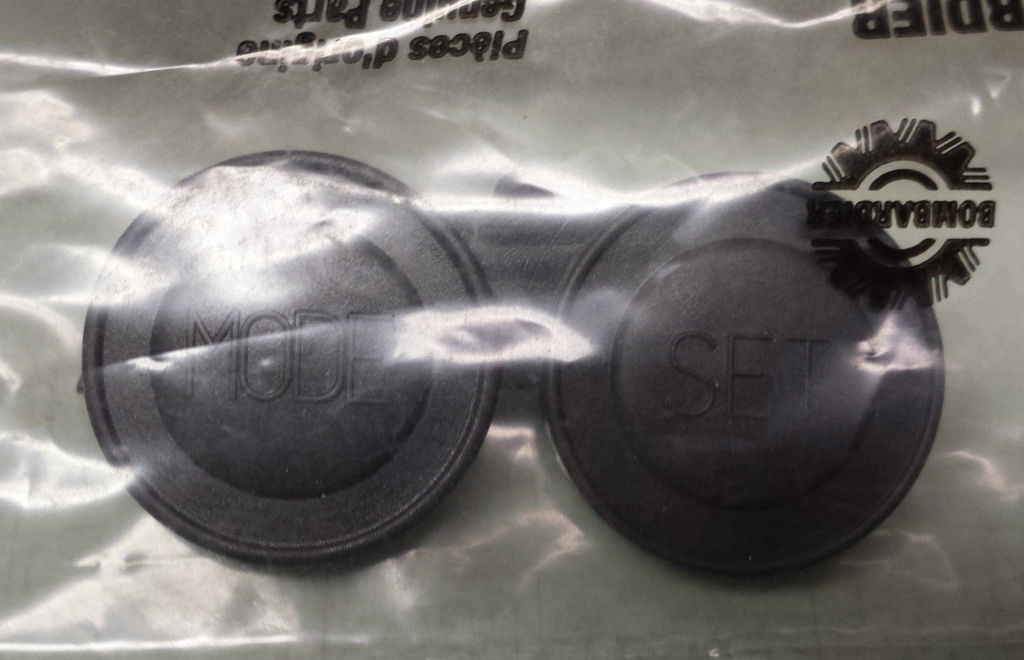
OK, I found the replacement ones. Looks like they are Part number 293000099 They look to be black now, but have the functions on them which will be nice. Only $6 for the pair shipped! Ebay has a few more for varying prices.
Spim- I am going to PM you cause I need a red one as well! Saw your ebay but figured I would go to you direct.
Spim- I am going to PM you cause I need a red one as well! Saw your ebay but figured I would go to you direct.


This site contains eBay affiliate links for which Sea-Doo Forum may be compensated.
soccerdad
Well-Known Member
OK, I am just about done with my baby. Still needs some detailing on the storage bins, but I made it braaappp this weekend! So I should be able to splash it in a couple of weeks. So here are some money shots! Hope you enjoy. BTW, I know the mats look dirty now. I am going to see if they come clean in the lake before I decide to change them. (may just change them anyway...)

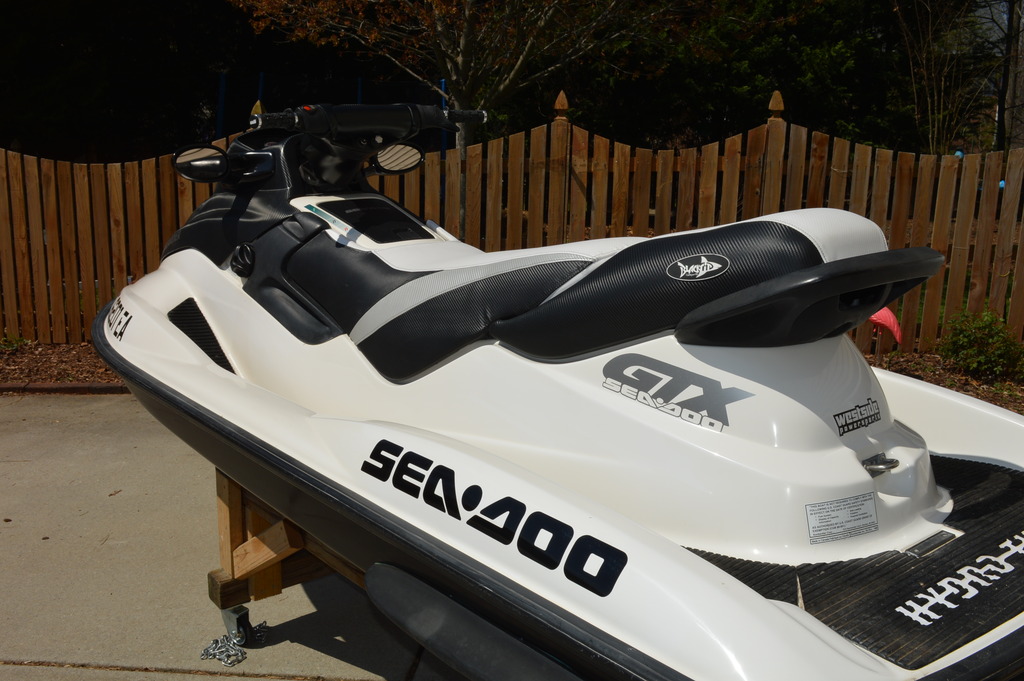
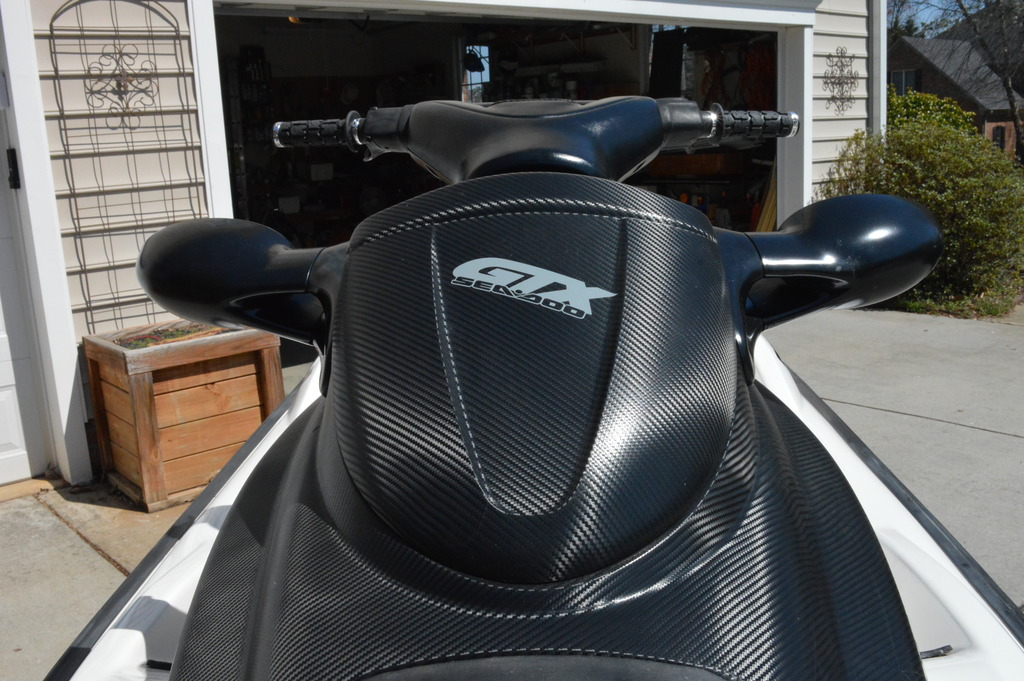
Added some nice new ODI 120mm rogue grips and the new button covers


Added some nice new ODI 120mm rogue grips and the new button covers

- Status
- Not open for further replies.
Similar threads
- Replies
- 9
- Views
- 305
- Replies
- 5
- Views
- 230
- Replies
- 0
- Views
- 153
- Replies
- 12
- Views
- 319
Share: