RESTO 96 GTX Project Shamu

Note: This site contains eBay affiliate links for which SeaDooForum.com may be compensated
Status
Not open for further replies.
LOL :cheers:
Thanks for the comments. It really made me laugh out loud!
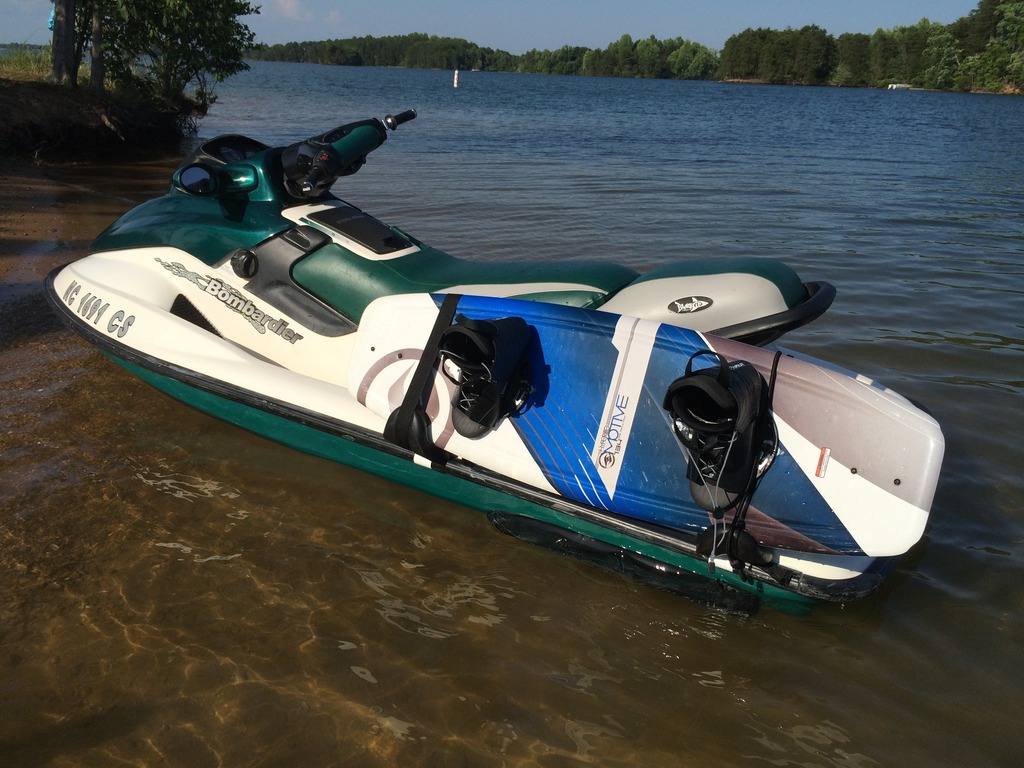
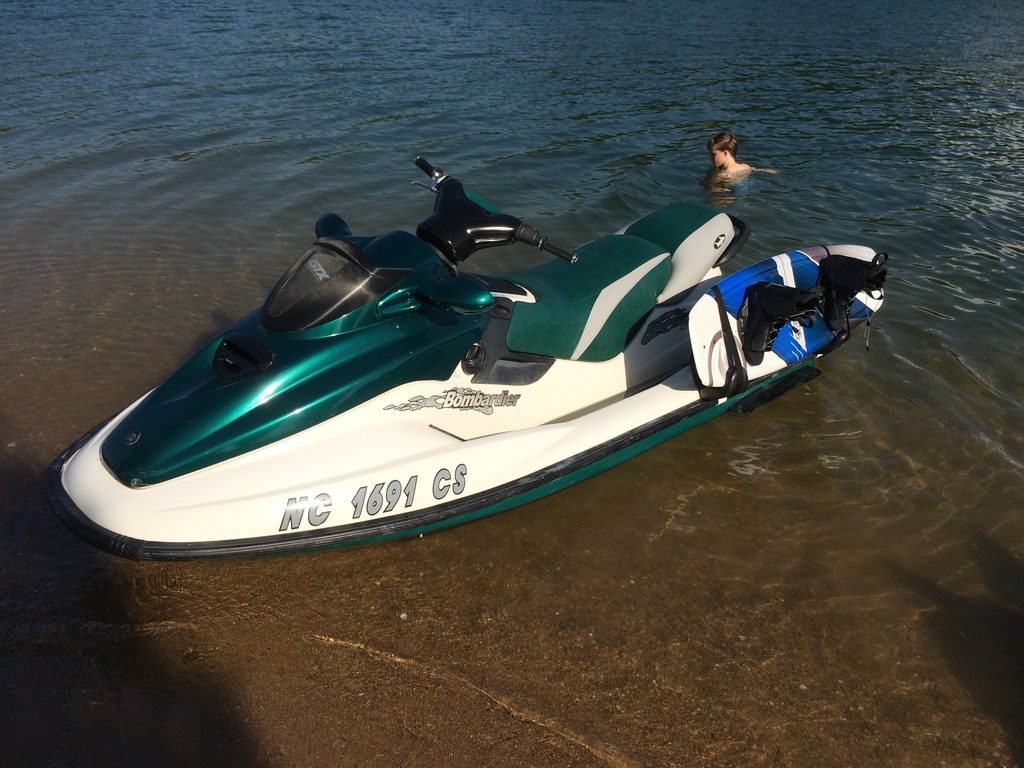
Shamu has a brother. This one had been all green with some gray accents. Well it did not like Shamu getting all the attention and started acting up. It even left us stranded on Memorial day. Anyway, "Limeade" got a carbon wrapped gauge cowl, carbon wrapped glove box and info button panel, a painted bar cover and a billet finger throttle. And new ODI ruffian grips (120mm) Oh, and a wakeboard mount. (which sucks, another post coming on that). So if you don't want to paint the hull, this is a little change from the green. I think it is sharp looking, but not quite a cool as Shamu.


Last edited by a moderator:
Woiw, i just went through this whole thread and i am just taken aback by how much can be done to the GTX. soccerdad it looks freaking awesome!
 
Hi Soccerdad! Just a question here about the mixture of Linseed oil and paint thinner. How is that holding up under use? Are the parts still looking nice and dark or have they turned back to looking grey and worn again?

I am interested in knowing since i want to do the samething.
thanks again!:cheers:

It still looks pretty good. Not as dark as when I applied it, but still MUCH better than before. It may take an occaisional wipe now and then. But all in all, I am happy with it.
 
Well made some decent progress. I rebuilt the carbs. Oem kits and new needles and seats. Pop off checked 30 and 32 psi.
374.jpg

I also pumped out all the gas and oil. Then pulled the oil tank out to clean. The starter turned out to be aftermarket so I swapped it with my spare oem one. I sent the MPEM to Minnetonka4me to add keys so all my keys will work on this ski. Also pulled My pipe to be welded. Actually having three pipes welded. All leaking or patched. There was a bunch of sand behind each leaking plug. I am sure this is what causes the leaks. Water just sits there in the sand.
375.jpg


Also got the raves back in. Drilled the holes in the caps to see them work. Also got the head back on.
376.jpg


Also checked the water drain line from the cylinder and it was clean.
Still have a big list but at least some wrk is getting done.


Sent from my iPhone using Tapatalk

Hi soccerdad! Can you give us some information on that digital electronic gauge you are using as a popoff tool? Where did you get it? and where can we get one just like it? thanks again!:cheers:
 
Thank you! I am going to do the same thing! Also thank you for all the info, i just ordered the "set" and "mode" buttons and the red start button by using your links! Thanks!:cheers:
 
The digital gauge is from a dead project I had laying around. It is from SMC pneumatics, but it needs a 24V power supply. I would stick with an off the shelf solution, or make one with a regulator and analog gauge.

Glad the links were useful!
 
The digital gauge is from a dead project I had laying around. It is from SMC pneumatics, but it needs a 24V power supply. I would stick with an off the shelf solution, or make one with a regulator and analog gauge.

Glad the links were useful!

This is a great project, makes me want to go wax my GTX right now.
 
Man. I am speechless. Just spent an entire lunch to read this thread. I have a similar project and my goal was to make it run and use it, now I'm just not sure because you took.... Honestly not the best looking ski and made it into something incredible. Great work and thanks for the tips and tricks.


Sent from my iPhone using Tapatalk
 
Yep I plan on starting it tomorrow. I need to touch up the bottom from some crushed shell/sand damage. But it runs great. I should have it at the Norman meetup. I love the look. It does have some "love" marks on it from docks now, but it still looks good to me.
 
Rattle can. From what I know today I would use a disposable gun and spray black gel coat but the epoxy isn't bad and sure is easy. The sides look great. The bottom just scuffs up.
 
I hear gel coat is hard to spray. I brushed it onto the bottom of my boat when I grafted the two hulls, and sanding it from underneath was a nightmare. Gel coat is some hard stuff, but if you could flip it, I bet it would have been not so bad.
 
I hear gel coat is hard to spray. I brushed it onto the bottom of my boat when I grafted the two hulls, and sanding it from underneath was a nightmare. Gel coat is some hard stuff, but if you could flip it, I bet it would have been not so bad.

Gelcoat is not so bad if you know the tricks, you need a gun with the right size nozzles for starters nozzle used for auto paint just won't get it, nozzles used for house paint are about the right size.

The other trick is to use Duratec clear mixed in 50/50 with the catalyzed gelcoat on the last few coats, this levels the gelcoat out by a lot and you will actually get some shine it, it reduces sanding time by at least half.
That IS good to know. The duratec clear, is that gel coat clear or automotive?
 
Hey SOCCERdad, Do you have any information on that finger throttle that's on Limeade? It looks pretty cool and I'm looking at ordering one. What did you have to do to the ski to make it work?
 
Last edited by a moderator:
:facepalm: ... yeahhhhhhh I may have been slightly tired when I wrote that... sorry (awkward :D) I fixed that. Anyways thank you very much for the information, that helps a lot.
 
Great thread and build! I have a question regarding the red button cover. Did you have to clamshell the housing, or can you get it to seat with some sort of straight edge?
 
Status
Not open for further replies.
Back
Top