CReynoldsMIZ
Well-Known Member
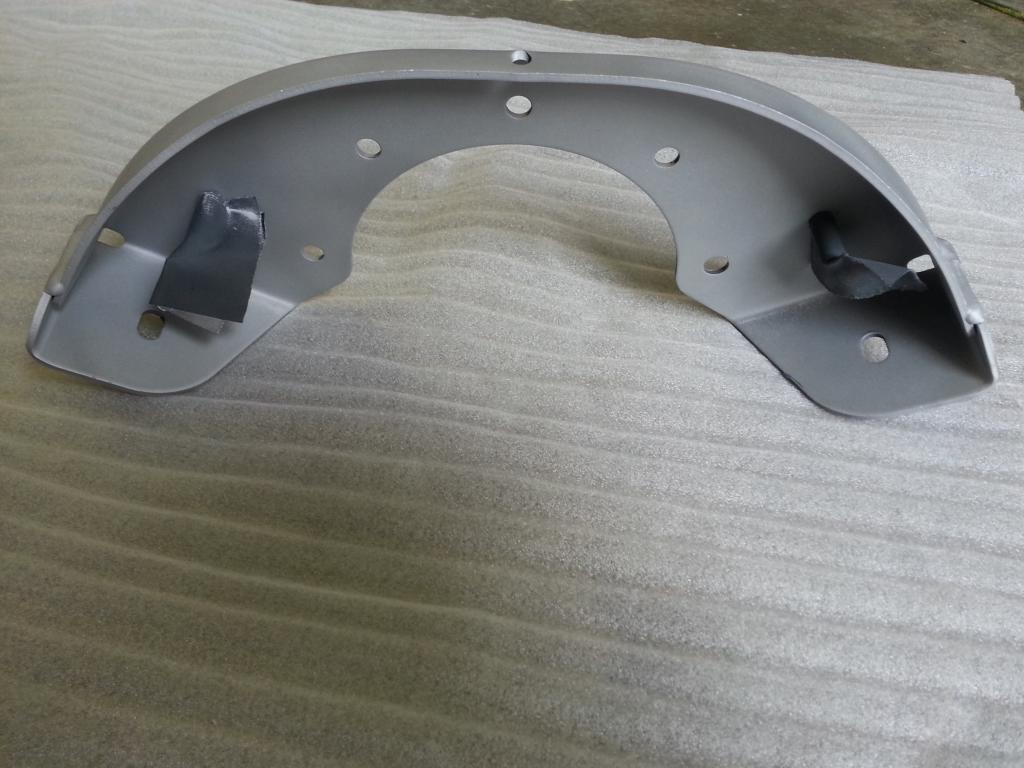
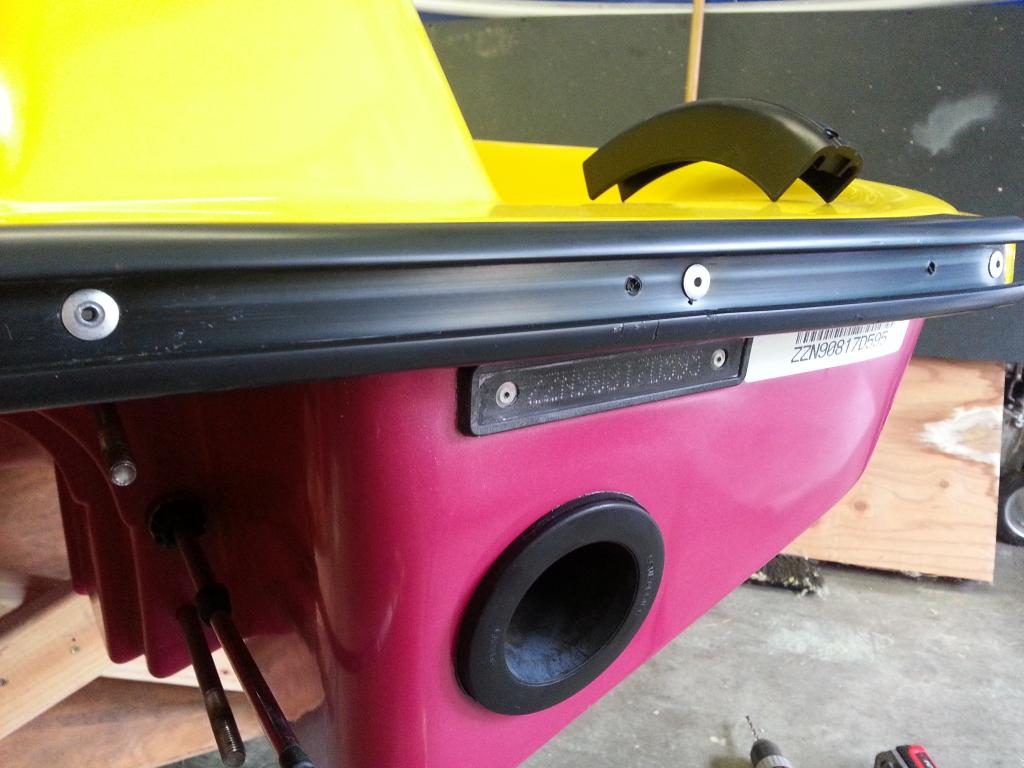
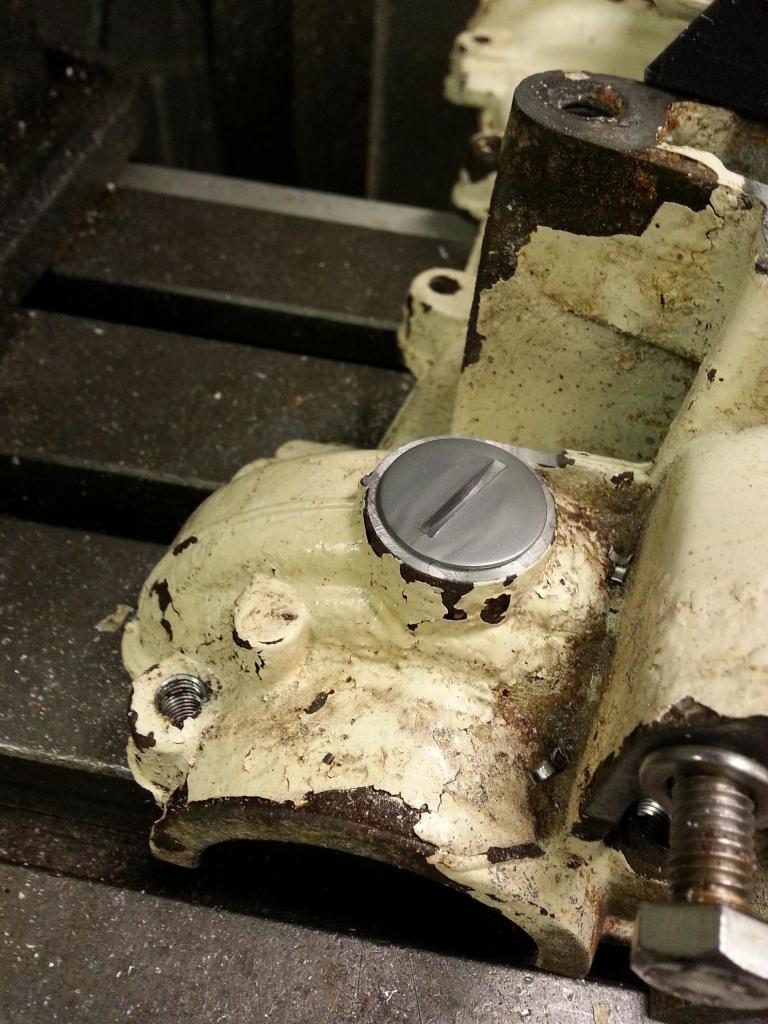
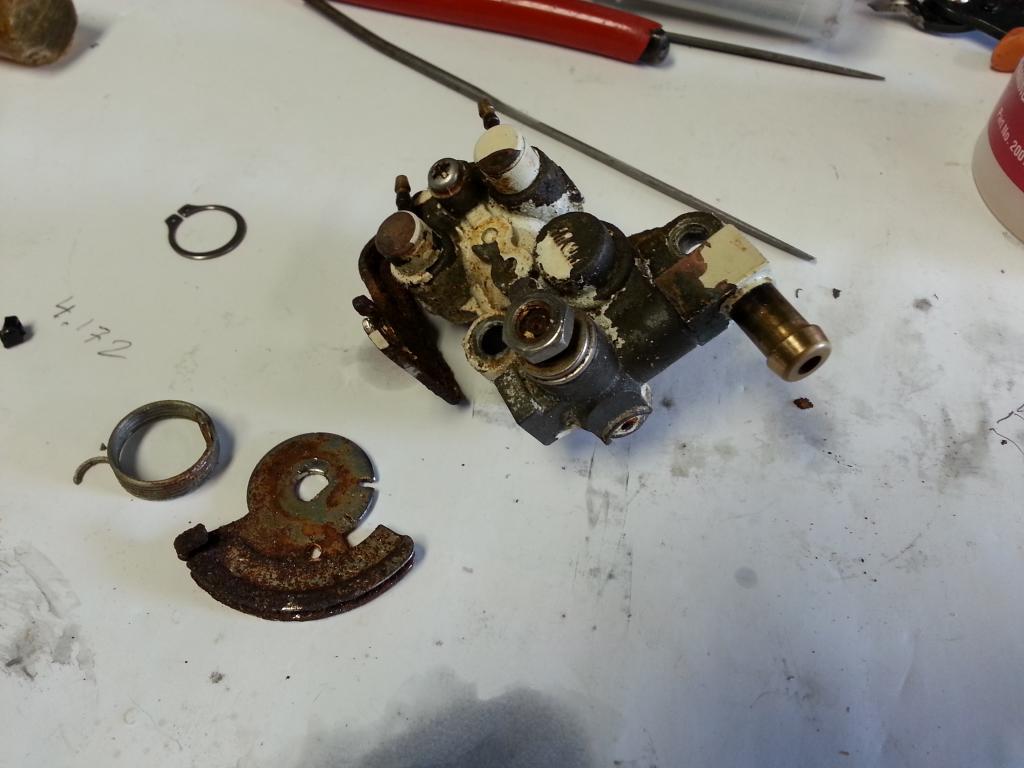
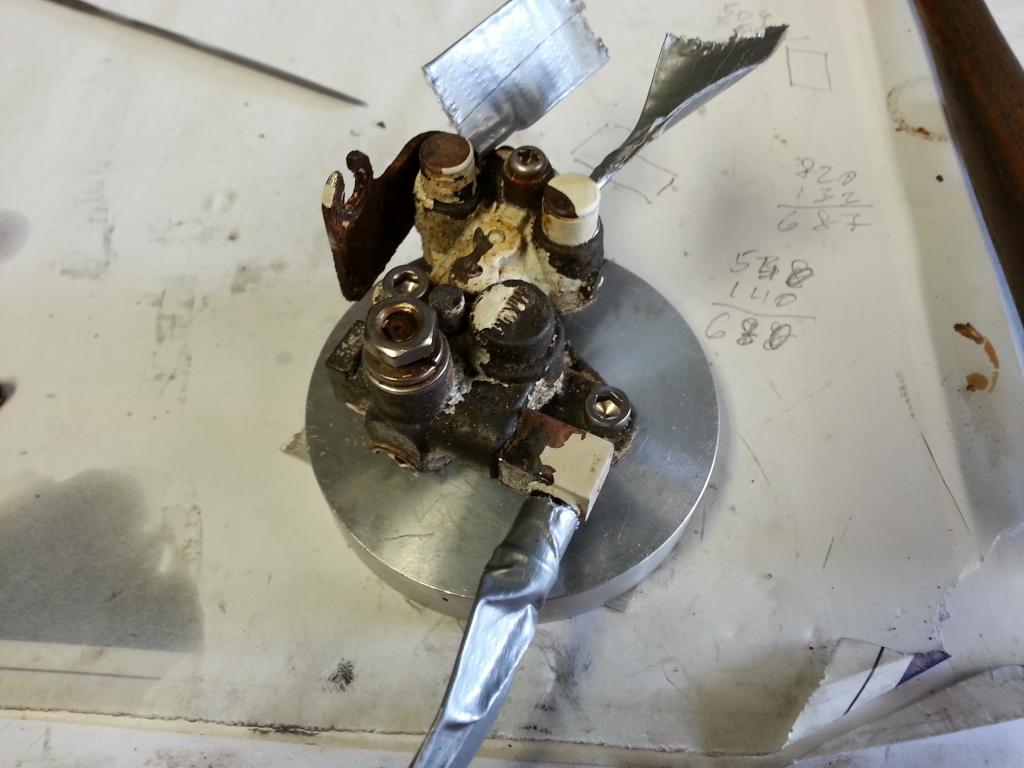
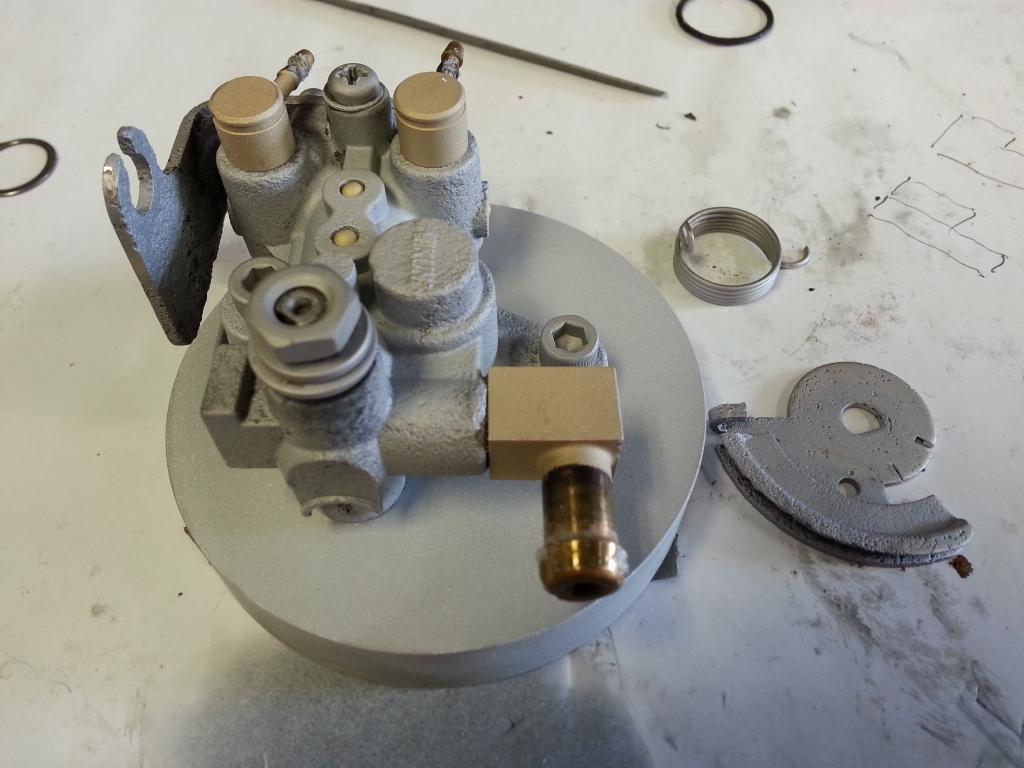
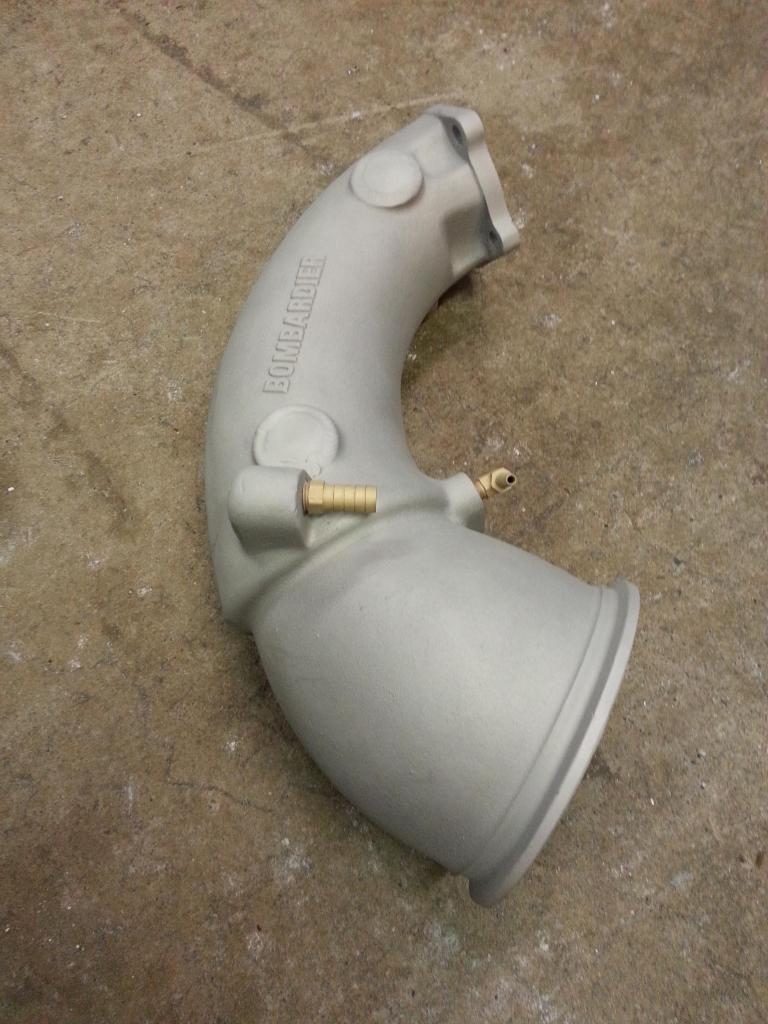
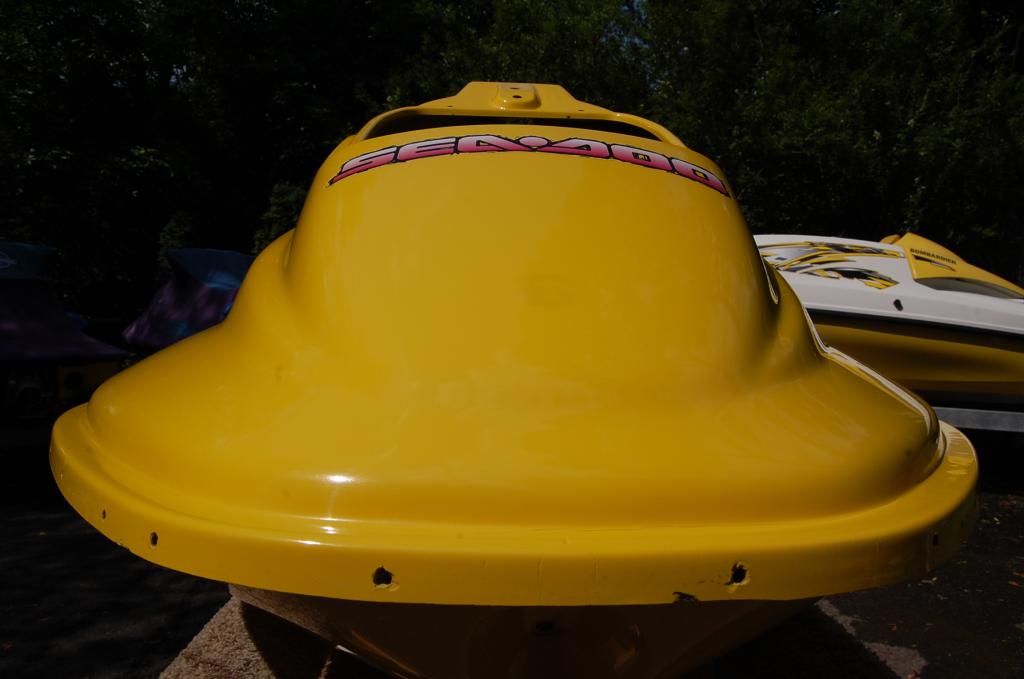
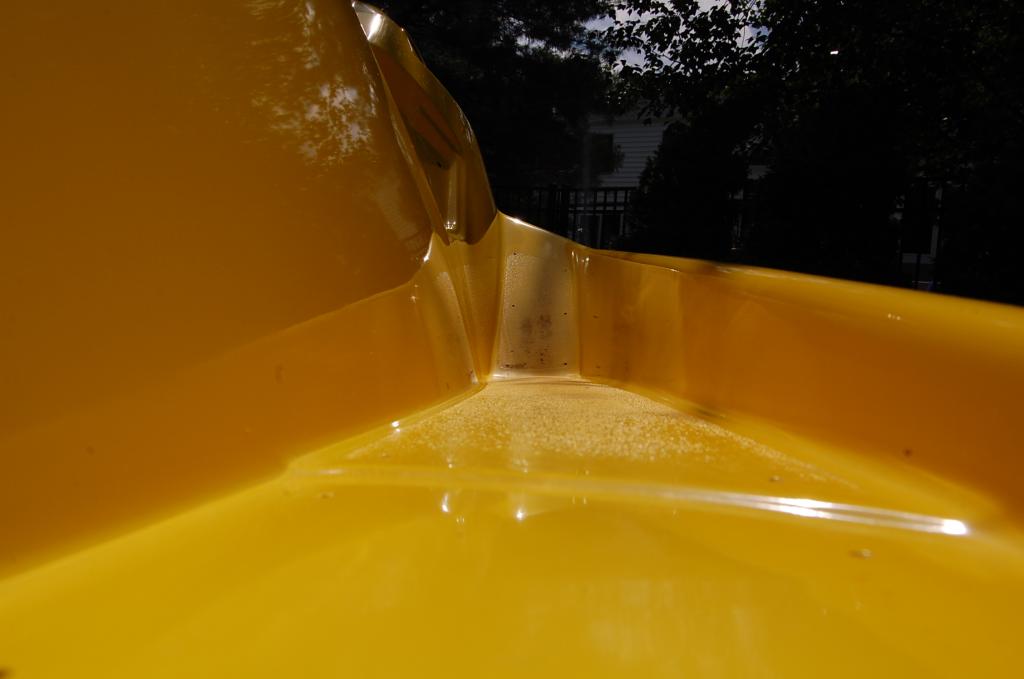
Looks so good! Its a shame no one is going to ever see it! LOL


Looks so good! Its a shame no one is going to ever see it! LOL

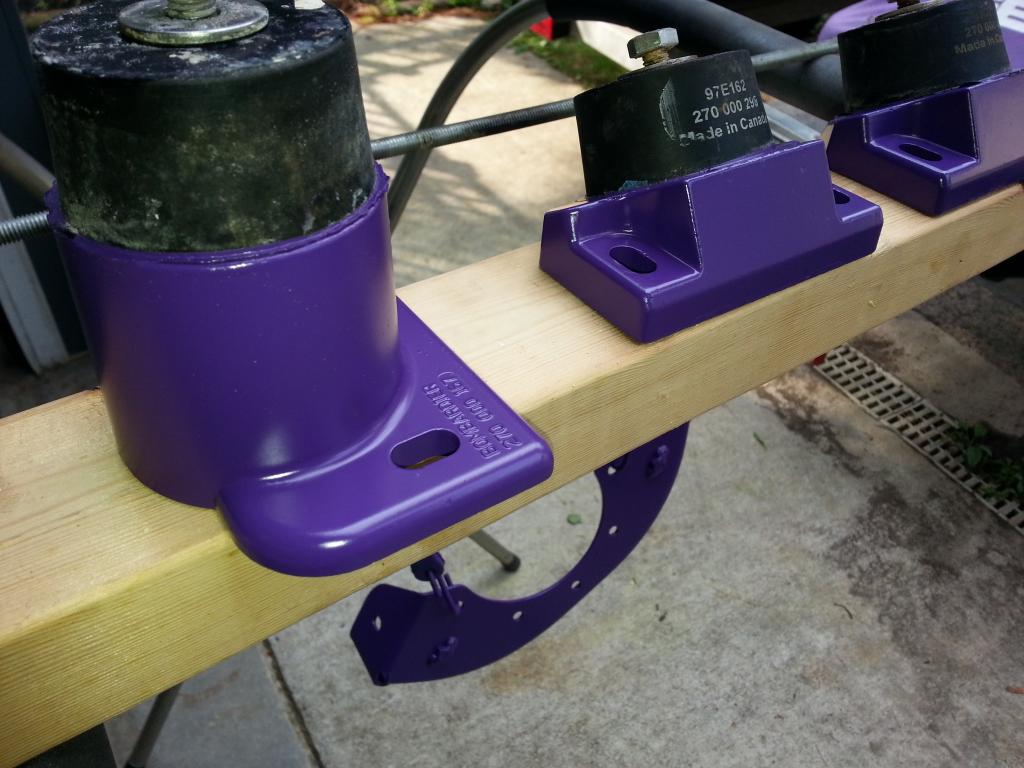
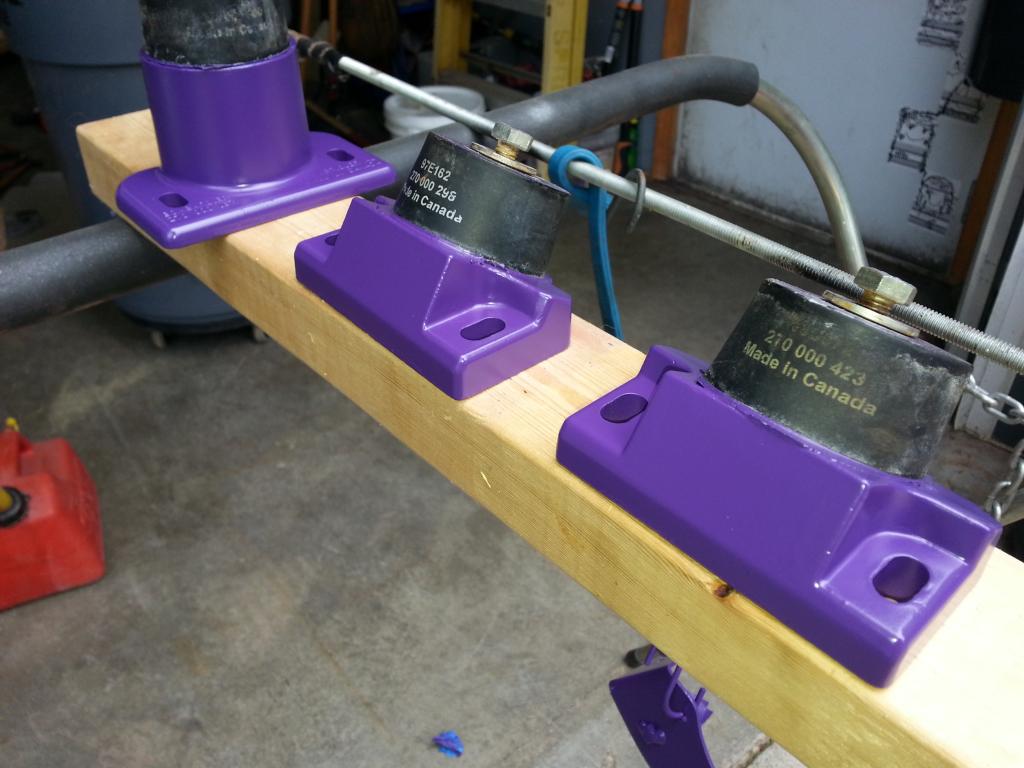
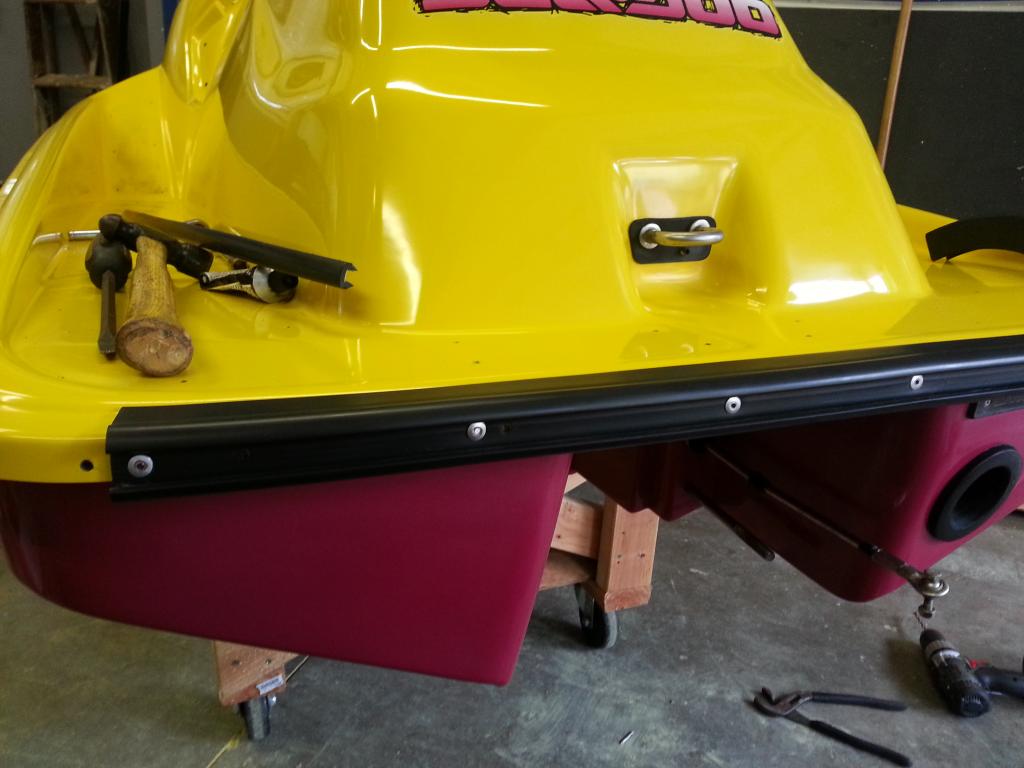
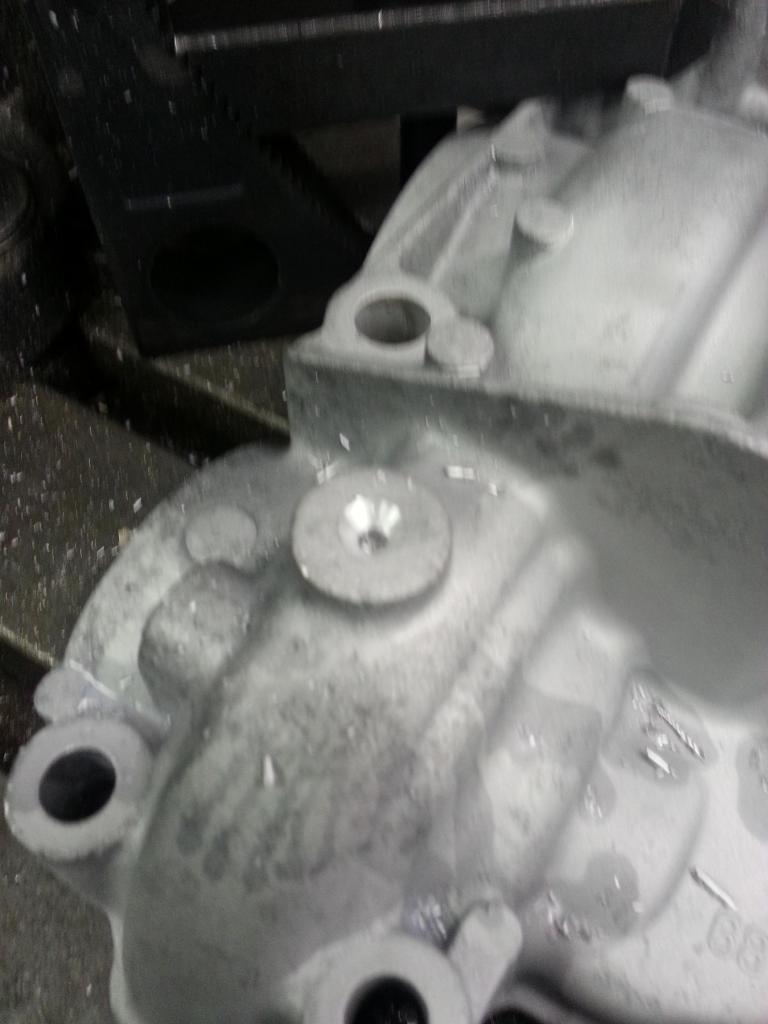
Nice update. First class work as always!
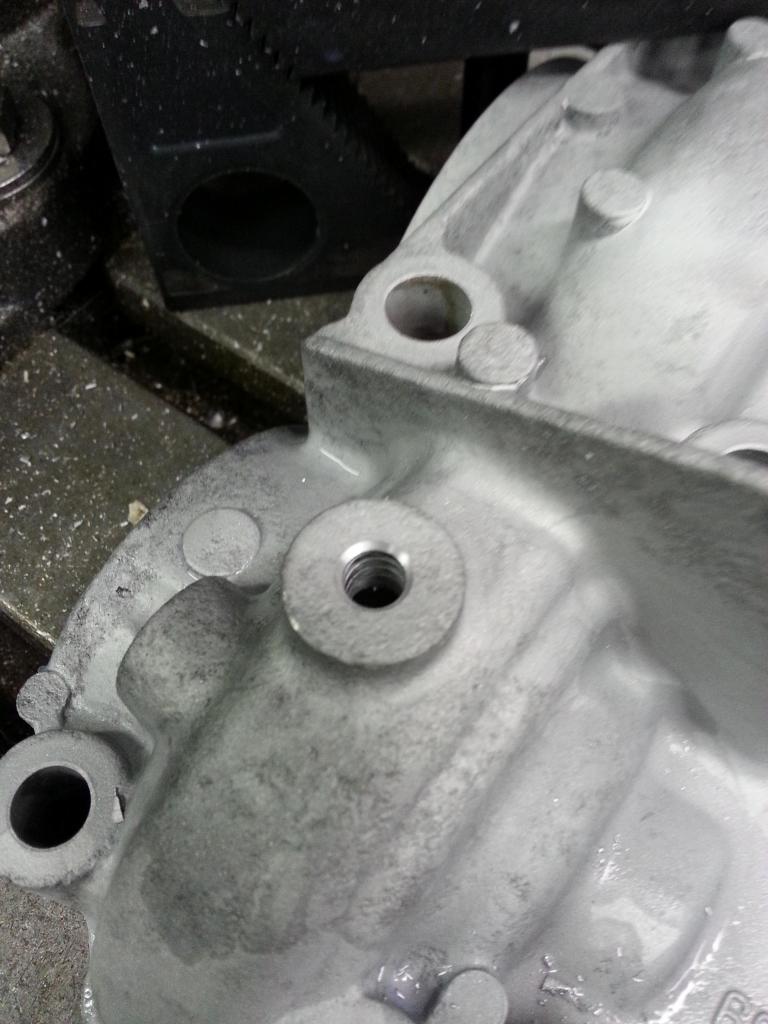
About damn time. Lol nice work


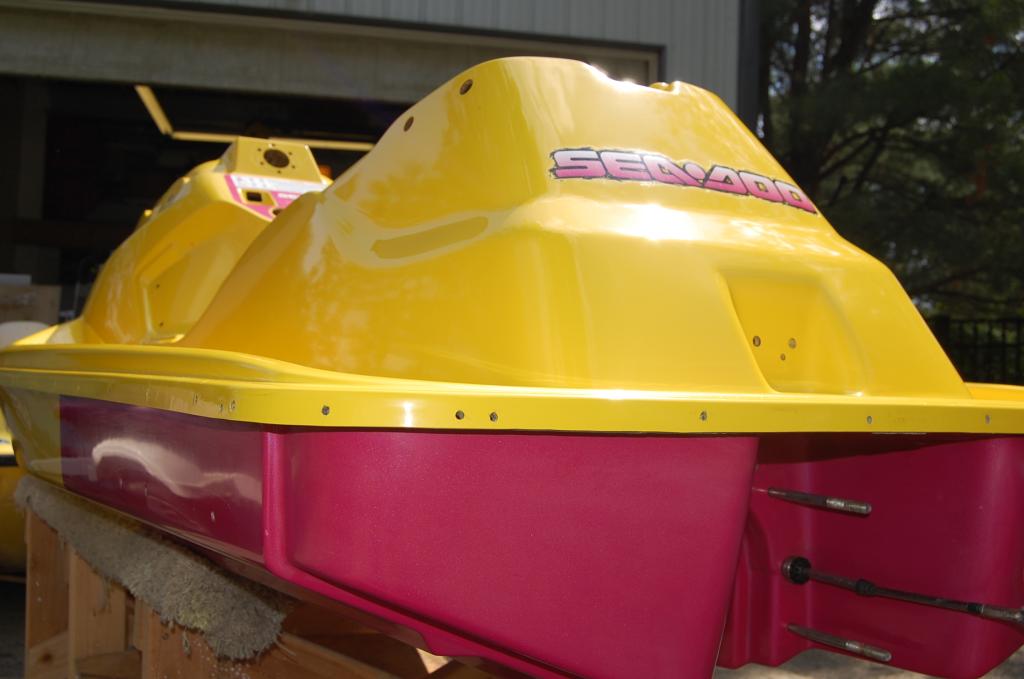


Makes me want a stawberry banana smoothie!!
Yes, I just remade all the badges as the old ones have been in use since 2007! I figured it was about time for an upgrade. What do you tihnk of them?The premium member badge above the avatars just got a renovation... They are very bold and noticable. Sorry about the sidetrack but It must have just happened.
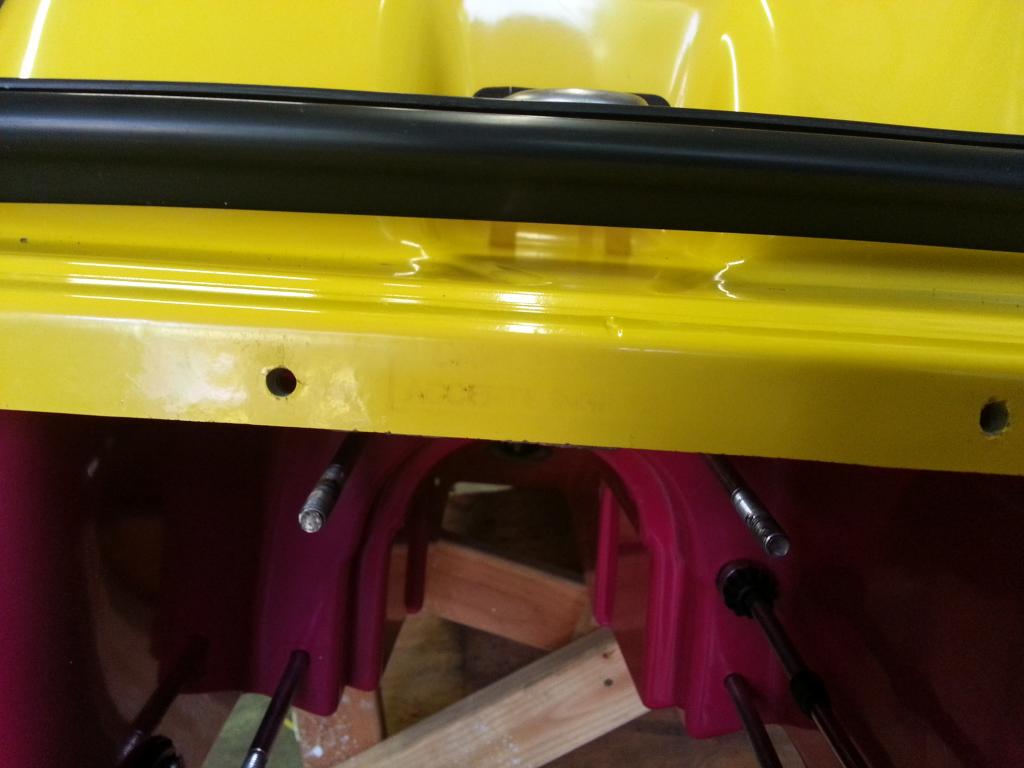
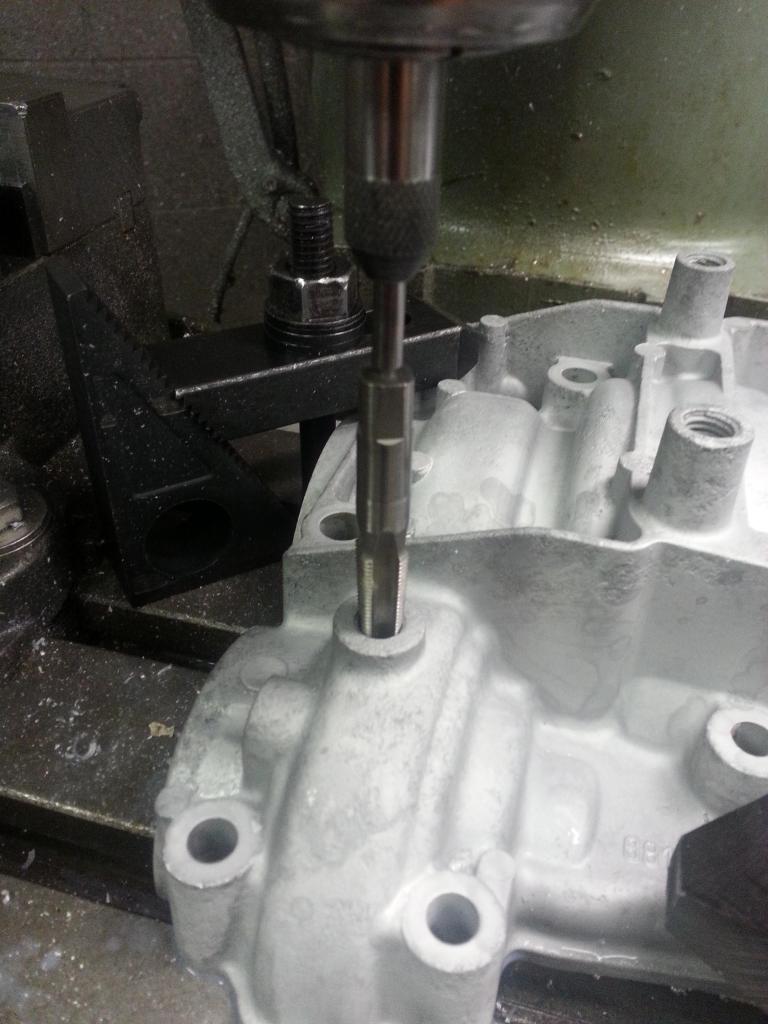
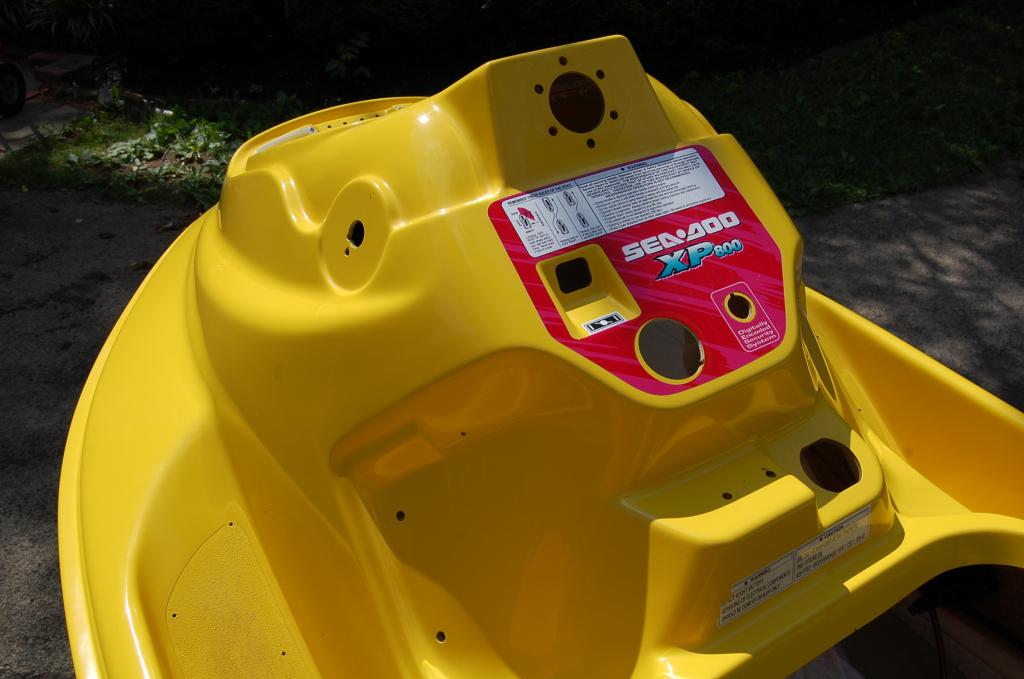
[MENTION=57920]racerxxx[/MENTION] Dan this thread is awesome. Thanks for sharing all of the pictures. You have done a great job so far! It looks awesome.
Yes, I just remade all the badges as the old ones have been in use since 2007! I figured it was about time for an upgrade. What do you tihnk of them?
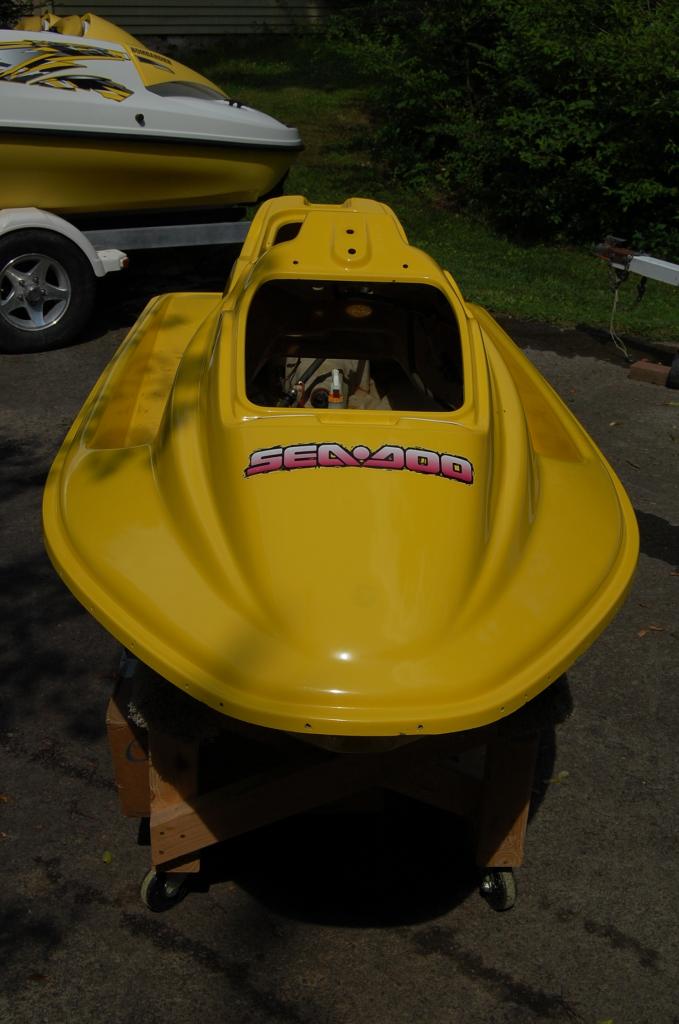
I love your builds racer, I can't wait to see this bad boy back on the water. Do you have any plans for the 96?