• This site contains eBay affiliate links for which Sea-Doo Forum may be compensated.

RESTO Yet ANOTHER 96 xp restoration

Status
Not open for further replies.

Jetskigoodies

Well-Known Member
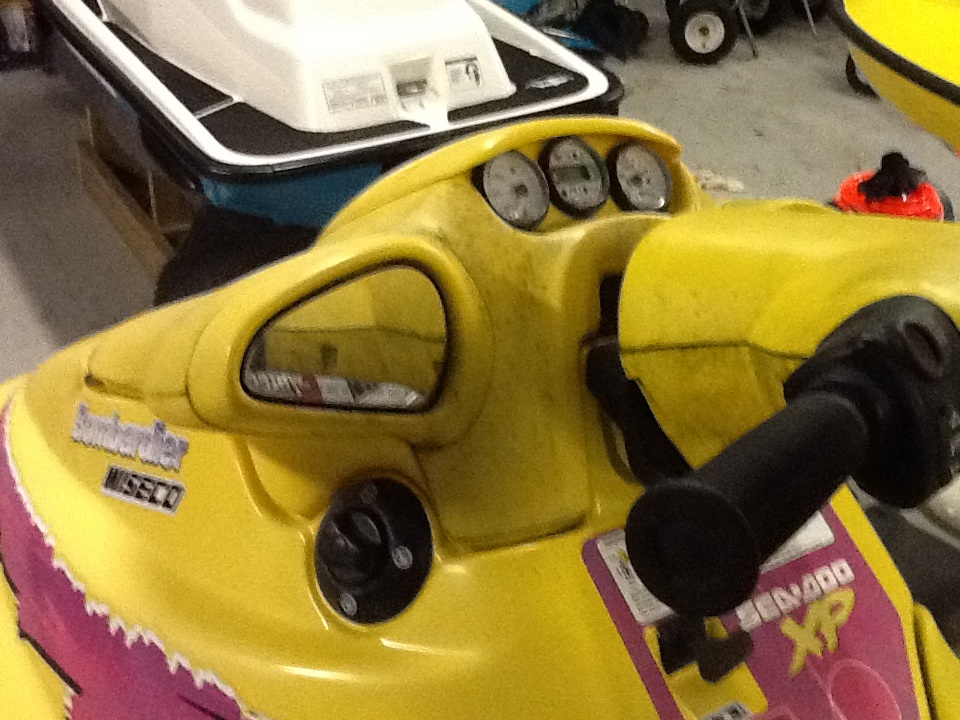
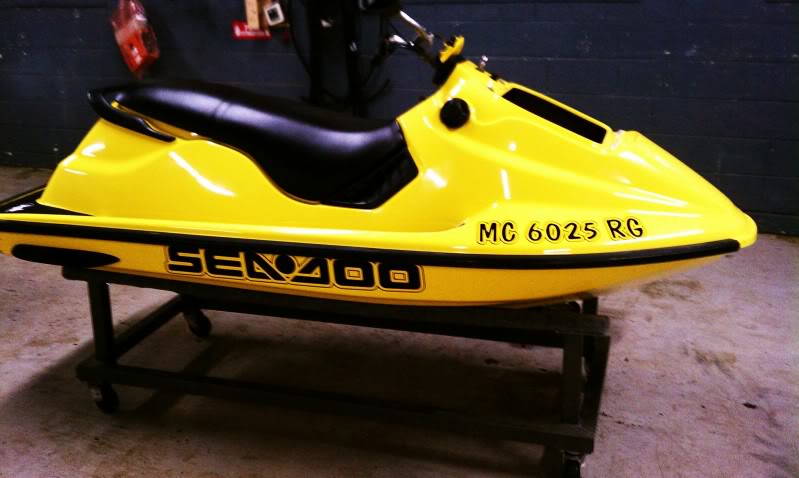
Picked this up a couple weeks ago. Sorry about the pictures, I have been forced to use my ipad recently to take pics


276.jpg


277.jpg


278.jpg


279.jpg


280.jpg


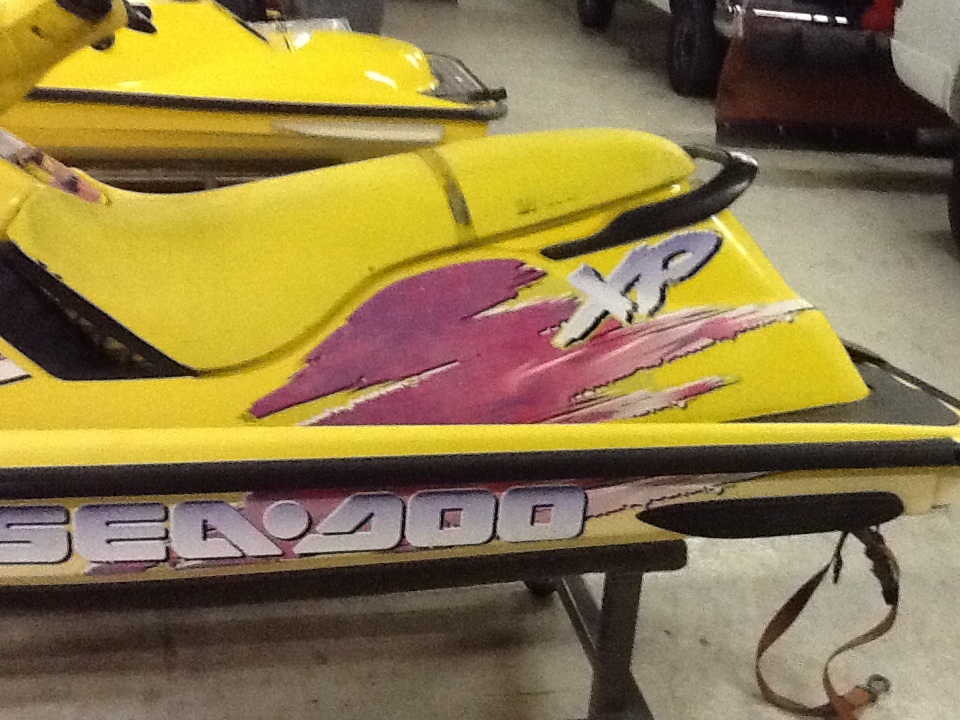
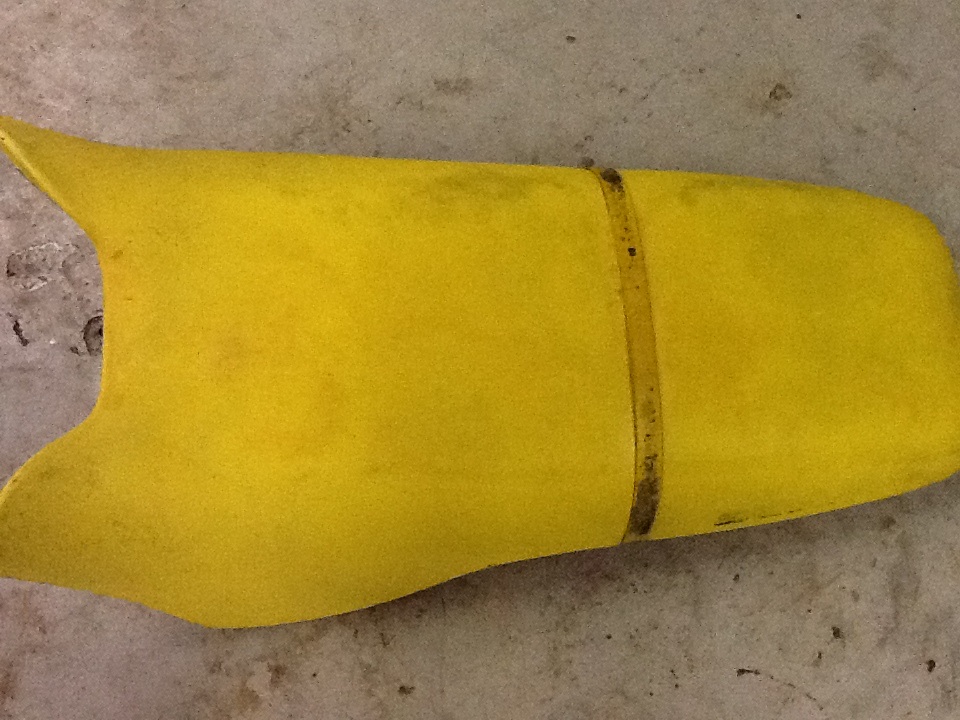
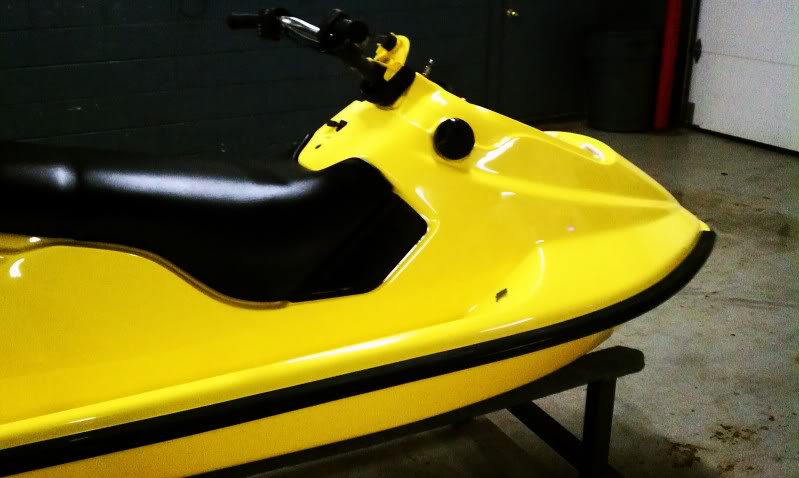
Well first thing done was the seat


281.jpg


282.jpg


283.jpg


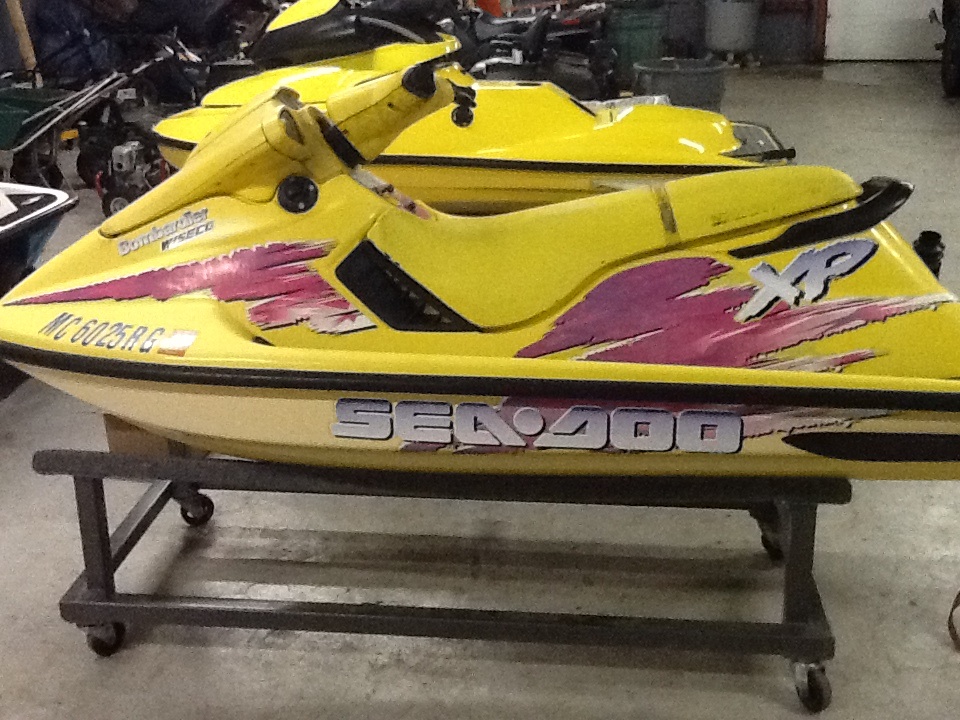
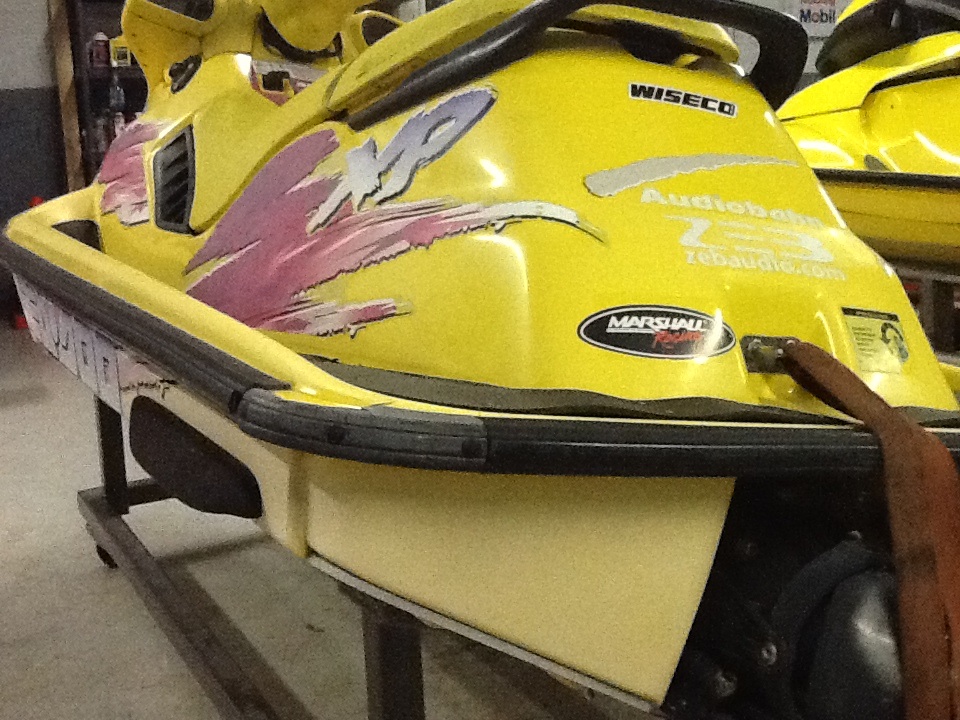
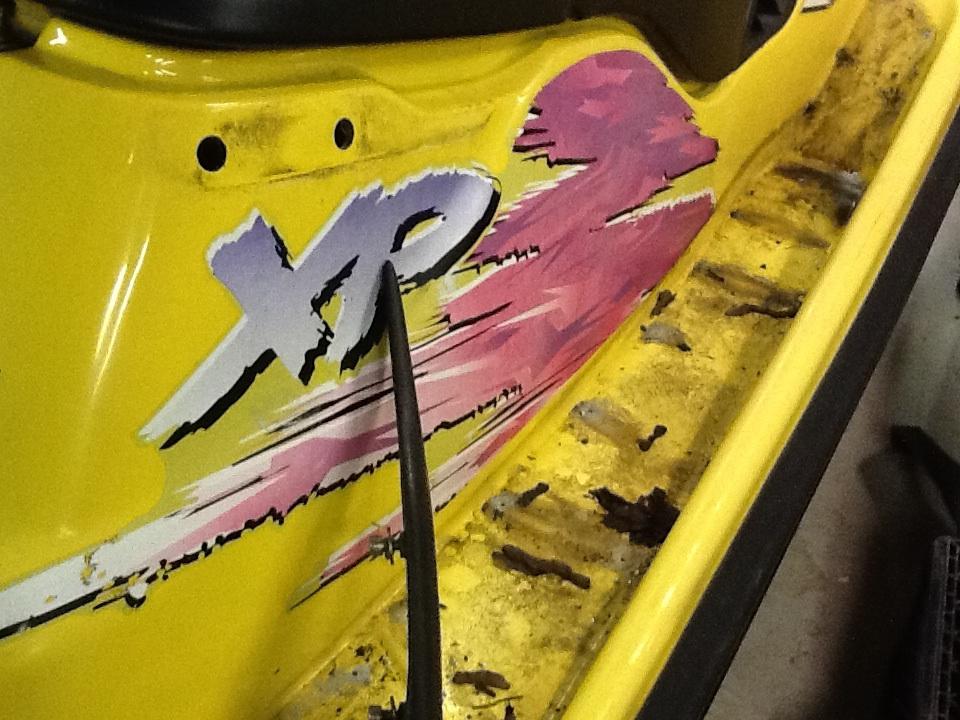
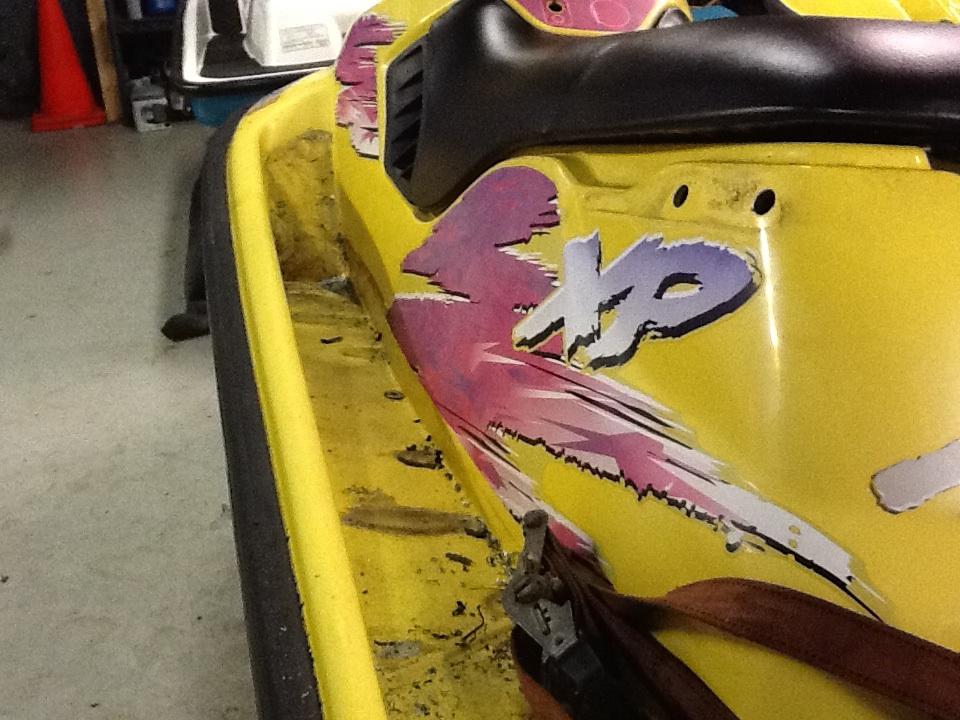
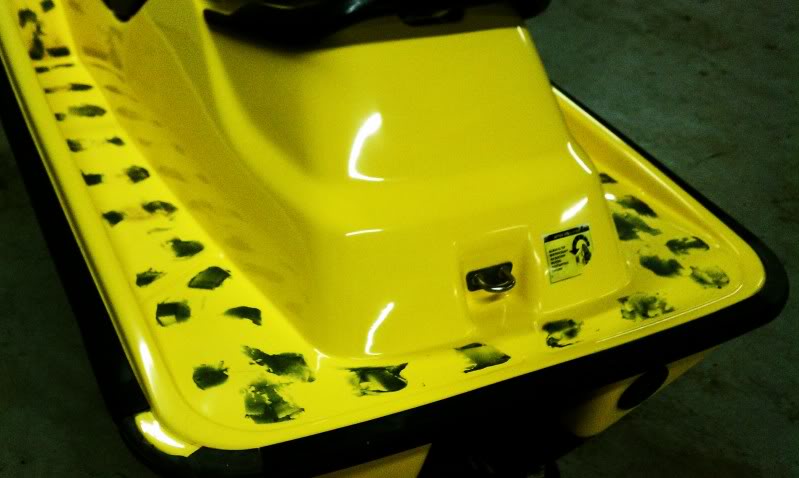
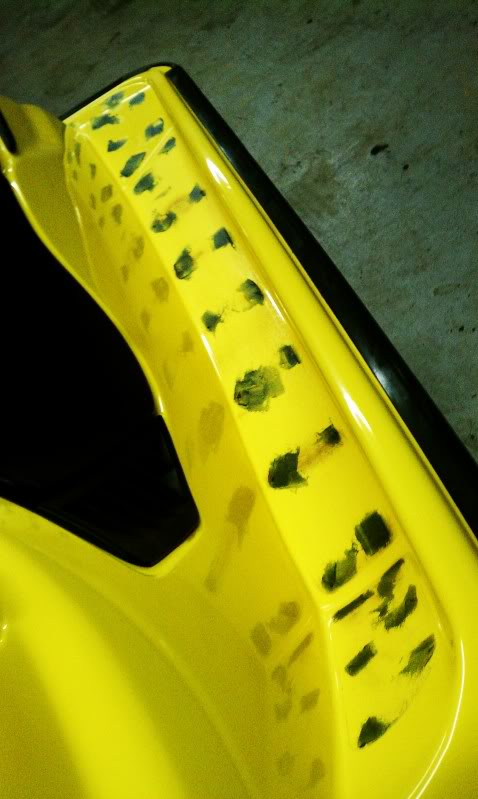
Then the decals and pads were removed

284.jpg


285.jpg

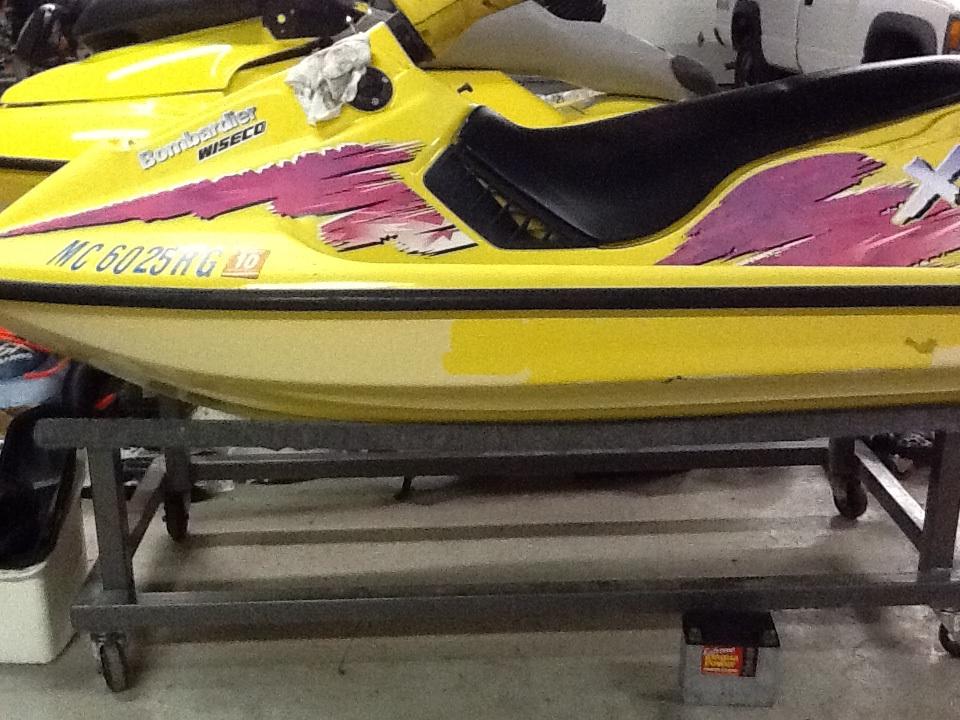
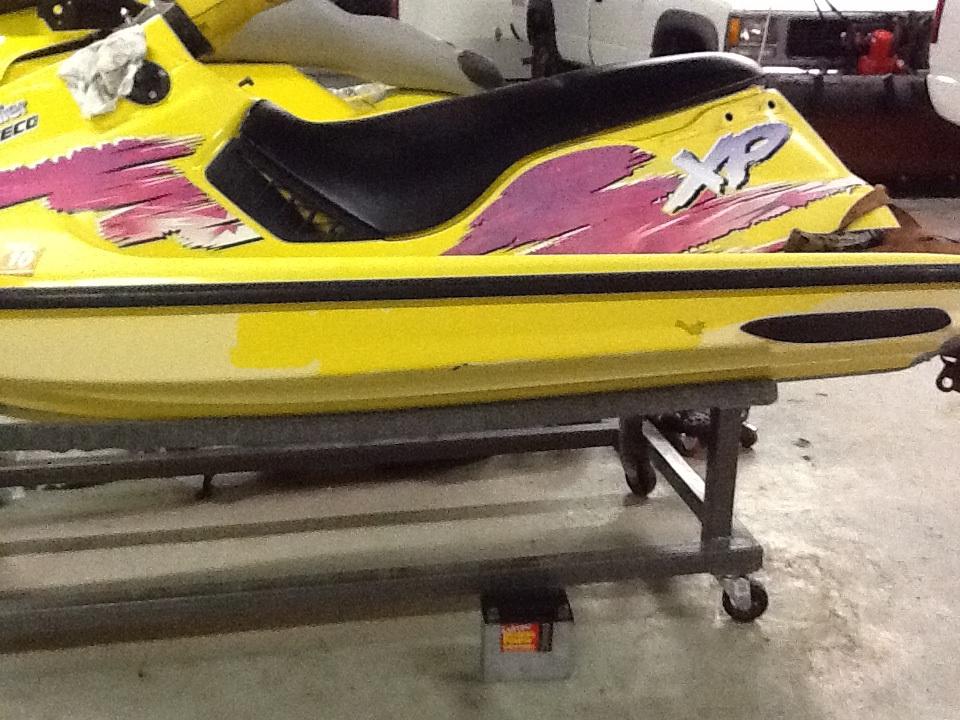
Notice the fading where the decal was removed
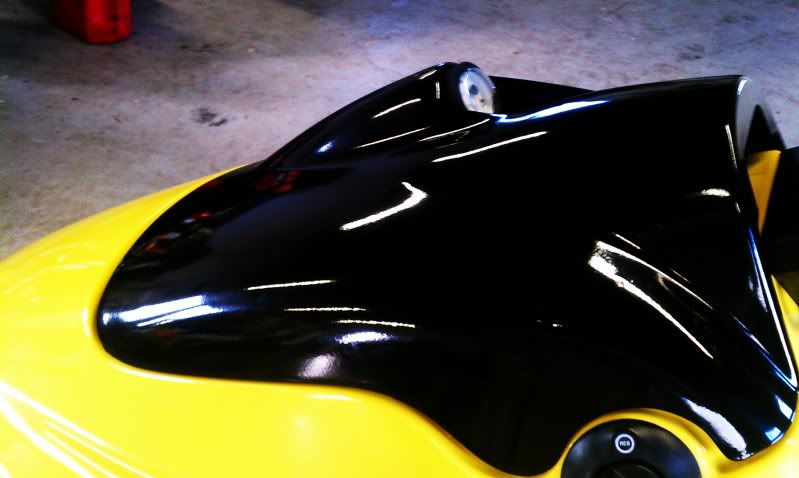
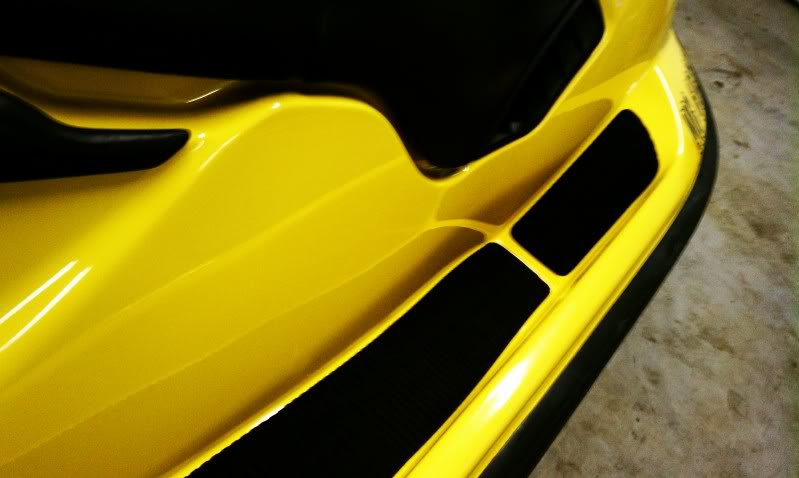
286.jpg


287.jpg


288.jpg


289.jpg


290.jpg


Now she was buffed


291.jpg


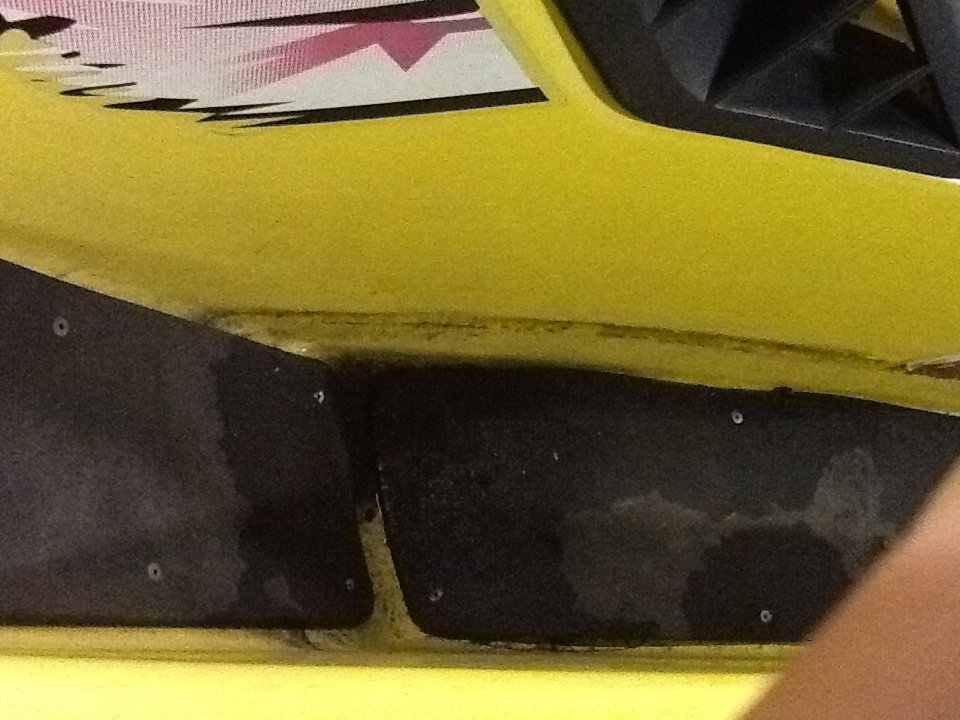
I filled in the rivet holes with short strand bondo glass


292.jpg


293.jpg


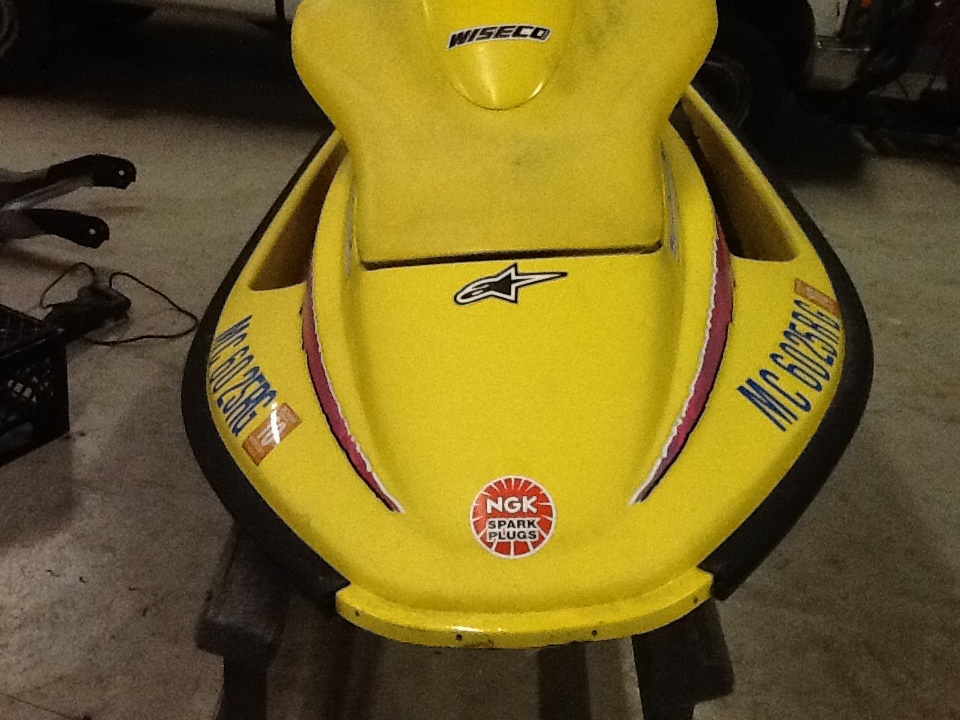
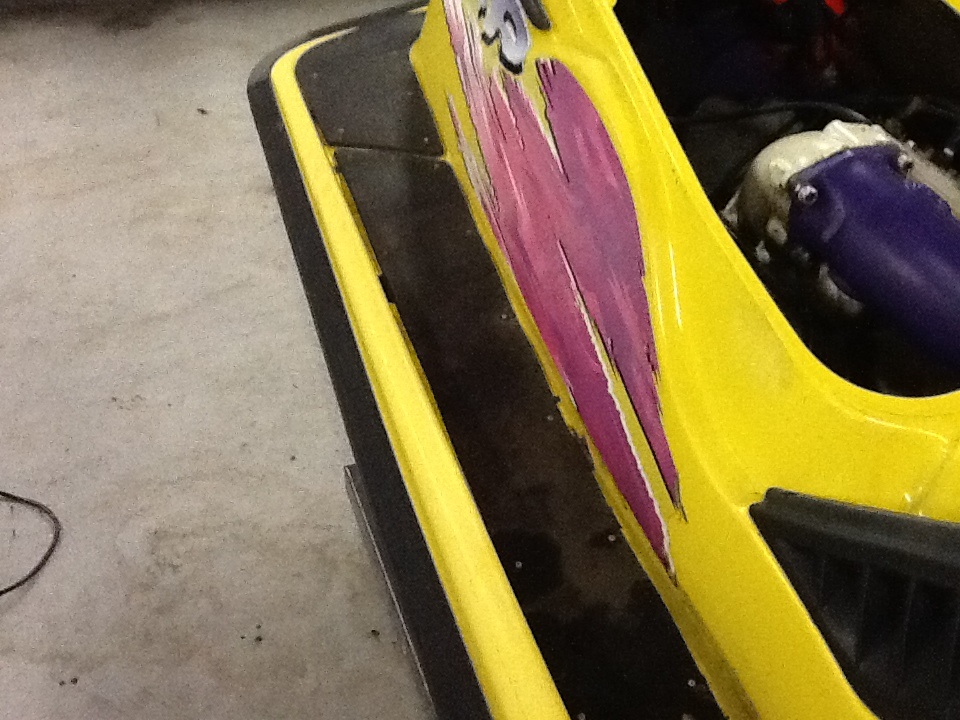
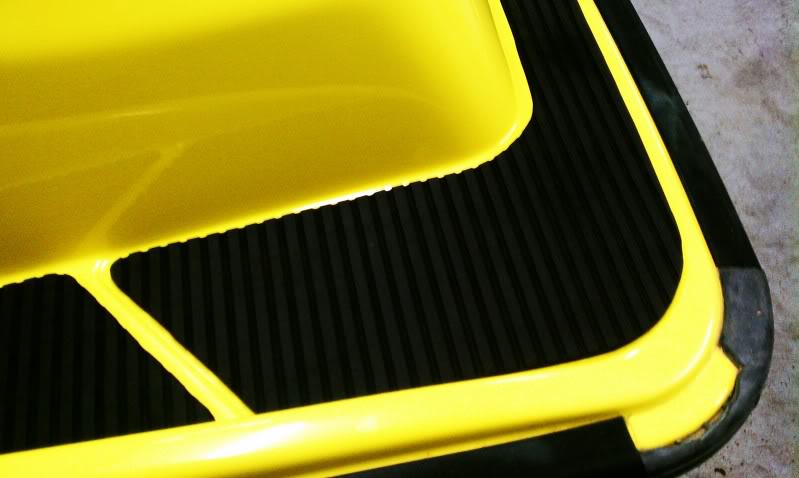
Then the one of the extra sets of black friday black tip mats were installed

294.jpg


295.jpg


296.jpg


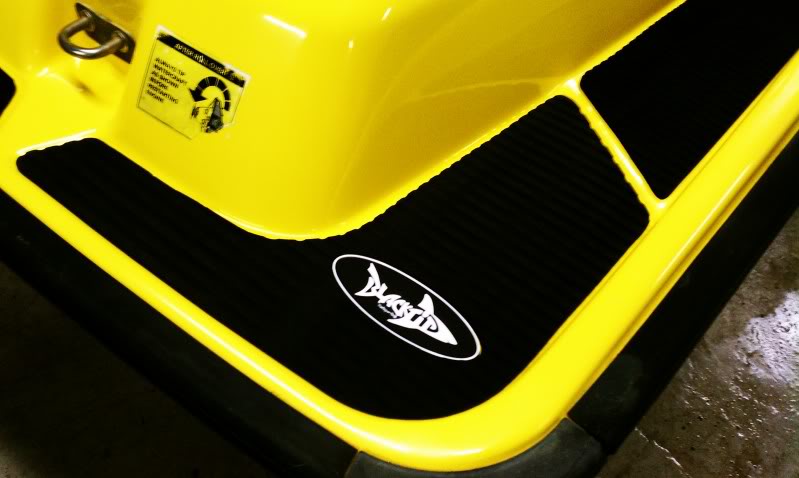
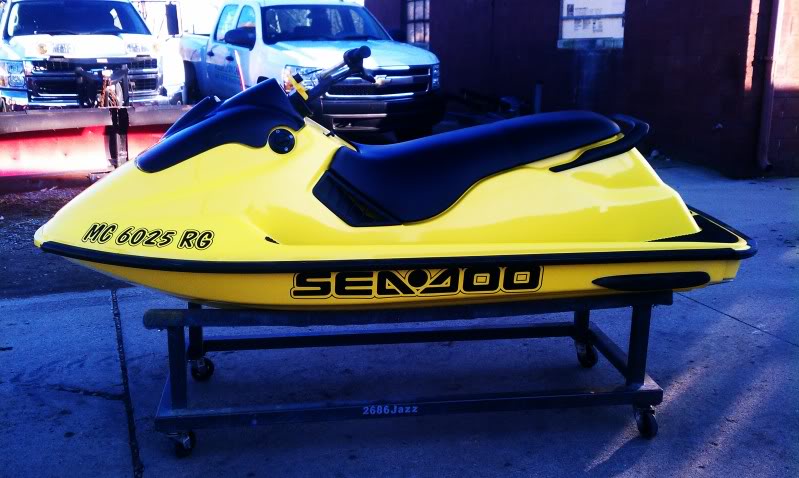
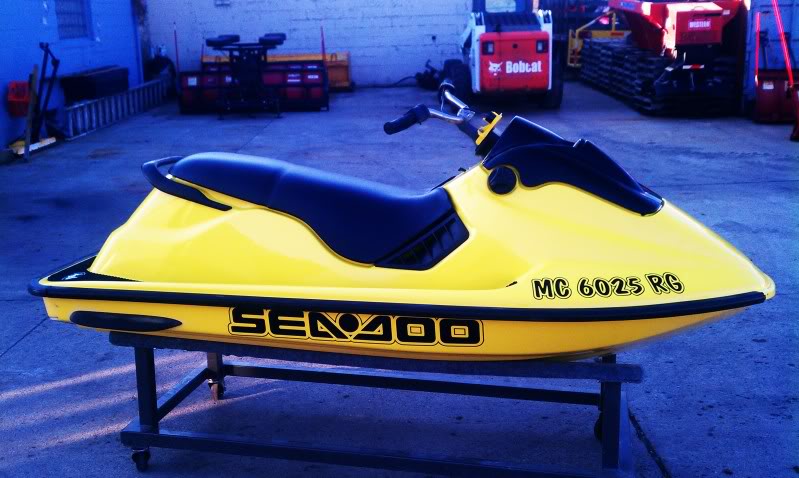
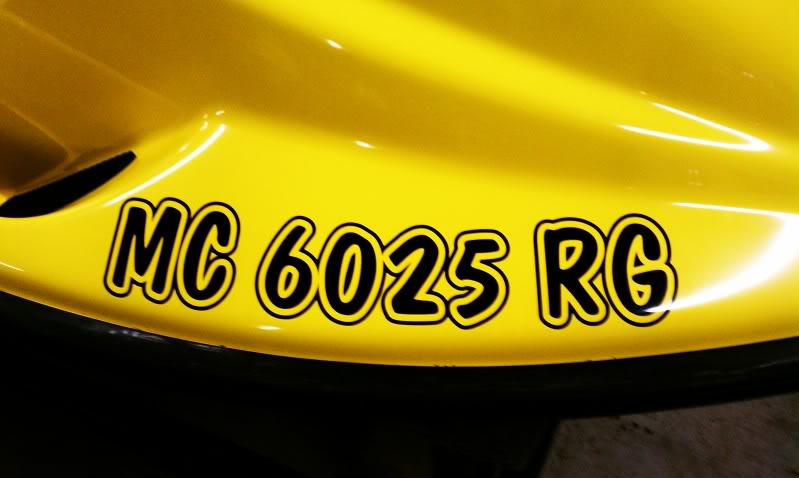
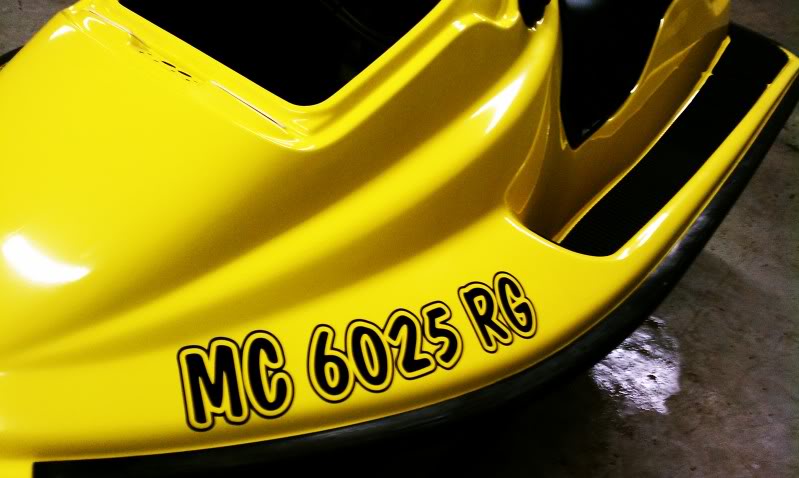
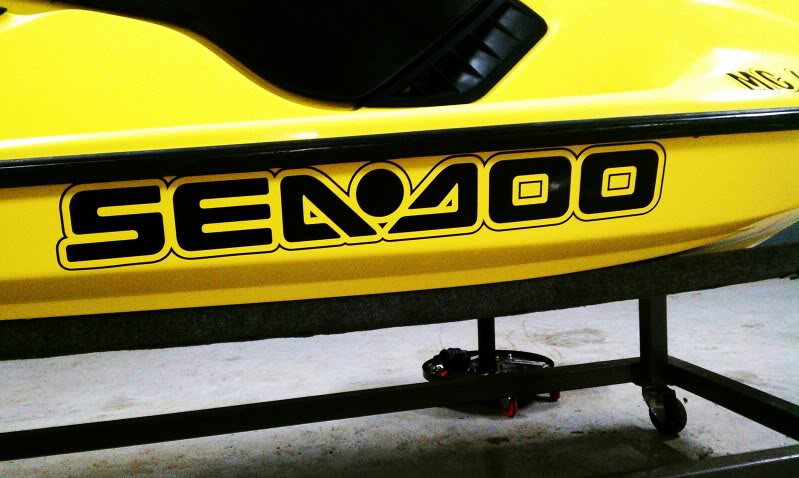
Now for the new decals from DR HONDA, got them today and were put on right away


297.jpg


298.jpg


299.jpg


300.jpg


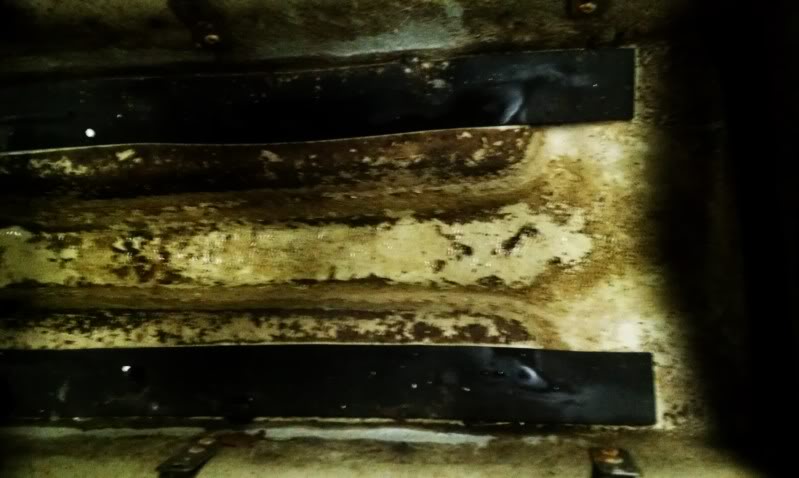
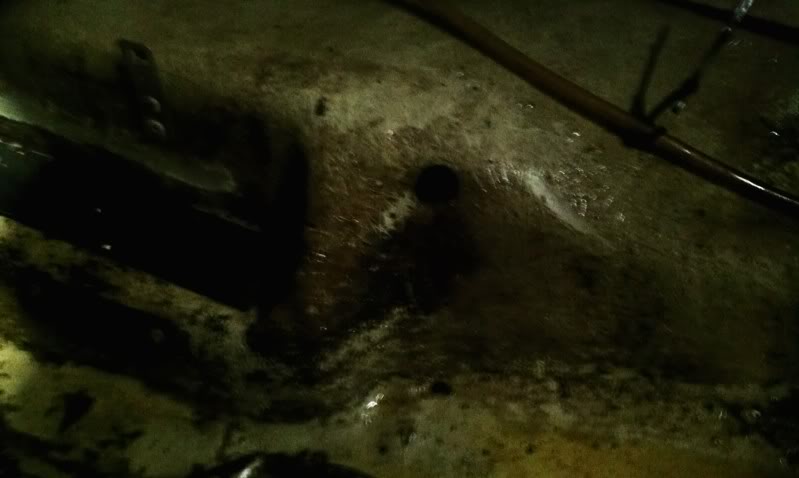
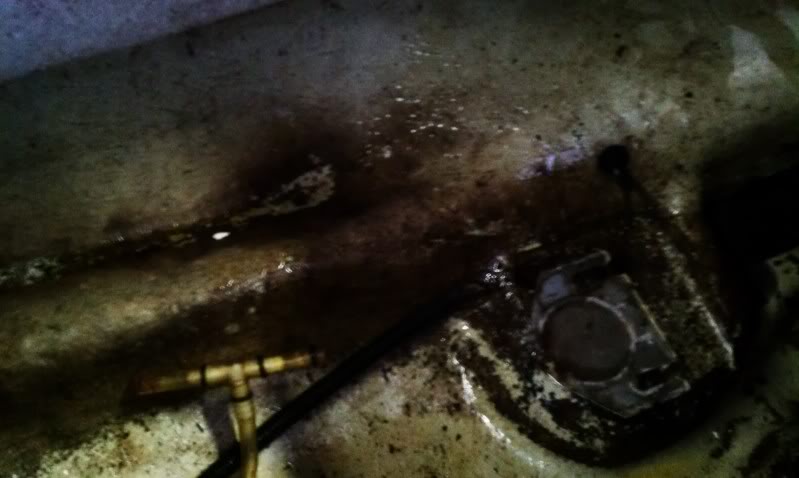
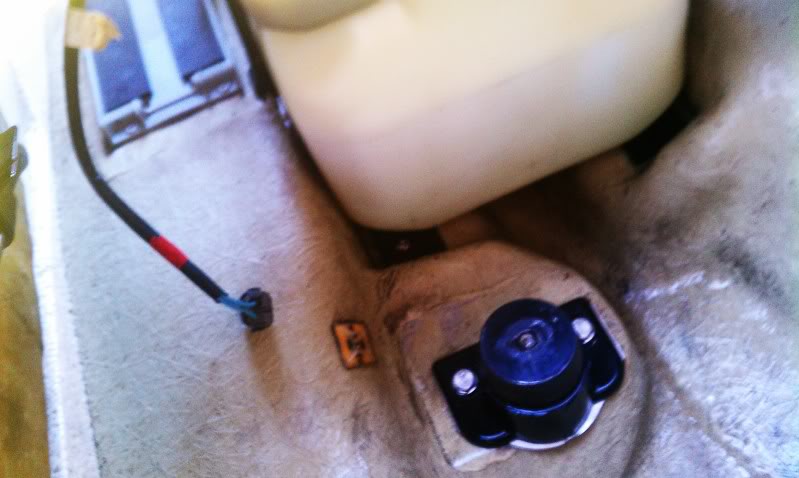
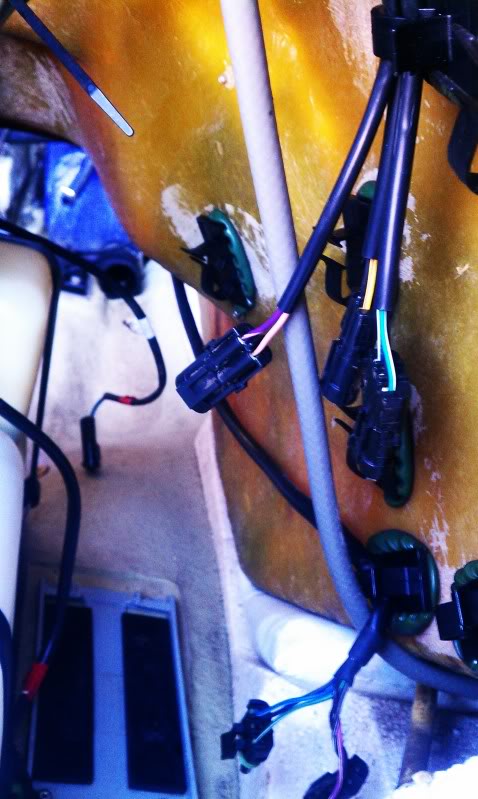
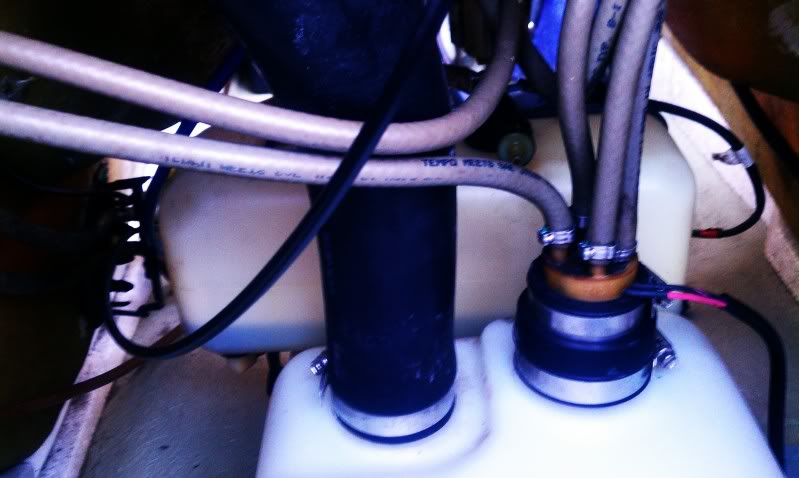
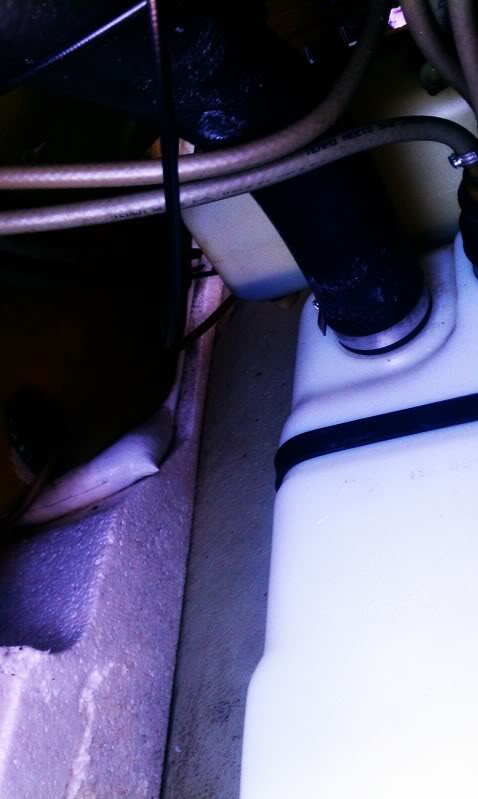
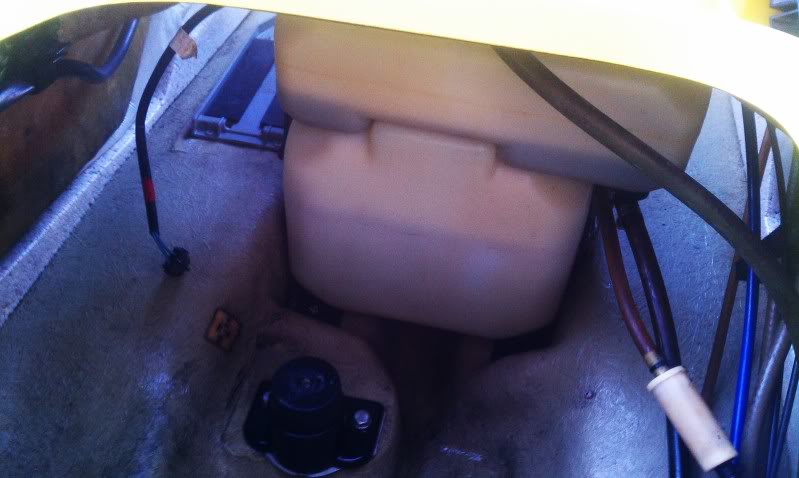
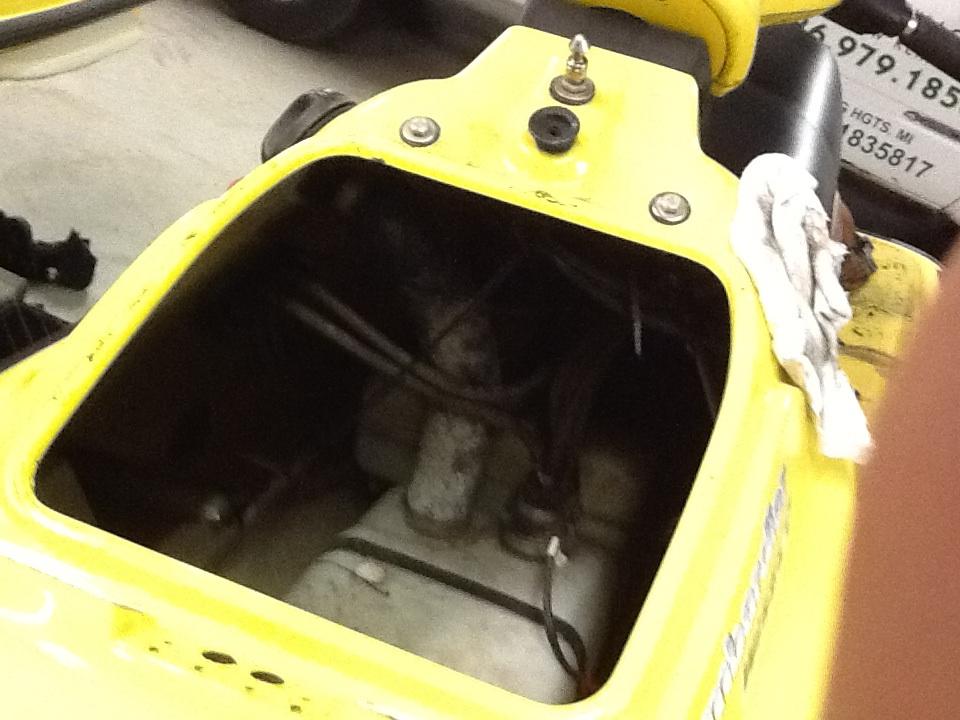
Well i started this project on sunday and i think im moving along good. I still have to replace the nose bumper as well as the rear bumper. The inside was nasty, i stripped down the inside and power washed it. The inside looks mint.

This was listed on cl as a siezed motor, i put in a battery and i got the short beep long beep. I replaced the dess post and she turned right over. After pulling the head, the pistons look great and the jugs you can still see the cross hatch marks. I will be tearing down the motor to inspect the crank but im thinking she is good. Te guy said he had it rebuilt a couple years ago but said it wouldnt turn over even after a starter replacement. But the dess post was the culprit.

Ill be getting right back at it tomorrow night so ill have some more pics to come
 
Last edited by a moderator:
Nice score JSG! Looks fan-friggin-tastic as usual. Lets see some inside shots, none of this teasing crap.
 
I hate my ipad2, when i upload the pics from photobucket they are all in the right position. For some reason some of them flip upside down


Minnetonka did you notice the reg #s? Thats how Tony usualy cuts them
 
Last edited by a moderator:
I hatr my ipad2, when i upload the pics from photobucket they are all in the right position. For some reason some of them flip upsidedown


Minnetonka did you notice the reg #s? Thats how Tony usualy cuts them


I've been getting that lately with them being rotated the wrong way--even when I pre-rotate them on my PC, must be PB.
 
Inside pics will be coming soon, the inside pics are hard to take with my ipad. The inside is super mint now, we have our spickets hooked up to our hot water tank, so it gets powerwashed with hot water outside with the plug pulled. So i have a couple inside pics but they are crappy


See this is the best pic i could get with this $500 pos

301.jpg
 
Yup and the bottom of the whole hull had black grime, not much oil though, and the fuel tank has already been upgraded and the head pipe has had the plugs welded
 
Nice work JSG! I like Dr. Honda's work also.

We buy decals for every single one we do, Dr. Honda is great, we designed a set of custom decals for a gsi we were doing and had a local shop do them and they charged me waaaaayyyyy more than what Tony charges, so i sent him some pictures of what i wanted with the dimensions and they turned out great. We have bought i think 8 complete sets and i need to order at least 3 more in the next couple weeks. I cant say enough about how happy i am with his decals

Seadoos done with his decals so far
2 95 xp
3 96 xp
1 96 gsx
1 95 spx
1 95 hx
 
Last edited by a moderator:
I def like Tony's curve...looks like it matches perfect. I agree...those fastsigns places are a friggen joke price wise.

You work magic on your hulls...I have a guy that buffs mine and he will be reading your thread before he does another one for me.
 
sselzer....look for JSG's thread. He made a 2 page "how to" get your hull to look as good as his.

Im with Tim...I dont have the patience. I have a guy locally that loves doing it and is cheap, now I just need to teach him JSG's secrets.
 
sselzer....look for JSG's thread. He made a 2 page "how to" get your hull to look as good as his.

Im with Tim...I dont have the patience. I have a guy locally that loves doing it and is cheap, now I just need to teach him JSG's secrets.

ya, i miss my guy, his name was Glenn, and he went away to college in August, i'd give him $40 and he'd buff & sweat and buff & sweat some more, i had a couple of times I had to go out there and take a toothbrush out of his hand and told him to go home !....

I really miss Glenn...

I have to spread my buffing projects out over the course of a week, i get so lazy... now... give me a pressure washer and ask me to do the inside, and I won't quit until you can eat off of it.. but buffing hulls is for the birds.
 
ya no kidding, it looks terrific, i get bored polishing hulls half way between beer #1 and beer #2.


you sure you got those holes fully covered ???? lol

It takes me about 3 hours from start to finish, but $40 wouldnt cut it, i usualy go through that in materials, i usualy buy new pads each time.

As for the holes, there actually isnt much material there, i use a putty knife fill the hole then scrape away the extra material so i dont have to sand it down, so it just is a thin coat you are seeing
 
Here are some before and after pics of the hull, tried taking more but the ipad doesnt have a flash

Before

310.jpg


311.jpg


312.jpg


Now

313.jpg


314.jpg


315.jpg


316.jpg


317.jpg


So todays progress.
I replaced the steering cable, started putting back in the components, fuel tank,mounts, odds and ends, drilled out the back corner bumper and replaced it, then installed the single gauge hood. It was already painted when i got it :thumbsup:
Here are some pics with the new hood


318.jpg


319.jpg


320.jpg


321.jpg


I know i know i know, they grey fuel lines are coming off

The hood has a chip and a little bit of orange peel but i may just leave it but am toying of the idea of wetsanding it and paint fixing it when i make the handle bar pad like the one on my avatar
 
Last edited by a moderator:
What easier wet sanding or buffing? I have all the wet sand paper already, but what ther easier?


They both suck but if you wet sand you will have to buff it anyways after you are done to bring the shine back, when wet sanding you are just taking off the top layers and trying to smooth out high spots, it will leave your gelcoat looking flat with no gloss to it.
 
Last edited by a moderator:
They both suck but if you wet snad you will have to buff it anyways after you are done to bring the shine back, when wet sanding you are just taking off the top layers and trying to smooth out high spots, it will leave your gelcoat looking flat with no gloss to it.

I did a combination of wetsanding and buffing. Wetsanding is def faster as far as getting rid of high spots/sticker lines/other imperfections. Too bad mine has some wicked orange peel problems. Sadly we've narrowed it down to factory defect. Nothing I can do but have it repainted. Not worth it for a $1500 ski I already have $2k into.
 
We buy decals for every single one we do, Dr. Honda is great, we designed a set of custom decals for a gsi we were doing and had a local shop do them and they charged me waaaaayyyyy more than what Tony charges, so i sent him some pictures of what i wanted with the dimensions and they turned out great. We have bought i think 8 complete sets and i need to order at least 3 more in the next couple weeks. I cant say enough about how happy i am with his decals

Seadoos done with his decals so far
2 95 xp
3 96 xp
1 96 gsx
1 95 spx
1 95 hx

Whoa whoa... please PM me or post the pics of said GSI decals.
 
I'd like to see the HX decals.


All they are is the bottom seadoo and the reg#s. i just put my spin on them, the seadoo logo on mine are a little larger and i have a unique outline. I use a specific font for the reg#s too. Nothing fancy just something i like.
 
All they are is the bottom seadoo and the reg#s. i just put my spin on them, the seadoo logo on mine are a little larger and i have a unique outline. I use a specific font for the reg#s too. Nothing fancy just something i like.

Do you have a pic of it. Are they the same as the ones in the pics above?
 
Status
Not open for further replies.
Back
Top