New Guy, with a New-to-me 1994 Seadoo Spx

Note: This site contains eBay affiliate links for which SeaDooForum.com may be compensated
Status
Not open for further replies.
These are exactly the links that I was looking at last night, as I was thinking that I may have the wrong bearings... but I was not able to find the dimensions for the 2 different numbers listed, and I never thought to look at the engine label. However I did plan on calling SBT today to see if they would be able to measure the bearings listed or if they had more information on them.

Thanks Racerxxx I will check it out tonight when I get home, do you know off hand or from experience if the 657x/720 bearings are bigger?

I can't find any dimensions online so I can only go off what I located on SBT's site. I also found another funny thing that I totally skipped over on SBT site.

It just goes to show you really, really need to read things carefully as listed below:

NOTE: For 657x applications using OEM rods, you need 25-105 Wrist Pin Bearings.

http://www.shopsbt.com/seadoo-jet-ski-cylinder-exchange/62-104.html

Now, go and look at the SBT reman crank shaft---it fits both the 657 AND the 657X---and doesn't call out the need for a different crank for either application. Hmmmm, so if you think about it, they must swap to a standard 657 rod and junk the X rod. Those dirty bastards. I understand from their stand point, but once you start swapping stuff like that you burn the guy down the road doing a rebuild that is hot to trot and orders what he thinks is the correct part and gets the wrong part. It is nice that they supply the first guy the correct parts.

http://www.shopsbt.com/seadoo-jetski-crankshafts/20-103.html

As far as my experience with the 657/720 bearing difference--none, all deduced by research. All my stuff is 787's, but I remembered two versions of the 657 and it clicked in my head that I bet the rods are different. Also, if you ordered from SBT, THEY should have questioned you is it an X engine.
 
Thanks Racerxxx, looks like you have confirmed what my research has led me to believe, which is that I most likely need the 25-105 bearings, and of course I will call SBT to confirm my suspicions, and hopefully get a dimension.

Unfortunately I didn't order my top end kit from SBT, although in hind sight I should have, but its too late to dwell on the past now lol.

I also found this interesting bit of information in my search last night: Click here at own risk (link redirects to another forum)

From this page it seems like the cranks are interchangeable, which means I could have an oddball 657 with a 657X crank, but I am not sure how reliable this source is.

I will keep everyone posted as to what I find out...
 
TEX,

In this picture , on the tag, does it say 657X. If so, I think they take a different bearing than a normal 657.

Yep, just checked SBT and they call out 2 different bearings for the 657 and 657X. The rod must be the same as the 720's because that bearing crosses over to a 720

So now the question is, what do you have??? I'll see if I can find any dimensions online

657X/720 wristpin bearing

657/X--Read the first note

And confirmed again on their top end kit

657 Top End Kit


100.jpg

How in the heck could you see that?? I zoomed in the best I could and could not make out anything!

Now...another question coming from the pwct thread....is the crank in there the full web?

The reason why I ask is that crank sucked...it was in the 93 XP. You can twist it out of balance so easy its stupid. At this point prob not worth changing out, but be aware it could be out of phase.

That PWCT thread isnt 100% accurate. I should prob point it out over there but its an old thread.

1. the full webbed crank was only on the 93xp not the 94.

2. He also has the carbs "incorrect". In 93 the XP had the non 'I' body carbs that werent strapped together. In 94 it had The I body. The 657 non X had both types of carbs as well.

3. He didnt get into the iginition system...most likey b/c they used both types on both motors...BUT for the most part they used the higher performance 5 wire stator with the AMP box in the grey box. The only exception to that rule was the 95GTX had the 4 wire setup all the 580s and 720s used.
 
Last edited by a moderator:
How in the heck could you see that?? I zoomed in the best I could and could not make out anything!

Now...another question coming from the pwct thread....is the crank in there the full web?

The reason why I ask is that crank sucked...it was in the 93 XP. You can twist it out of balance so easy its stupid. At this point prob not worth changing out, but be aware it could be out of phase.

That PWCT thread isnt 100% accurate. I should prob point it out over there but its an old thread.

1. the full webbed crank was only on the 93xp not the 94.

2. He also has the carbs "incorrect". In 93 the XP had the non 'I' body carbs that werent strapped together. In 94 it had The I body. The 657 non X had both types of carbs as well.

I think Racerxxx was just asking if it "does" say 657X and was just pointing it out as something that I should check... I am not sure that anyone would be able to read that tag from these crappy old cell phone pics lol.

Thanks again Minnetonka4me, and I figured there was a chance that the sourced information maybe incorrect, and the original poster of the PWCT also says that there may be some things that he overlooked and its mostly a visual comparison.

I am not really sure what crank I had in mine, I took it over to my mechanic who was swamped with snow mobile repairs right now and asked him if he had some time that he would be able to split it/inspect it and put it ALL back together. Unfortunately he only had time to do the inspection, so that's why I am tackling the top end.

I am going to see what information I can find out about the bearings posted by Racerxxx by calling SBT on my lunch break, hopefully they are able to help me with the information that I need.
 
How in the heck could you see that?? I zoomed in the best I could and could not make out anything!


Dude I have Bionic sight--You can call me the Six Dollar Man :D 
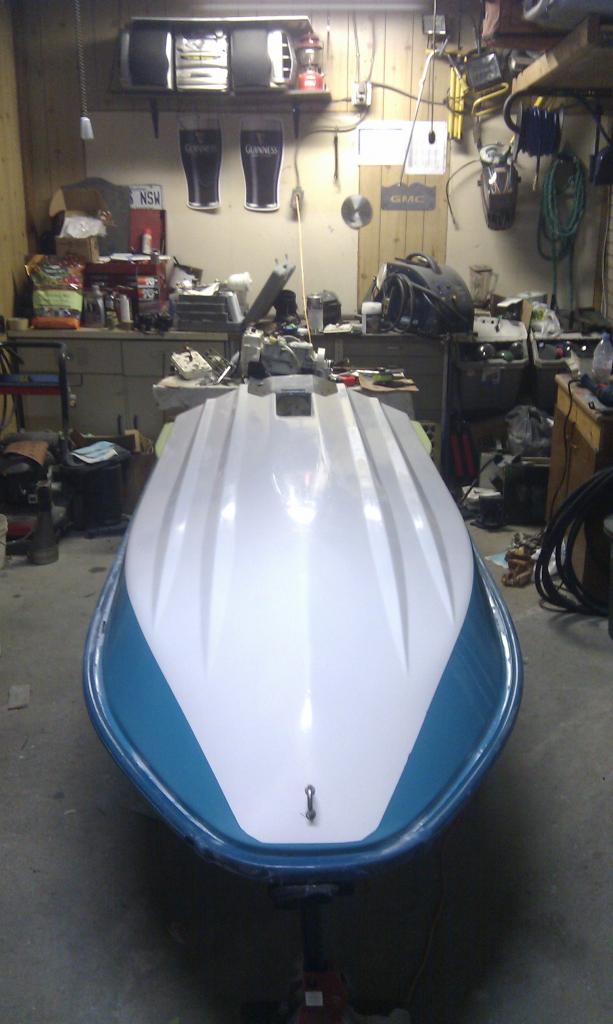
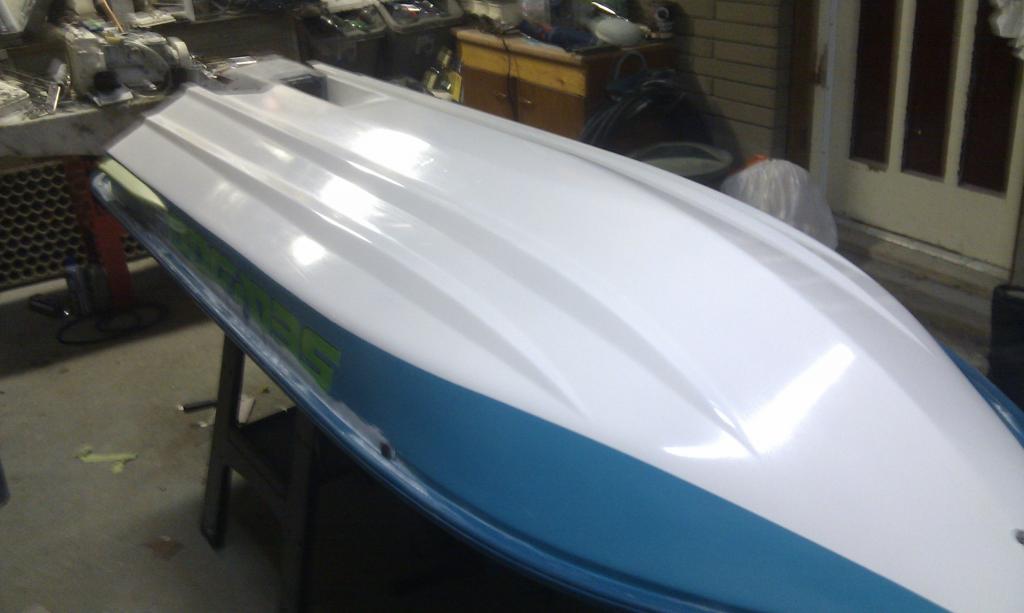
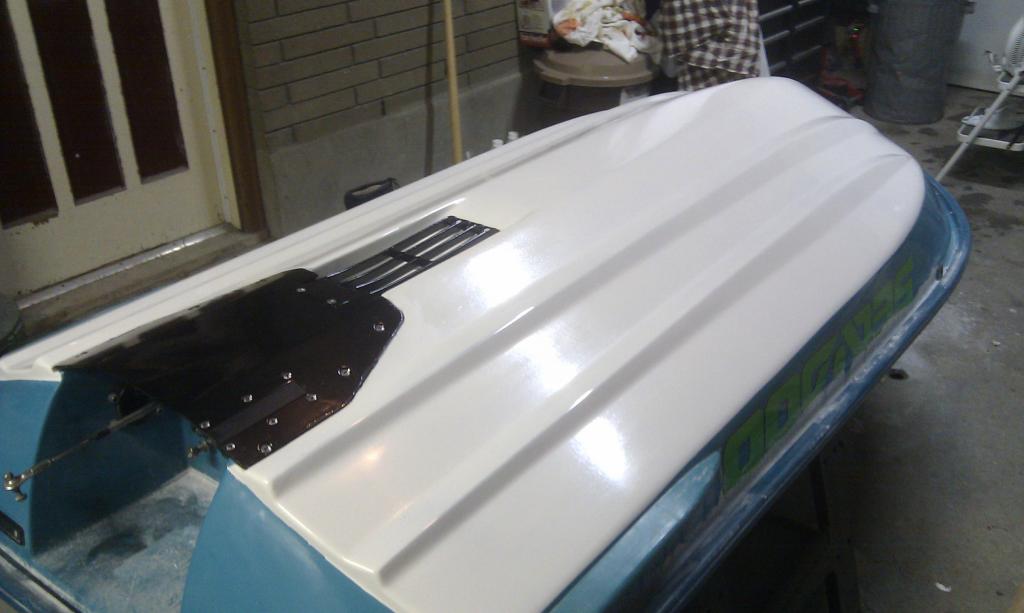
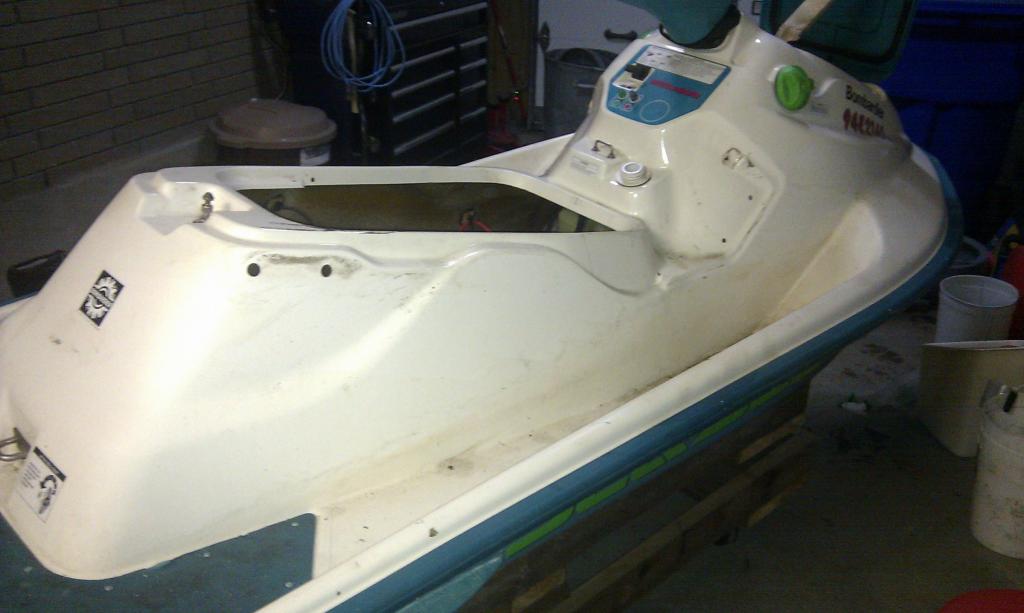
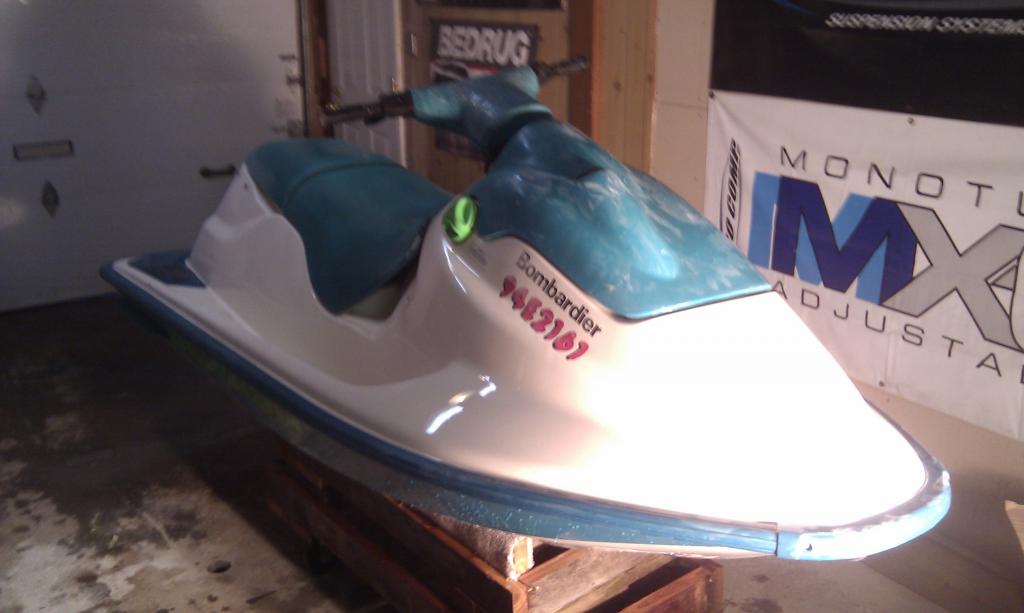
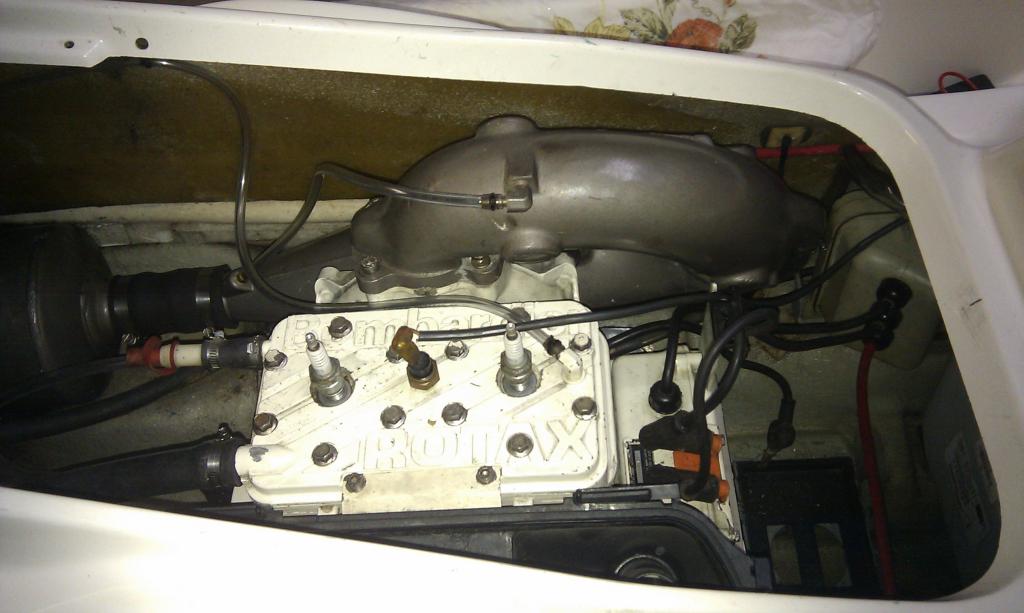
J/K, I couldn't see that from the pic, although I honestly do have 20/20 vision.
 
Just to keep everyone updated....

I just got off the phone with SBT and after a little transfer confusion(from parts to one of the techs) ... I was able to confirm what we(mostly Racerxxx, and Minnetonka4me) had suspected.

Once I got on the phone with the tech(and I feel bad that I can't remember his name to give him some credit), I explained my situation and after I was done talking he said :

Tech: "So you have a 657 with 657 top end kit, and the bearings are sloppy?"

Me: "Yes, that is correct"

Tech: "Oh ya, we get this issue a lot, you need 720 bearings ... so order some 25-105 bearings and you will be good to go"


So now I have to order some new bearings tonight when I get home and hopefully that will be the last of the problems that I encounter for the next little while ...
 
Right on Tex. Glad to help out, I love a rebuild of an old ski.

:cheers: and thanks again.

Its not going to be as good as your build or any of Jetskigoodies builds because my main concern at this point is having a runner on a budget(as mentioned its not a very valuable ski ... +/- $1500 at best), but I am trying to do my best to bring it back to a reliable running condition. Not to mention the things I am learning as I go.

Hopefully, if I still have it next winter I will be able to take the time to make it more appealing to the eye ;) lol ... but for this year the main goal is to enjoy it.

Now I just have to find a good camera man that will work for cheap ... lol ... cause its so hard to work and remember to take pictures lol.

This first ski is what I'll call your gateway drug, after your first hit, your hooked. I'd be willing to say by next winter you'll have another ski in you fleet. The SPX is looking good don't sell yourself short. Just remember, it's all about the fun and learning.

Fast or slow, you're not stuck on the dock.

Thanks Racerxxx

I have no doubt you're right about the first one being a gateway drug ... although it doesn't help that I have always wanted one since I rode my first one way back when lol ...
 
Update ...

Well I re-ordered what I was told would be the correct bearings for my situation and well they arrived last week I was finally able to go pick them up on Friday ... got home today and started to install them and I am having the same issue :cuss:... the 720 bearings are the same size as the ones I received with my top-end kit ... :(

So now I am back where I was 2 weeks ago and I am going to call SBT in the morning to see if he has any other alternatives or ideas.

Any additional input from anyone here will also be greatly appreciated.
 
Update#2 ... lol

Well after looking through catalog after catalog and speaking with a very well known local machinist and engine builder, he was able to look up some specs for me and since I hate leaving problems with out a solution, here is the results.

According to the Weisco catalog the correct bearing for my application is a B1039 which just so happens to measure out to 20IDx25ODx21.8 long ... so it seems that the bearings that I have received up until this point are the wrong ones for my engine.

So after a little bit of frustration and some long distance calls ... I am happy to say that things appear to be back on track for me and I should be a little bit closer to having this project back together.

Hopefully this information will be able to help someone else out if they happen to run into the same issues that I am having.

On a side note I have 2 sets of bearings that I would be willing to sell to someone if they are looking to get some new ones. They both measure out to the same size and one of them is part # 25-105 from SBT. So if anyone is interested then let me know.
 
Ok well since I haven't updated this in a while I guess its time to show you guys what I have been up to...

While I was waiting on the 2nd set of replacement wrist pin bearings to arrive I decided that while the ski was virtually empty that it would be the best time to flip it over and see what kind of shape the bottom was in... even I wasn't prepared for what I saw, remember these pictures from the beginning of the thread? while that was just the start of my problems under there...

106.jpg


after I flipped it over I began to asses the damages and sand them down ... unfortunately I forgot to take pictures when I started to do the work on the bottom so I only have a couple from after I sanded it down, filled in the damage and sanded it smooth...

314.jpg


315.jpg


316.jpg


and the big chunk of missing GelCoat ...

317.jpg


Now fortunately for me I am in Ottawa ON, Canada and that is the location of GelCoat International, unfortunately though for me I did not allow for refinishing the bottom of the hull in my budget so I had to make a couple sacrifices and that started with the repairs on the bottom of the hull, and that ment that I would have to use white GelCoat instead of the original teal that was there, but I think that I was able to pull it off in a tasteful manor.

Now a warning for anyone who is thinking about trying this out ... Gelcoat is very forgiving but it also requires a lot of additional work ... its not a simple spray and play kind of product ...

anyhow back to the task at hand...the hull was taped off and papered and then sprayed...

318.jpg


319.jpg


then the paper and masking were removed to reveal my like new hull ...

320.jpg


321.jpg


Since Gelcoat goes on so thick it has extreme orange peel and its also somewhat dull in appearance, well that all had to be sanded smooth and then compounded and polished to bring back the smoothness and shine ...

322.jpg


In this pic you can kind of see how the GelCoat is, the inside of the intake is untouched and just sprayed, while the outer surfaces have been sanded and buffed...

323.jpg


So I sanded and buffed and polished and while its not perfect its a lot better then it was before and I have to admit I kind of like it... oh and I painted the intake grate and ride plate in a gloss black.

324.jpg


325.jpg


Then it was flipped upright again... unfortunately the bearings still hadn't arrived at this time...

326.jpg


Well, while I wait for the bearings to arrive, and since I enjoy polishing and buffing cars and trucks in my spare time I already have all of the products to polish the hull so I decided to put some time in and see if I could make the top side of the hull shine...

So almost all of the hull stickers were removed ...

327.jpg


328.jpg


329.jpg


After wet sanding it with, 400, 600, 800, 1000, and 1500 grit sand paper ... 95% of the fading/yellowing is gone and the hull was washed off and brought back inside to dry ...

330.jpg


All dry, extremely smooth and dull ...

331.jpg


332.jpg


then I broke out the polisher and went to work and I think I was able to make improvements in leaps and bounds...

333.jpg


334.jpg


335.jpg
 
now just in time ... my bearings have arrived so a couple hours were set aside to re-assemble the engine ... and now its back at home inside the hull ...

336.jpg


337.jpg


Then all of the remaining pieces were installed and everything hooked up and double checked ...

338.jpg


339.jpg


340.jpg


Which pretty much brings us to today, so I have everything back together and I have started to do all of my preliminary inspections to make sure that everything should be a go to start it up soon, so I lubed the cylinders and hit the start button and to my surprise there was a very strong spark ... next I turned my attention to compression and I am sitting at 158 in the front cylinder and 157 in the PTO cylinder ... I have also installed new plugs and gapped them to .020 according to my manual.

I am currently waiting for my case of Quicksilver PWC 2 cycle engine oil, once that arrives I should be able to start it up and hear it run...

Sorry that this was such a long post but I had fallen behind on the updates and had to catch up lol ...
 
I really need to get better at updating this ...

So first off, I was able to get everything hooked up and all of my tests complete and all connections double checked ... all signs were good to go for take off... so I thought :facepalm:

Well I put the new plugs in and torqued them down and hit the go go button and .... got nothing :(

Now I shouldn't say that I got nothing, what I did get was a very slow roll, so I knew something had to be up ... So I broke out my multi-meter and started testing componets and I was geting +/- 12V at the battery and approximately +/- 7V at the starter when I hit start, so the repairs continued lol

So, I went and got myself a couple feet of new power and ground cable and dropped the starter off at a guy that is local to me to get it rebuilt(trying to support local economy), plus he was able to do it for not much more then what it would have cost me to get the rebuild kit and have it shipped here.

Which brings us to today and the current state of my SPX, and I am happy to say that after a couple months of work and determination and a couple unforeseen headaches and problems, it starts and runs nicely, and sounds strong. I know that I still have to break it in easily and keep a close eye on a few things for the first tank or 2, but I am confident that everything will go good.

Thanks to all of you for helping me out along the way and getting me to this point, I wouldn't have been able to do any of this without you guys.:cheers:

Next up is to finish the exterior modifications and my personal styling touches, and then totaling up the nickles and dimes that I have spent on it.

Stay tuned for the cosmetic updates and reviews of how the build turns out.
 
Nice job.
Did you use white paint for the bottom or new gelcoat that's white?

Did the company give you any tips to "paint" it?
 
Nice job.
Did you use white paint for the bottom or new gelcoat that's white?

Did the company give you any tips to "paint" it?

The white is new gelcoat, it was one of the cheapest options to fix up he damaged bottom. As far as tips there are plenty available online, you just have to search a little for them. The only thing that they really told me was that I couldn't thin it by more then 10% with acetone, and that I was not to mix the hardener that they supplied more then 2% by volume ... that's about the only tips that they offered me.
 
Just a little update this time around ... although it is still picture heavy

So I have been talking with Dr.Honda about providing me with some new decals for my SPX project. So after playing around with Photoshop a little bit I was able to send him this rough draft, as to what I was thinking about doing with my new decals.


After a little bit of back and forth with him he used my design and the text that he had available and sent me the proof, I used his proof to change my original drawing... and this is what I had come up with(Note: we just used a set of generic registration numbers because I was having a couple issues with the registration on my ski)


Once I got all the registration sorted out, I was able to finalize the proof with Dr.Honda and I had him produce them... well I was able to pick them up this past Friday and I put them on today.

Registration#'s


Seadoo Hull Logo


The Customized Logo...


And finally the big picture, and I have to say that it doesn't get much closer to my design then this.


and finally I have to say that Dr.Honda has been more then accommodating with the production of these decals ... and his customer service is extraordinary ... I wouldn't hesitate to purchase another set of decals from him and I would recommend that anyone who is thinking about getting some vinyl cut, that they definitely send him a PM.
 
That SPX looks great. I am reviving the exact same ski. I really like the graphics, thinking of maybe borrowing a few of your design elements with some different colors. Did you spray on the gel coat or brush it on?
 
That SPX looks great. I am reviving the exact same ski. I really like the graphics, thinking of maybe borrowing a few of your design elements with some different colors. Did you spray on the gel coat or brush it on?

[MENTION=52378]Porschephreak[/MENTION] The GelCoat was sprayed on ... it is by far one of the hardest media I have worked with ... I think its because it takes a lot of patience and attention to the minor details to make it come out right. Also its insanely thick which requires you to use the largest nozzle you can find for your gun, alternatively you can invest in something called a "dump gun" which is what is traditionally used to apply GelCoat.

I have actually just started on another project ski for my girlfriend and I am redoing the bottom on it as well ... and lets just say that it rained here Monday and Tuesday and as of last night the Gelcoat was still a little tacky. The added moisture in the air has retarded the curing time, however the next couple days are supposed to be nice that I am hoping that it will dry out... otherwise I will have to respray it with another coat with some additional additives and almost double the amount of catalyst to get it to dry properly for me. Fingers crossed when I get home on Sunday that it will be dry.

As for the graphics, talk to Dr Honda, he is the one that cut mine for me at a very reasonable price. Awesome guy to do business with, and I am sure that it would be fairly easy for him to duplicate the graphics for you.
 
Last edited by a moderator:
Did you use anything to thin the gel coat? I have heard that acetone will work but several people I have spoke to have recommended a product called Duratec. Supposed to be doable with a 1.5mm tip.
 
Did you use anything to thin the gel coat? I have heard that acetone will work but several people I have spoke to have recommended a product called Duratec. Supposed to be doable with a 1.5mm tip.

I used acetone because the place I purchased my GelCoat said thats what they use. The key is all in the amounts, you thin it by volume and not more then 10%, and then you add the catalyst at 2% of volume(initial GelCoat volume, not thinned GelCoat volume). Always thin it first and shake it really well, add the catalyst and give it a really good shake right before you put it in the gun. You only have 20-30 min of working time once the catalyst is in before it starts to thicken back up and harden.... keep in mind that is in optimal conditions as humidity and temperature will affect the cure time.

My Gun has the 1.4mm tip on it and honestly I think I would prefer a larger tip ... I have read that a 2mm tip works really well. It is doable with the smaller ones but it would be better/easier with the larger tips.
 
This past weekend I was able to take the SPX up to the cottage and I brought my buddy up with his HX also ... water was not to bad but I did have a suit on ... here is a couple pics ...

The view from the deck...


The Skis ...


I was also a little curious to see how fast the SPX would actually go ... so I downloaded a GPS spedometer app for my cell, made sure I had signal to the GPS satellites and hit the go go button ... here is the results lol


I am not sure how accurate the app is, but I did test it in the truck on the way home and it was almost dead on ... weather that reading is true or not, this thing is fast enough for me currently lol.
 
Status
Not open for further replies.
Back
Top