Are you re-assembling with new parts? If so where did you get them and what part#'s did you get? Perhaps something was mis-labeled.
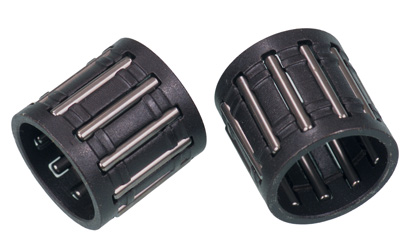
Are the wristpin bearings caged bearings or are they loose needles like the factory uses?
Caged beaings:
http://tboltmotocross.com/images/B1041.jpg
Loose Needle: The outer black piece and inner black piece are pressed out during install, note the needles are back to back.
http://i.ebayimg.com/t/Sea-Doo-Jet-Ski-657X-717-720-Wrist-Pin-Needle-Bearing-Part-290832420-420832421-/00/s/NzY4WDEwMjQ=/$(KGrHqJ,!lgE8h9-Zn0fBP,i)T5zCQ~~60_35.JPG
If caged, when you insert it into the rod end it might be slightly loose until you put the pin in. The pin will "press" the needles outward and there should be very, very minimal rock. Now with the bearing out of the rod end it should JUST slip onto the wristpin and should be very minimal rock--like none. Did you measure the pin diameter on the piston? If that is bigger, then I'd say you have the wrong wristpin possibly.
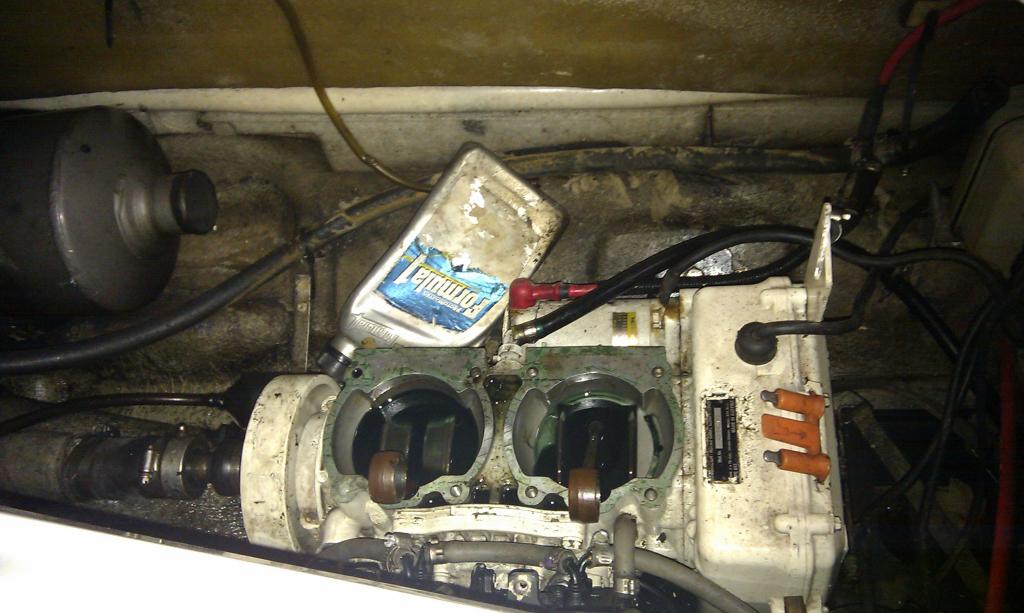
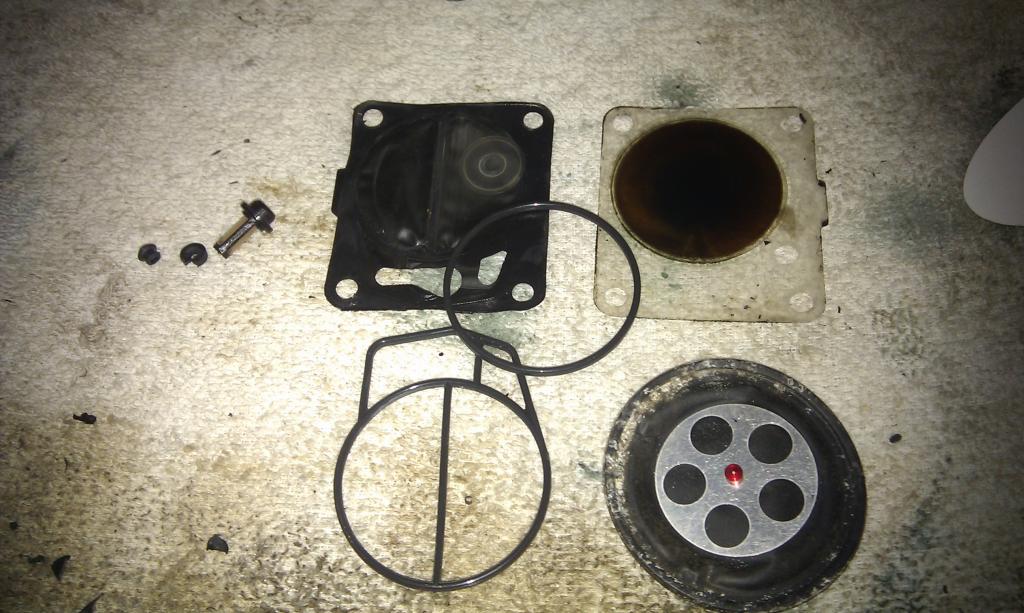
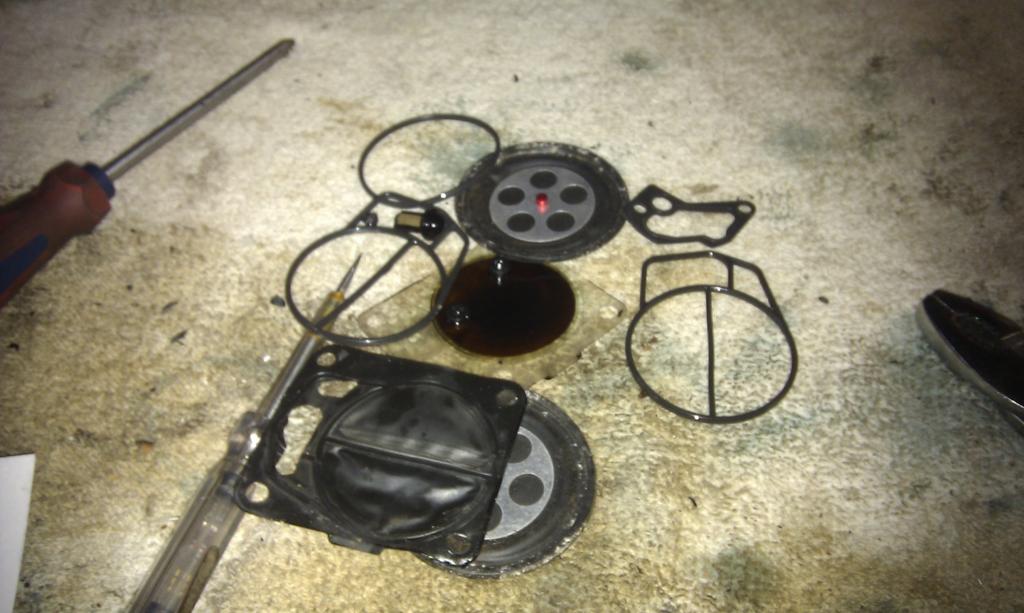
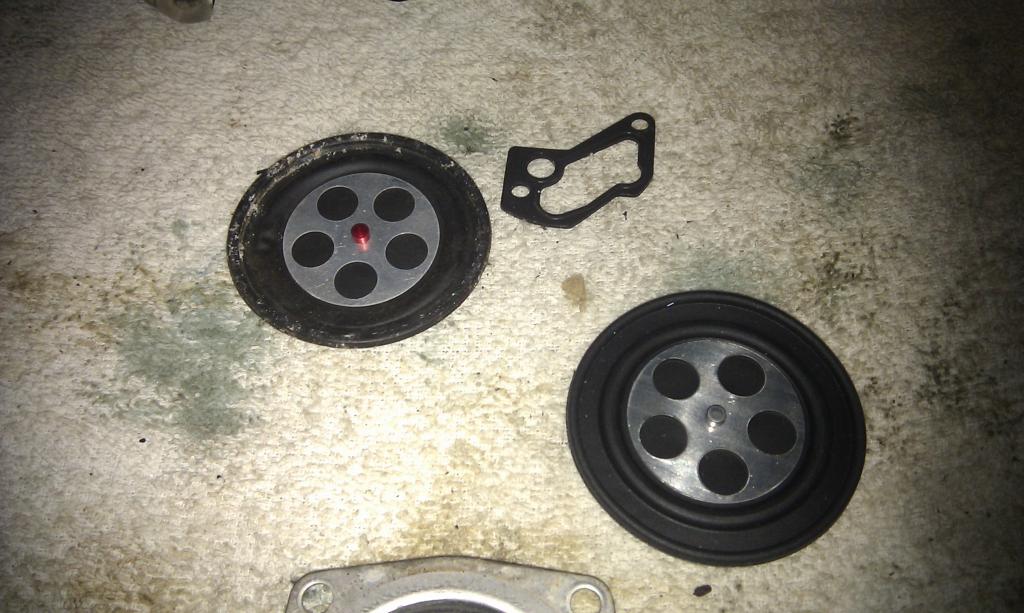
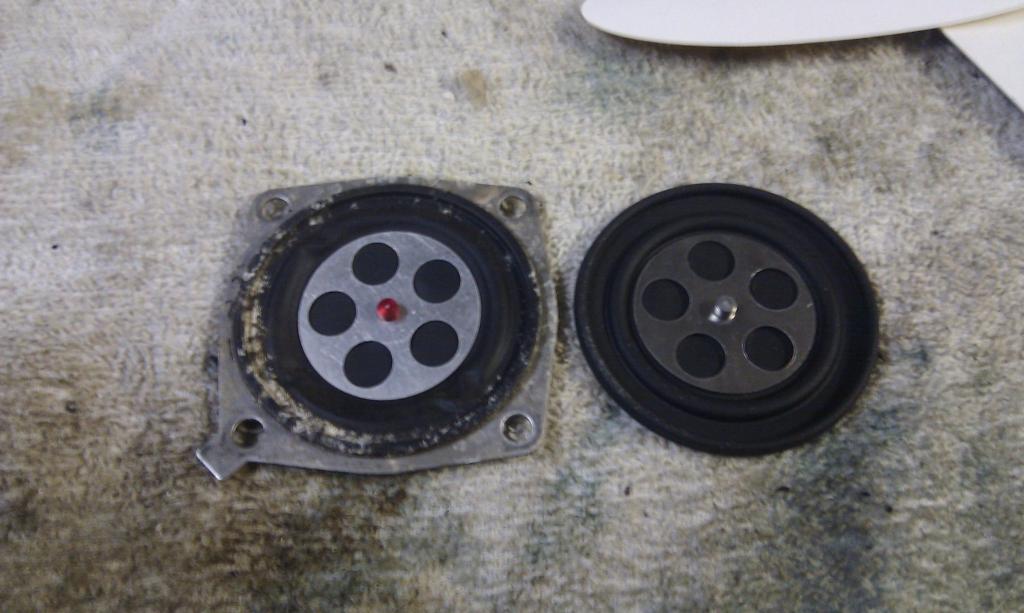
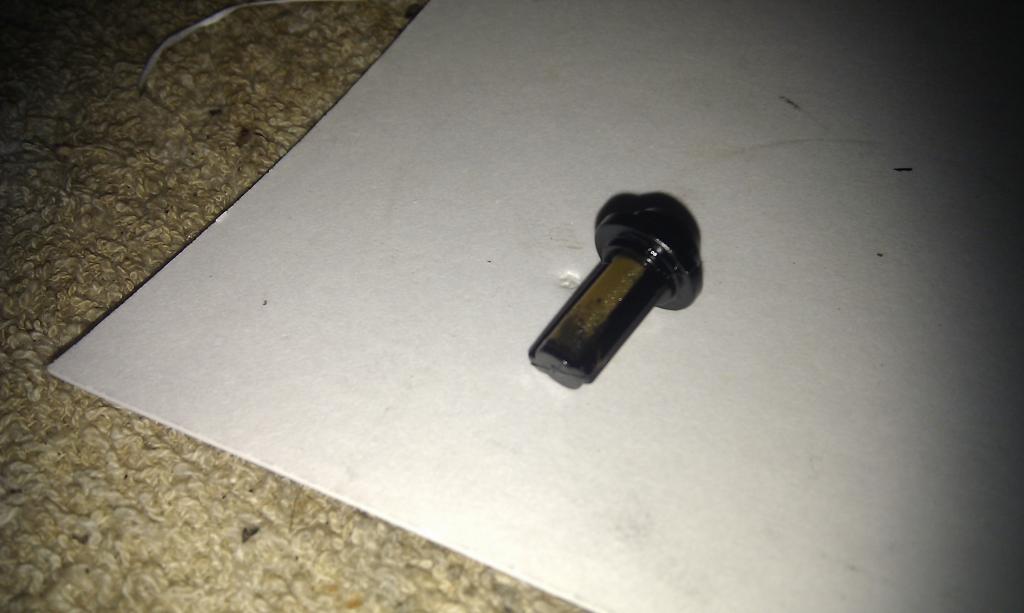
Post some pics up.


") ).
).") )?
)? 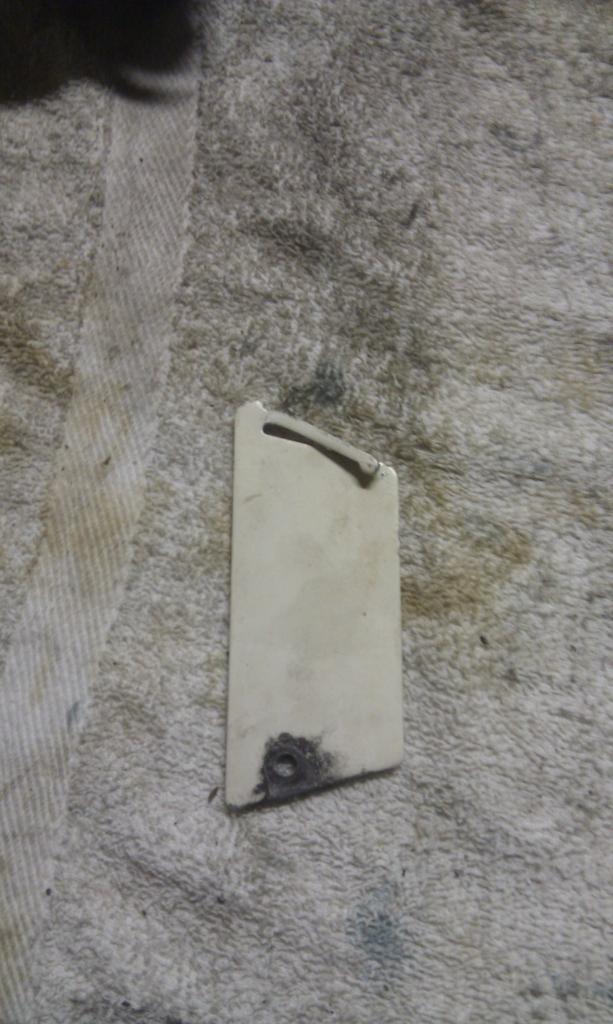

 . I will also try my best to take some pictures that indicate what I am describing because a picture is worth a 1000 words right.