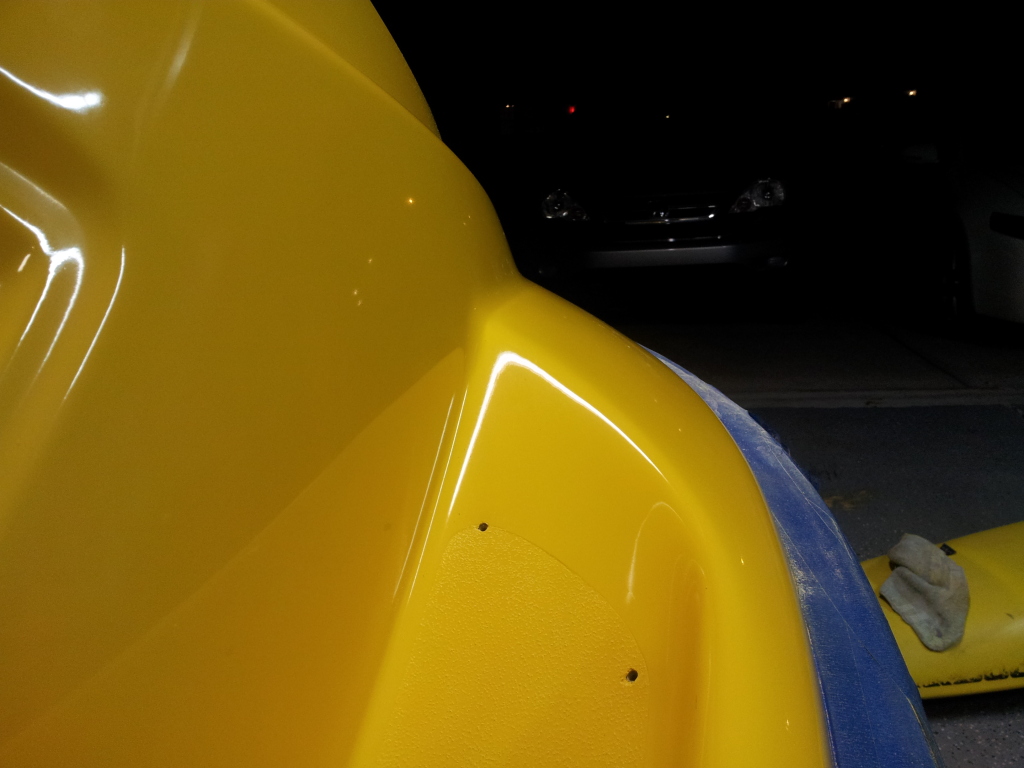
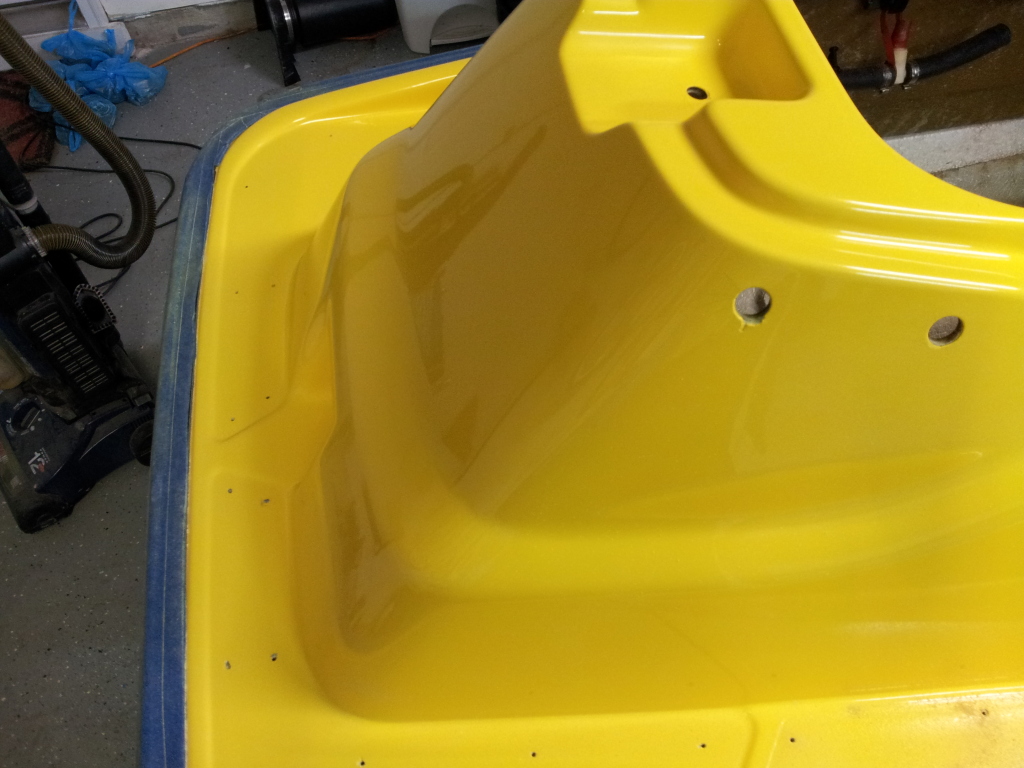
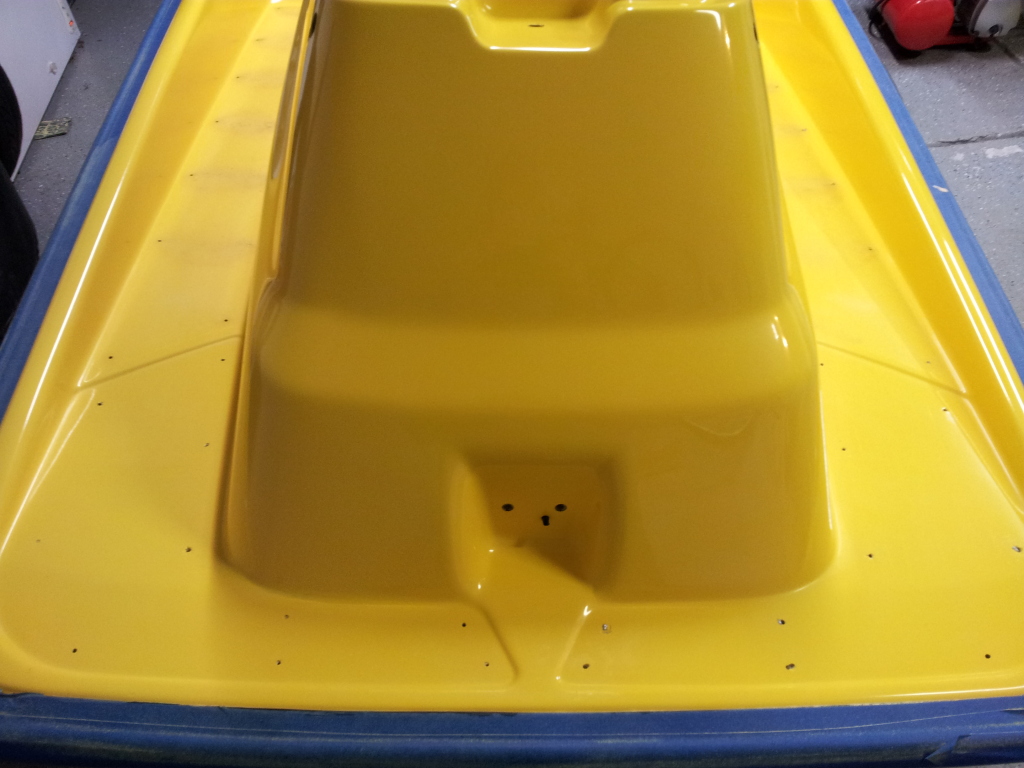
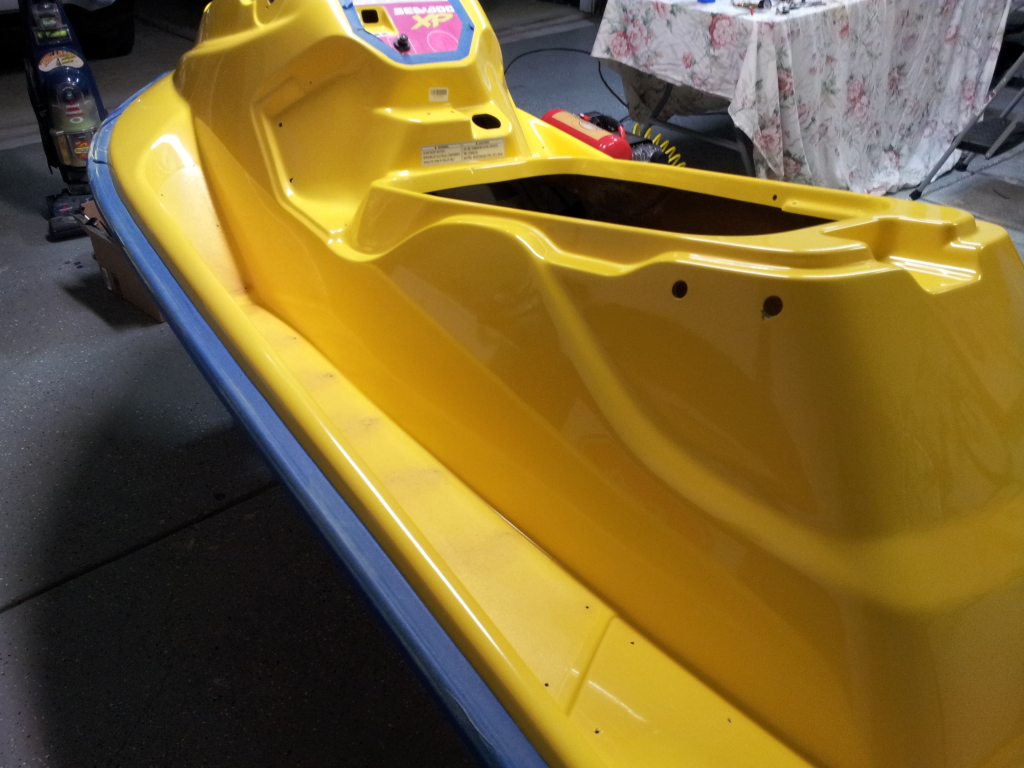
If you want to buff the footpad area, i have a simple solution on how to do that read this,
http://www.seadooforum.com/showthread.php?48028-How-to-clean-your-sun-faded-hood-cover-w-pictures
The pad on the drill has no problem getting in that area.
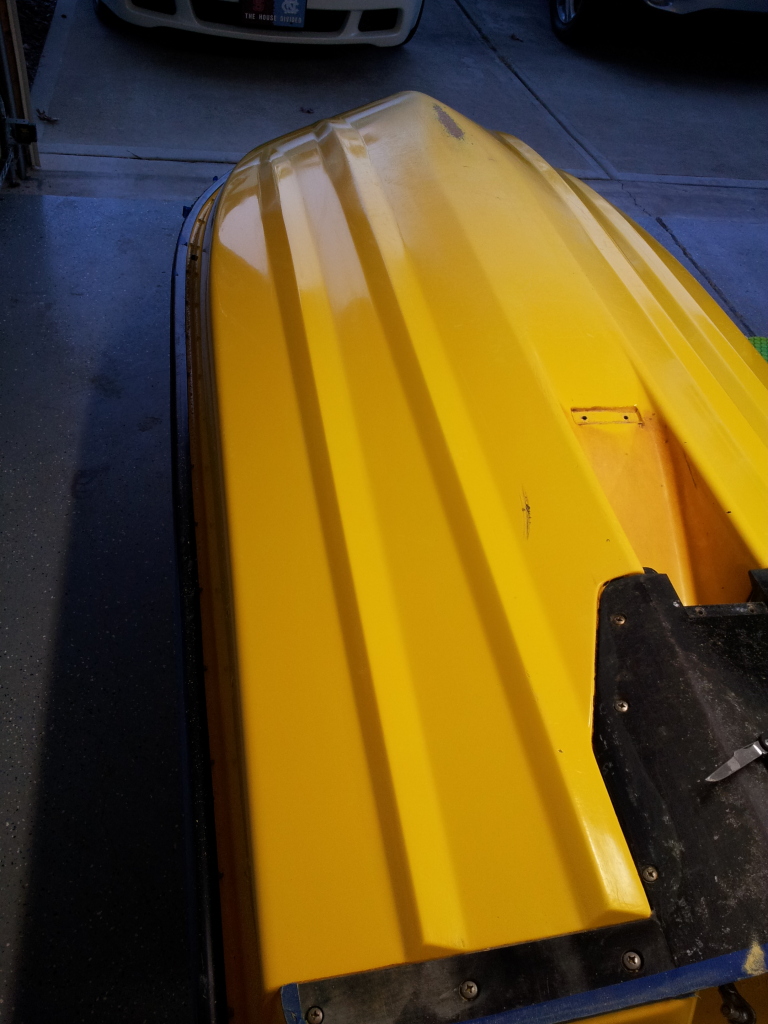
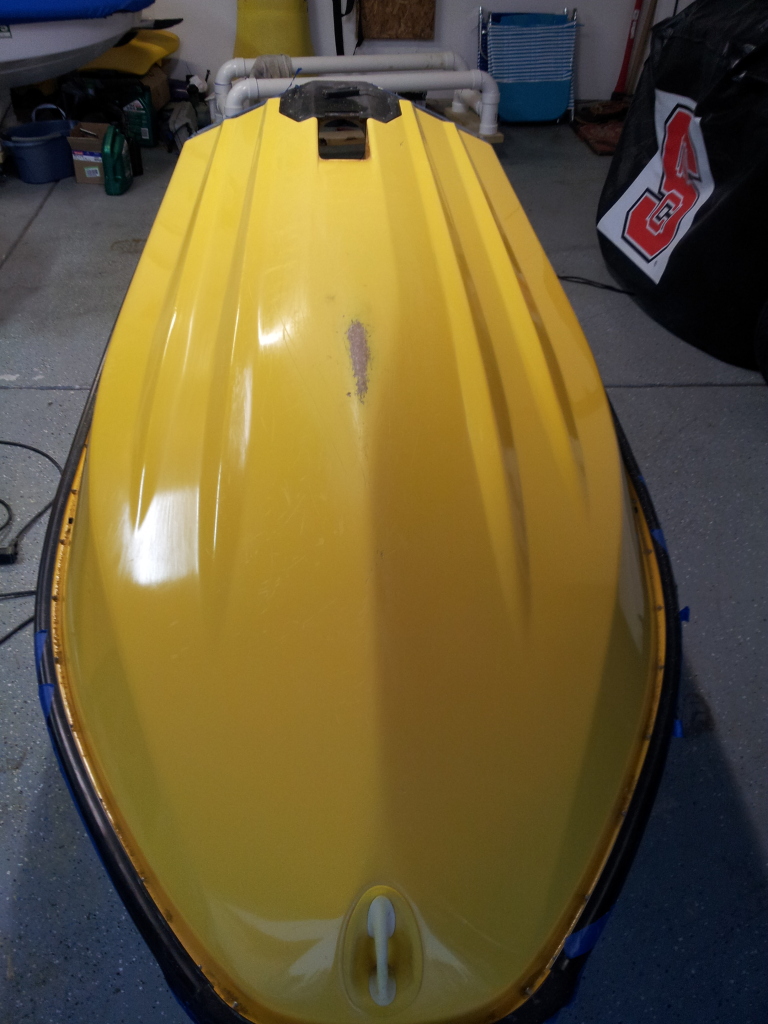
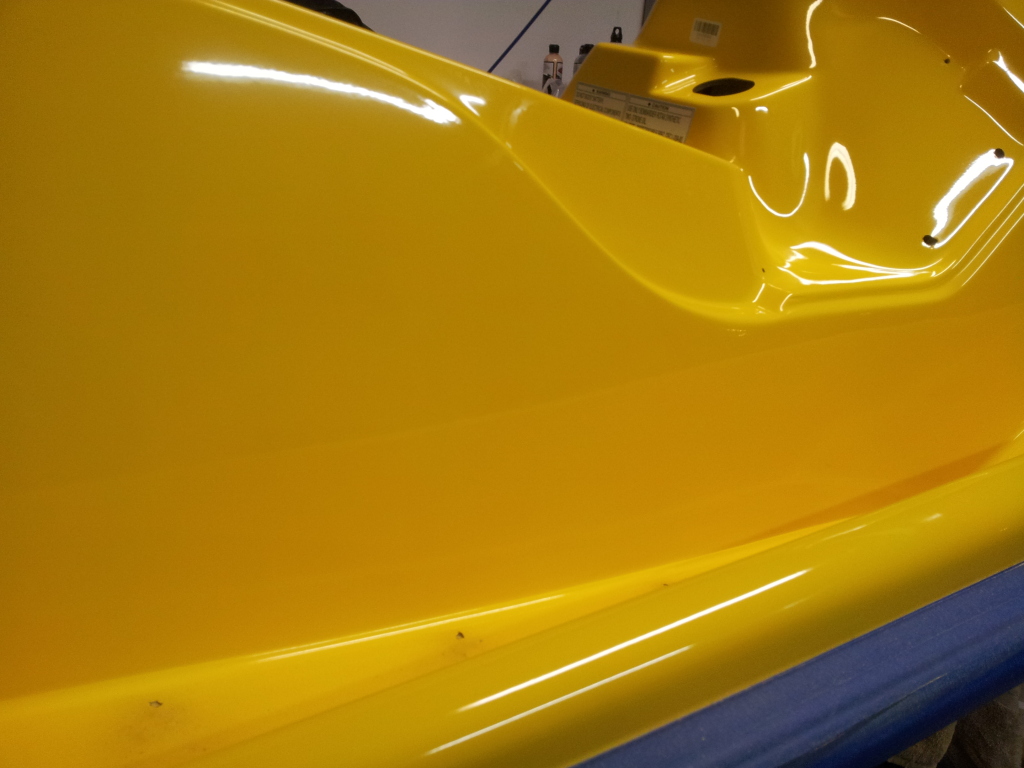
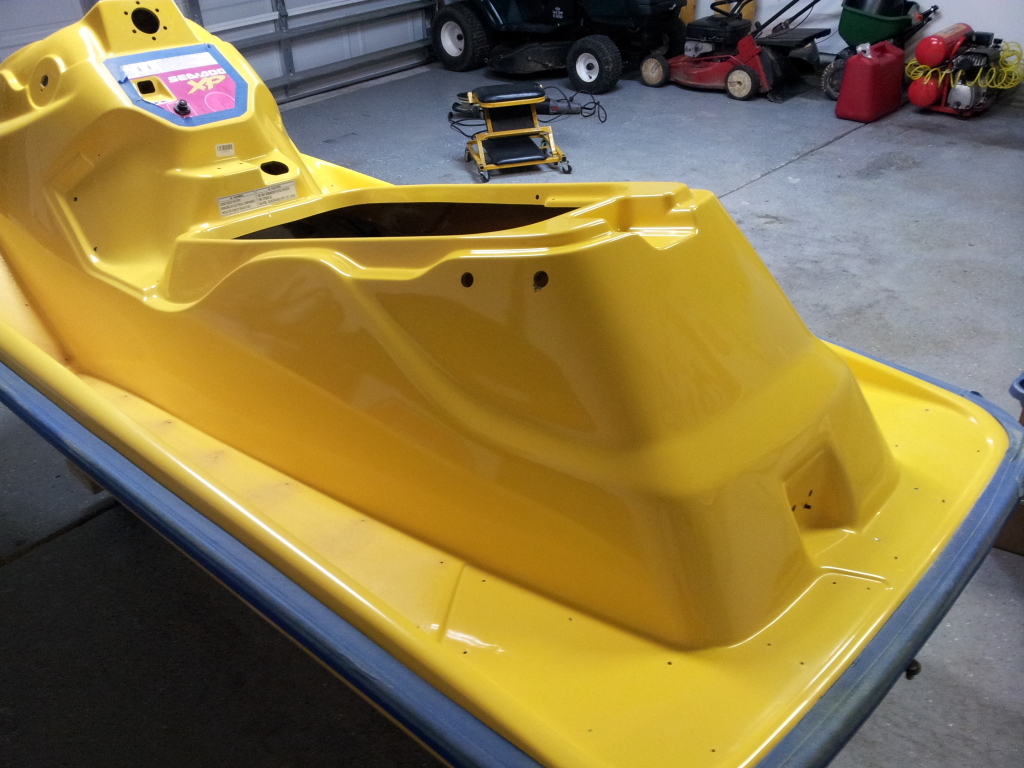
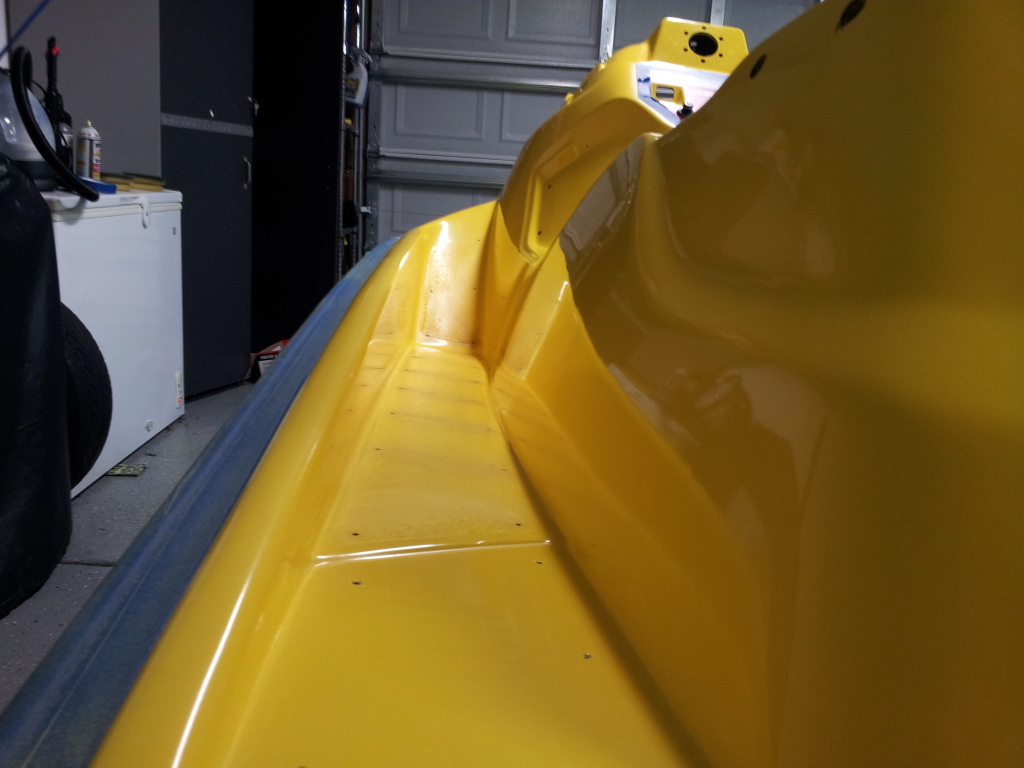
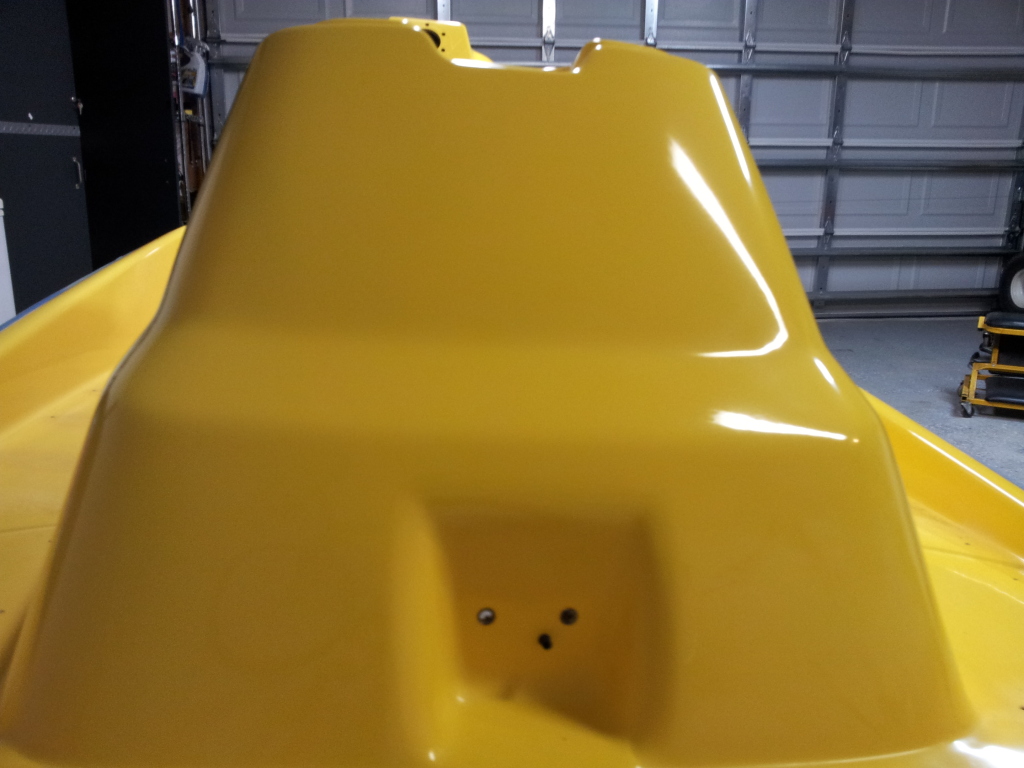
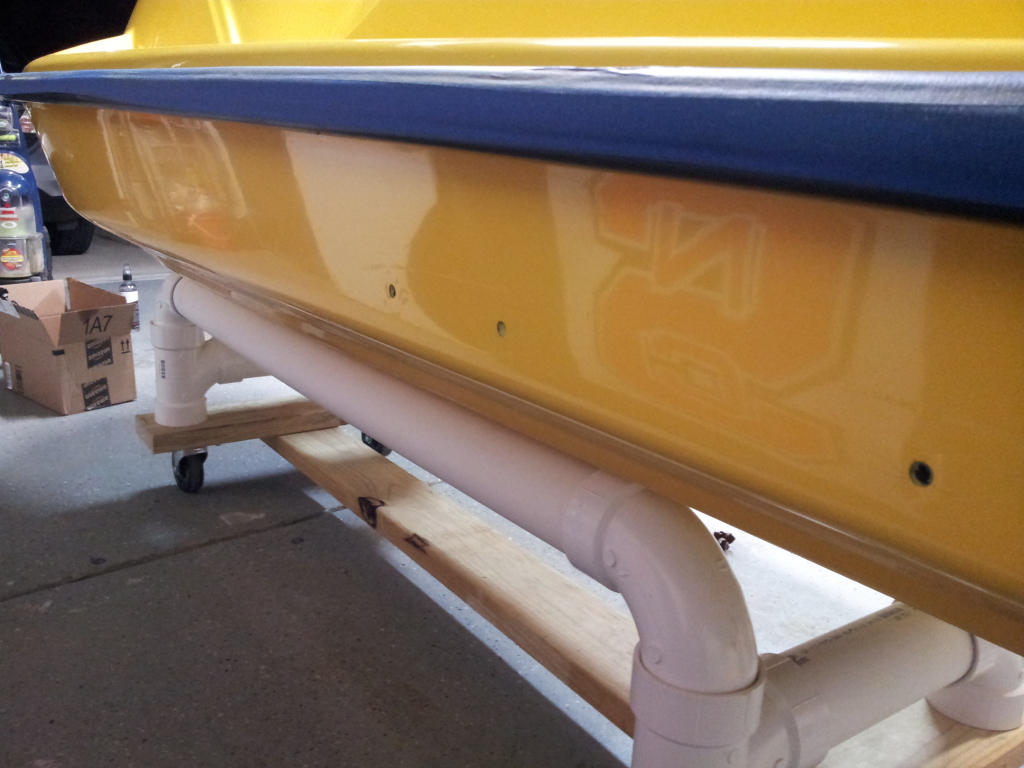
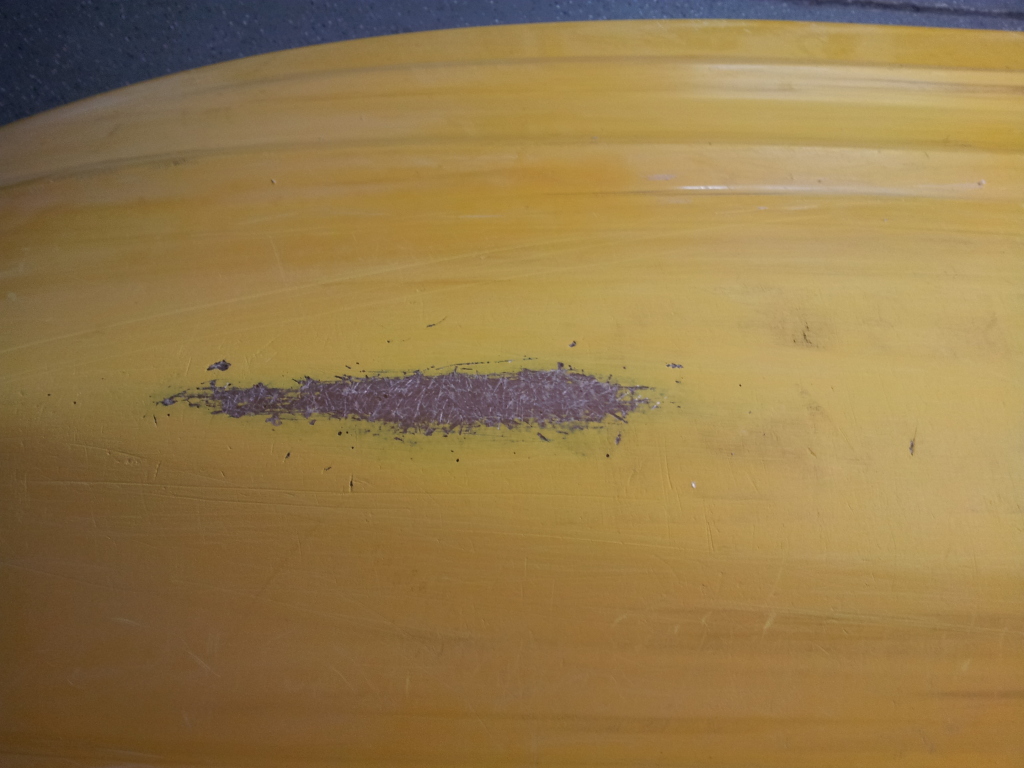
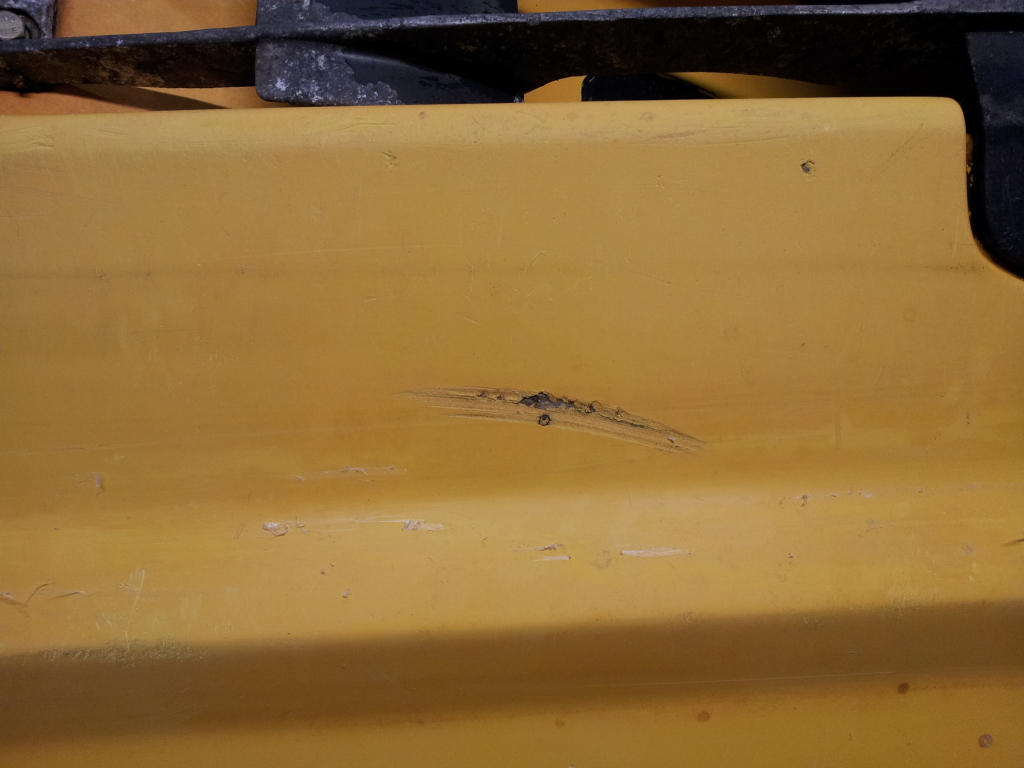
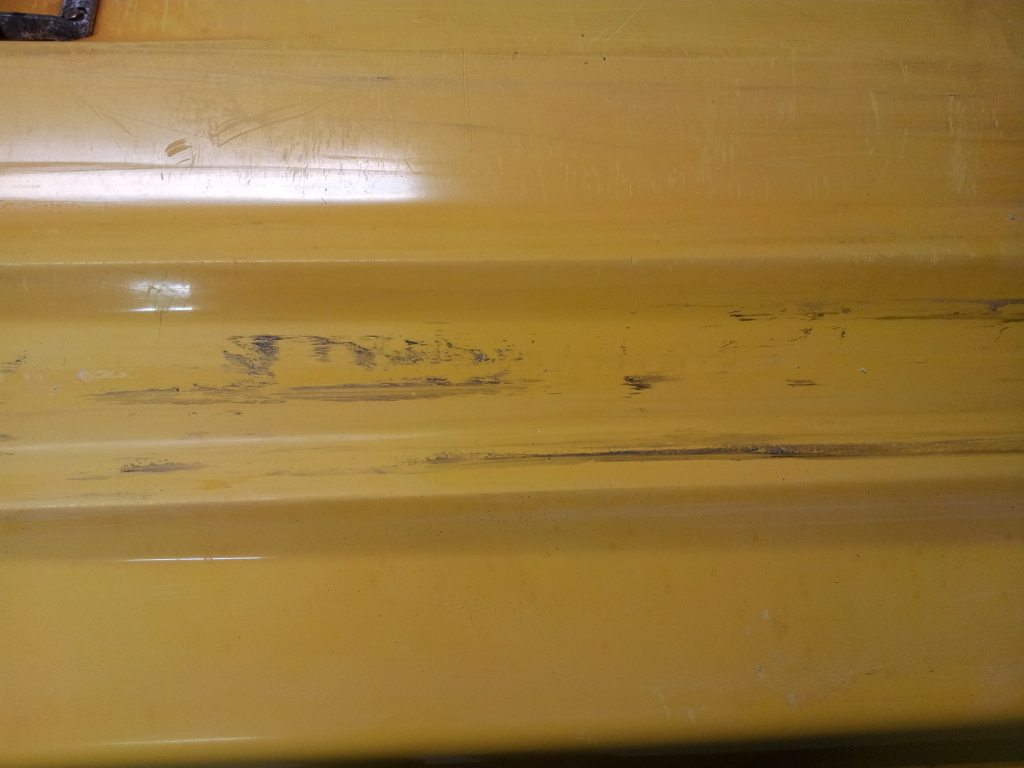
Ive used heavy cut meguiars rubbing compound on every hull and never had the orange peel look. I usualy use the whole line of meguiars on mine starting with, heavy cut, medium cut, fine cut, swirl remover, then the yellow wax. It sounds like alot but id say the heavy cut takes the most time then each step after that it goes really quickly. Its definately worth the final product, just check my album photos. Oh yeah dont use heavy on the plastic areas tends to burn it.
As i can see you have no problem buffing them out, i was just replying to the guy saying the heavy may have caused it. Your doing a great job,
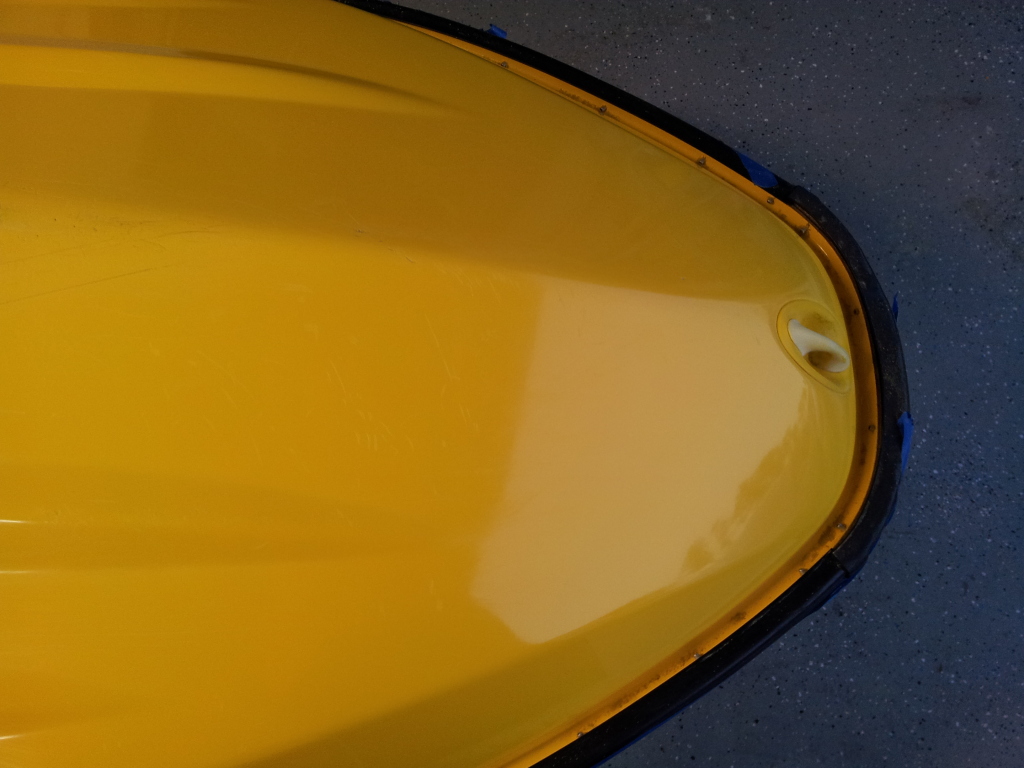
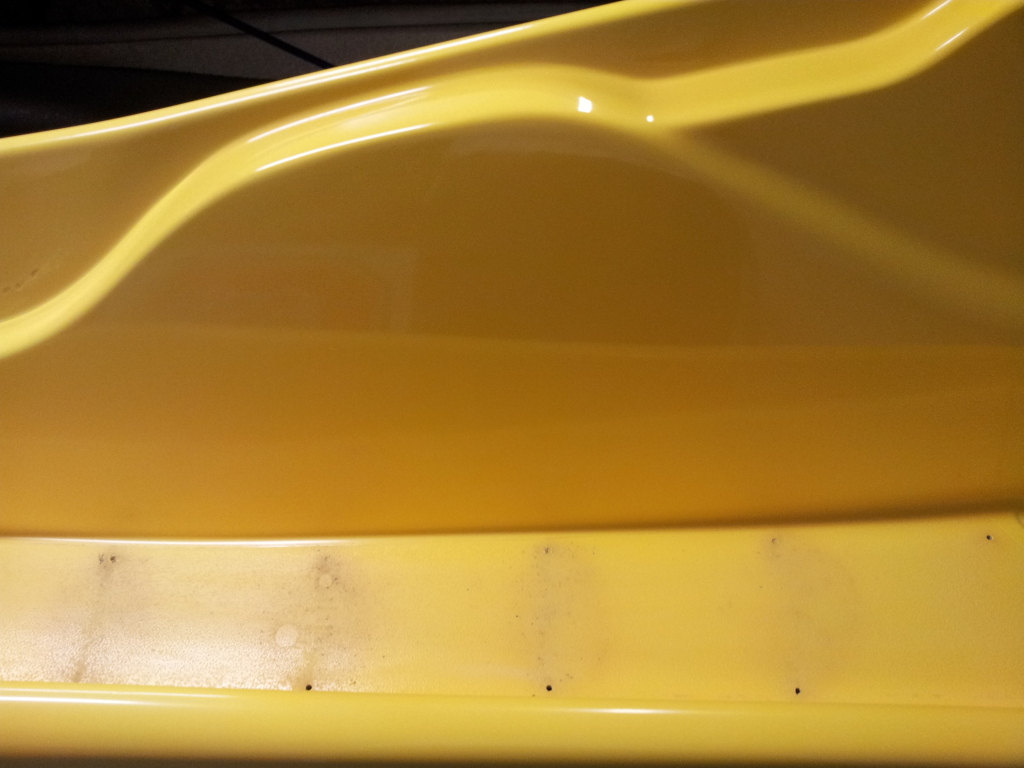
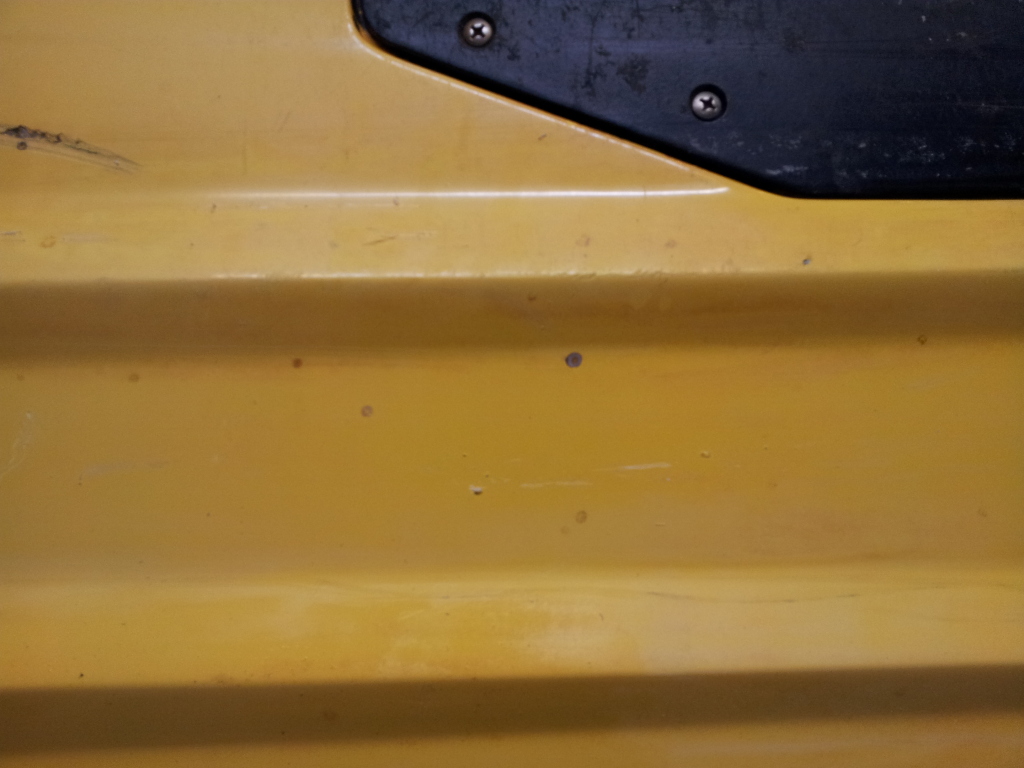
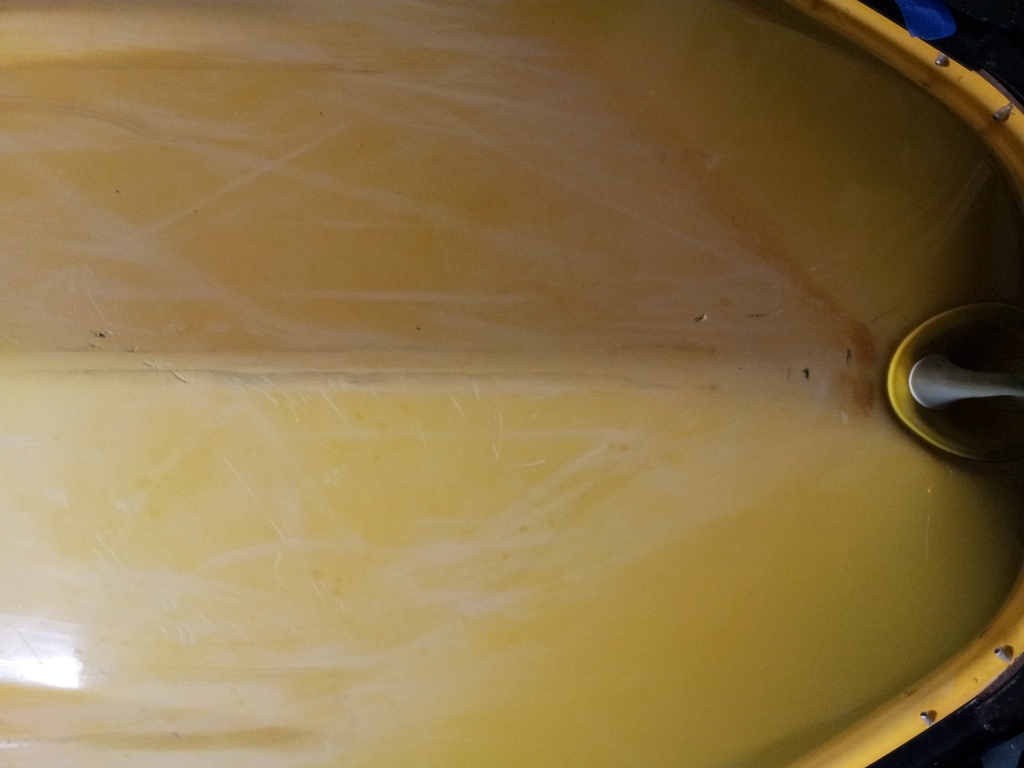
Another tip after you get the decals off i noticed you had some residue, easiest stuff ive found to remove it was aircraft decal and adhesive removal, literaly spray it on wait a couple seconds and then wipe it off. Then repeat if a little is left. The stuff is amazing
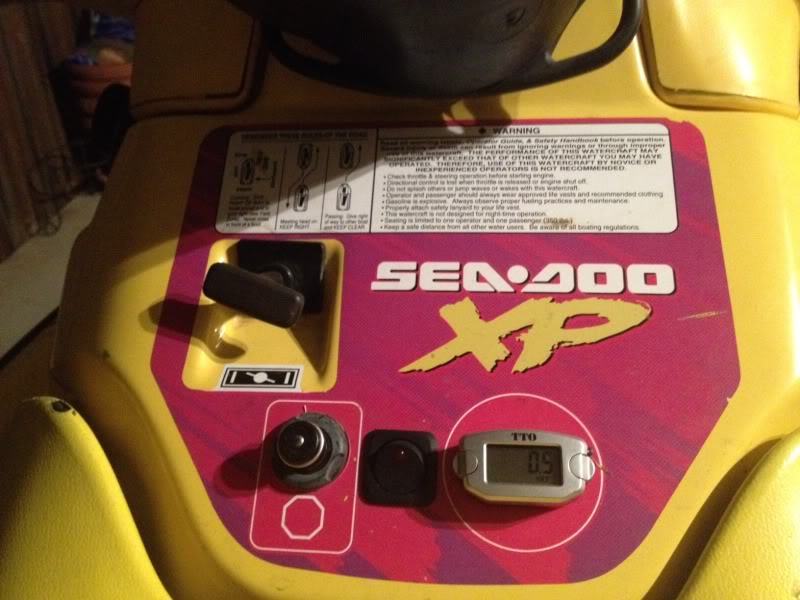
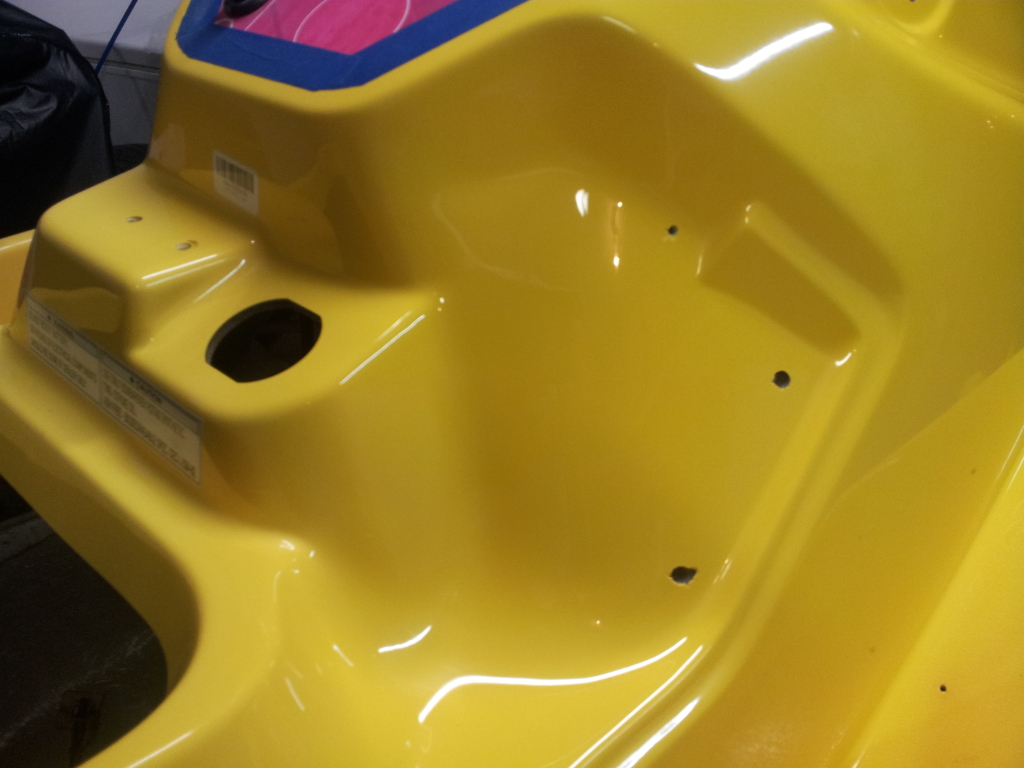
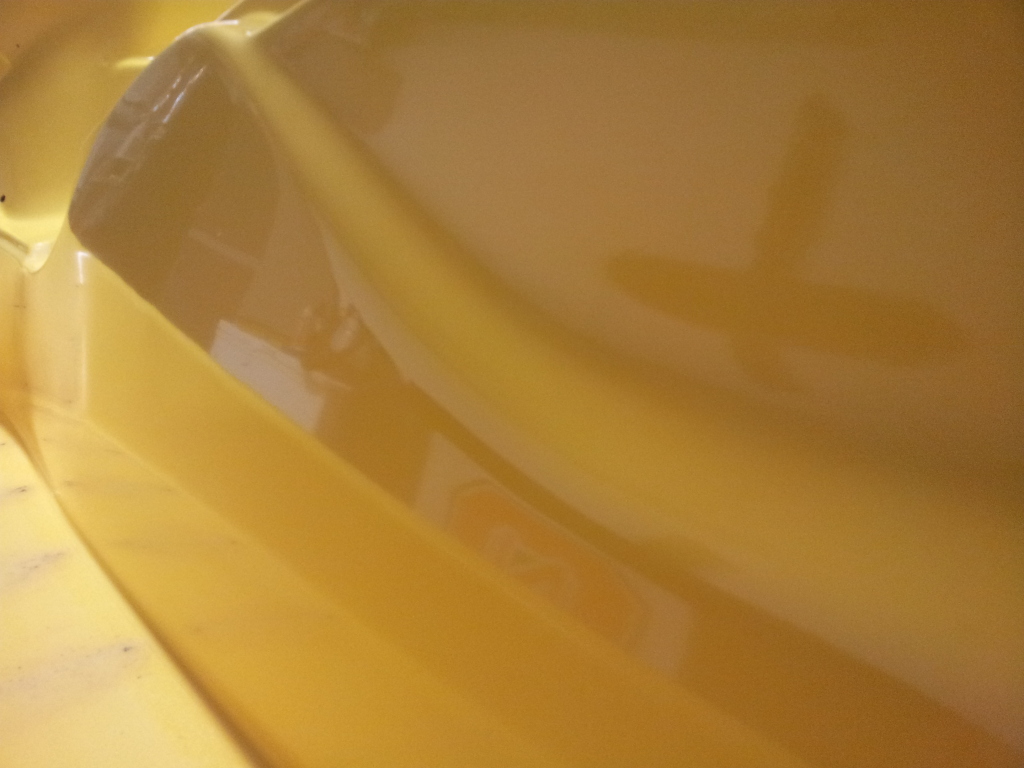
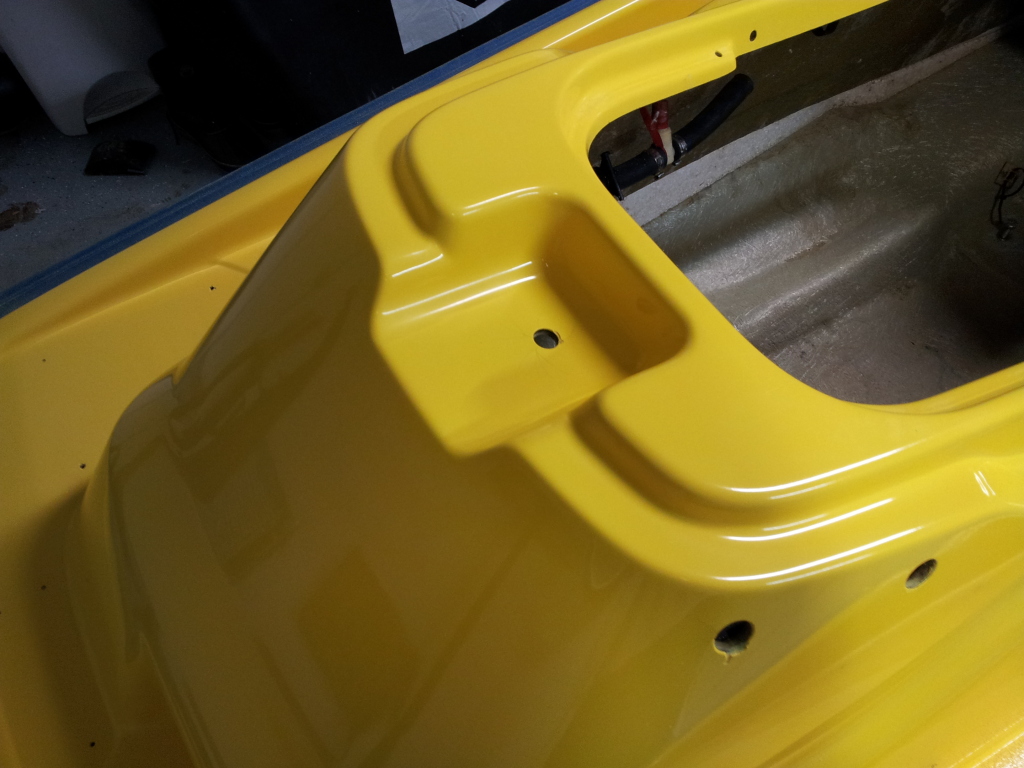
Also i made that handle bar pad. Its actually quite easy. The only fiberglass work was to fill in the hole where the choke cable goes and on the backside i put some fiberglass to hold it in place, as for the paint i guess you could just use spray paint but idk how that will look. I was thinking of making some of the covers and selling them in a kit with the new brackets, but it would require me buying a whole bunch of the covers and pads and the having to paint each one individualy to peoples needs as well as wrapping the pad in vinyl of there choice. I wouldnt know what to charge to not lose money and make it worth people buying them.


")