


-
This site contains eBay affiliate links for which Sea-Doo Forum may be compensated.
You are using an out of date browser. It may not display this or other websites correctly.
You should upgrade or use an alternative browser.
You should upgrade or use an alternative browser.
RESTO My semi resto 96 XP project
- Thread starter suke
- Start date
- Status
- Not open for further replies.
 Keep up the good work and pics coming
")
suke
Well-Known Member
hey suke, i tried to use that exotic signs but it shows no kits for any of the skis? is it just my browser? also pwcgraphics.com has some kits.. i personally dont have much taste in any of them though.
Must be your browsa , there is more kits than you can shake a stick at and fully color customizable
Sent from my SGH-T989 using Tapatalk 2
Yup must be your browser.....or you didn't go far enough in. They have sooooooo many kits it's mind boggling. Not to mention you can create the kits with just about any color combination you want. Guess that's why they are so expensive. I've going to go with something like this.

Stock graphics with a similar color scheme to the 95 XP 800 with the blue instead of the purple.
Spimothy Leary
Well-Known Member
pink graphics....

they should be illegal !
they should be illegal !
Rosie2514
Active Member
Also very interested^Speedpronj.com they are doing my OEM graphics just like in 95' $160 ill post pictures soon
mcarp6
New Member
Interested to see what they would look like on a 96 without the pink hull. Def post pics that's almost half price.
I don't know if this comment was to me, but I will show you mine when I get them.
Also very interested^
Yes for sure, This was actually a very complicated task for me so far until I found speedpro. I talked to the representative tracy baker and what they actually do is put the file through a process called a vector file. I can give an explanation like this, if you have ever clicked the bitmap image and blew it up......its very blury and you cant tell what is what Right ? Well what the vector imageing does is increase the magnification to 10X or so and it is as clear as day almost like HD. I am briniging my 95' Gts in this coming week and I am going to just tweak the colors a bit more new school than what the oem looked like.....but with that OEM FEEL. I will def post up here when I get them. I went on the ssites you guys have went on, but only problem is they do not make any graphic kit for my ski which sucks, so I had to resort to this, which might actually work out better for me.
suke
Well-Known Member
I don't know if this comment was to me, but I will show you mine when I get them.
Yes for sure, This was actually a very complicated task for me so far until I found speedpro. I talked to the representative tracy baker and what they actually do is put the file through a process called a vector file. I can give an explanation like this, if you have ever clicked the bitmap image and blew it up......its very blury and you cant tell what is what Right ? Well what the vector imageing does is increase the magnification to 10X or so and it is as clear as day almost like HD. I am briniging my 95' Gts in this coming week and I am going to just tweak the colors a bit more new school than what the oem looked like.....but with that OEM FEEL. I will def post up here when I get them. I went on the ssites you guys have went on, but only problem is they do not make any graphic kit for my ski which sucks, so I had to resort to this, which might actually work out better for me.
Yup def to you. That's a helluva deal, so excited to see how they turn out.
suke
Well-Known Member
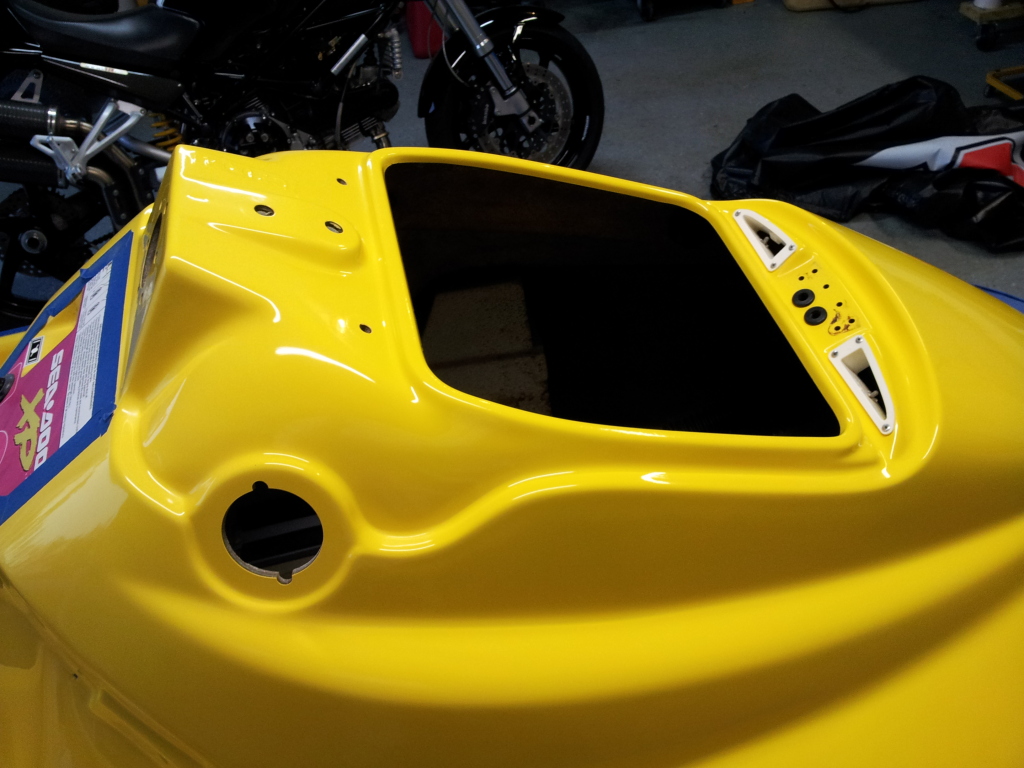
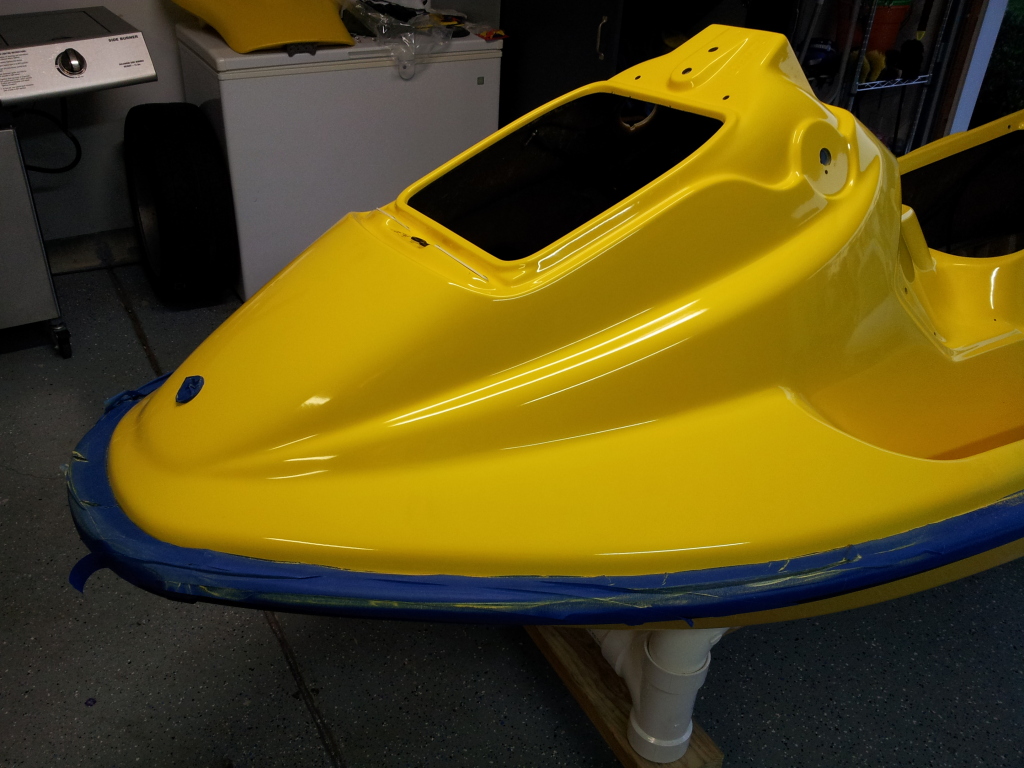
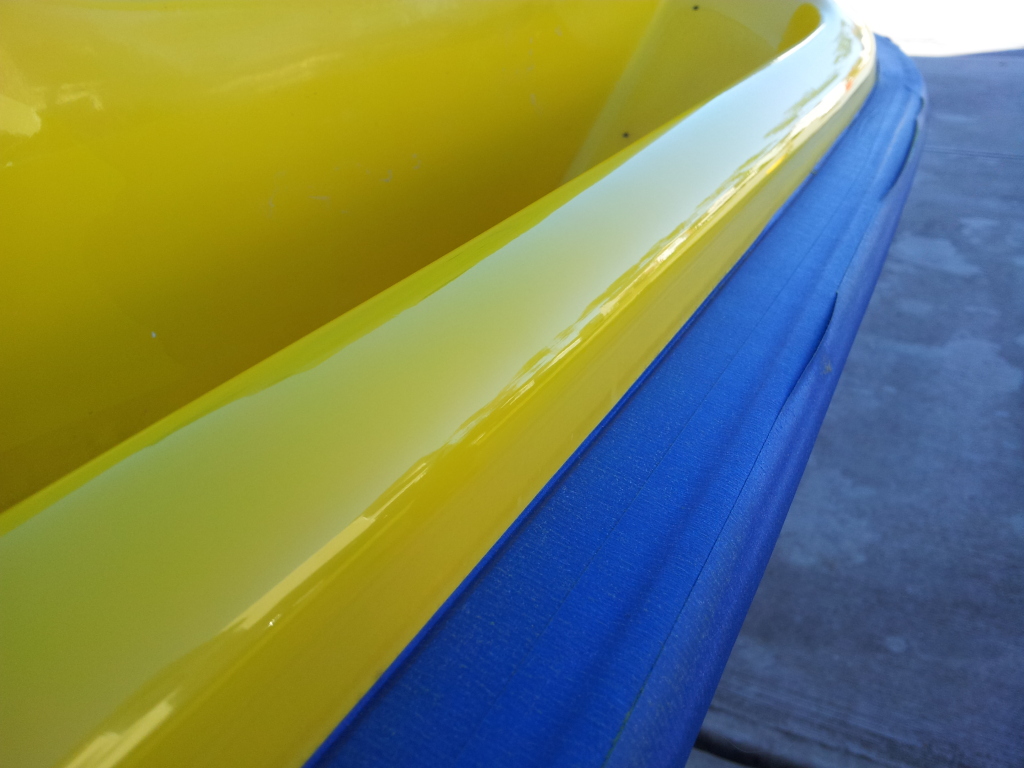
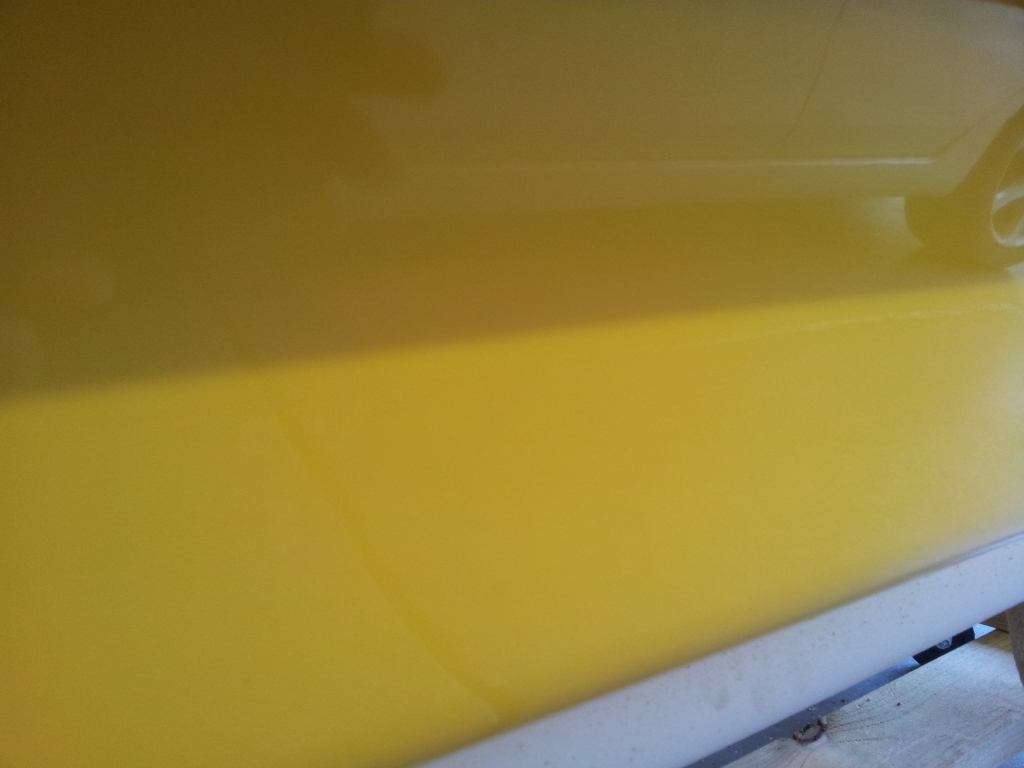
Sadly this if the only pic I have of the buffing I tried on a few sections with the new heavy cut compound I got.
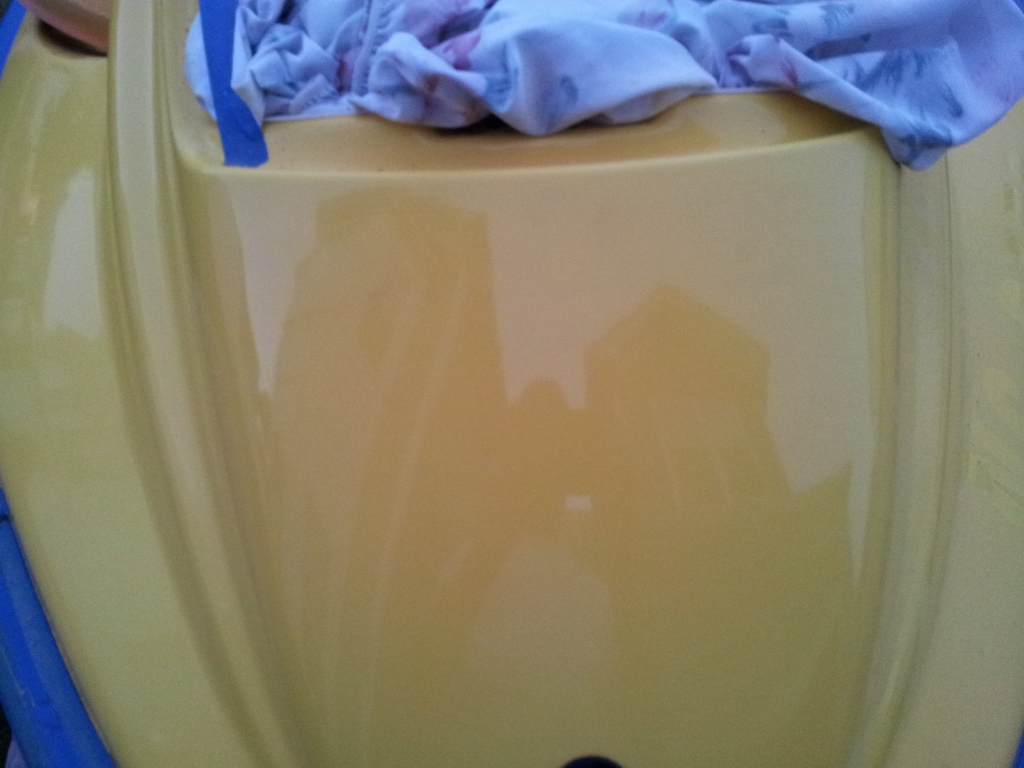
No idea why it looks orange in this pic.....it sure doesn't look orange in person. My guess is the gel coat was SUPER hot from me buffing the hell outta it to get rid of that Solas Prop......sticker discoloration.
Buffed the side to the left you can see as well. That's just with the heavy cut, and not any of the following compounds/polishes. Should polish out perfectly. This is what it looked like before.
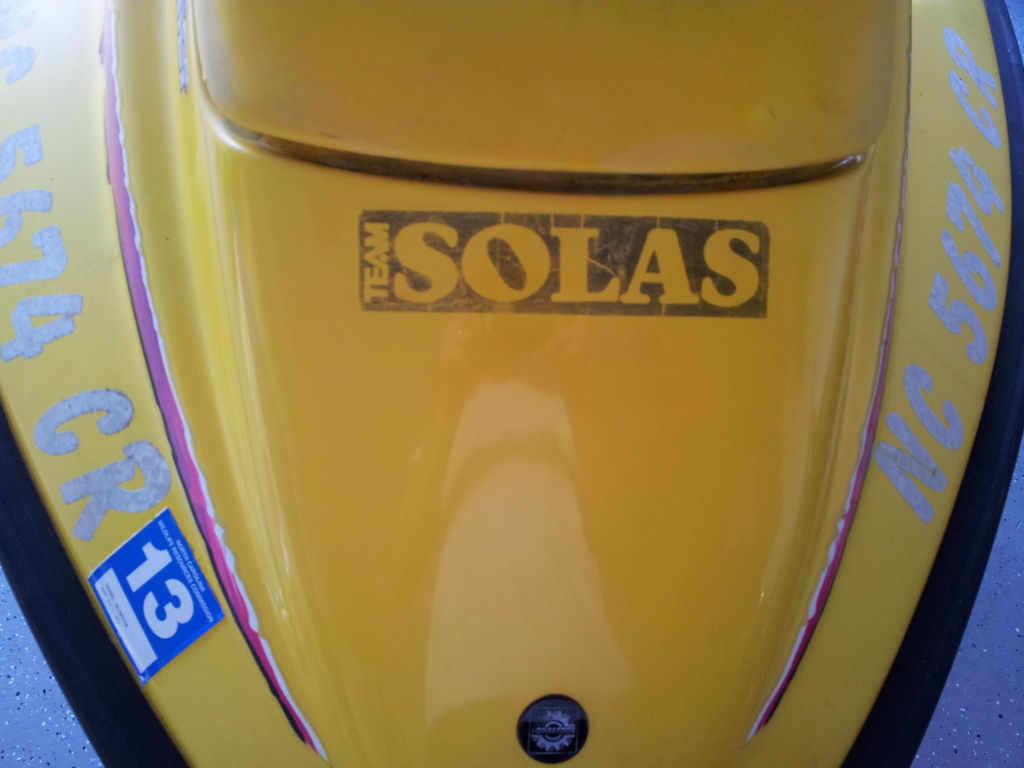
Last edited by a moderator:
MPower
Active Member
Looking good Christian!!
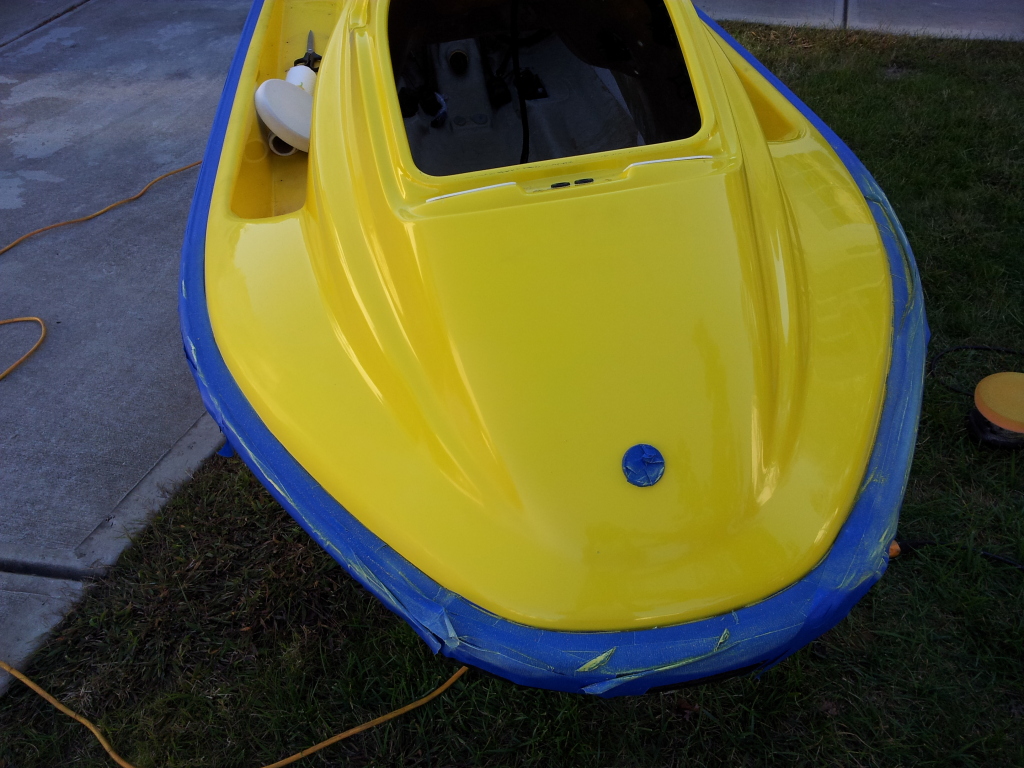
I'm gonna show my baby off for a second. This is the restoration I did last year and what gave Suke the inspiration to do his own! He is doing a great job too! Hope you don't mind Christian! Looking forward to riding next year when you get yours done!

Uploaded with ImageShack.us

Uploaded with ImageShack.us

Uploaded with ImageShack.us

Uploaded with ImageShack.us

Uploaded with ImageShack.us

Uploaded with ImageShack.us
manolocross
Well-Known Member
Damn good job man!
suke
Well-Known Member
So got working on the buffing tonight.
Here's what this side looked like before hand.
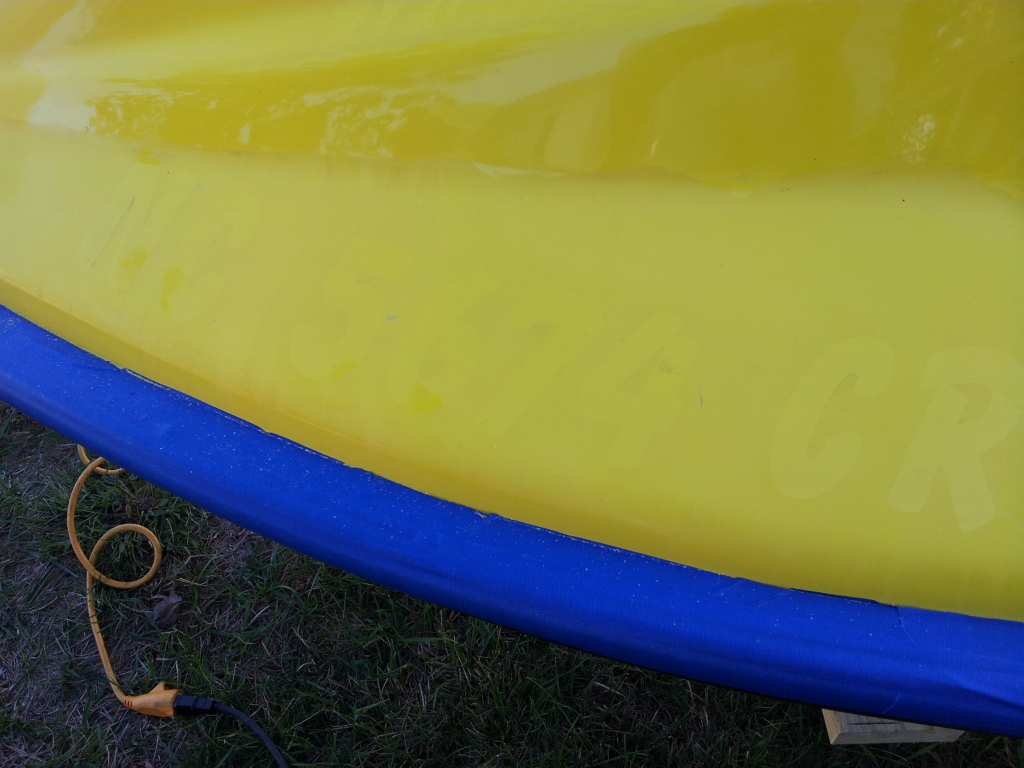
After the heavy cut compound

After 2 round of compound and a polish

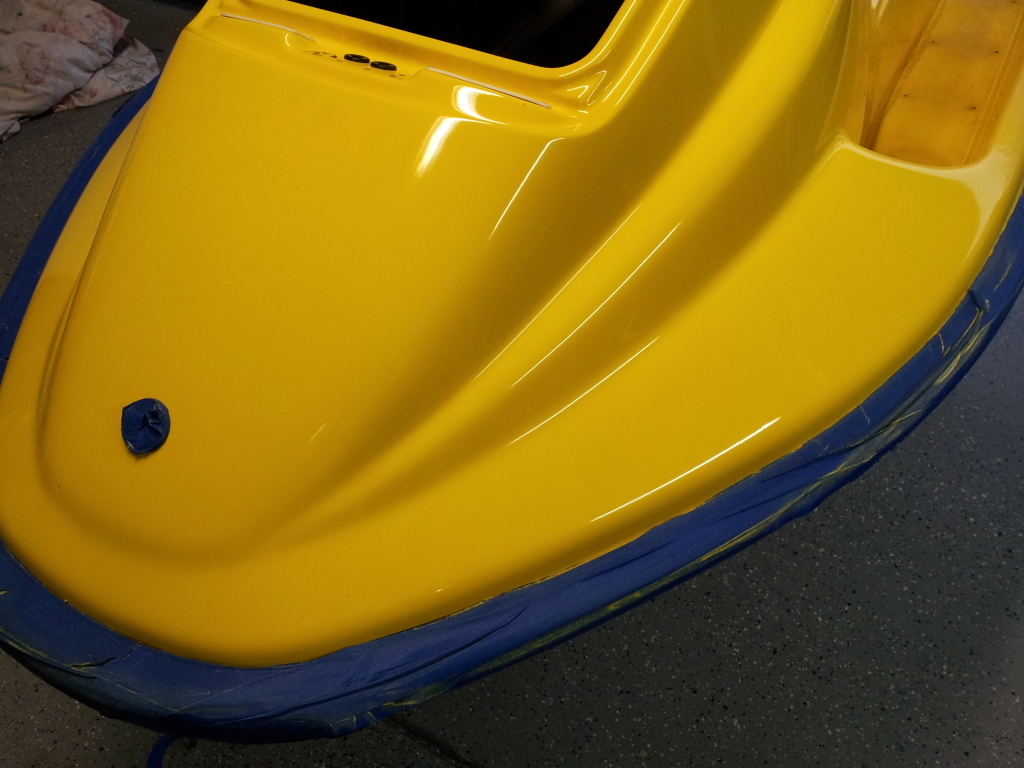
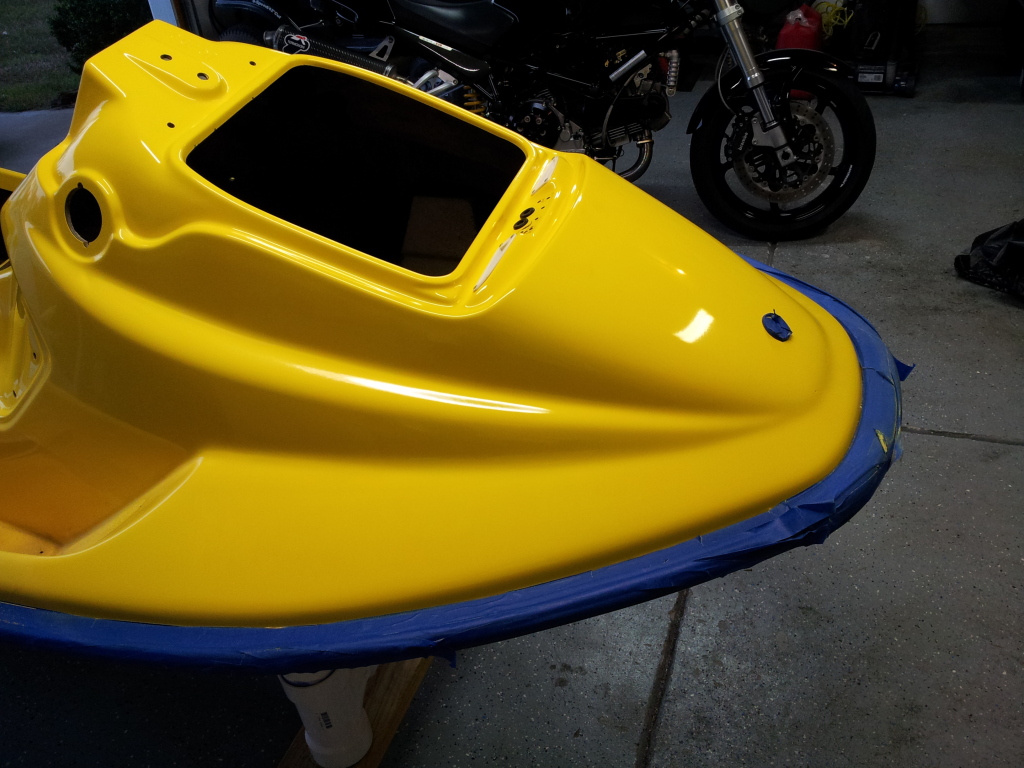
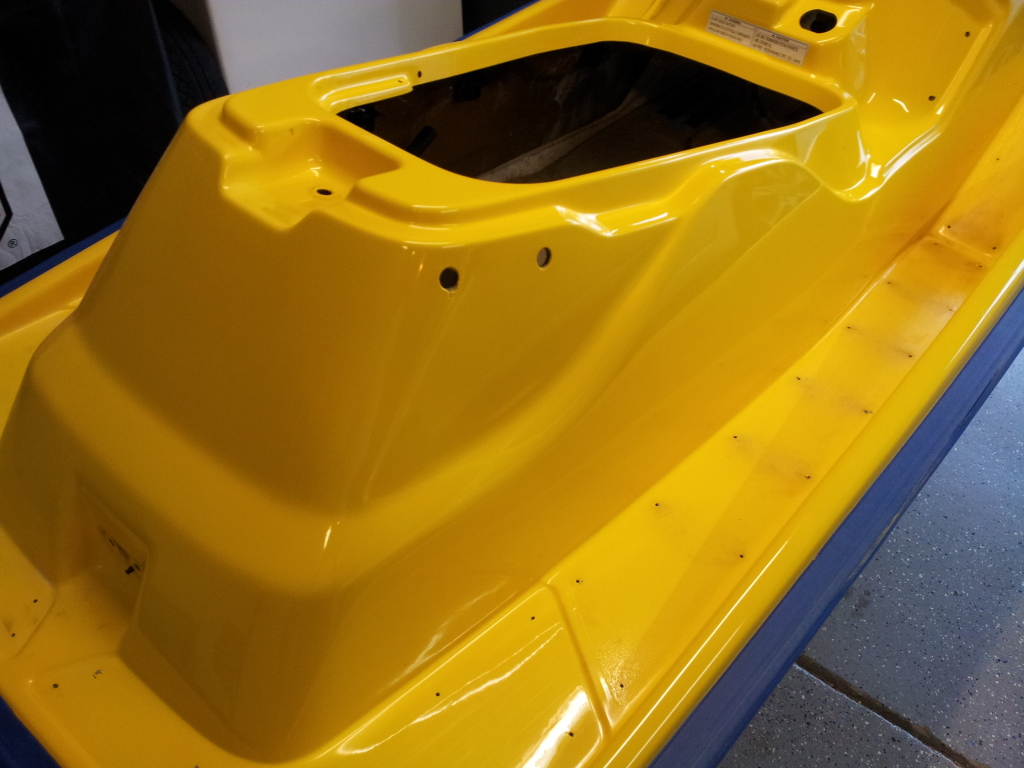
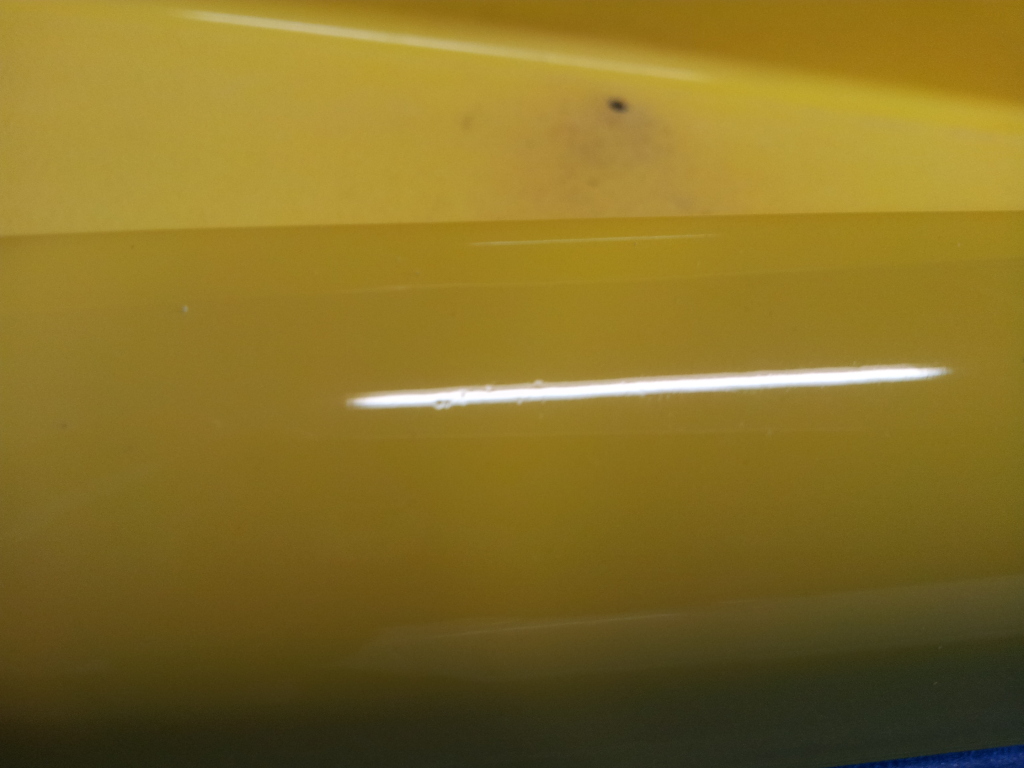
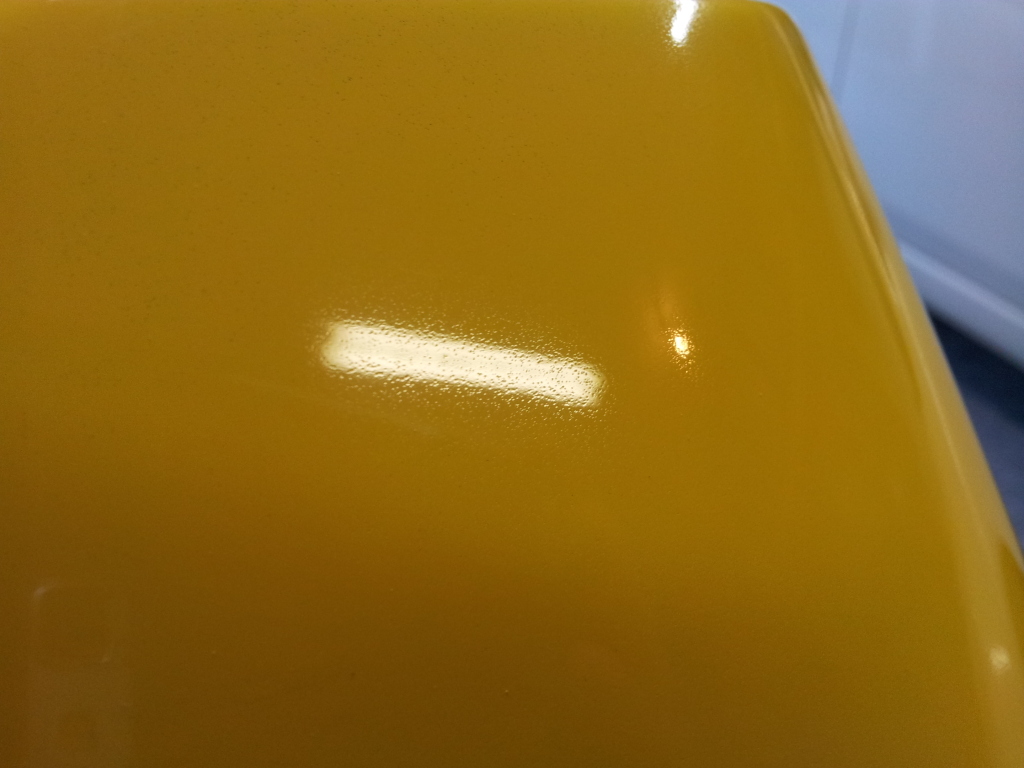
So it looks pretty good. However it's not mirror reflective. It has these little pit looking like things in it. You can't see it unless you're up really close. If I look closely on the other areas where the graphics were but I haven't buffed I can see them there as well. This just the way gelcoat is? I've tried wetsanding and buffing those areas on the nose to see if it's changed and it hasn't. I have no idea what's going on here. Only time I've ever seen anything like that in my detailing days is with acid rain or bug guts etching in the clear coat.

Guess it kinda looks like orange peel. I'm not 100% certain there's actually holes there, but it looks that way. I can't feel them with my hand......sooooo I'm kinda at a loss here. Really don't feel like buffing deeper. Feel I've gone pretty deep already.
Here's what this side looked like before hand.
After the heavy cut compound
After 2 round of compound and a polish
So it looks pretty good. However it's not mirror reflective. It has these little pit looking like things in it. You can't see it unless you're up really close. If I look closely on the other areas where the graphics were but I haven't buffed I can see them there as well. This just the way gelcoat is? I've tried wetsanding and buffing those areas on the nose to see if it's changed and it hasn't. I have no idea what's going on here. Only time I've ever seen anything like that in my detailing days is with acid rain or bug guts etching in the clear coat.
Guess it kinda looks like orange peel. I'm not 100% certain there's actually holes there, but it looks that way. I can't feel them with my hand......sooooo I'm kinda at a loss here. Really don't feel like buffing deeper. Feel I've gone pretty deep already.
Last edited by a moderator:
suke
Well-Known Member
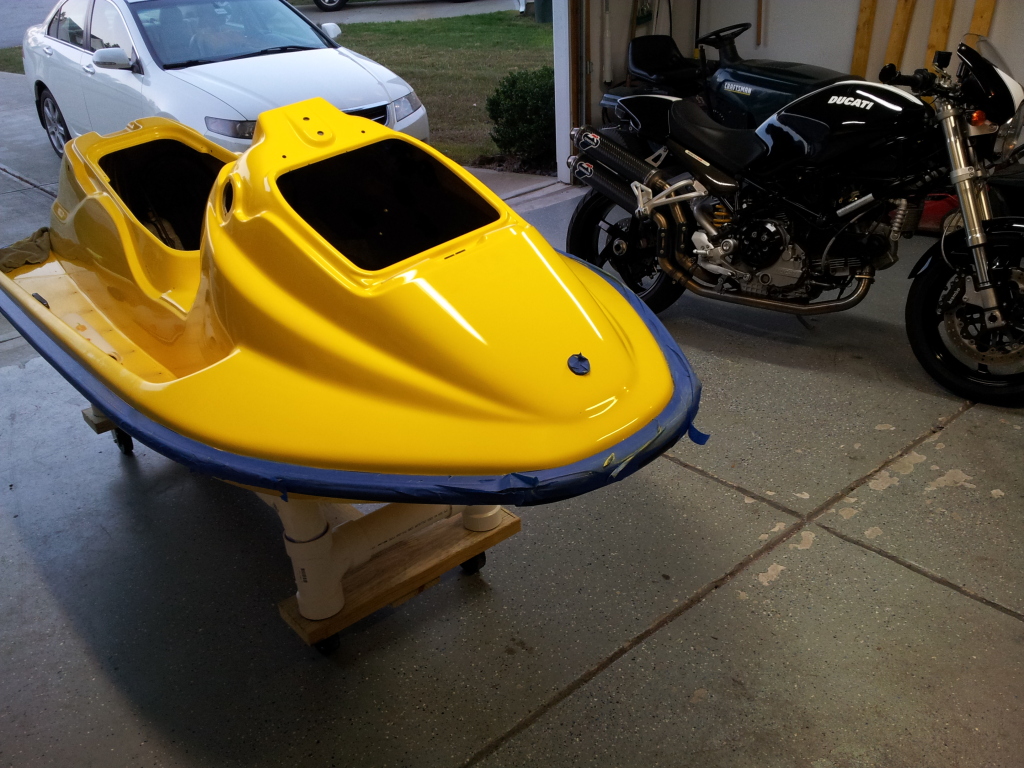
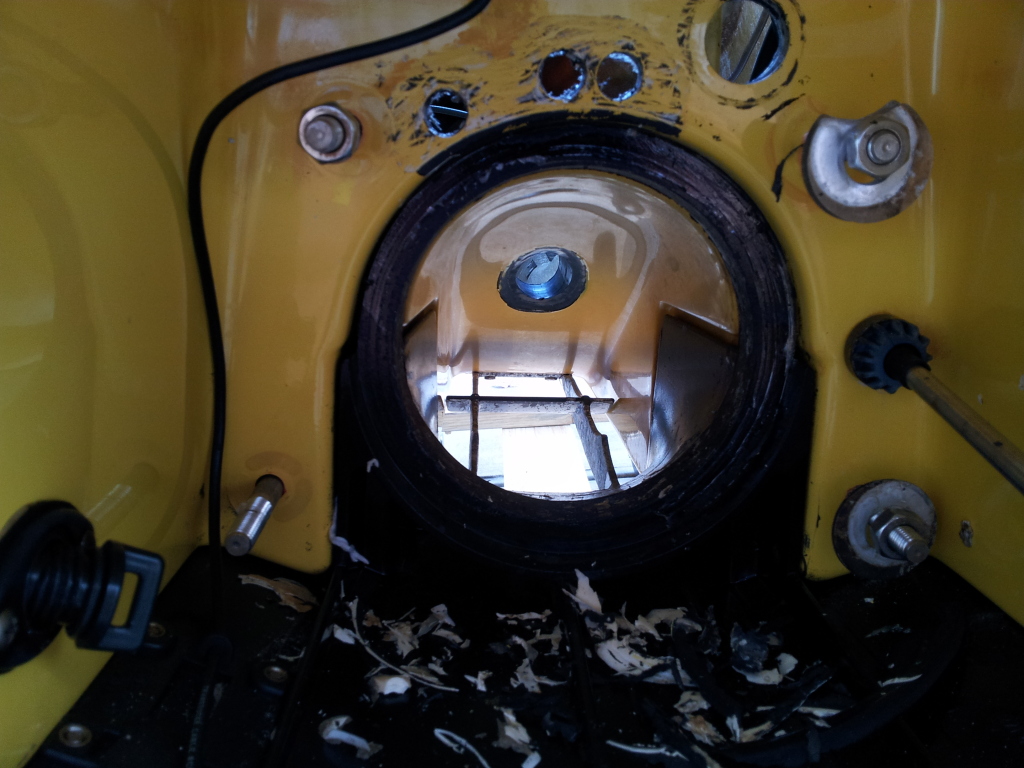
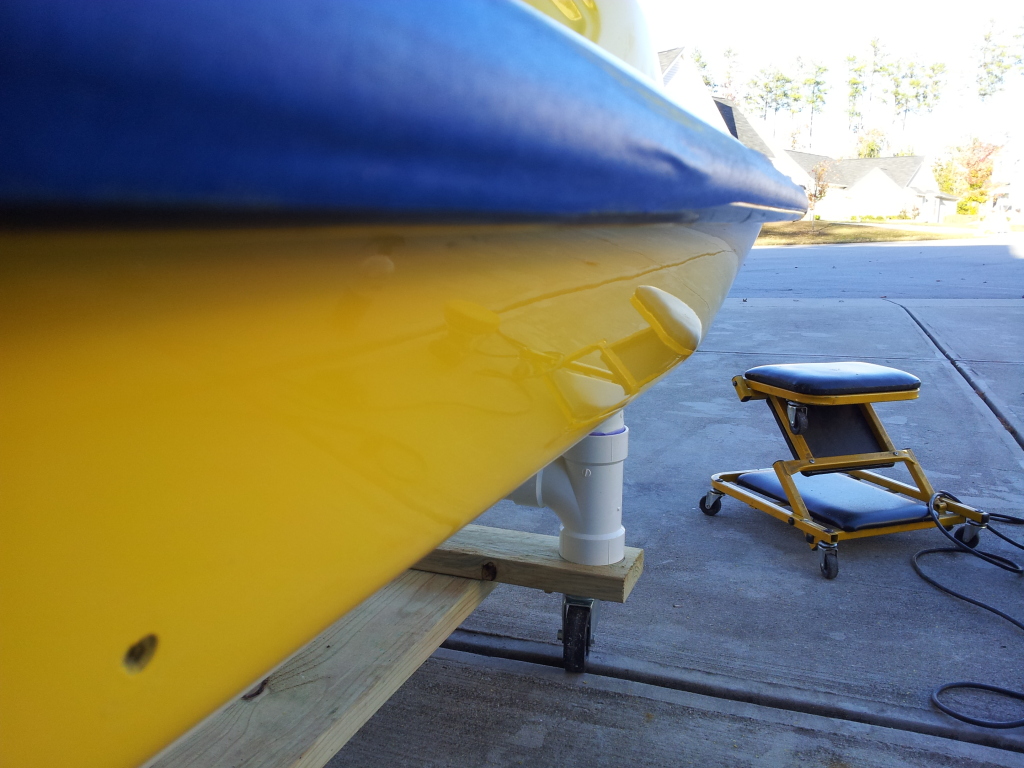
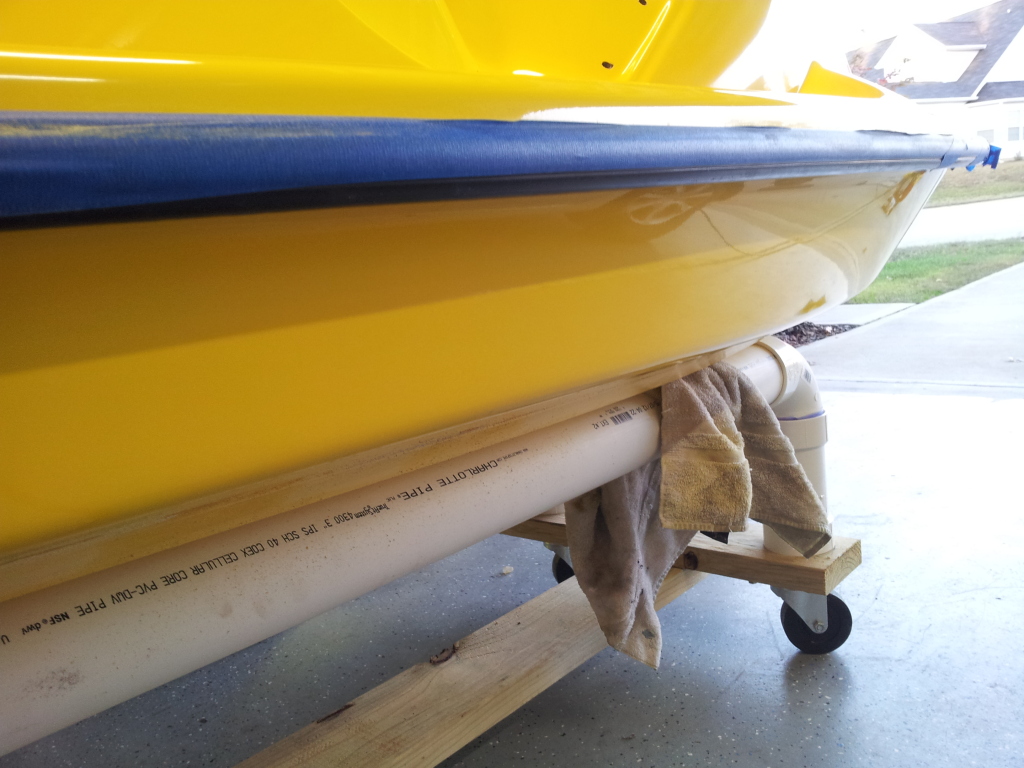
Is it really necessary to have this much sealant? Took me 30 mins to chisel through all this crap. I see no rhyme or reason as to the shear amount of sealant that's back there.
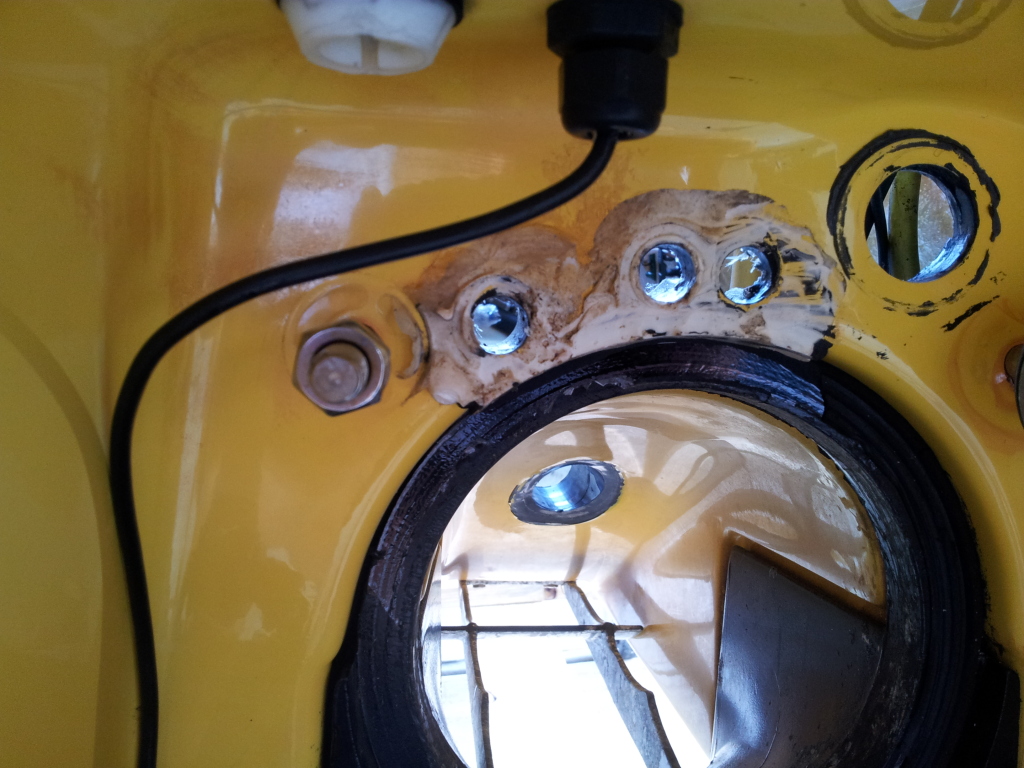
What a waste of sealant.
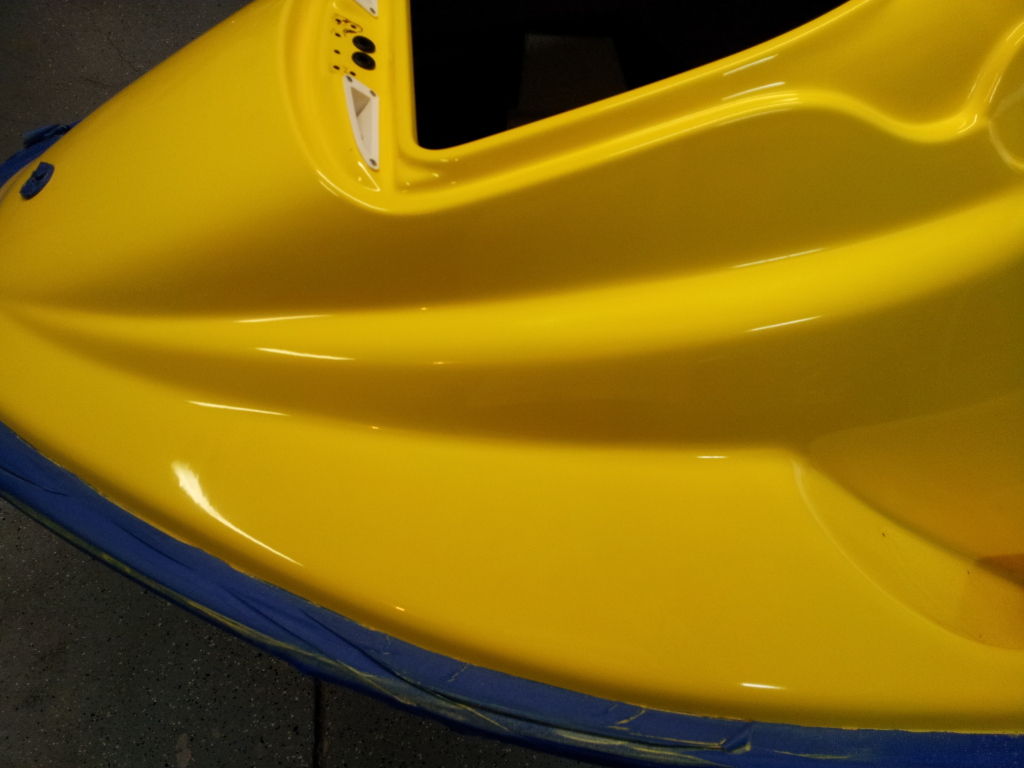
Rails don't seem to have the same orange peel issue.
The last 2 were just after the heavy cut compound.
Mostly done with this side. Need to do the footwells and my big buffer doesn't fit all that well in there.
Looking pretty good.
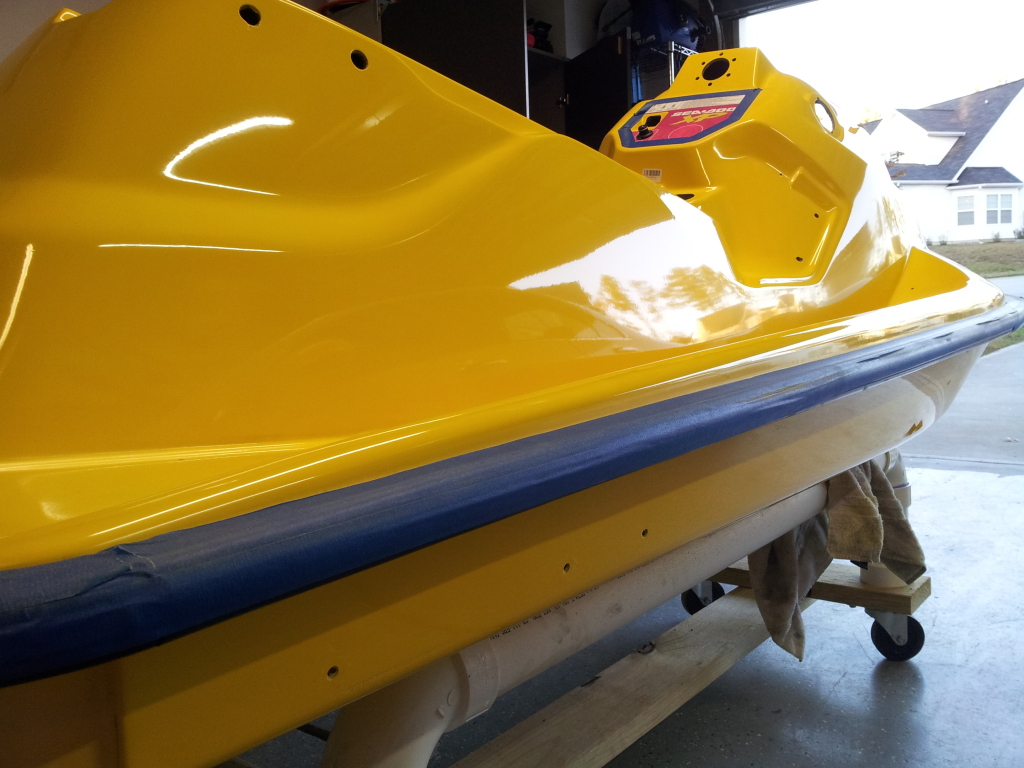
None of the issues up close
Sadly this stuff covers most of the ski.
No amount of wetsanding or buffing does anything to it either. So it must be either super deep, or something I don't even know.
What a waste of sealant.
Rails don't seem to have the same orange peel issue.
The last 2 were just after the heavy cut compound.
Mostly done with this side. Need to do the footwells and my big buffer doesn't fit all that well in there.
Looking pretty good.
None of the issues up close
Sadly this stuff covers most of the ski.
No amount of wetsanding or buffing does anything to it either. So it must be either super deep, or something I don't even know.
suke
Well-Known Member
Sadly in my case it wouldn't help. I need the heavy cut to get through the oxidation. Either way this is the way the gelcoat is with or without buffing. Typically when I run into this stuff when I'm detailing cars I can wetsand it and buff it out to perfection. Doesn't work in this case.
speedbuggy67
Active Member
Is it really necessary to have this much sealant? Took me 30 mins to chisel through all this crap. I see no rhyme or reason as to the shear amount of sealant that's back there.
What a waste of sealant.
Rails don't seem to have the same orange peel issue.
The last 2 were just after the heavy cut compound.
Mostly done with this side. Need to do the footwells and my big buffer doesn't fit all that well in there.
Looking pretty good.
None of the issues up close
Sadly this stuff covers most of the ski.
No amount of wetsanding or buffing does anything to it either. So it must be either super deep, or something I don't even know.
in that first pic that white plug i was debating making it a rear hookup to flush the engine, seems a 90 degree screwed into it iwth a hose quick release fitting would be perfect.... i hear ya on the silicone, i used boat life and didn't nearly use as much as was orig there...
Scott
- Status
- Not open for further replies.
Similar threads
- Replies
- 2
- Views
- 708
- Replies
- 1
- Views
- 1,400
- Replies
- 90
- Views
- 11,755
- Replies
- 34
- Views
- 3,281