I am one lucky lady! Look what I found! 2004 Islandia

Note: This site contains eBay affiliate links for which SeaDooForum.com may be compensated
Status
Not open for further replies.
So.... the dead cyl came out. But alt least you got it fixed.

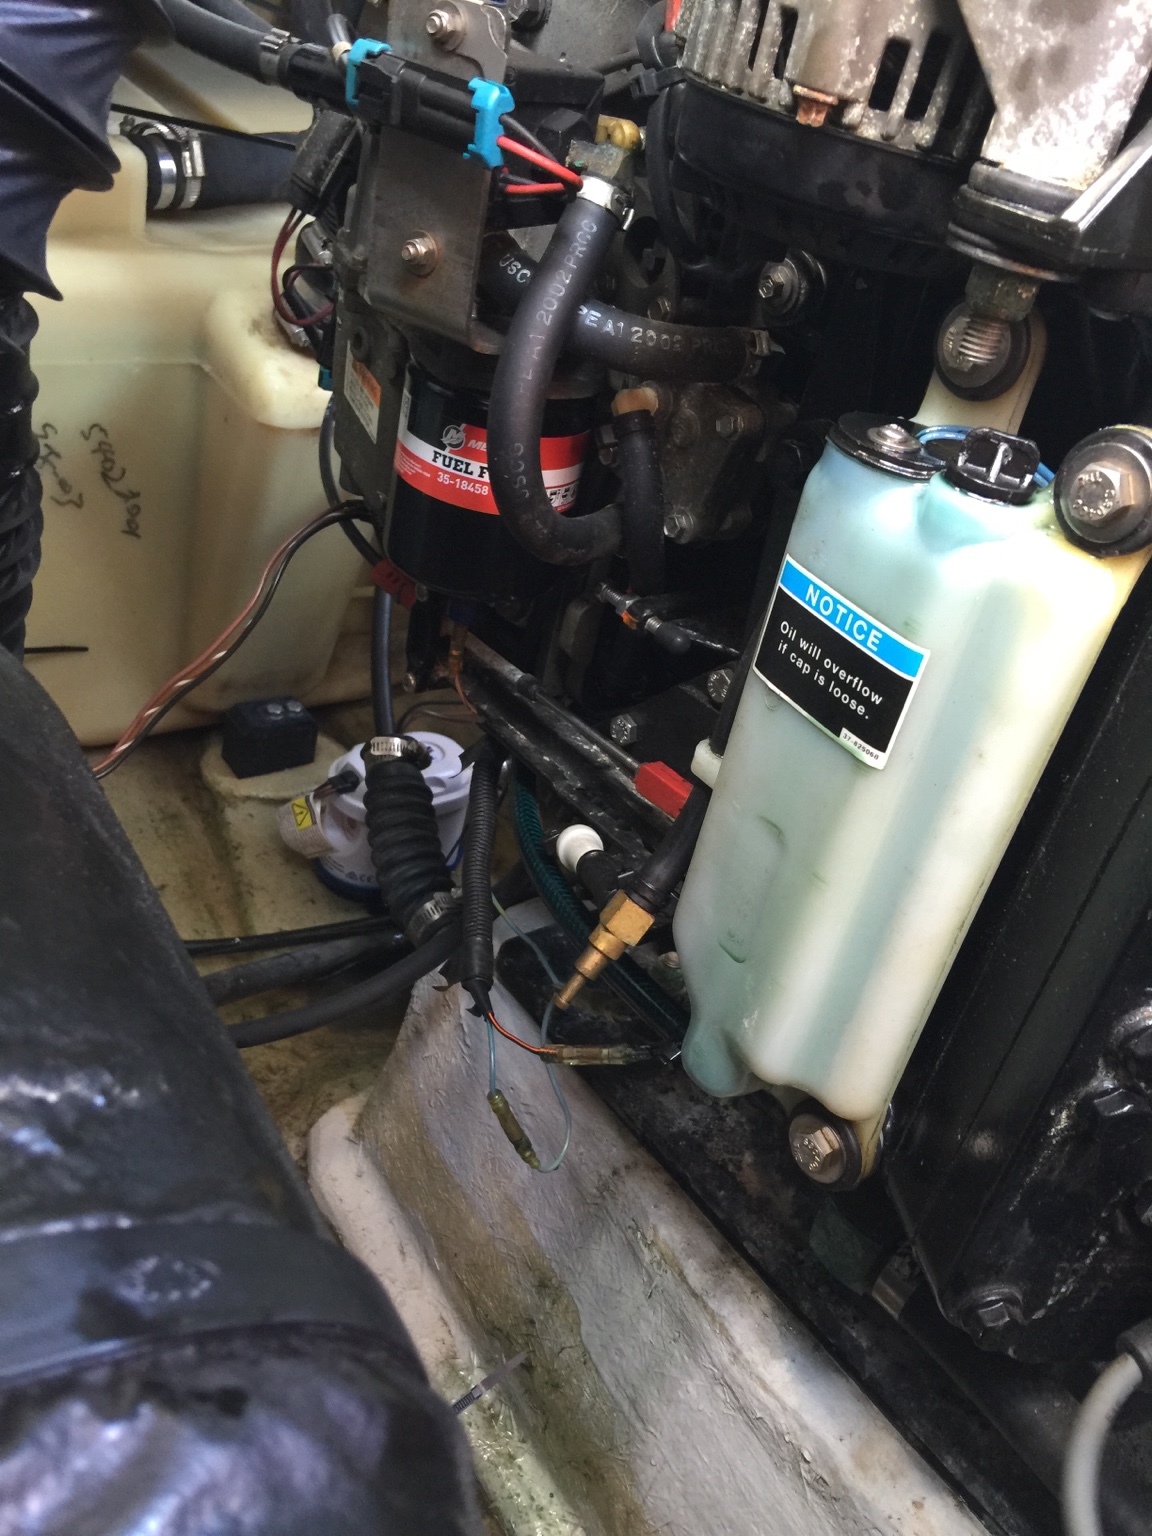
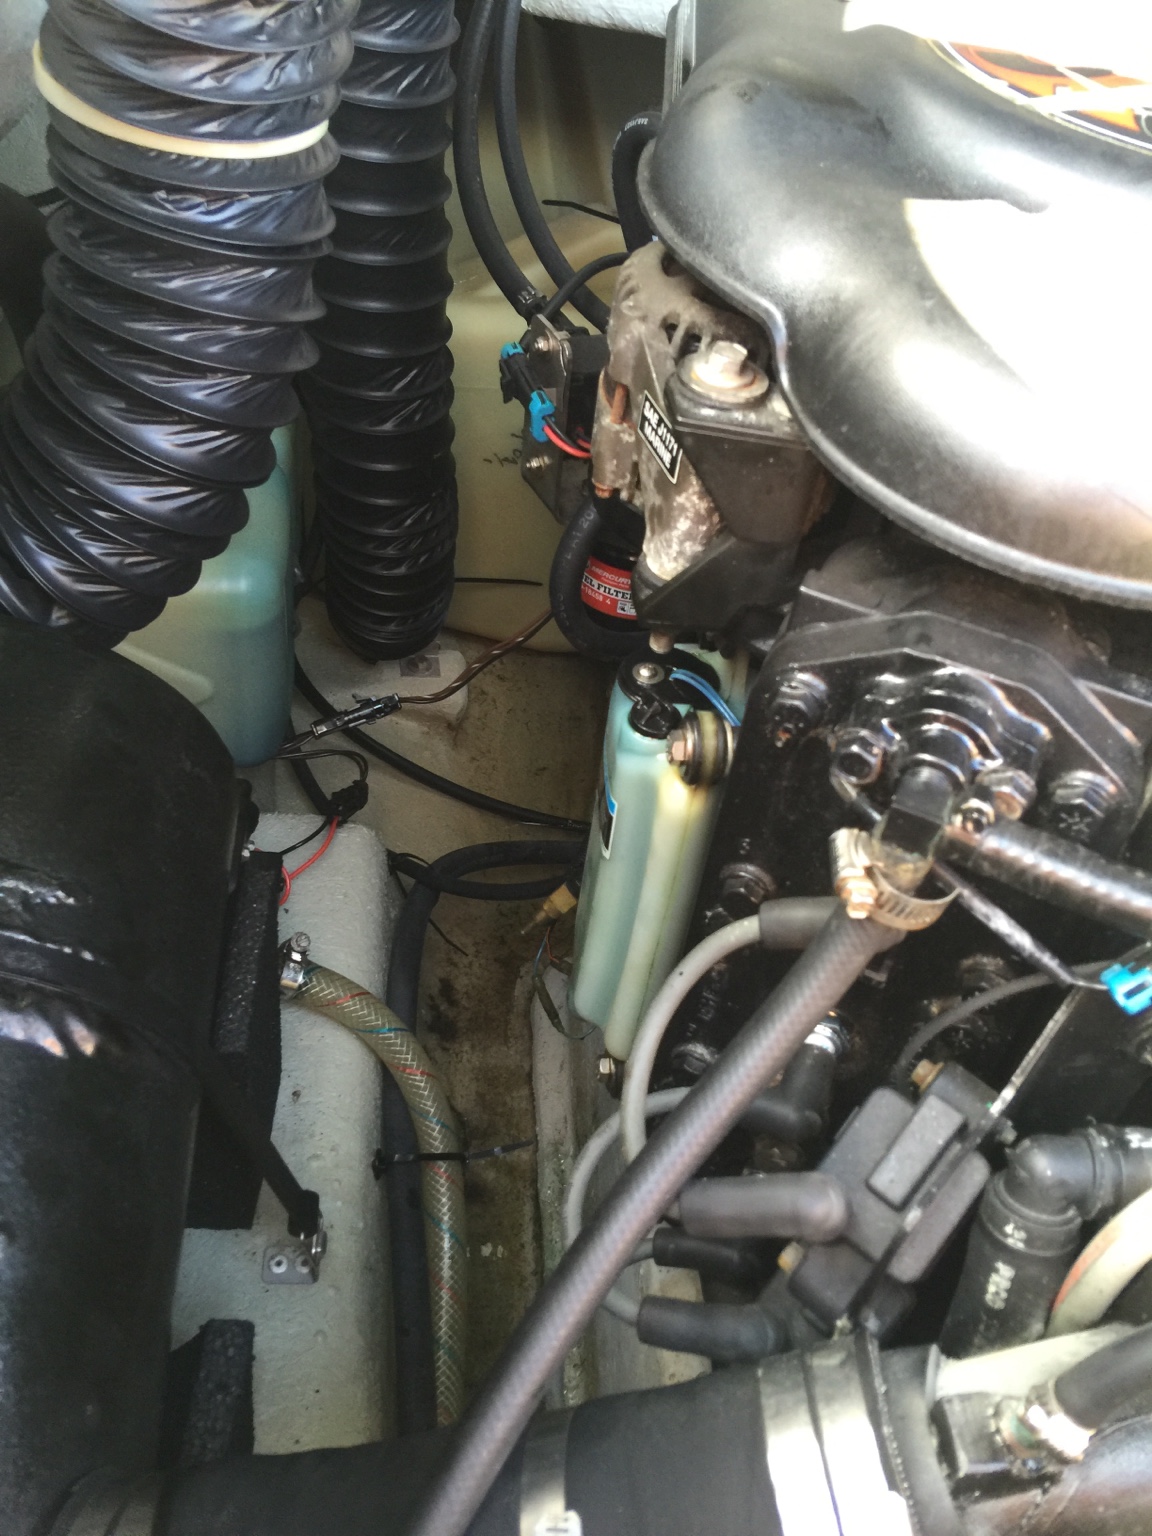
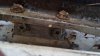
Yes... I changed my fountain pump. The wires aren't easy to get to... so, I cut them close to my pump, giving me a lot of room to work. Then I soldered the wires on the new pump to that. Also... do not use tape on the wires. Use some heat shrink. Coat the soldered joint with a little RTV... slide the shrink tube over it... and let the extra squish out as you heat it.


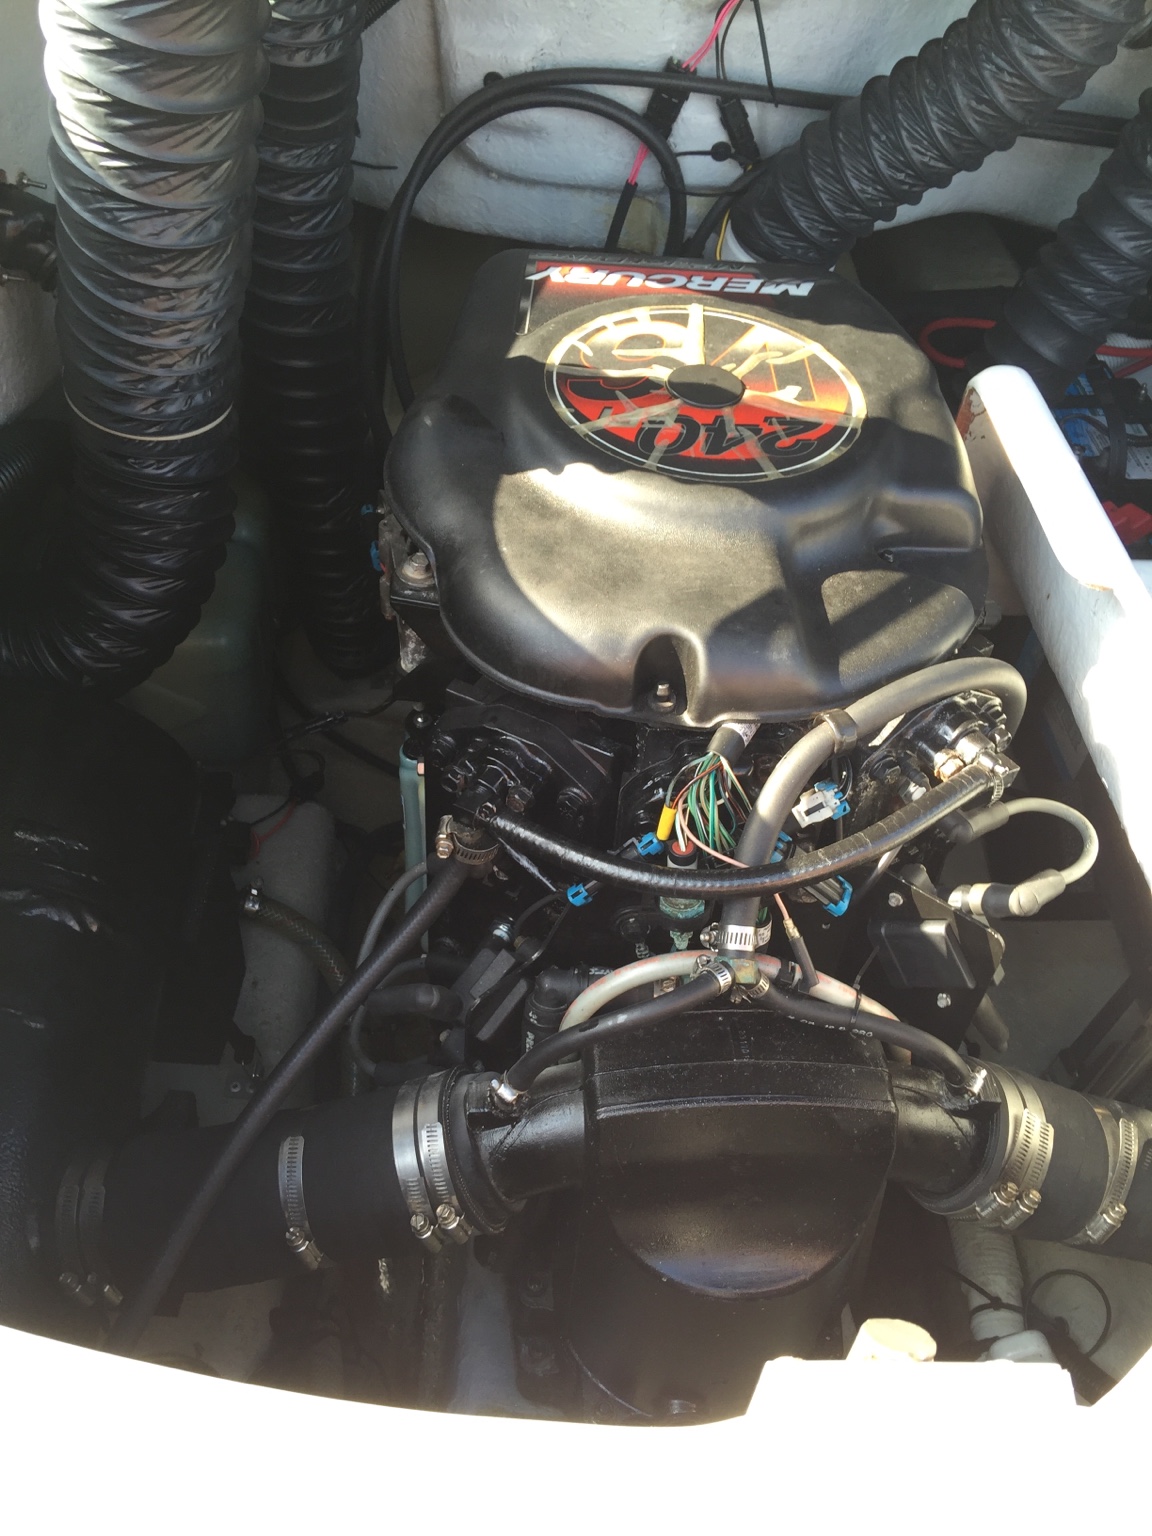
If you look around... you can find that exact Rule 800 pump, and it makes it a quick job. (it will just pop out of the bottom cage)
 
Are you sure you need a whole new pump? Are the tabs that broke actually on the pump?

Had same problem on our islandia, it was a square Rule 1000 pump and the tabs that break were actually on the strainer and not on the pump. Ordered a new strainer for 10 bucks and the fountain was working again.
 
Are you sure you need a whole new pump? Are the tabs that broke actually on the pump?

Had same problem on our islandia, it was a square Rule 1000 pump and the tabs that break were actually on the strainer and not on the pump. Ordered a new strainer for 10 bucks and the fountain was working again.

I never thought of that. I assumed that they were only sold together. I did a quick search and it looks like there's only one strainer that's square that fits them all. Model 277. I have one on order.

Now..... If I could only figure out a way to raise the rope out of the water.
Has anyone ever tried the rope that has the floating ball in the middle to keep the rope up?
 
Now..... If I could only figure out a way to raise the rope out of the water.
Has anyone ever tried the rope that has the floating ball in the middle to keep the rope up?

Are you talking about the booster balls for towing? We didn't need it, as we tow from the tower. But our friends that we share our lake place with have used them on their runabout and now their pontoon. They are pain and take up space, but inflate quickly with a high volume pump and work as advertised.

They cut down on spray on the tubers, and keep the rope from going into the wake and pulling against the tube. This is a good time of year to shop for that equipment in our region, as snow clothes and skis start filling the sporting goods stores.

Good luck,

[video=youtube_share;NhUdkPQjxek]https://youtu.be/NhUdkPQjxek[/video]
 
Last edited by a moderator:
Yes I was referring to the booster balls. I think I'll try looking for one. I may have waited to late in the season. I haven't seen any in the stores here.

On another note, I replaced the gate valve in the pool. It was allowing water to escape and the pool was emptying. Hopefully it won't do that anymore.
I have the replacement strainer on order.
I'll be out & about and we won't be able to take advantage of these next few beautiful days we are having here in WV.
 
Has anyone ever had to repair their ski locker hinges? When I got the islandia one of the hinges was missing. It was a bitch to get the new hinge in and the pop rivets in. Tonight when I went to close it I dropped the door from about 6 inches and BANG the hinge closest to the front came loose from the hull. The middle hinge came loose from the door. DANG! Does anyone have any other suggestions for a repair?
 
On another topic. . . Last weekend as I was approaching the dock my low oil alarm went off. Sure enough I was low. (I always carry 2 gallons with me) I filled up the large tank but I couldn't get the cap off of the reservoir tank mounted on the side of the engine to fill it up. I knew that it would eventually fill back up. I was only about 5 minutes away from the dock at no wake speed. The alarm went off twice after filling it up. 4 beeps . . . .
Fast forward to today. . . .before heading out I took the cap off the reservoir and made sure it was full. . . It was. Off I go to the river. Start it up and beep beep beep beep and oils light is still on. THANKS to a dedicated member Dr Honda, he talked me down from my PANIC. My 2nd gen Mercury Sportjet 240 EFI will go into "limp home" mode after a few times of the low oil alarm going off. I idled back to the dock, put it on the trailer and brought it home. Compression was good! Thank goodness! The float in my reservoir tank was stuck down. I have ordered PN 833069T 9 which is the reservoir assembly which will come with a new switch PN 85615A 2 (which we would call a low oil sensor). I'm attaching pics just in case anyone wanted to see.
107.jpg
108.jpg
109.jpg


Hey Doc. You mentioned to me one time about a Mercury Smart Craft Gauge. . .Can you give me some more info?
 
Last edited by a moderator:
So just to clarify, you fill your large tank and you carry 2 gallons of oil with you? Holy crap. I think the tank on mine is 2 gallons and I make it a habit to just drop in a gallon whenever it looks to be near or just below half full.

I can't say that I have kept track, but I think I can burn 3-4 tanks of fuel per gallon of oil. There should be no reason to carry oil, unless you are just not checking it on a regular basis. Not to beat on you, as everyone has their own routine. Bet even checking the oil level every few tanks of fuel should allow you plenty of time to top off the oil.

if you are burning more oil than that, there may be another issue.
 
..........
Hey Doc. You mentioned to me one time about a Mercury Smart Craft Gauge. . .Can you give me some more info?


Your engine should be able to talk to this one...

http://www.ebay.com/itm/Mercury-Mer...ash=item2c5afaf4e3:g:t~AAAOSwcOFWbGNC&vxp=mtr

It will give you a lot of good info, and really tell you what's going on. I'm not sure if you have the "SmartCraft" oil tank... but it will still talk with the engine. There's a few threads here on them... and it's outlined in the Gen2 Manual.
 
So just to clarify, you fill your large tank and you carry 2 gallons of oil with you? Holy crap. .

I typically carry 2 gallons with me because our old Waverunner takes oil and so does our friends. We've also been able to help out a few strangers with having a spare gallon. Just a strange habit I guess.
LOL!
 
Your engine should be able to talk to this one...

http://www.ebay.com/itm/Mercury-Mer...ash=item2c5afaf4e3:g:t~AAAOSwcOFWbGNC&vxp=mtr

It will give you a lot of good info, and really tell you what's going on. I'm not sure if you have the "SmartCraft" oil tank... but it will still talk with the engine. There's a few threads here on them... and it's outlined in the Gen2 Manual.

Thank you.... I sent a message to RacerEddie. He sent me a bunch of info too. This might just be an over the winter project. Good news is that our wiring will be a simple run!!!
 
Old subject but has anyone ever replace the ski locker hinges? Suggestions on how in the world to get a divot gun in that space? I'm clueless.
 
I did mine. I was not able to just pop rivet them. on the ones that go into the boat side I used stainless wood screws. I packed it with epoxy and then screwed them in. the problem is that the heads of the screws are thicker than the rivets were. this makes the hatch sit too far to port (assuming yours opens the same side mine does). I had to lightly sand the edge of the hatch to make it so it still closed. it works fine now but it is a little stiffer then is should be and there is still contact between the edge if the hatch and the floor on the far side
 
I wanna know how in the world they did this at the factory.

Last year during a "quick fix" I used JB Weld to fill the hole in the hull. I waited a minute then I shoved the hinge with the pop rivet still intact into the hole. I used popsicle sticks shoved into the opposite side of the door to make sure the hinge and rivet stayed in place. So far it's still holding.

(Original Problem - The rivet stayed in the hinge and it looks like the fiberglass around the hole chipped and broke away making the hole larger)


SUBJECT CHANGE:
We installed an inverter and ran a short very thick extension cord to one of the cup holders at the sink. Now I can make frozen adult beverages on the lake. This upgrade was done for our family vacation to Norris Lake next week. I'll take pics and share how it turned out.
 
If I remember correctly you installed a 2nd deep cycle battery... probably a good idea to run the inverter from that battery only! Sounds like a great upgrade tho!!!
 
I wanna know how in the world they did this at the factory?

During the manufacturing process they have access to the boat completely disassembled and have much better access to areas that we cannot get to once it is assembled. And even then they will have special tools to reach to areas that do the job as needed... not off the shelf rivet guns!

(Original Problem - The rivet stayed in the hinge and it looks like the fiberglass around the hole chipped and broke away making the hole larger)

I'm thinking that you will need to rebuild /strengthen that area with new fiberglass... or maybe completely refill in the hole with epoxy and re-drill a new hole for whatever type screw hardware you are going to use to replace the rivets.
 
Yes you are correct. And that is exactly what we did. It's only hooked to that one battery. Although we did not get a deep cycle. We just bought another Marine Battery.
I also bought a solar battery charger/maintainer that we'll use on those days we are sitting still and using the Islandia as home base as we run around on the RXP & GTI.
 
i'll take some pictures tonight on how mine looks. but you will not be able to rivet it back. it took me a very long time to figure out how to do it without removing the hatch completely. mine still had 1 good hinge and the spring was still attached. I felt if I took the spring off I would never get it back on in a way that it would be strong enough to hold the hatch up and not rip out with the kids pulling on it
 
ok so I took some pictures and I remember better what I did to fix mine. I also couldn't find any one who had fixed this in line so I just did the best I could. if I were to do it again I would do it almost the same but I would dry mount everything first to make sure it worked before using the marine adhesive. also, please excuse the state of the boat. I usually keep it cleaner but my tarp failed this winter and I have ad a chance to clean yet.

anyway. here is what I did:

hinge 1) had the rivets shear off on the boat side. this left the hinge attached to the hatch. the "barrel" of the rivets were still in the boat. so I drilled them out. this may have been harder if the other hinges were not also broken but having it attached by 1 hinge only, left some room to lift the hatch out of the way. on the hinge that was still attached to the hatch, I counter sunk the hinge holes so when I put the screws in it would lay flush and not interfere with the hinge when it was closed. I didn't do this enough and the head is proud of the surface. this is to be avoided since this causes the hinges to not close tightly enough. hence why my hatch doesn't close cleanly any more

hinge 2) had the rivets shear off on the hatch side so the hinge was still attached to the boat. I counter sunk the holes in the hinge to allow the screws to lay flush. again I did not do this enough and they are above the surface too much

I cannot remember the order I did things in but it is important to thin it through first. in my case I had to do one hinge first or I would not have been able to reach the screw head on the other one with it in place.

now that I had everything prepped, I filled the old rivet holes in the boat with 3m marine adhesive. I cannot remember the name but I think is some number. its very popular and everyone one has it. I then screwed stainless wood screws into the old rivet holes. I cannot remember who long there were but they were substantially longer then the rivets were.

the other hinge I use stainless machine screws with a nut with a nylon insert. with some stainless washers. the nuts have to go on the inside of the hatch or it wont close.

anyway, it has held well. I did not undo any rivets that were still on as I think these are stronger then my fix. I had the marine adhesive in the hole with the screw when I found out the counter sunk wasn't deep enough and didn't feel I could take it apart anymore so I left it. I should have used epoxy. I guess I was worried more about water getting in then strength?

I then found out that it didn't close properly since I had left the hatch open to dry. if I were to do it again I would make sure the counter sinking was done better.
 

Attachments

  • 20170530_185145.jpg
    20170530_185145.jpg
    1.3 MB · Views: 37
  • 20170530_185221.jpg
    20170530_185221.jpg
    1.1 MB · Views: 37
Thank you. Yeah I think if mine break again I'll epoxy or fiberglass the holes back up and use some type of flat countersunk screws.
 
Hey Guys. Crazy question

I have a 2001 Islandia, what maintenance is necessary for the Vertical-Horizontal gear box. I mean, where is the that box? I can't even find it, but there must be something that translates the vertical rod down to the horizontal rod to the propeller? Or am I missing something? I think it is the pinion drive case? Has anyone done maintenance on this before?

Sorry for hijacking the thread ;)
 
Status
Not open for further replies.
Back
Top