


You read that correctly, genuine electric VTS on an HX. It fits so well and there is no hacking and I used all OEM parts, not even a spliced wire. All my donor parts came from a 95 SPX or a 96 SPX, I can't remember. But, the VTS is the one with the long like 62" cord and has 3 plugs. The 787 powered skis have a similar VTS but the power on those VTS boxes is drawn from the rear ebox. The 95 XP 720 and SPX's get the power from the front gray ebox.


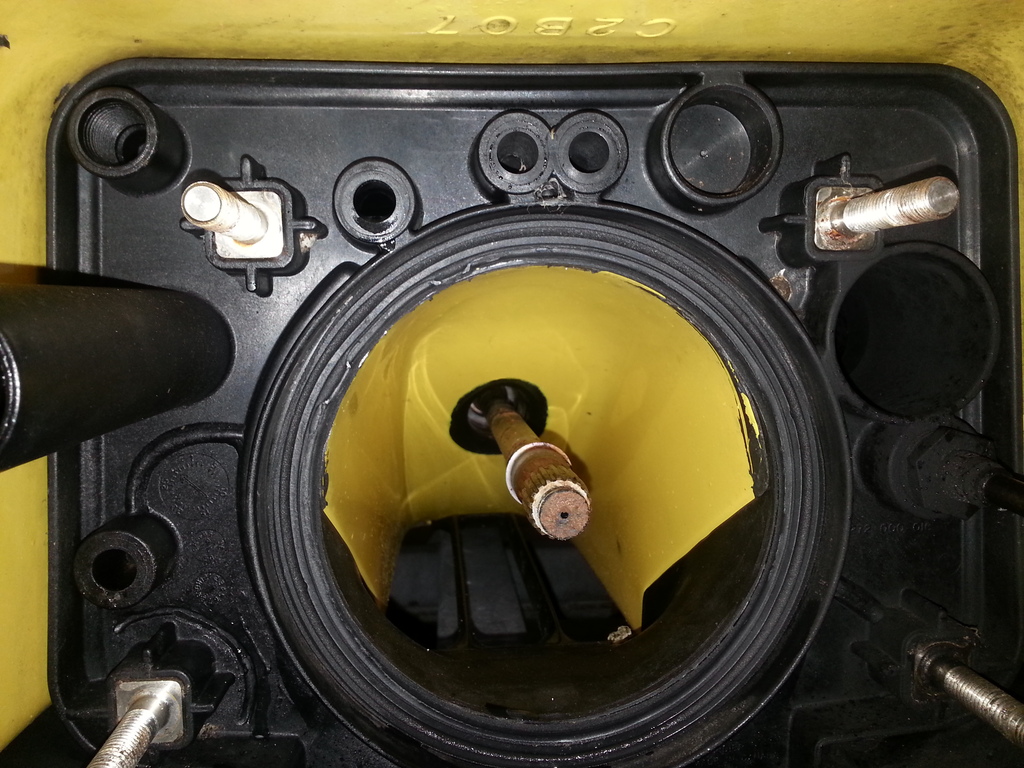
You need to add wiring to power the VTS. Here is the original HX box.


The parts. I took the fuse holder in the top left, it's 7.5 amp for the VTS. The ground is terminated on the ground stud, and the purple wire is power for the gauge. So, disconnect that from the ebox and remove the harness. Then add them to your gray box.


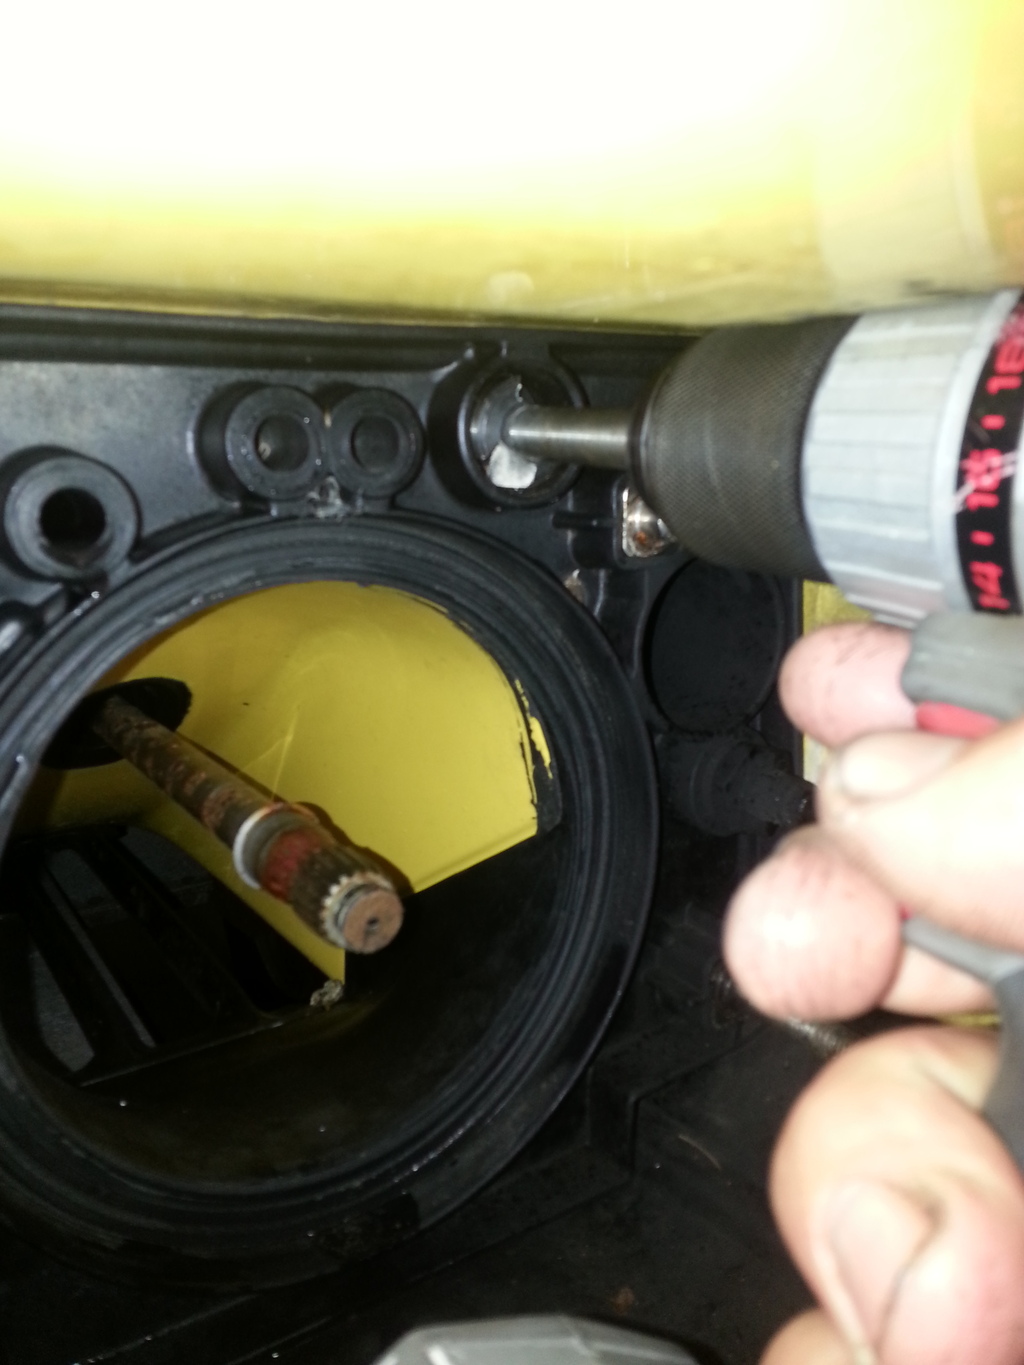
You will need to open up one of the blocked wiring ports on the ebox. I used a 1/2" Forstner bit.


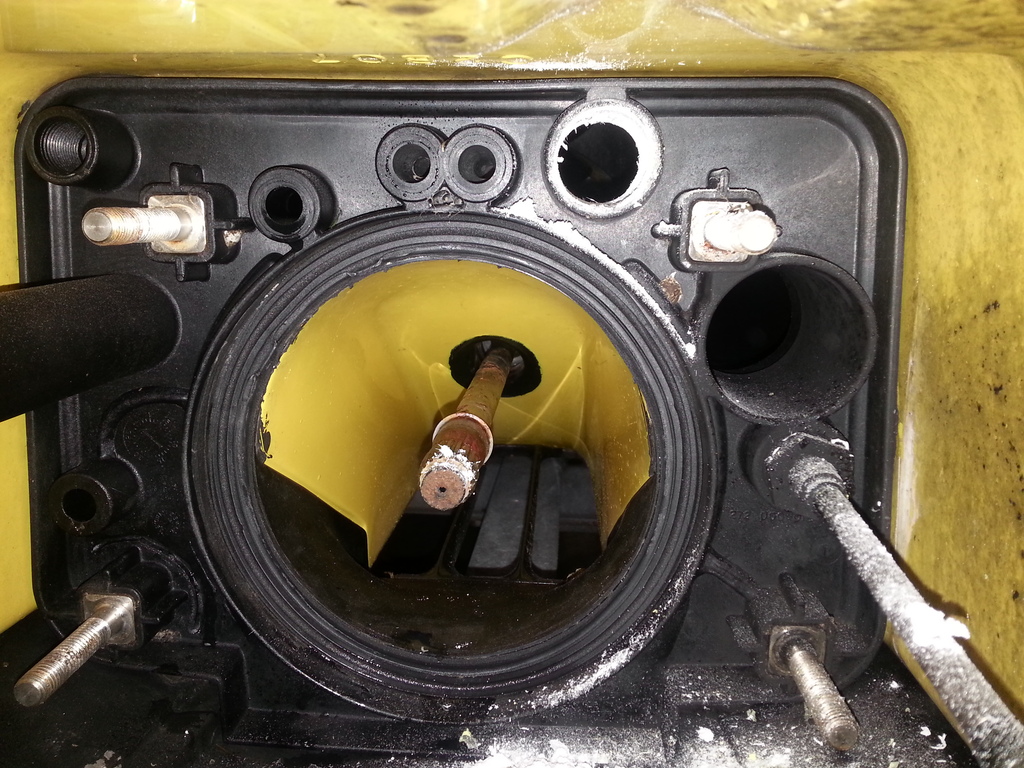
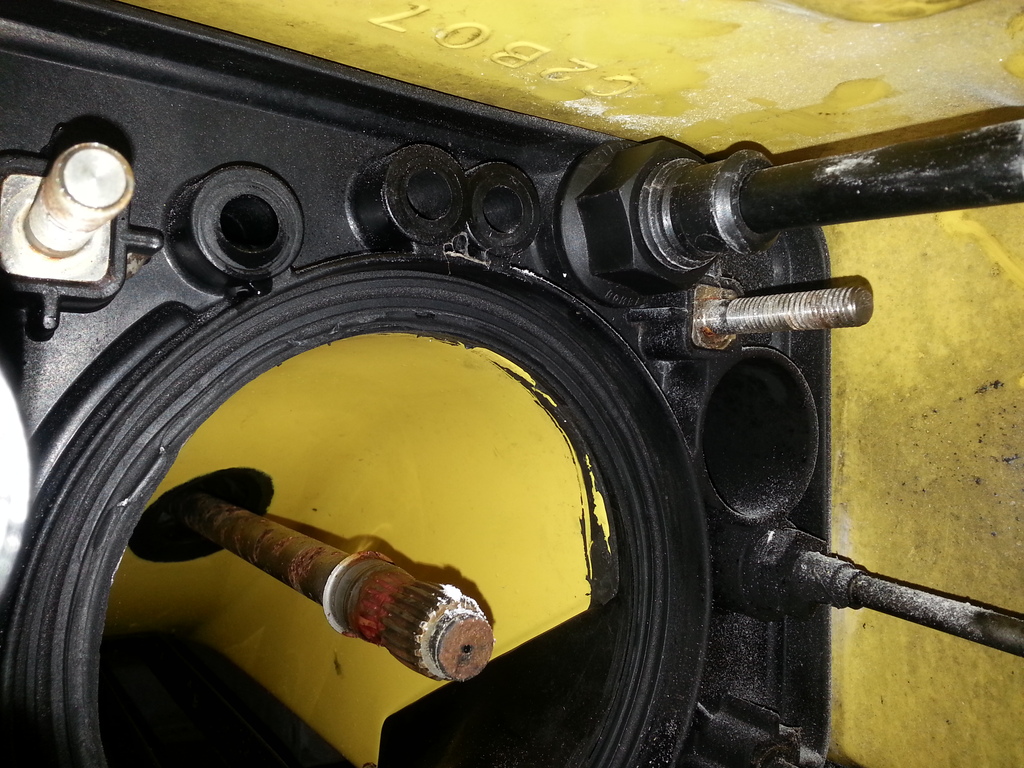
OK, now to drop the pump. Get your safety glasses on! The top right round blank is where the VTS rod will come thru. I used a 1" forstner bit and just finalized it with a dremel with a mini sanding drum on it. It's very tight in there. I did not use the centering divot to locate my bit, I went below that because I didn't want the hole to be crazy big.


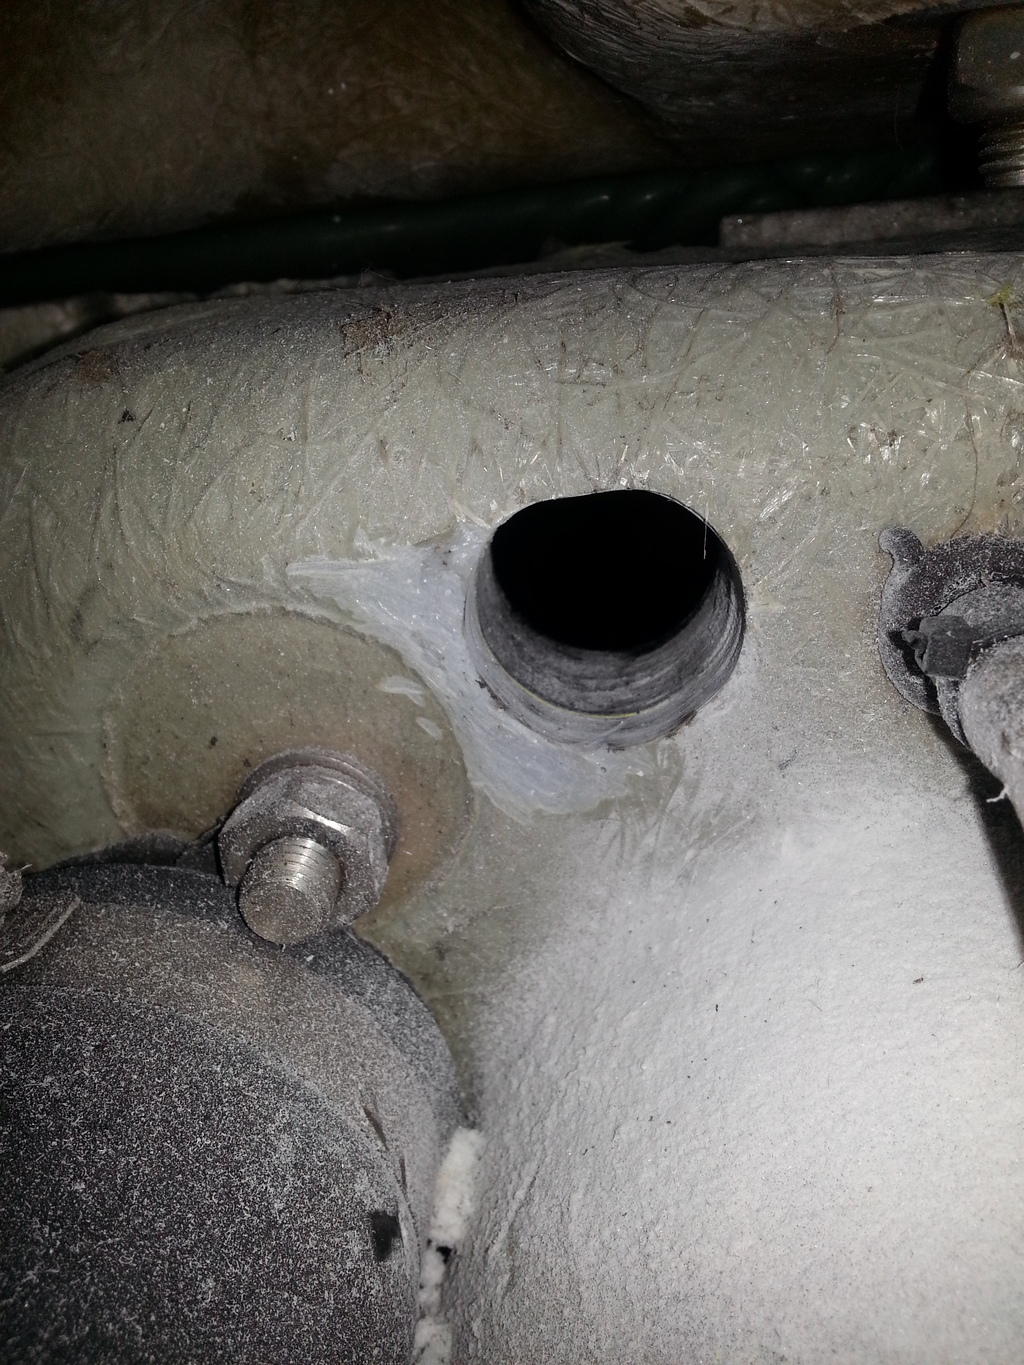
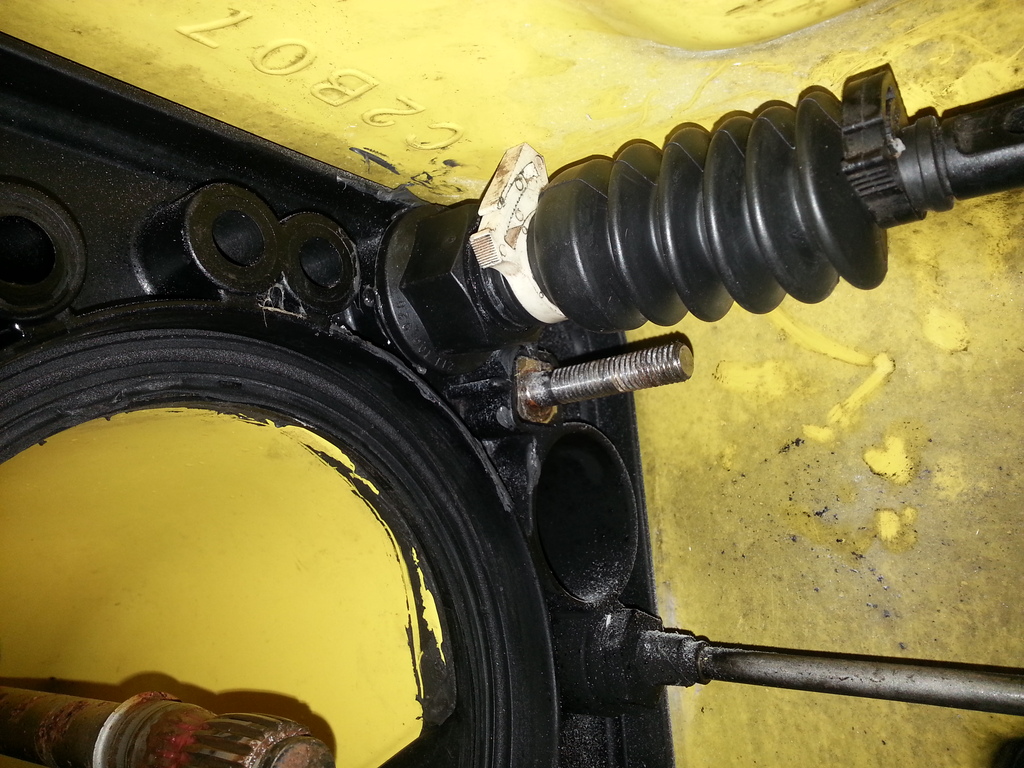
Then try and fit the VTS unit and just use the nut on the back side to eyeball the alignment. I had to remove a little glass on the inside to make it a bit more level. The VTS rod was at a pretty crazy angle. So I just used the dremel again and knocked down the high spots.

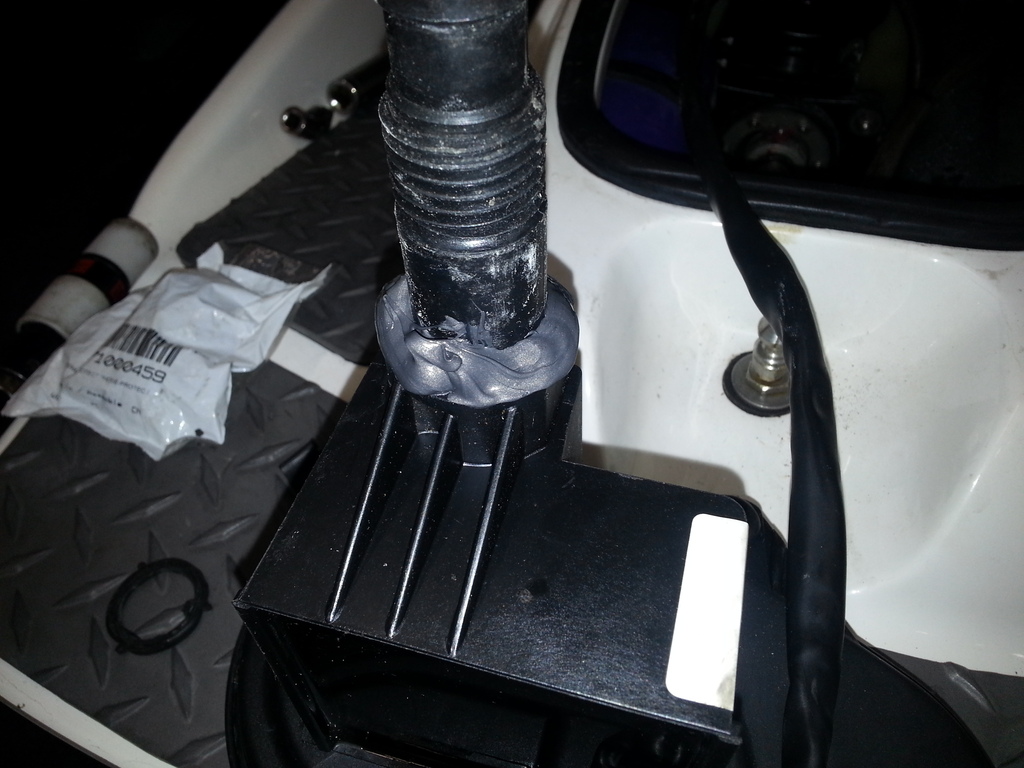
You don't use the spacer that is on most VTS units. I just loaded it up with Permatex Ultra black RTV. I also used the OEM rubber washer and the OEM VTS nut. I put a little grease on the underside of the nut where it meets the VTS seal. I wanted it to slip when I tightened it up and not roll the seal out. Please pay close attention and look to make sure you didn't deform the seal. I used my home made VTS nut tool which is a 3' piece of black ABS pipe for plumbing that I heated and jammed onto a VTS nut and let cool. You can carefully get the VTS nut super tight and that is all you need to mount the VTS box, no other support is needed. The only other spot that I tweaked was where the pump meets near the VTS nut. It's pretty close to the nut so I just clearanced the pump ear just a little with the dremel, you want to make sure the pump sits flush.


New OEM VTS boot and the updated clamps
Stock 96XP adjustable trim rod. I also changed the trim ring. The HX trim ring has a smaller hole, you could drill your's out to accept the plastic elbow or just use any trim ring that had electric VTS on it with a 140 pump.


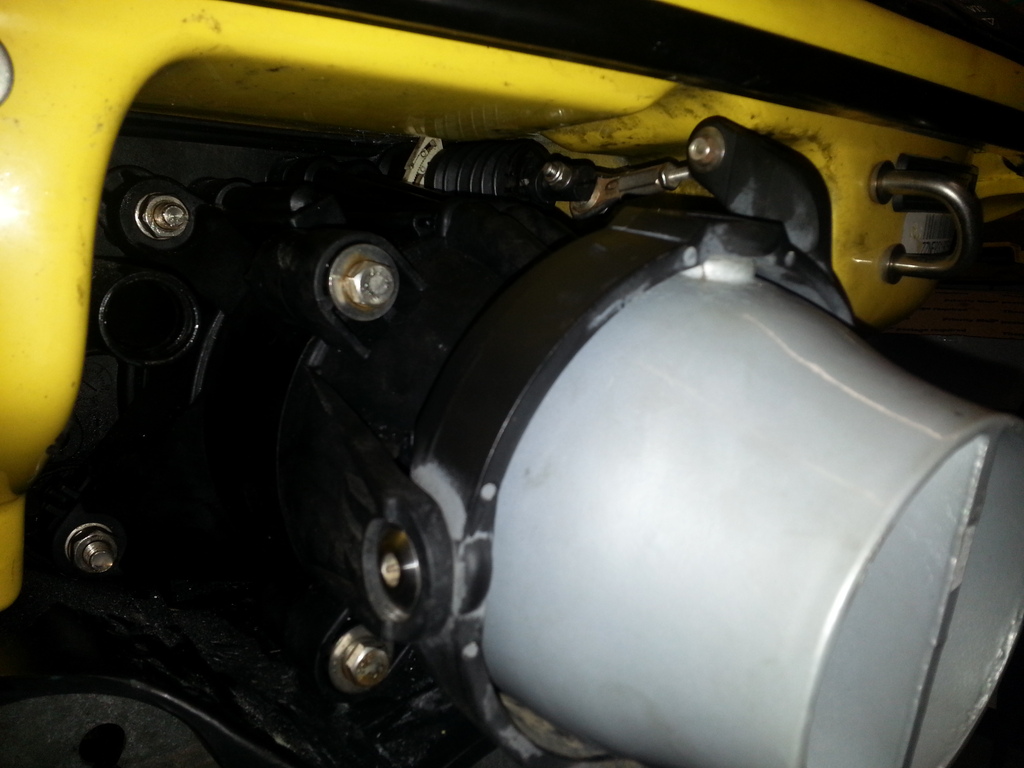
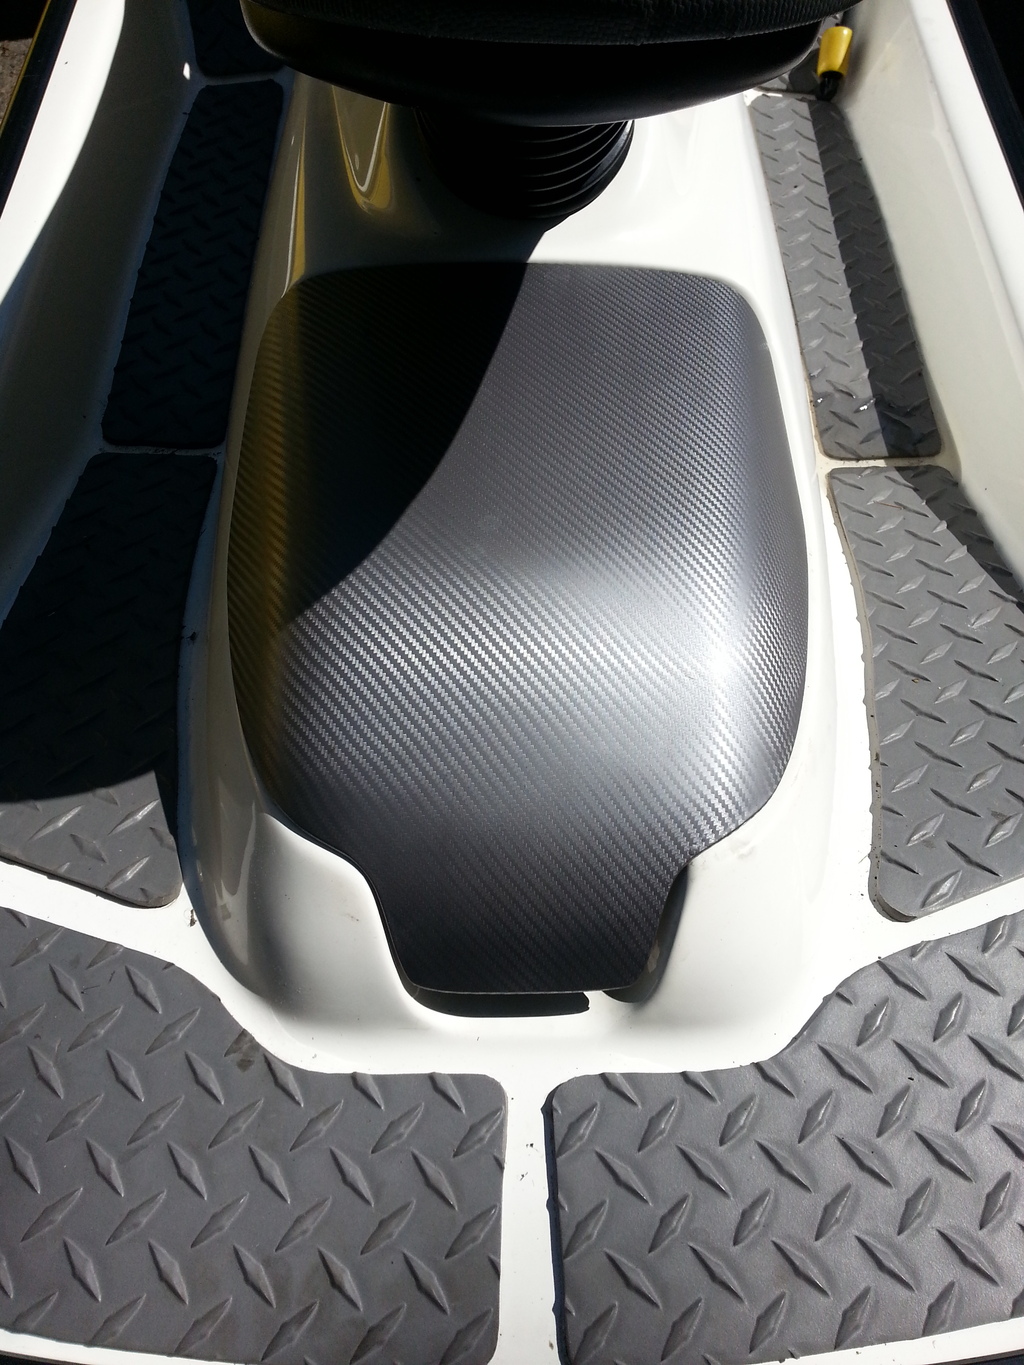
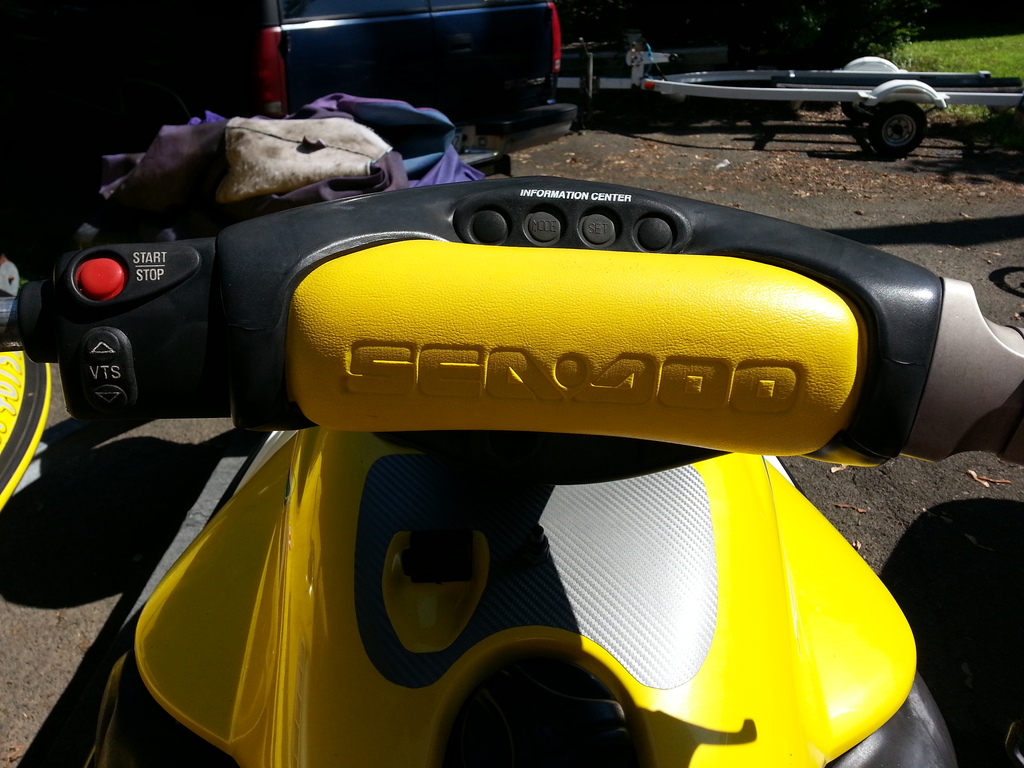
The unit has plenty of clearance for the hatch. The just remove the cowling and run your wires and replace the switch housing with the one with the VTS switches. I had an extension wiring harness the [MENTION=33508]ocod[/MENTION] sent up a long time a go in a box of spaghetti. It worked perfect, 3 pin male to female just the wire colors were different. That you will need to wire up the switches. You will nee a GM weatherpac pin extractor to run the wires thru the steering column. All in all it's pretty straight forward. I bounced a few questions off [MENTION=51824]Matt Braley[/MENTION] and he got me straight. About 3 to 4 hours if you have everything planned out, maybe less. Hack free and you can say it's all OEM. Now off to the river to enjoy the HX even more.

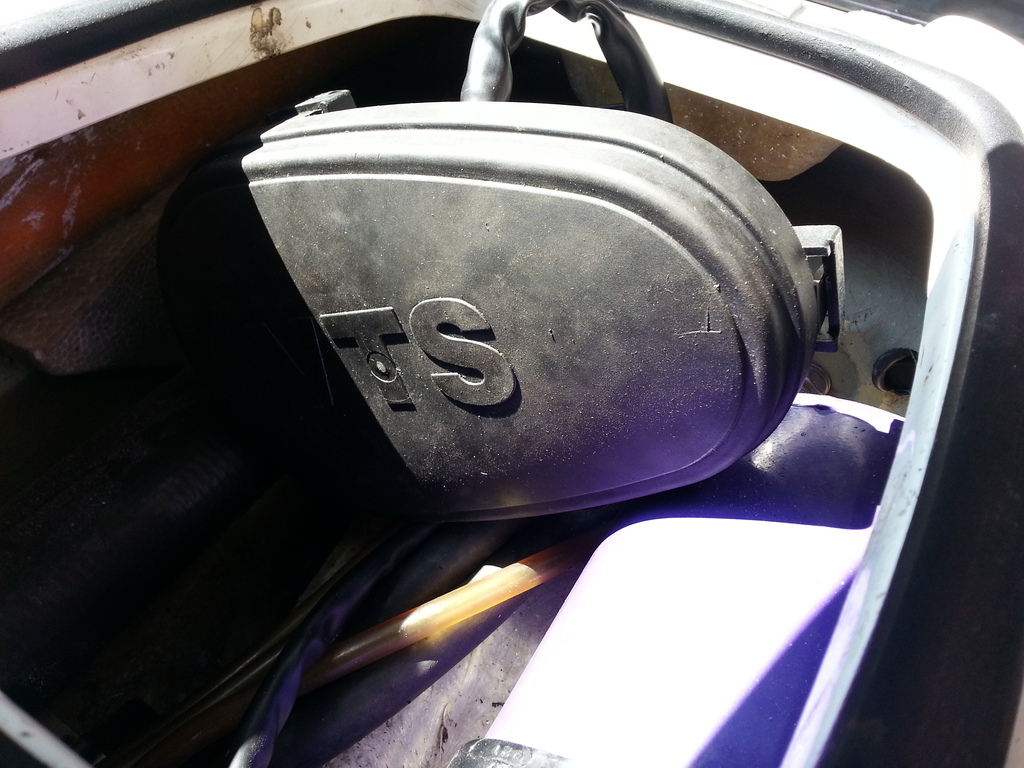
You need to add wiring to power the VTS. Here is the original HX box.
The parts. I took the fuse holder in the top left, it's 7.5 amp for the VTS. The ground is terminated on the ground stud, and the purple wire is power for the gauge. So, disconnect that from the ebox and remove the harness. Then add them to your gray box.
You will need to open up one of the blocked wiring ports on the ebox. I used a 1/2" Forstner bit.
OK, now to drop the pump. Get your safety glasses on! The top right round blank is where the VTS rod will come thru. I used a 1" forstner bit and just finalized it with a dremel with a mini sanding drum on it. It's very tight in there. I did not use the centering divot to locate my bit, I went below that because I didn't want the hole to be crazy big.
Then try and fit the VTS unit and just use the nut on the back side to eyeball the alignment. I had to remove a little glass on the inside to make it a bit more level. The VTS rod was at a pretty crazy angle. So I just used the dremel again and knocked down the high spots.
You don't use the spacer that is on most VTS units. I just loaded it up with Permatex Ultra black RTV. I also used the OEM rubber washer and the OEM VTS nut. I put a little grease on the underside of the nut where it meets the VTS seal. I wanted it to slip when I tightened it up and not roll the seal out. Please pay close attention and look to make sure you didn't deform the seal. I used my home made VTS nut tool which is a 3' piece of black ABS pipe for plumbing that I heated and jammed onto a VTS nut and let cool. You can carefully get the VTS nut super tight and that is all you need to mount the VTS box, no other support is needed. The only other spot that I tweaked was where the pump meets near the VTS nut. It's pretty close to the nut so I just clearanced the pump ear just a little with the dremel, you want to make sure the pump sits flush.
New OEM VTS boot and the updated clamps
Stock 96XP adjustable trim rod. I also changed the trim ring. The HX trim ring has a smaller hole, you could drill your's out to accept the plastic elbow or just use any trim ring that had electric VTS on it with a 140 pump.
The unit has plenty of clearance for the hatch. The just remove the cowling and run your wires and replace the switch housing with the one with the VTS switches. I had an extension wiring harness the [MENTION=33508]ocod[/MENTION] sent up a long time a go in a box of spaghetti. It worked perfect, 3 pin male to female just the wire colors were different. That you will need to wire up the switches. You will nee a GM weatherpac pin extractor to run the wires thru the steering column. All in all it's pretty straight forward. I bounced a few questions off [MENTION=51824]Matt Braley[/MENTION] and he got me straight. About 3 to 4 hours if you have everything planned out, maybe less. Hack free and you can say it's all OEM. Now off to the river to enjoy the HX even more.
Attachments

Last edited: