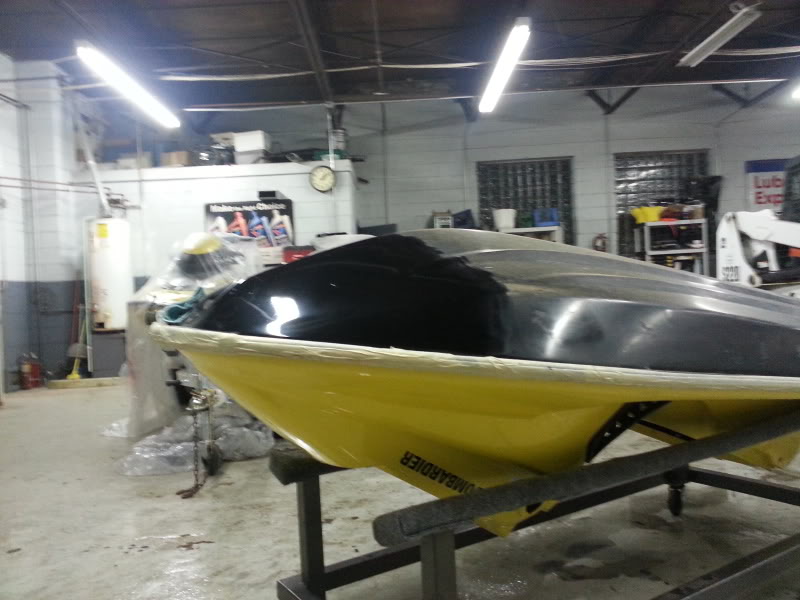
Here are the steps we have taken so far.
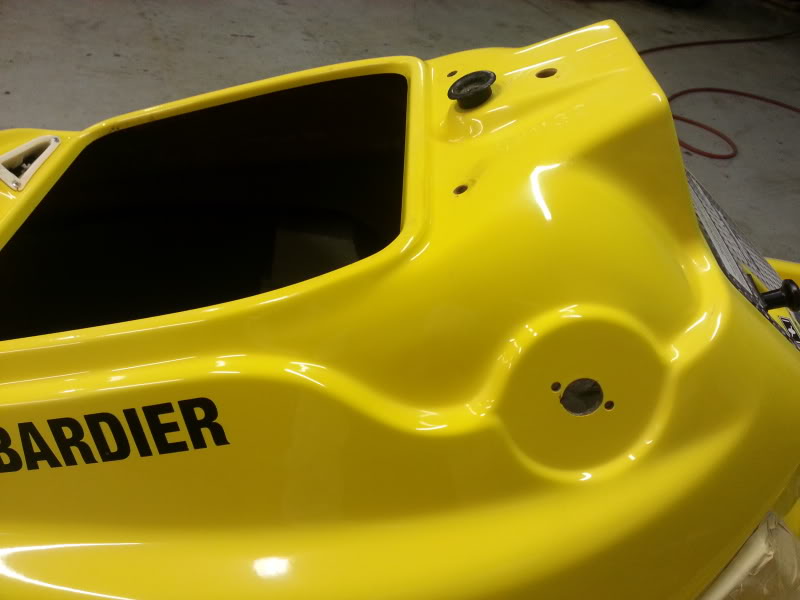
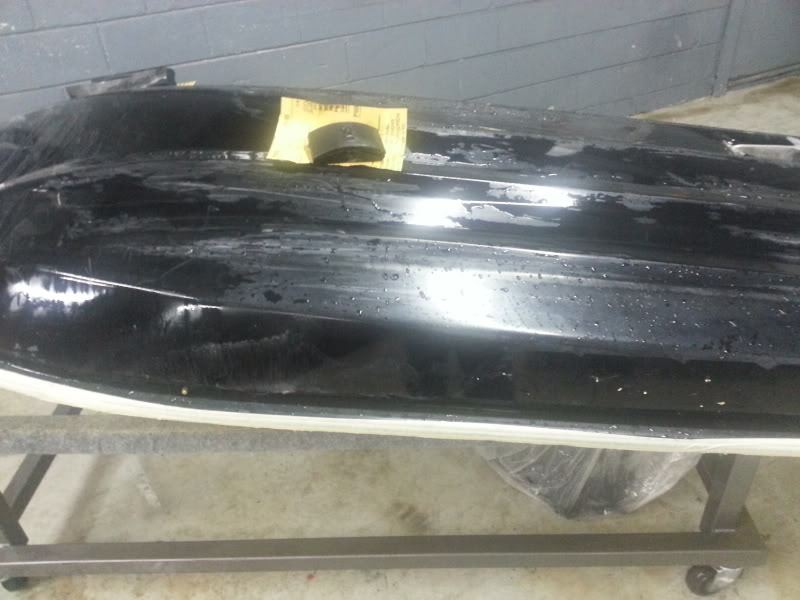
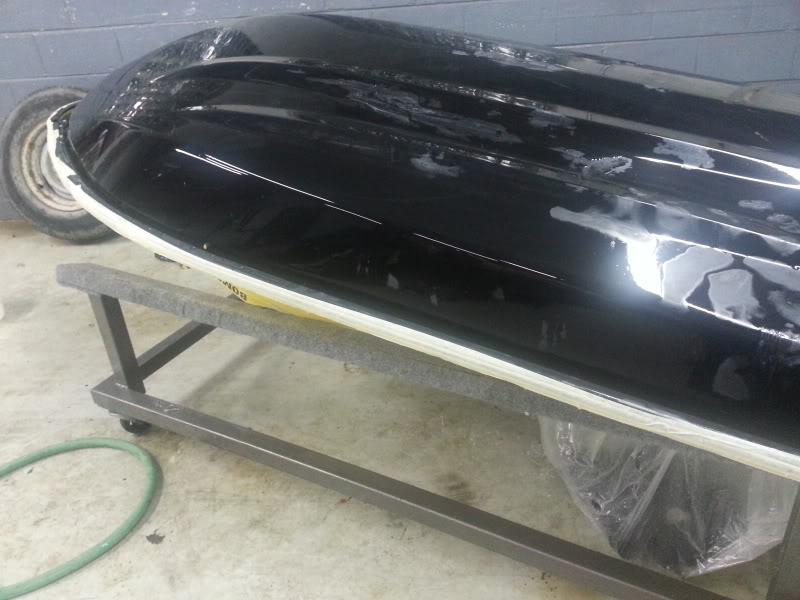
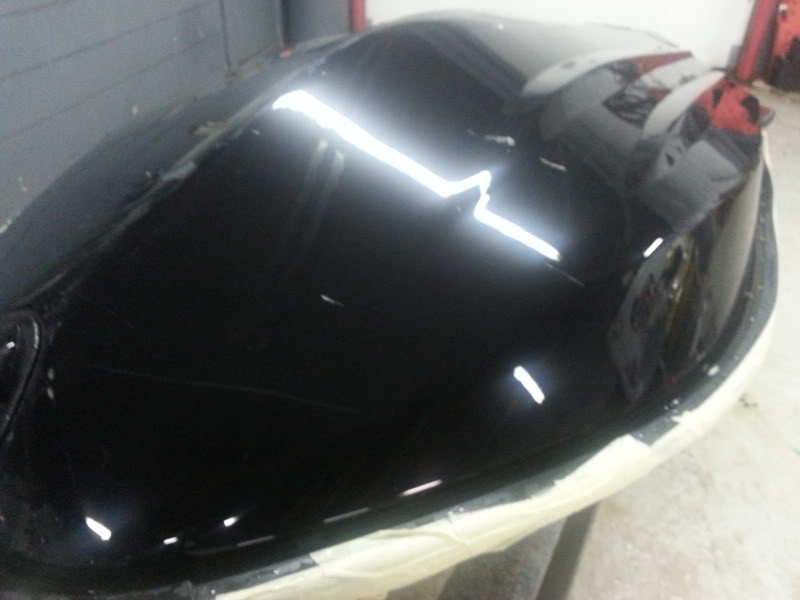
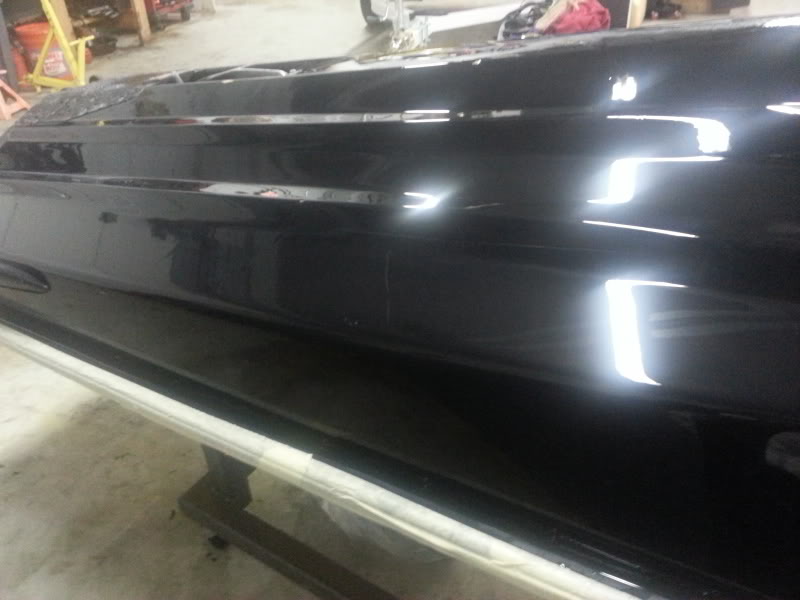
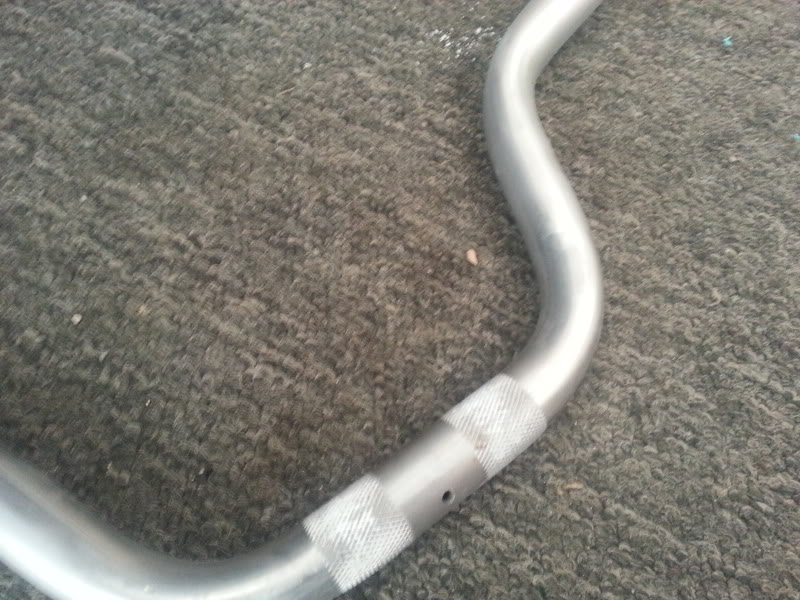
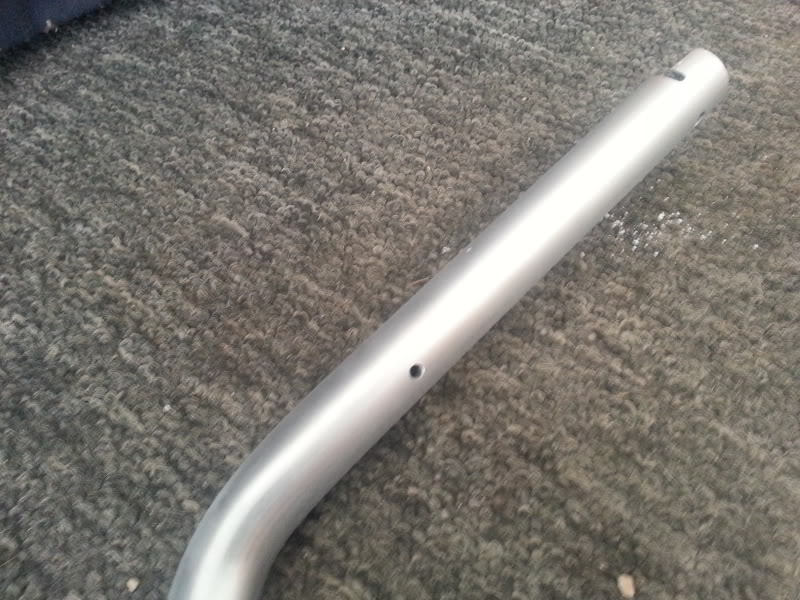
We already had the hull completely wet sand and now the hull is dull and has many little scratches but we can see the larger scratches.
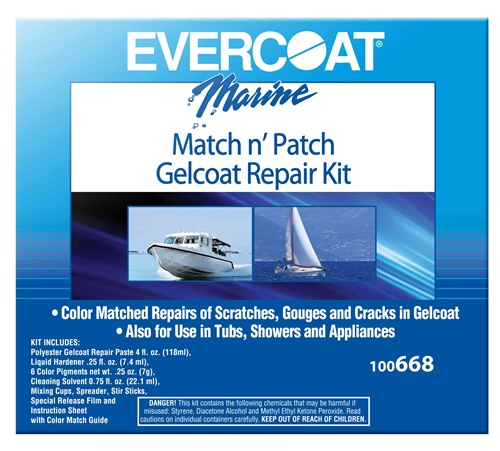
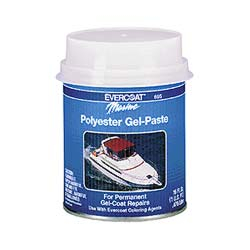
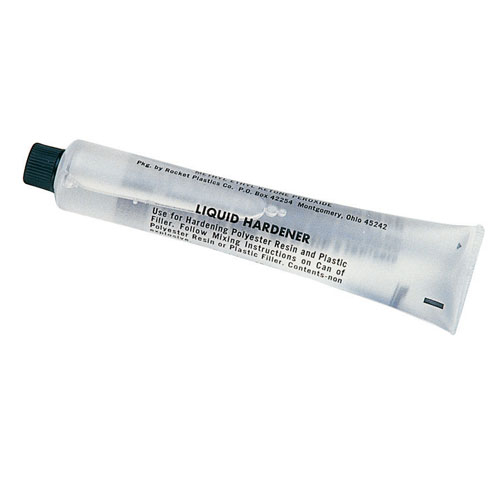
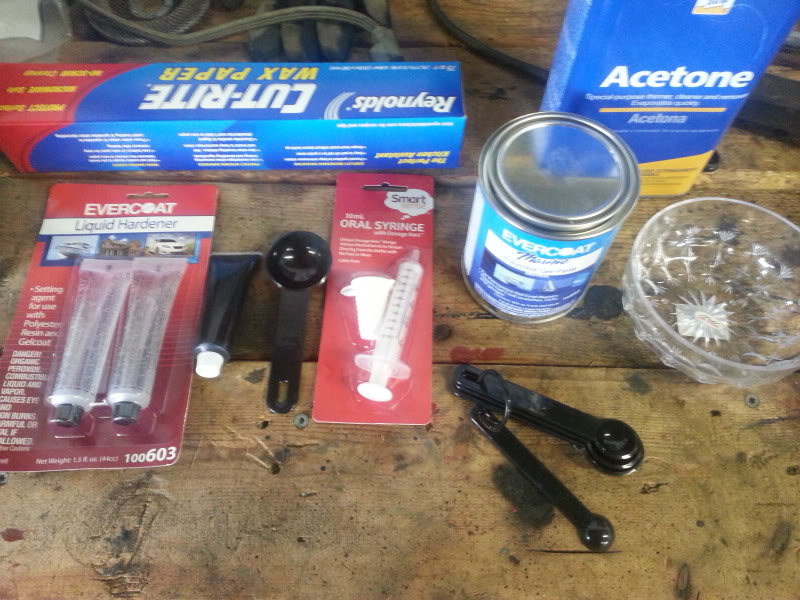
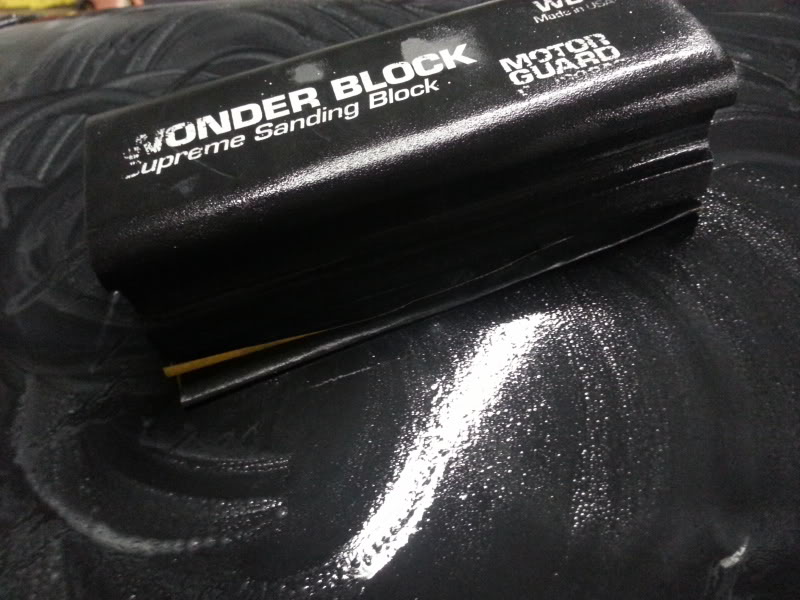
So here is what we will be using.
As you can see it was everything from above with a few extra items.
We bought measuring spoons at the dollar store
We also bought an oral suringe to measure the amount of pigment to mix in. $2 at any pharmacy
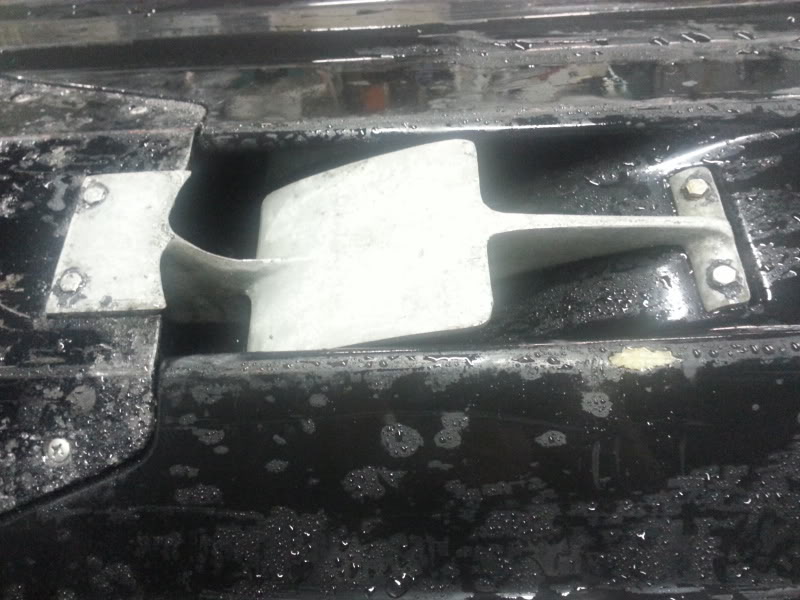
So first things first.
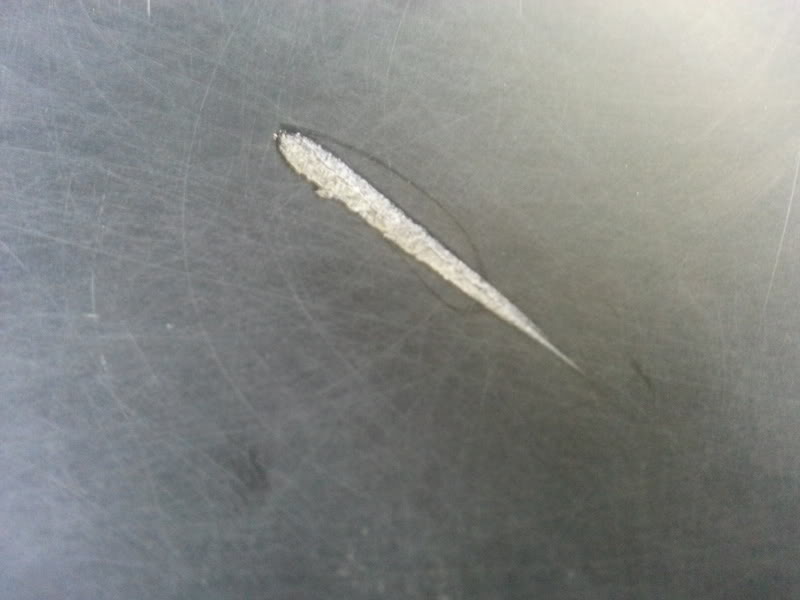
Sand the edges of the scratch with 100 grit paper.
Then clean the area with acetone, many times. You want it very clean.
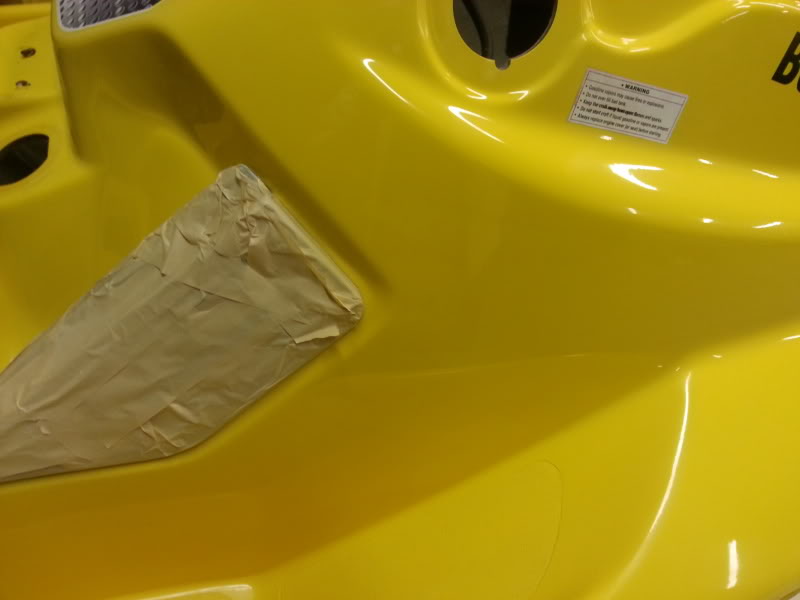
When the acetone dries place a strip of masking tape on each side of the scratch, running parrallel to the scratch.
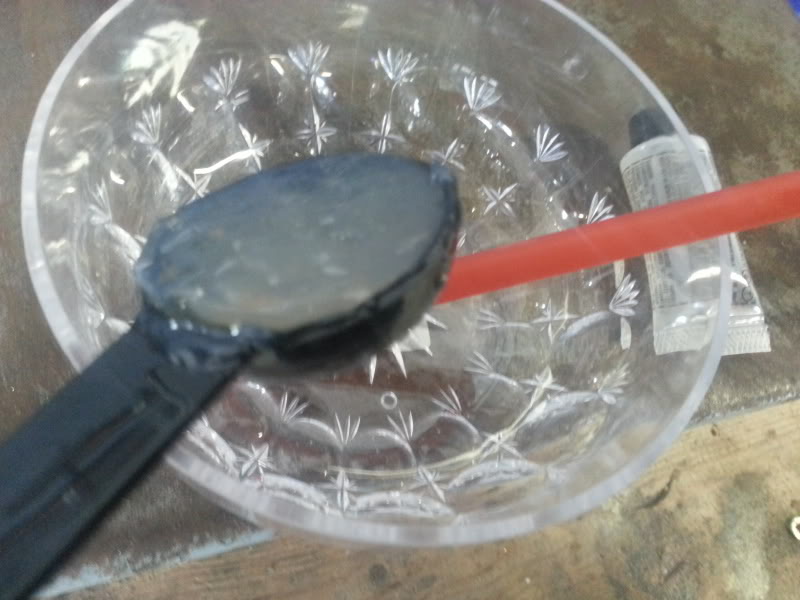
Now that your area is ready it is time to start mixing,
I mixed a small batch, if you read the instructions the mixing instructions are for an ounce, but I mixed it at half of that.
1 tablespoon is equivelant to 1/2 an ounce
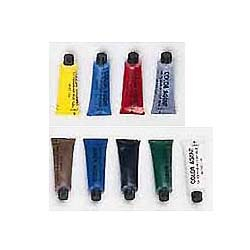
Then for pigment it says to use 1/20 of the amount so we used about .75 millileters. We put the suringe inside the pigment and just extracted the right amount.
Then we used 6 drops of hardener and just mixed up everything.
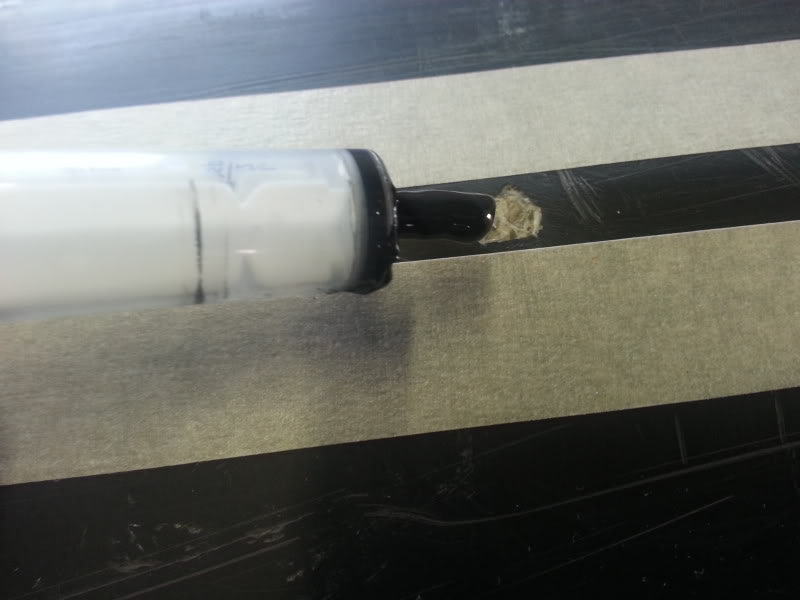
Now after it is all mixed up we took the suringe again and sucked up some of our gelcoat mixture.
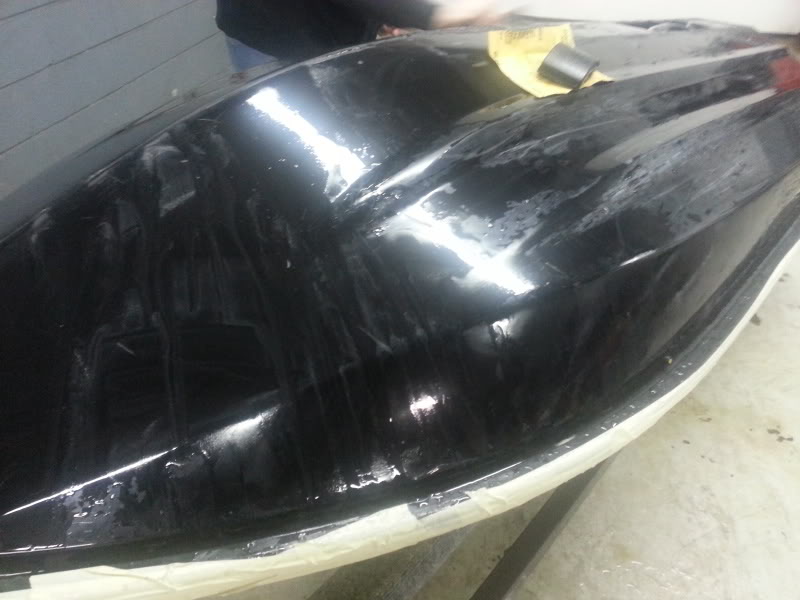
Just run a bead of the mixture in your scratch or gouge.
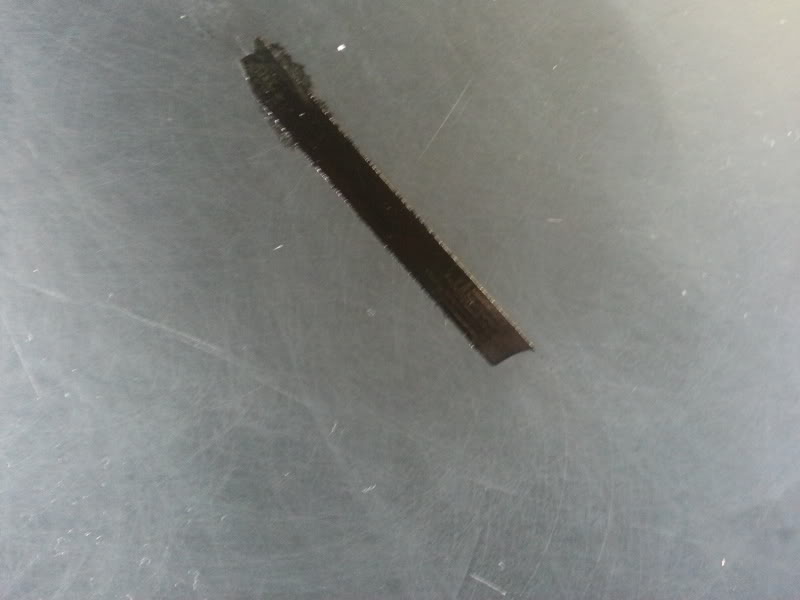
After you have ran your bead take a plastic putty knife or squegee and scrape or run it over the area to smooth out the area and take away all of the extra material.
Then pull of the masking tape
The dry time depends on the temp. The colder it is the more hardener you will want to apply.
Now we left it alone to dry.
Some people say to place wax paper over it to dry but others say just leave it.
So for this one we just left it.
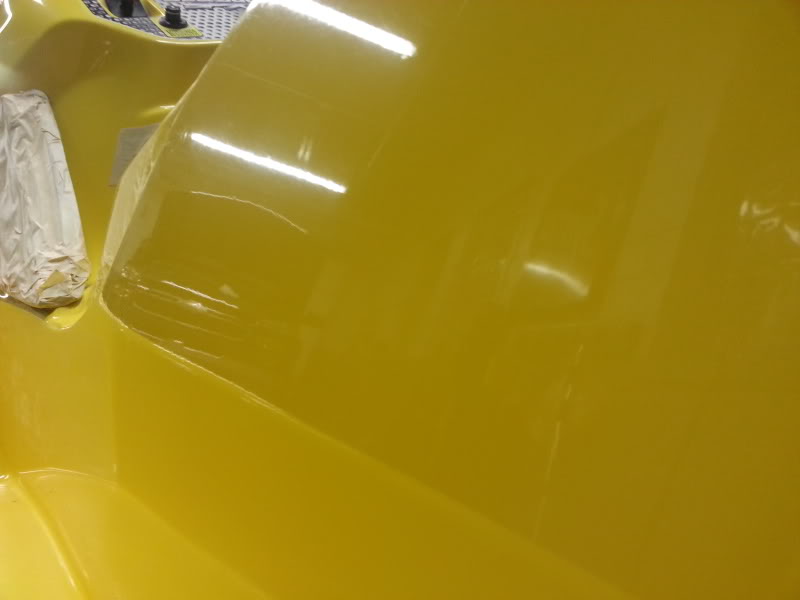
Tomorrow we will wet sand it all down and then buff it out.
So right now the jury is out and we do not know exactly what the final results will be but we will soon know.
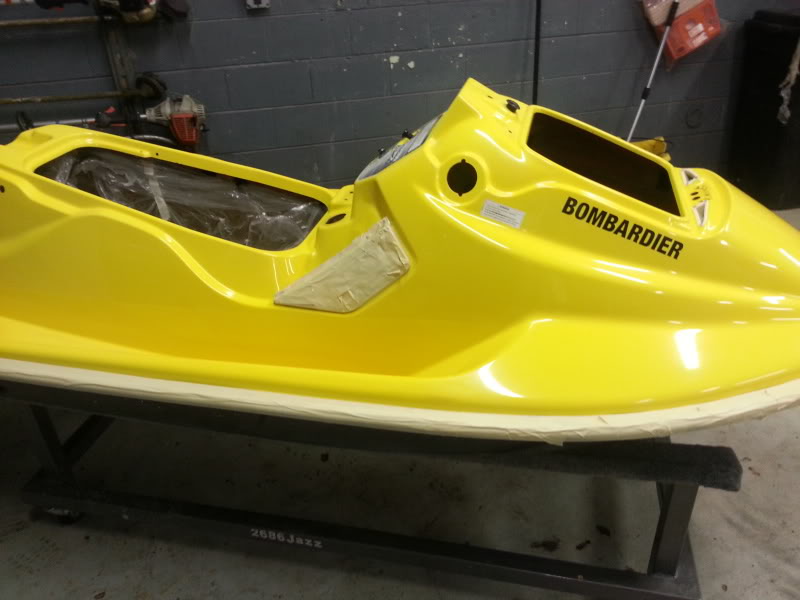
By the way this batch I made up was enough to do every scratch on the bottom and side of the hull. I was amazed at how well this filled and spread. So if you have just a few scratches I would even cut this batch in half.