DAGRE147
New Member
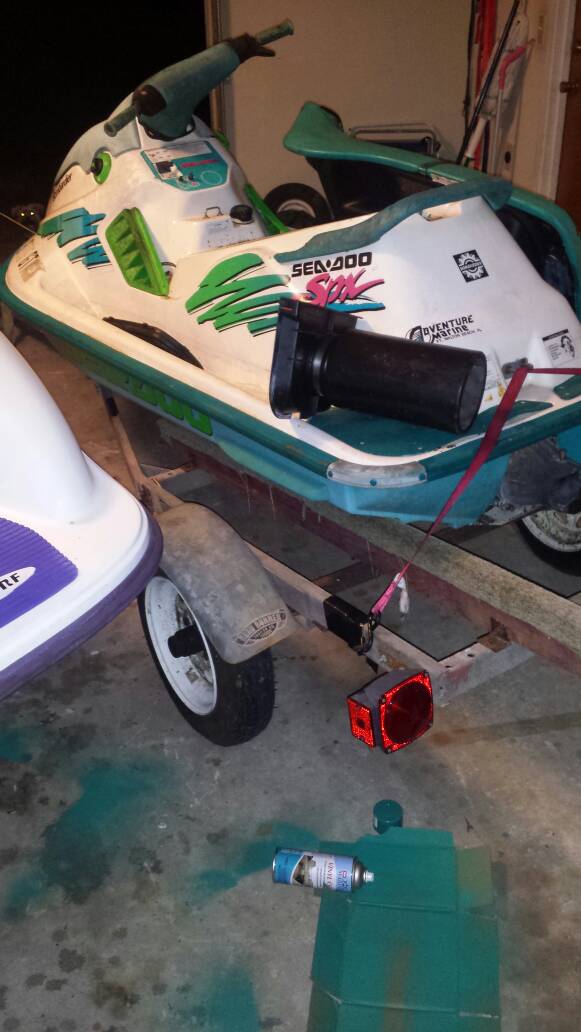
Picked up a 94* SPX with 'trailer' today for $200. Needed a "battery and rubber boot on drive shaft" supposedly. Engine wasnt locked up and hull was clean so I rolled the dice. It's my 4th Doo in 6 months....I think I'm hooked. For those who know me on the forum, I'm still not completely done with my cosmetic resto of my 96 Challenger but I'm close enough that I have to pounce on these winter deals starting to flood out.
A few pics :
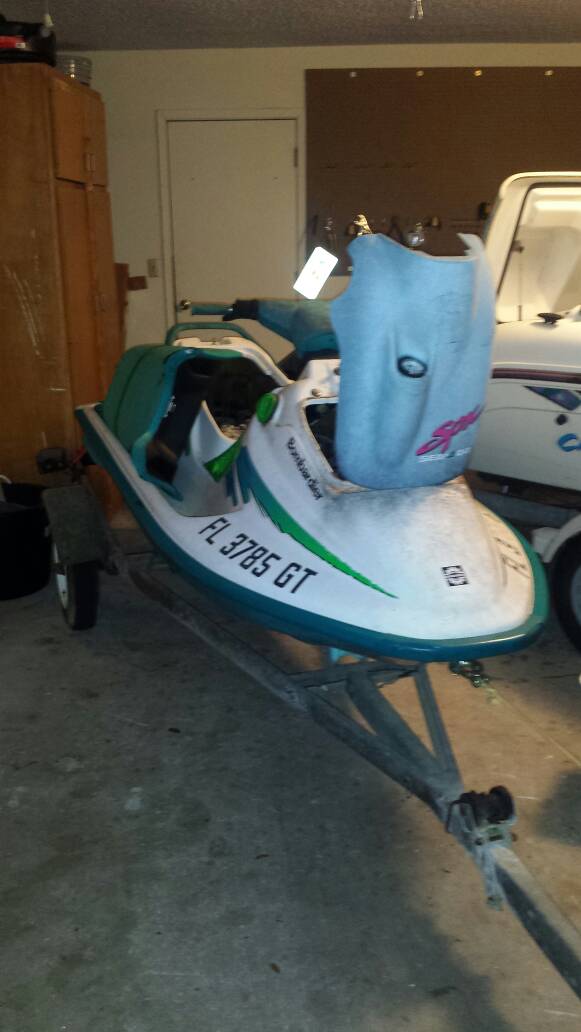
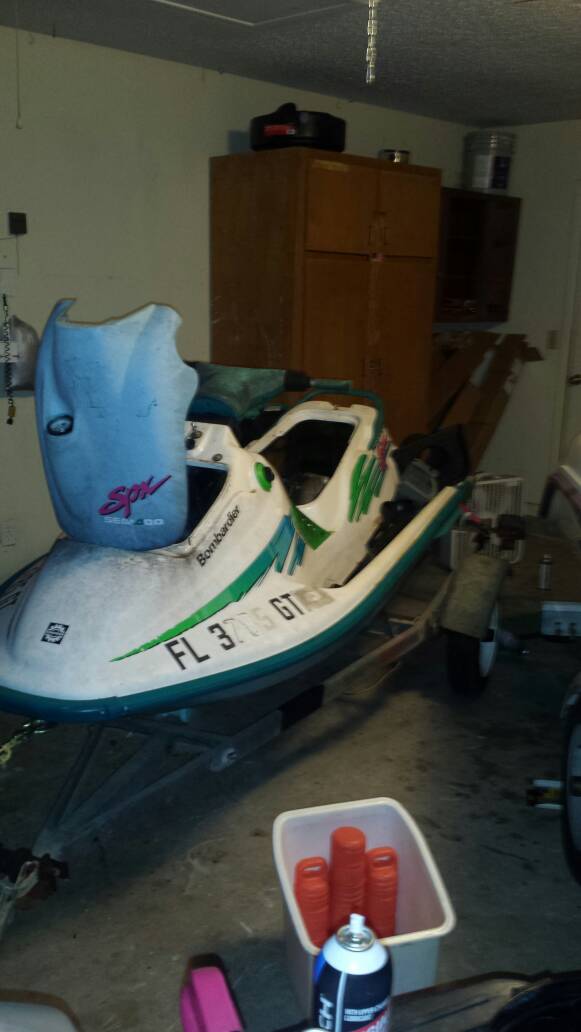 needs a good wash
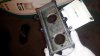
 the bag of bolts be gave me had me worried until I realized it was for those
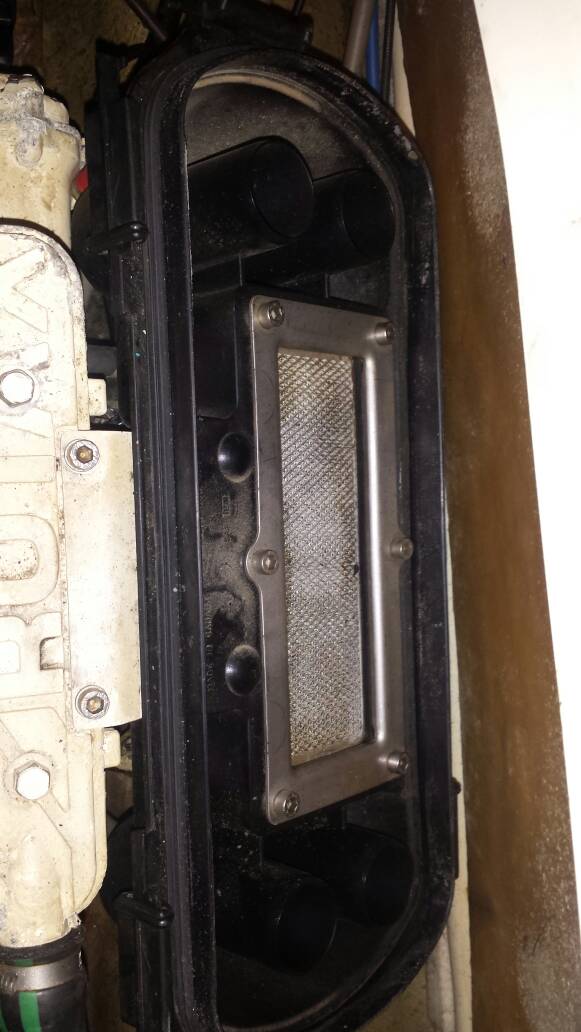 dusty carbs? Thinking he had the air box off for extended period of time?
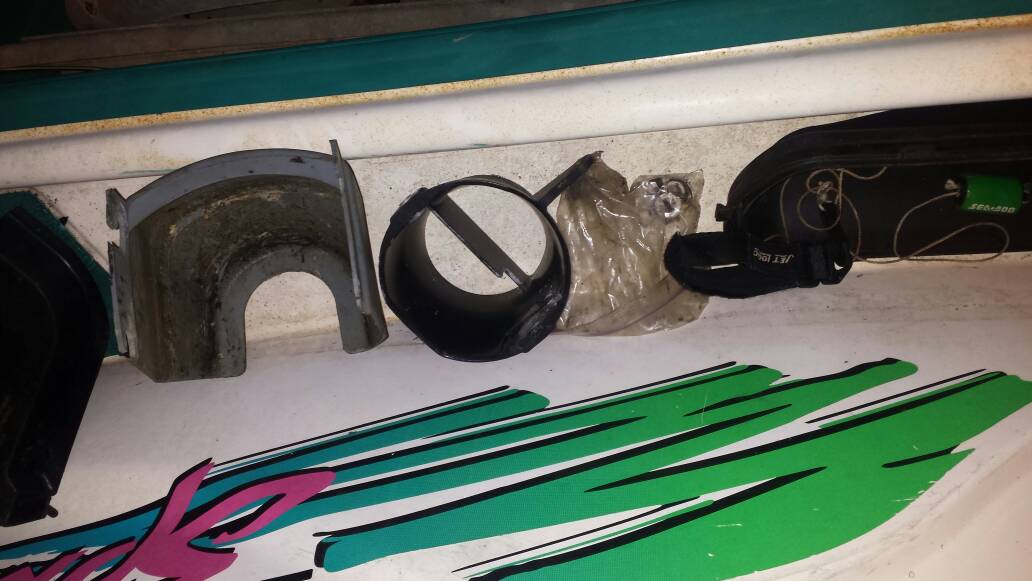
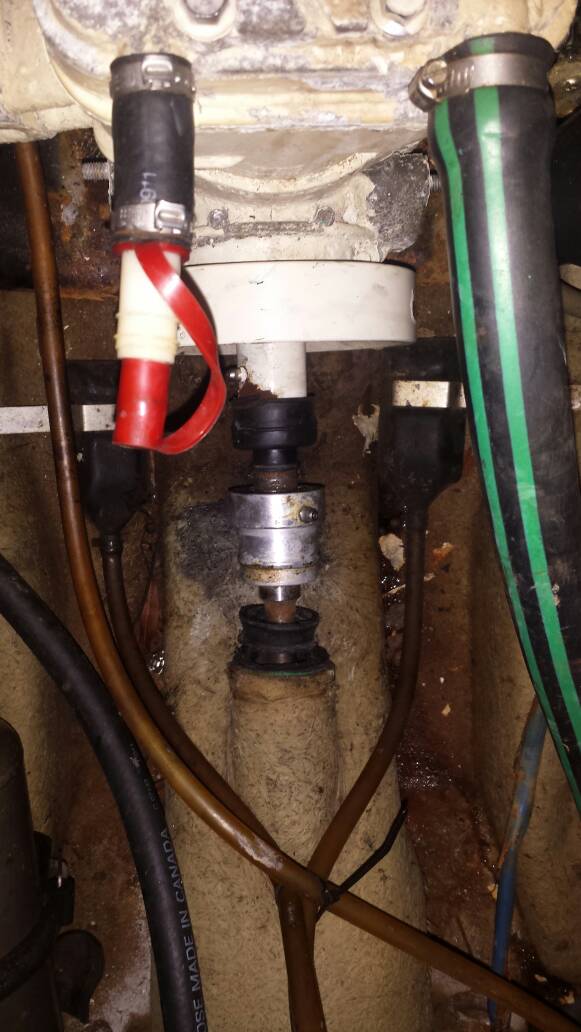
 yuck
yuck
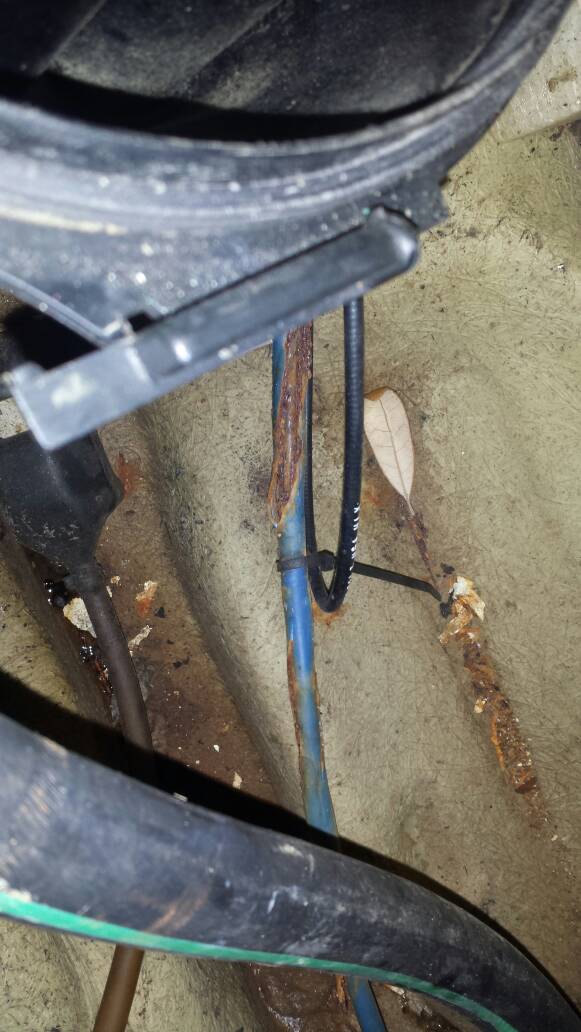
 change change change
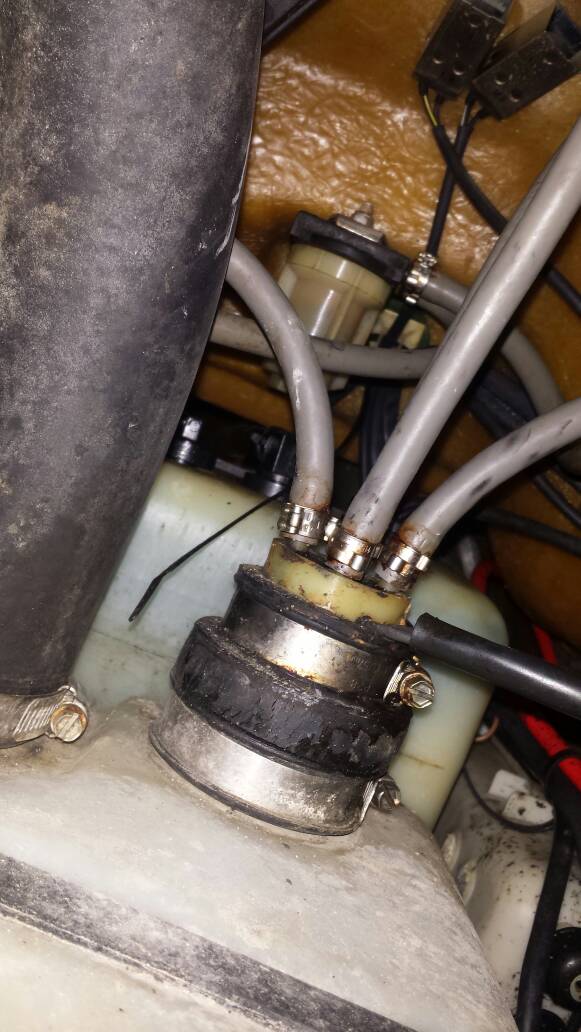
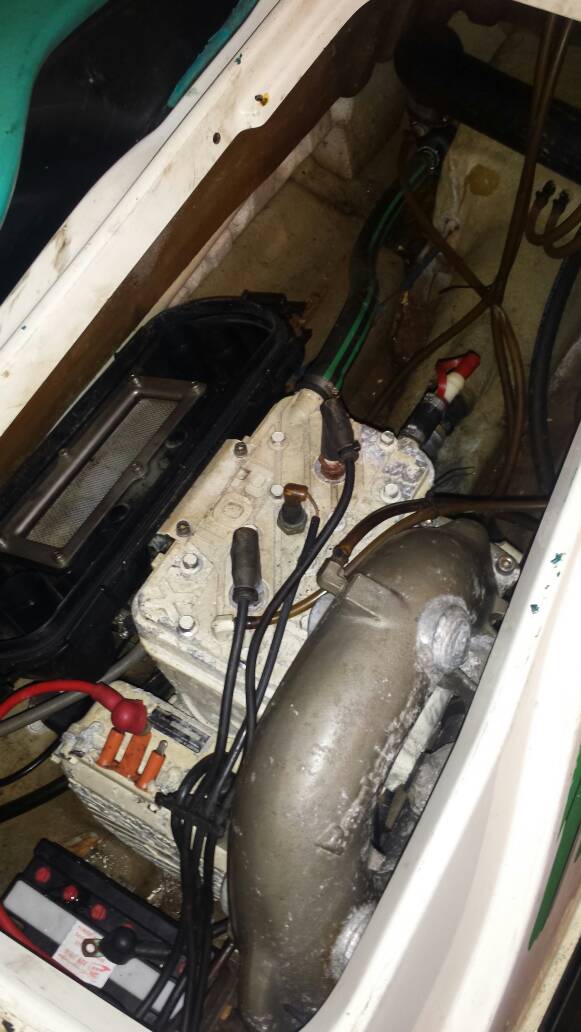 Welch plugs are all welded and even though it's Def a salt turd, I think it's got a chance
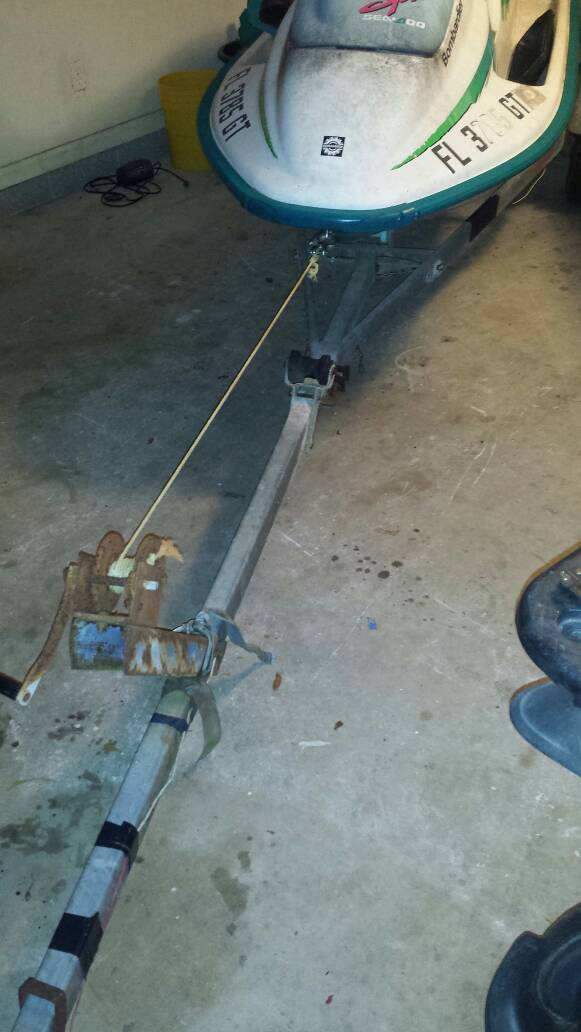
Now for the trailer... guy didn't even have it ratcheted down. I had to hot wire lights to drive the 40 min. Back in the dark praying the whole time I didn't slam on brakes and give my jeep a new rear end. It's a Jon boat trailer he 'converted'. Fantastic.
Good tires though!
A few pics :
Now for the trailer... guy didn't even have it ratcheted down. I had to hot wire lights to drive the 40 min. Back in the dark praying the whole time I didn't slam on brakes and give my jeep a new rear end. It's a Jon boat trailer he 'converted'. Fantastic.
Good tires though!
Last edited by a moderator:
 atriot: