Jetskigoodies
Well-Known Member
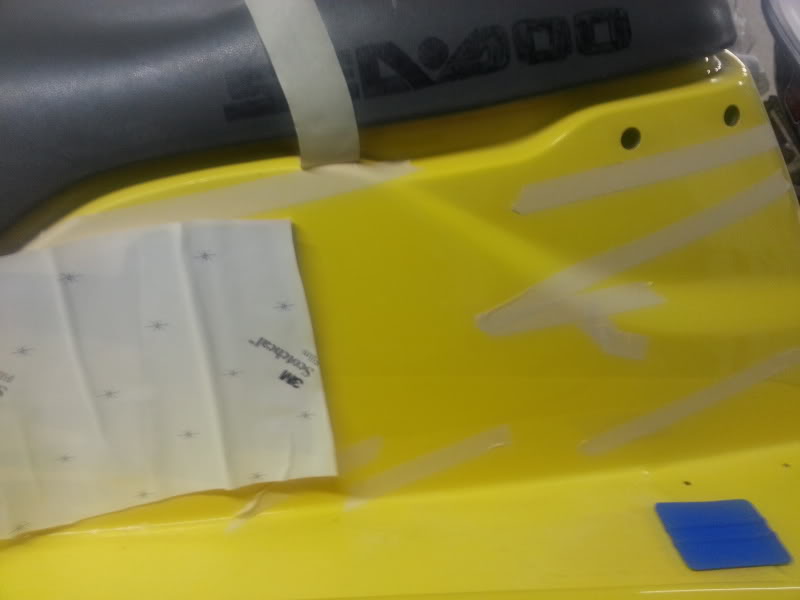
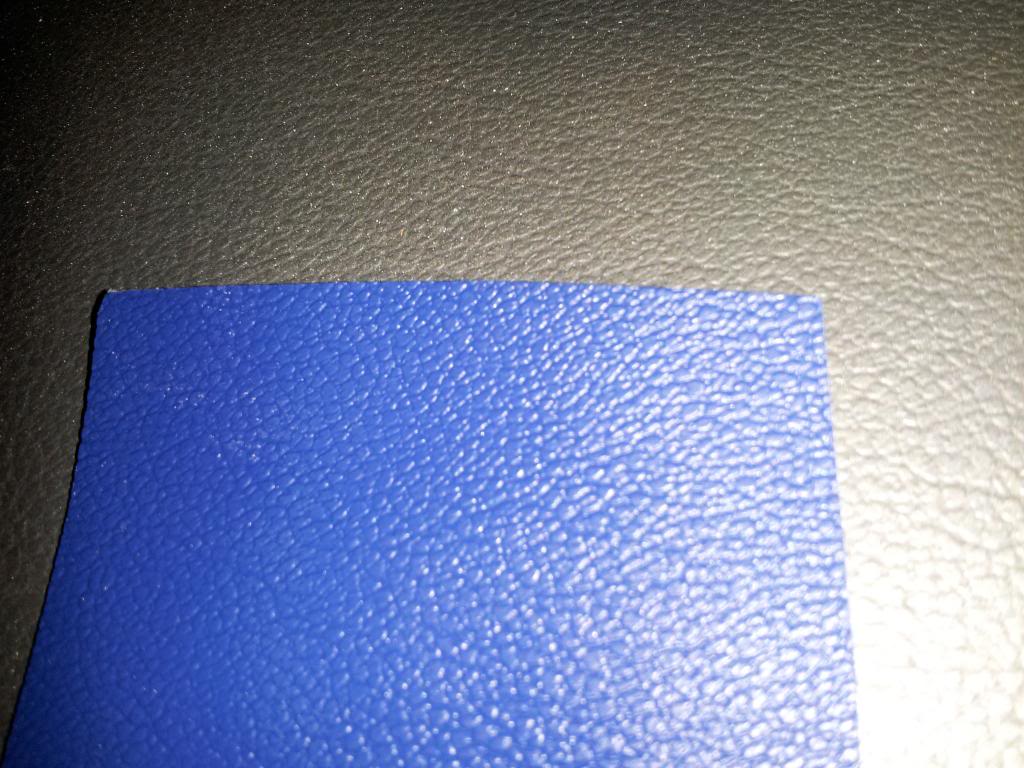
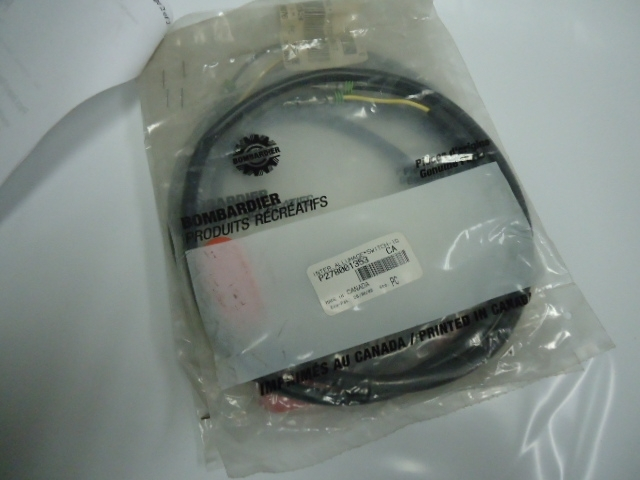
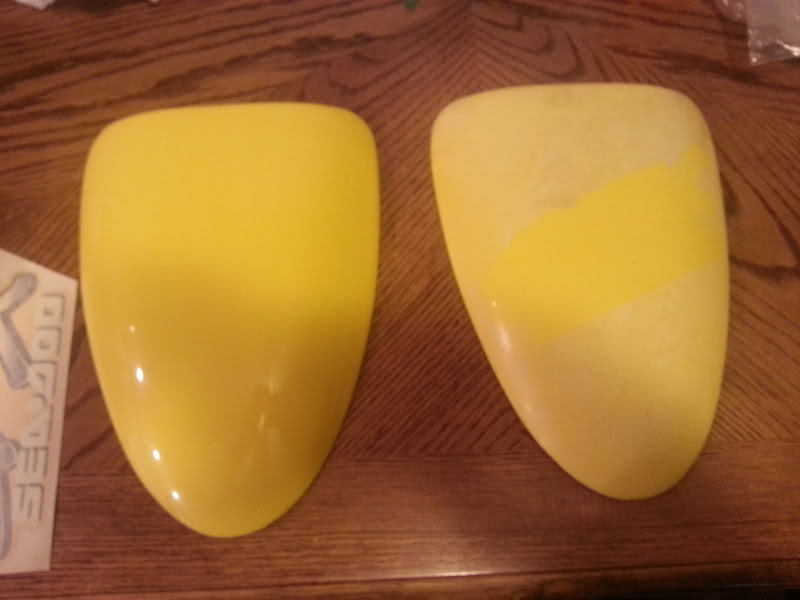
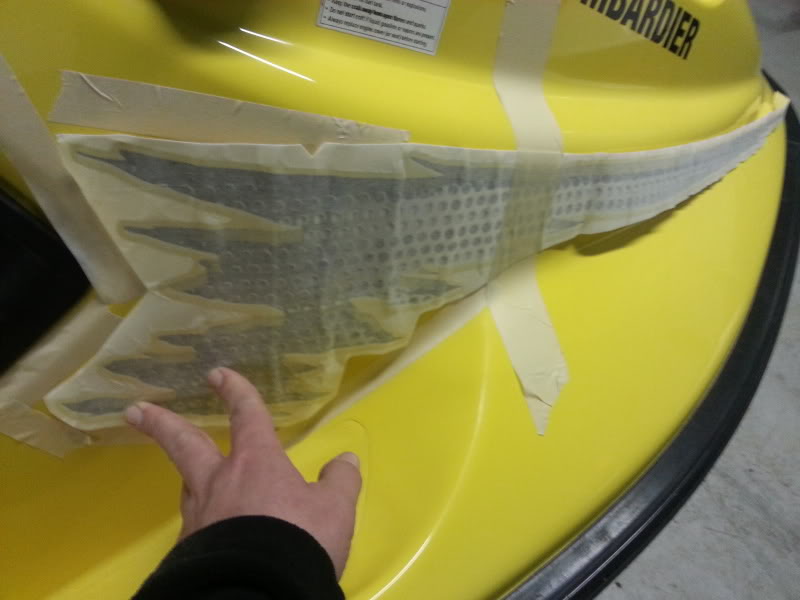
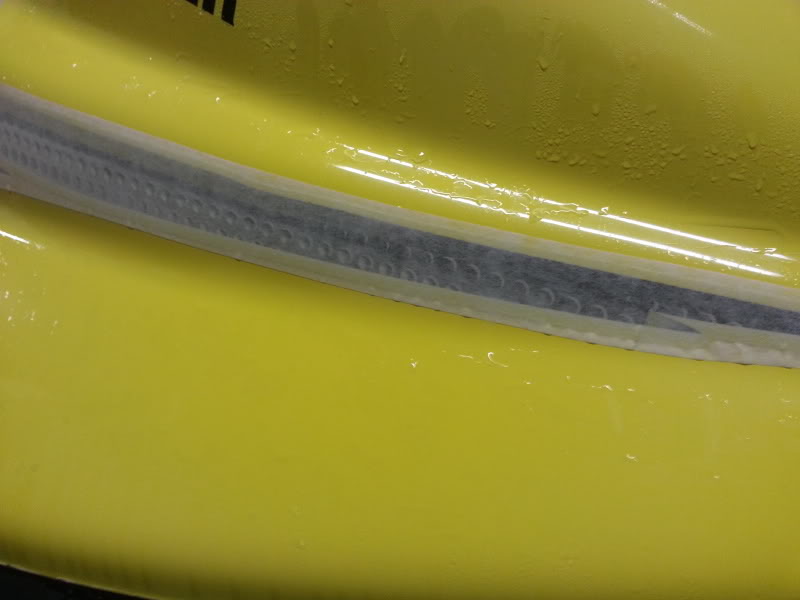
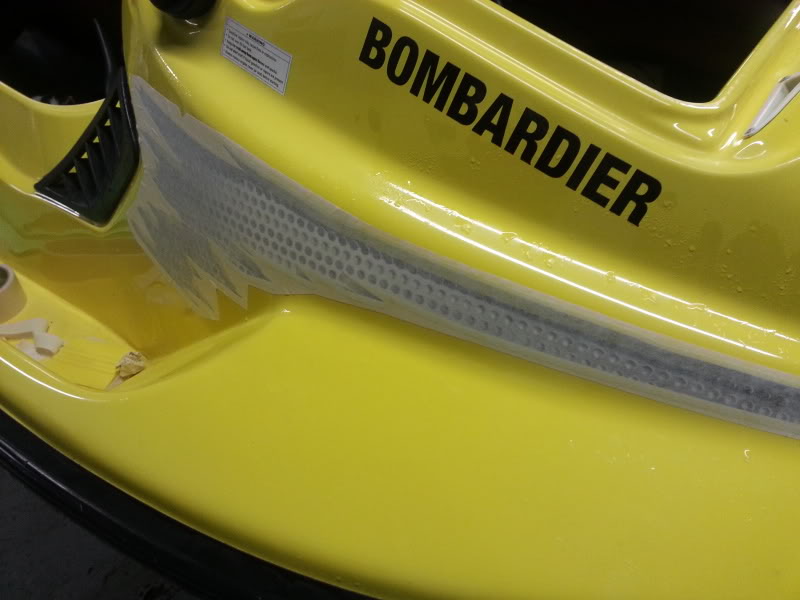
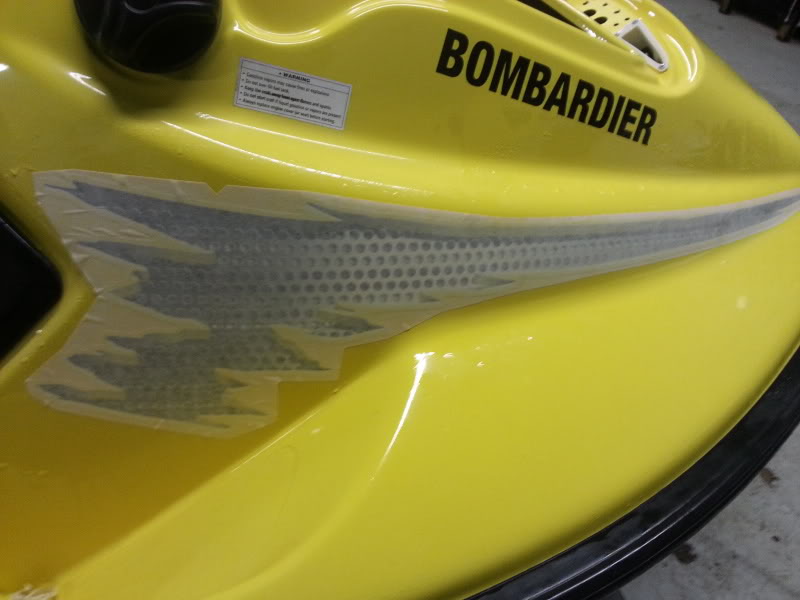
I can't use the oem mats now. I drilled out the holes to large on the fiberglass removing the old rivets. I could always just drill the mat out a little for larger rivets but then I would have a hard time finding plugs to fit. I did however find this vinyl at the site you referred me too. I think this is as close as I will get. It is not the 4 way stretch though.


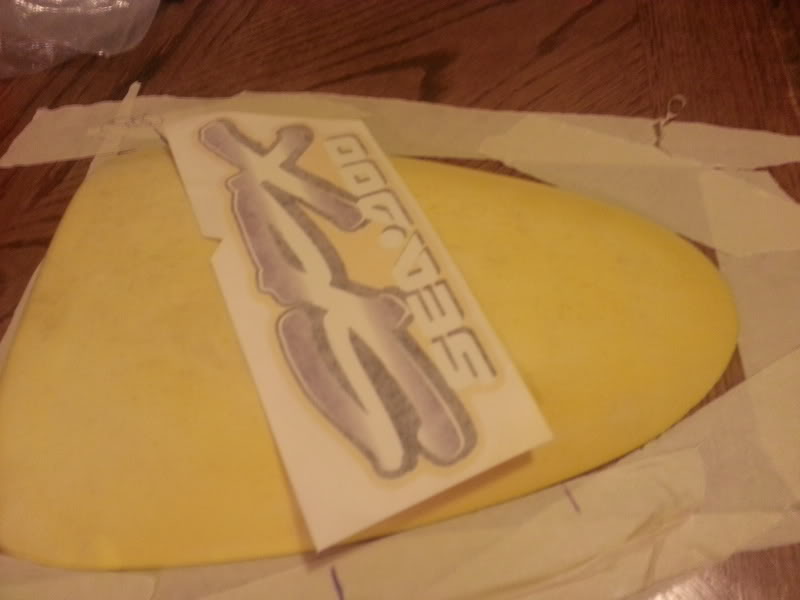
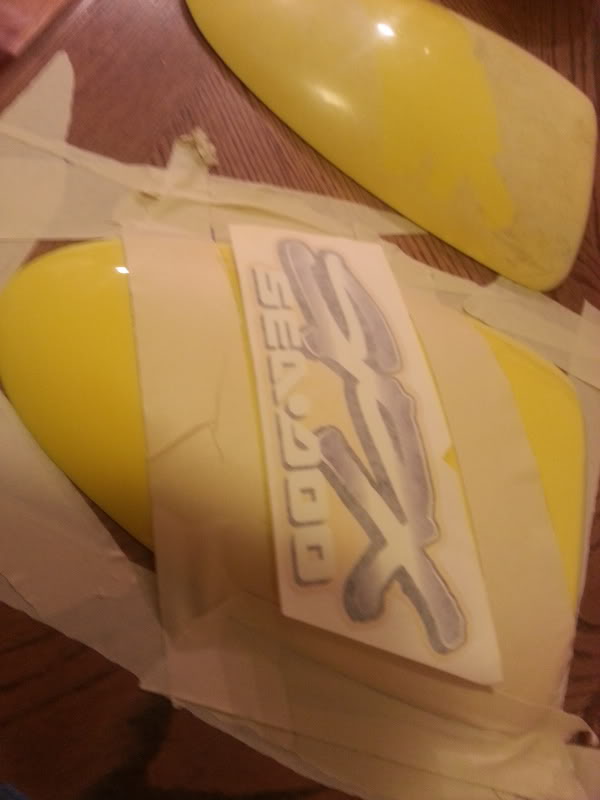


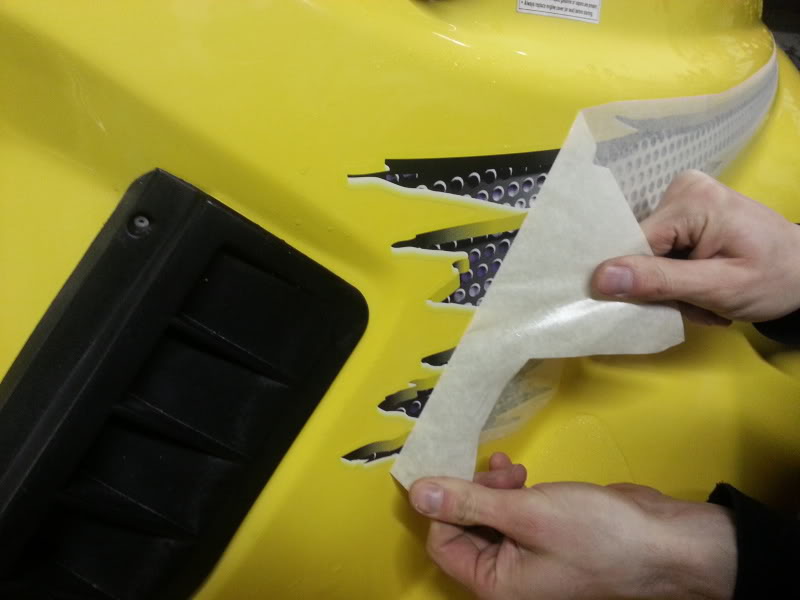
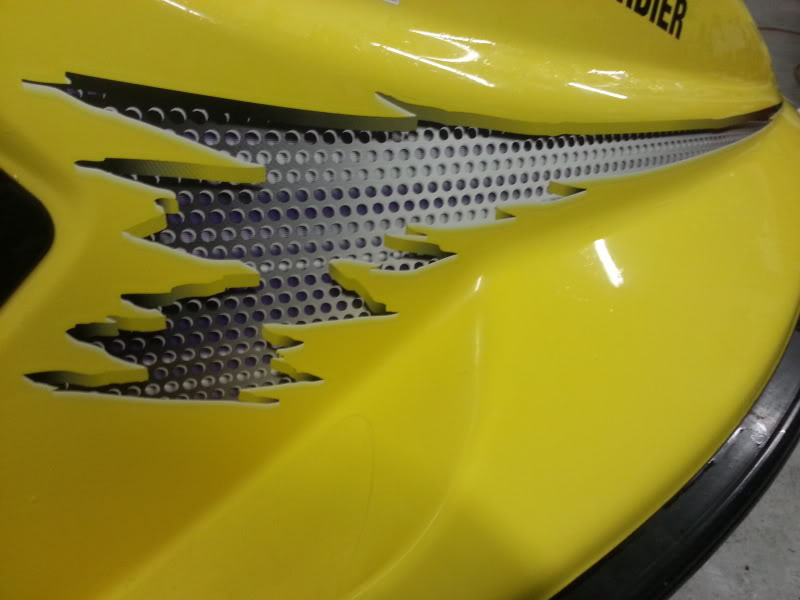

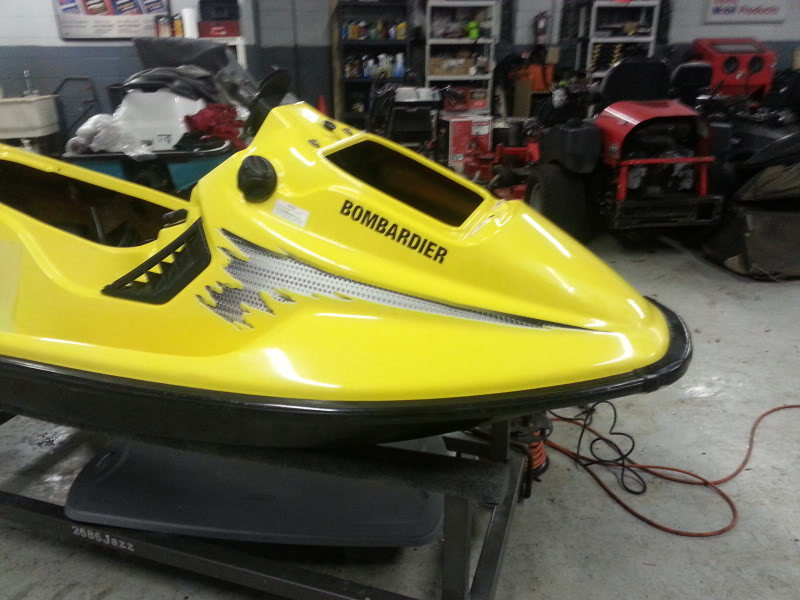
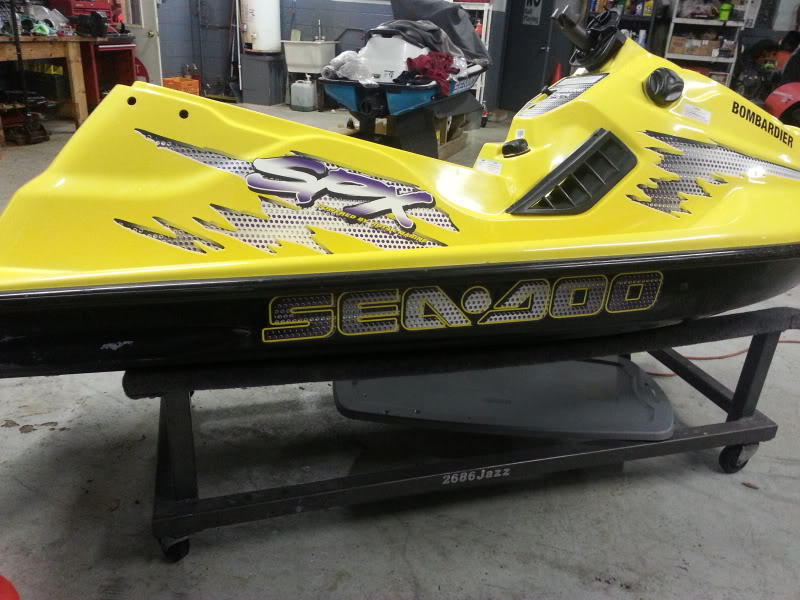

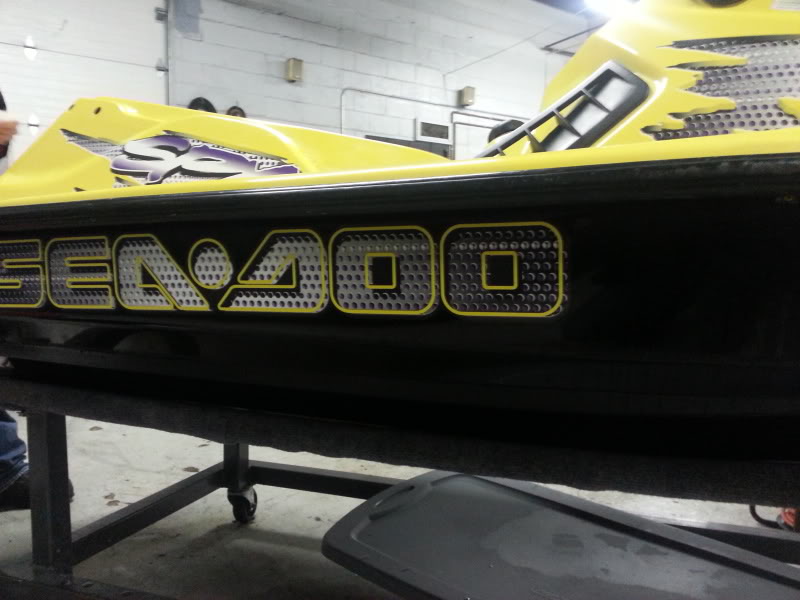
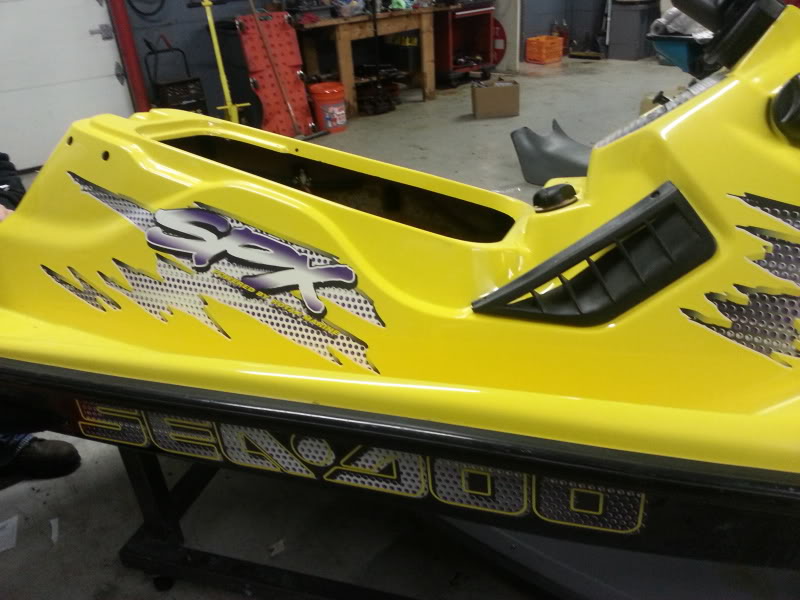
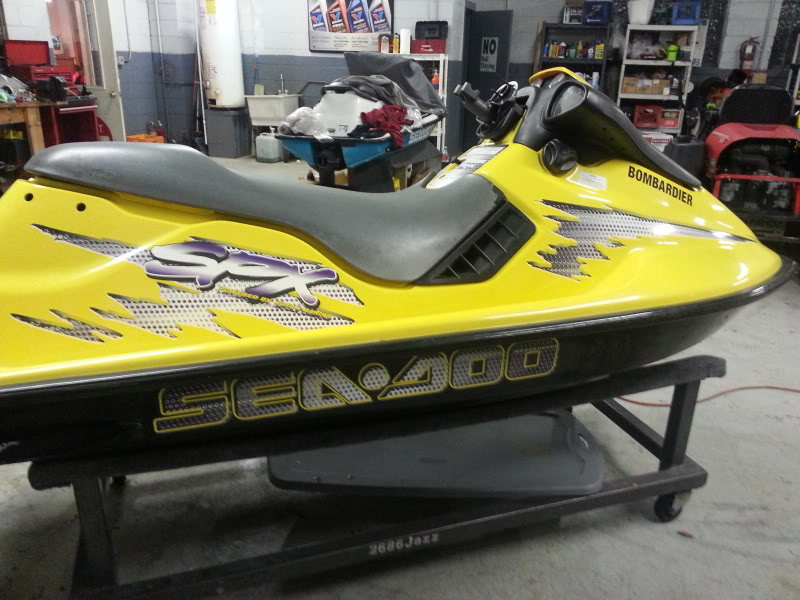
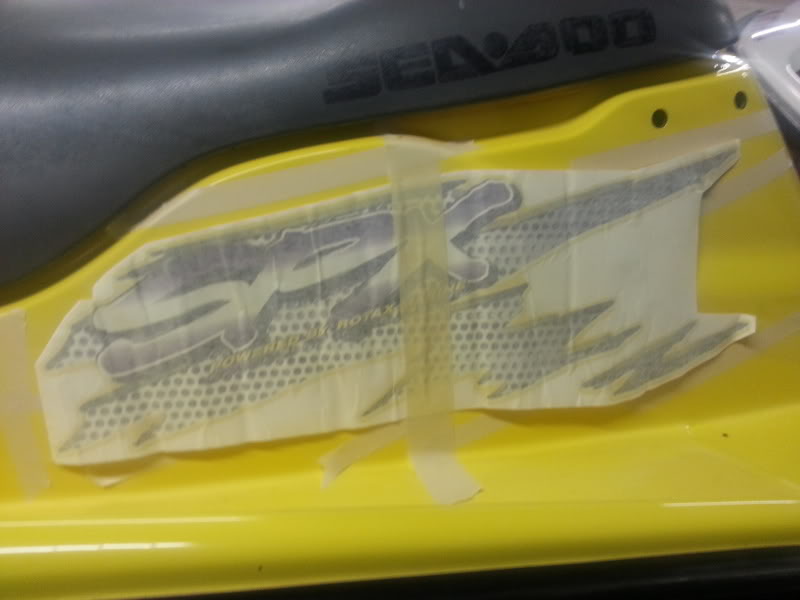
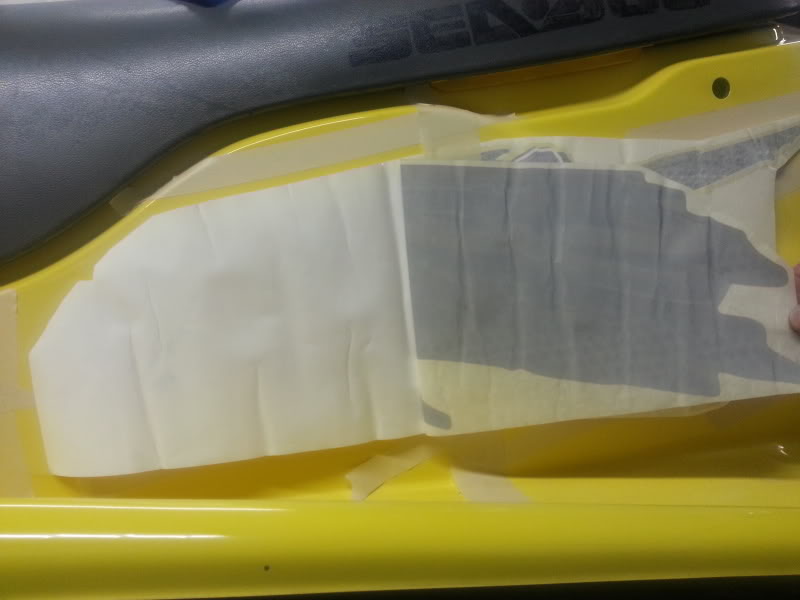
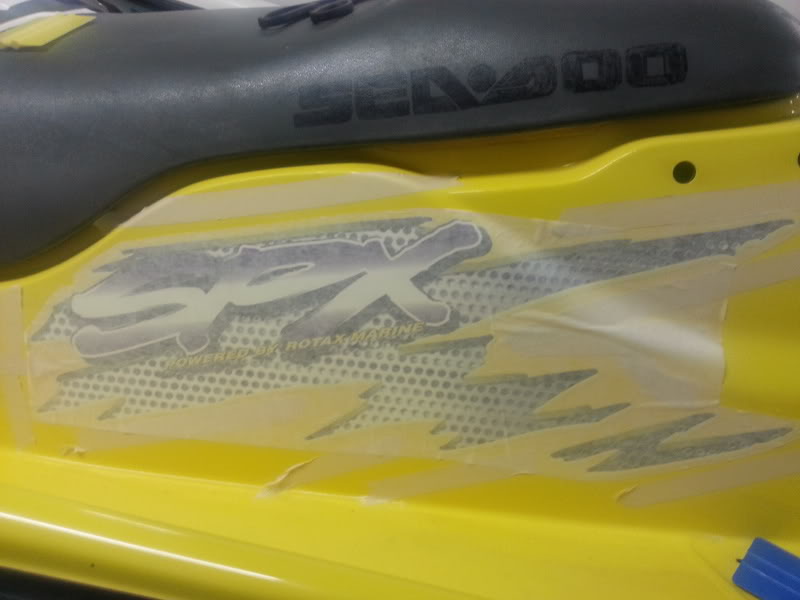
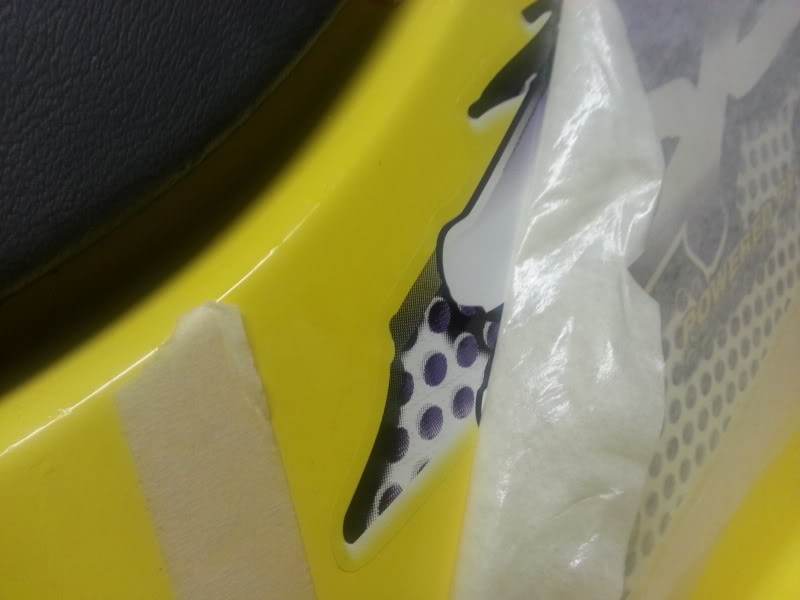
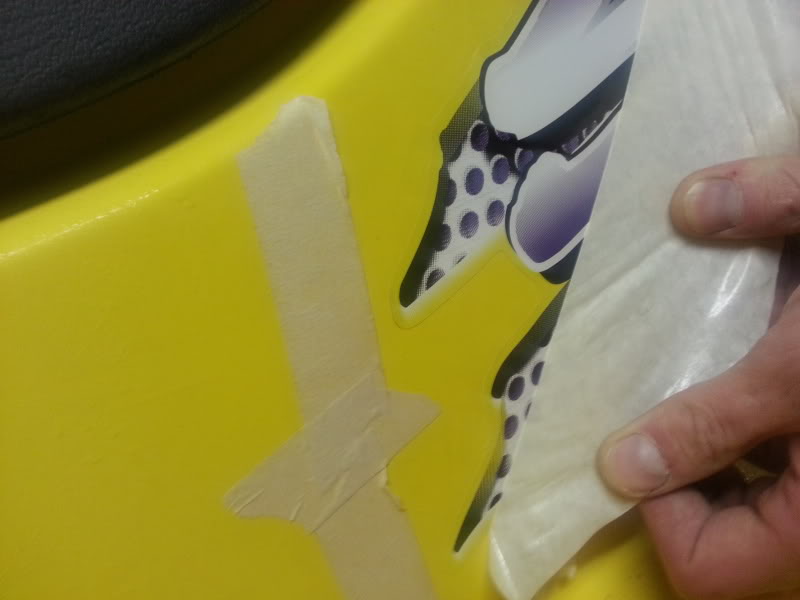
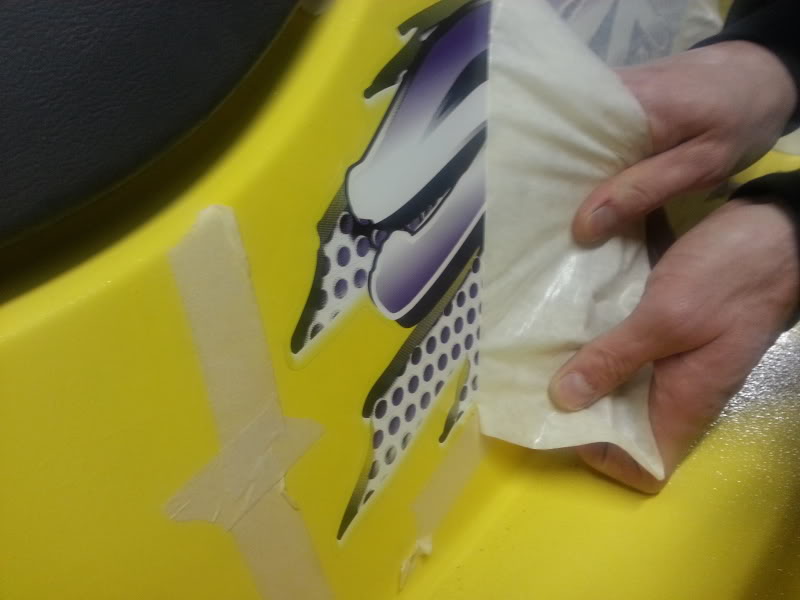
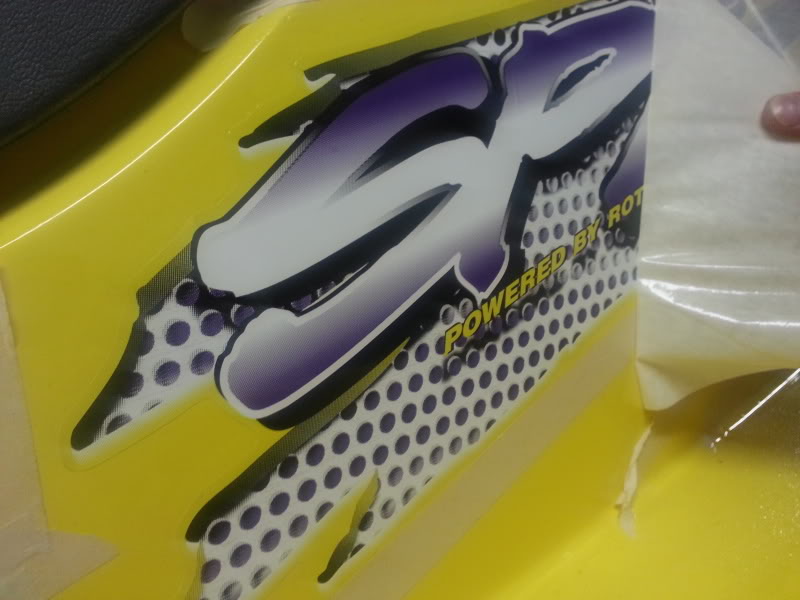
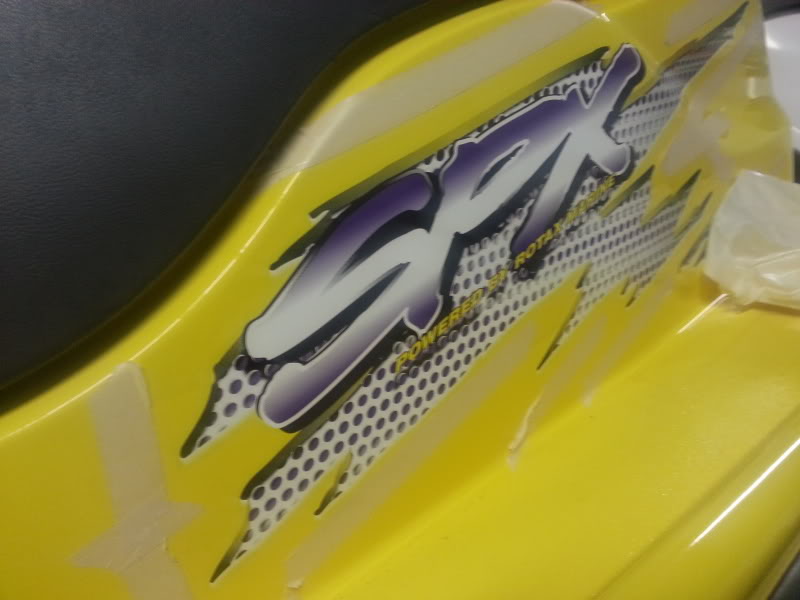
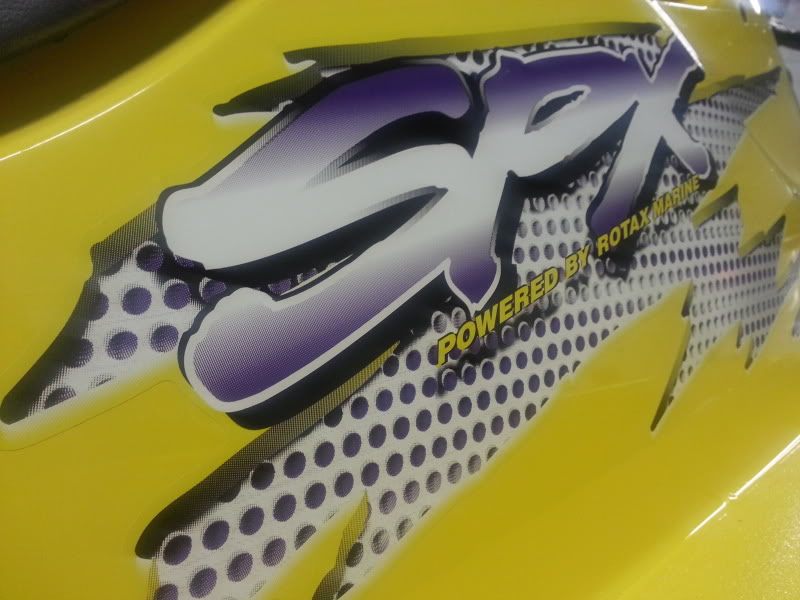
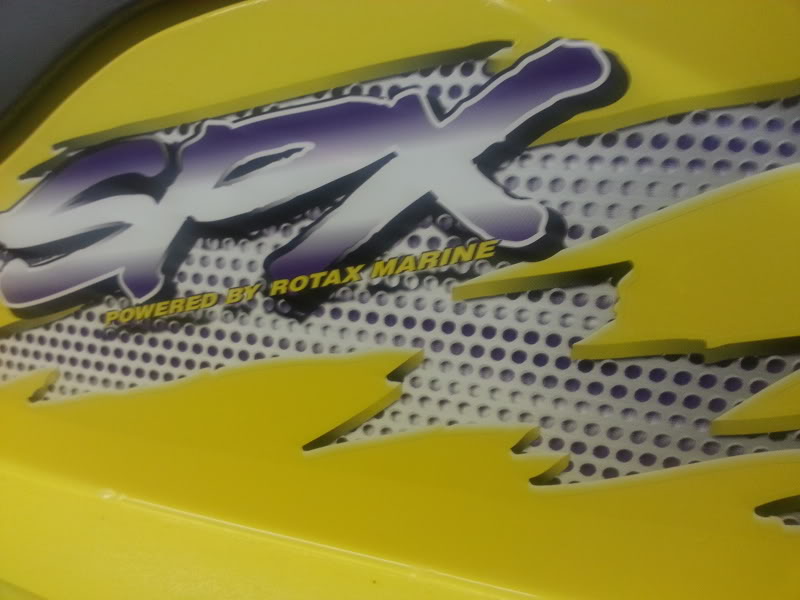
 uke: That looks sick, so sick I almost threw up! It's funny how much time you take to line the decals up and the people at the factory do it in a matter of minutes. Can't wait to see more pics. The engine for this better be over the top, I don't want to see chipped paint on the bolts, it would be a travesty. As always, top notch!
")