RESTO 98 GSX Resto

Note: This site contains eBay affiliate links for which SeaDooForum.com may be compensated
Status
Not open for further replies.

Jetskigoodies

Well-Known Member
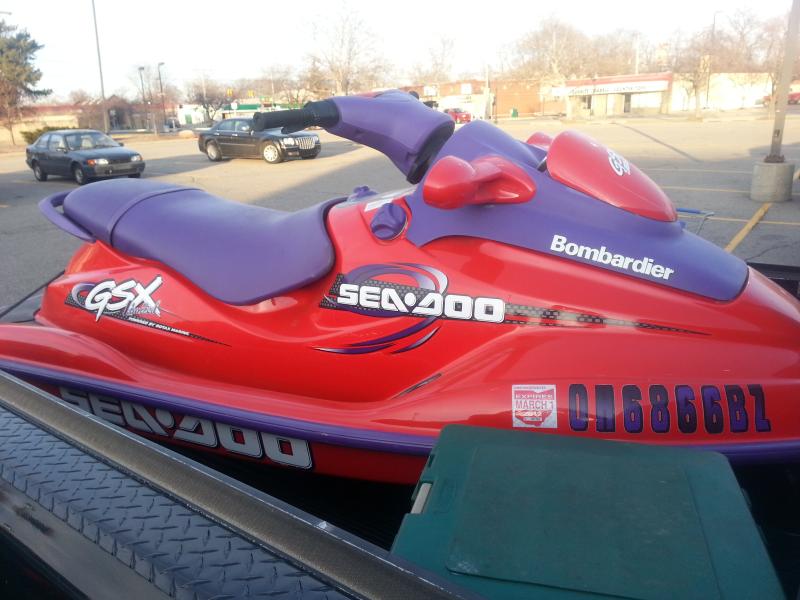
We picked this gsx up for $600 last fall.

308.jpg


Story behind this. The po bought this off of a friend, he used it for a couple years. It ingested water and blew up. The po was not mechanically inclined. He found someone on craigslist that said he would pull the motor, and reinstall a motor for $500 in labor. So the po had the mechanic pull the motor. He then sent the motor out to be rebuilt. He gets the motor back and now the mechanic would not answer his calls and was never at the shop. 6 months later with the help of authorities he got his machine back. The po paid up front. Now he has a new motor and his machine. So he takes it to the dealer. They want $1500 to install plus more for some parts.

He was sick of it and needed it gone.

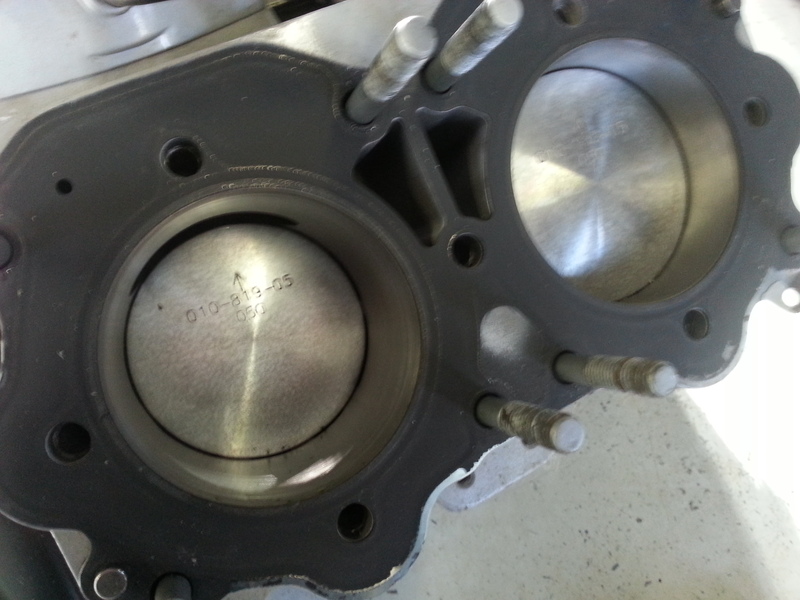
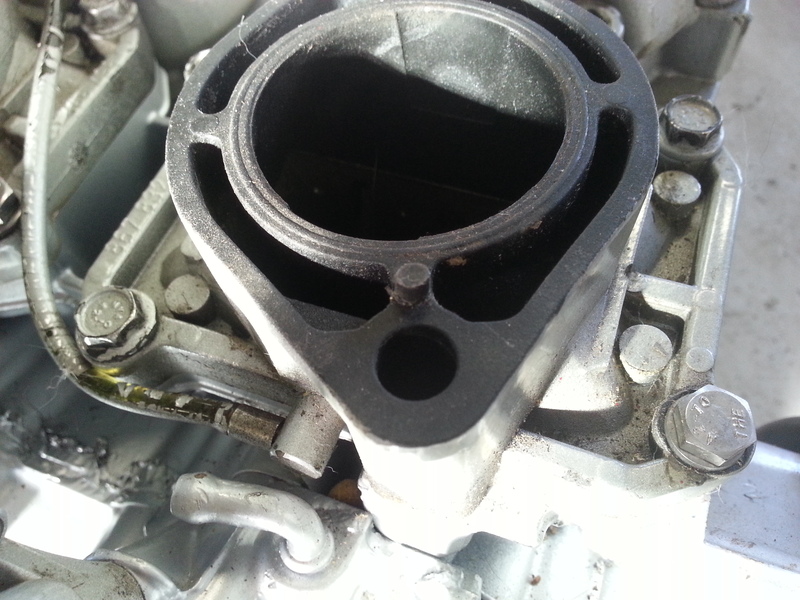
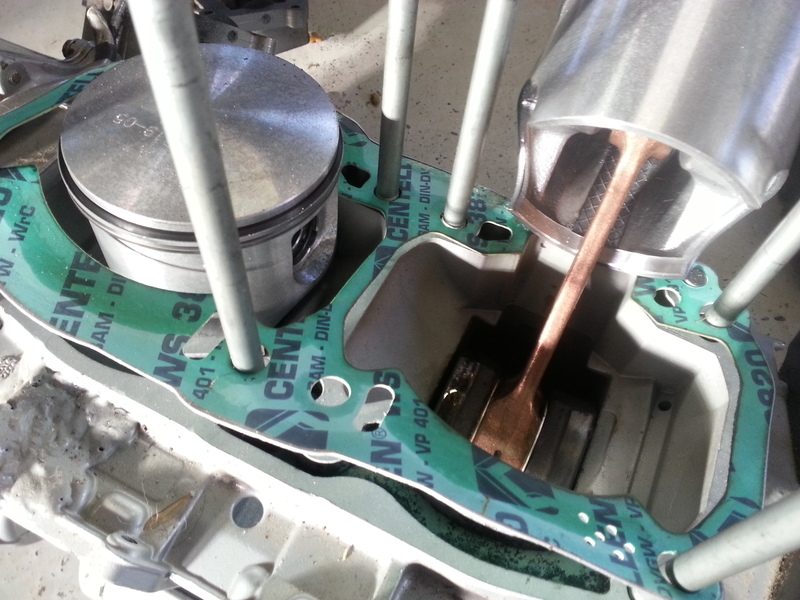
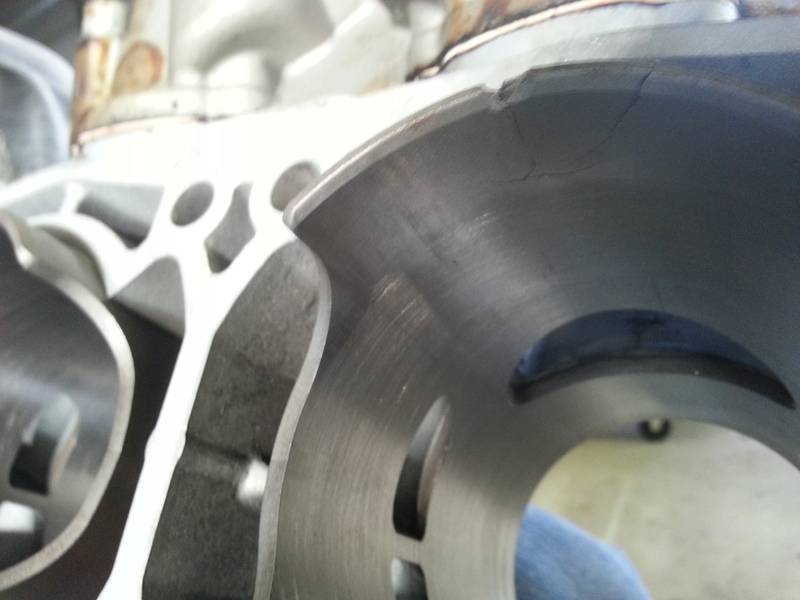
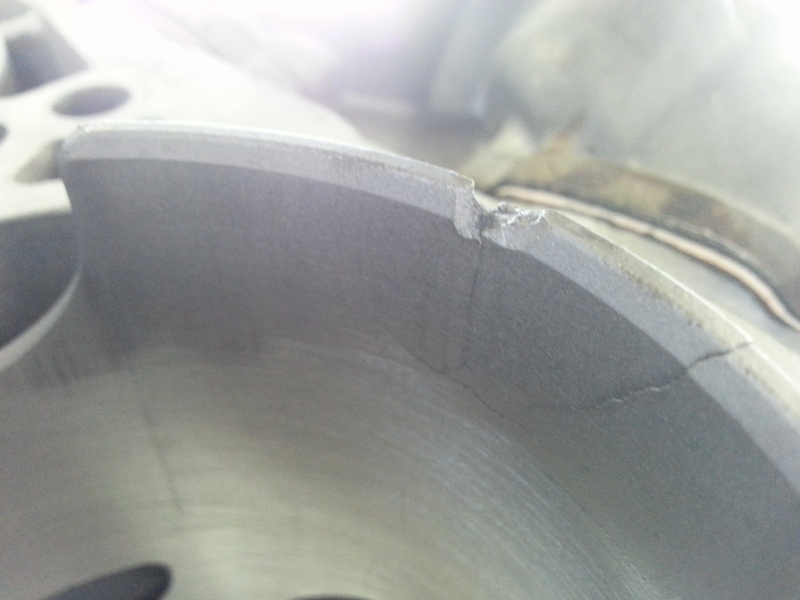
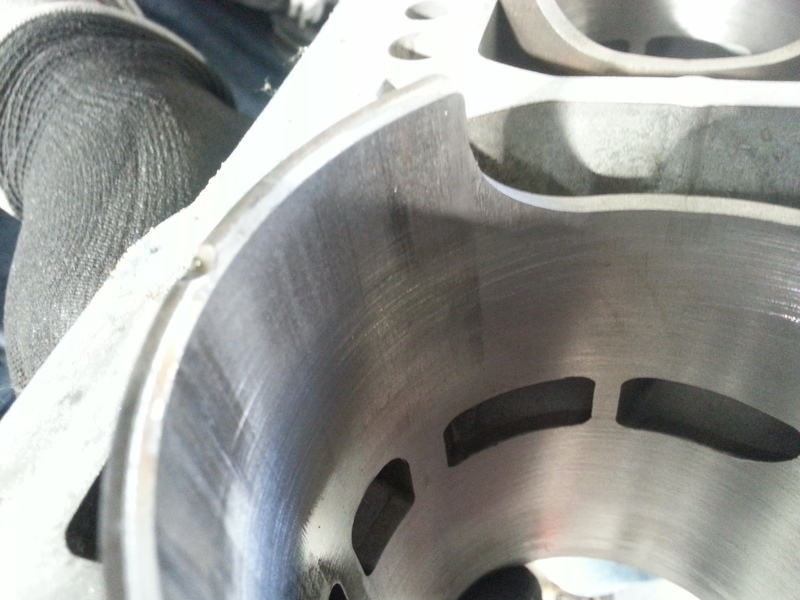
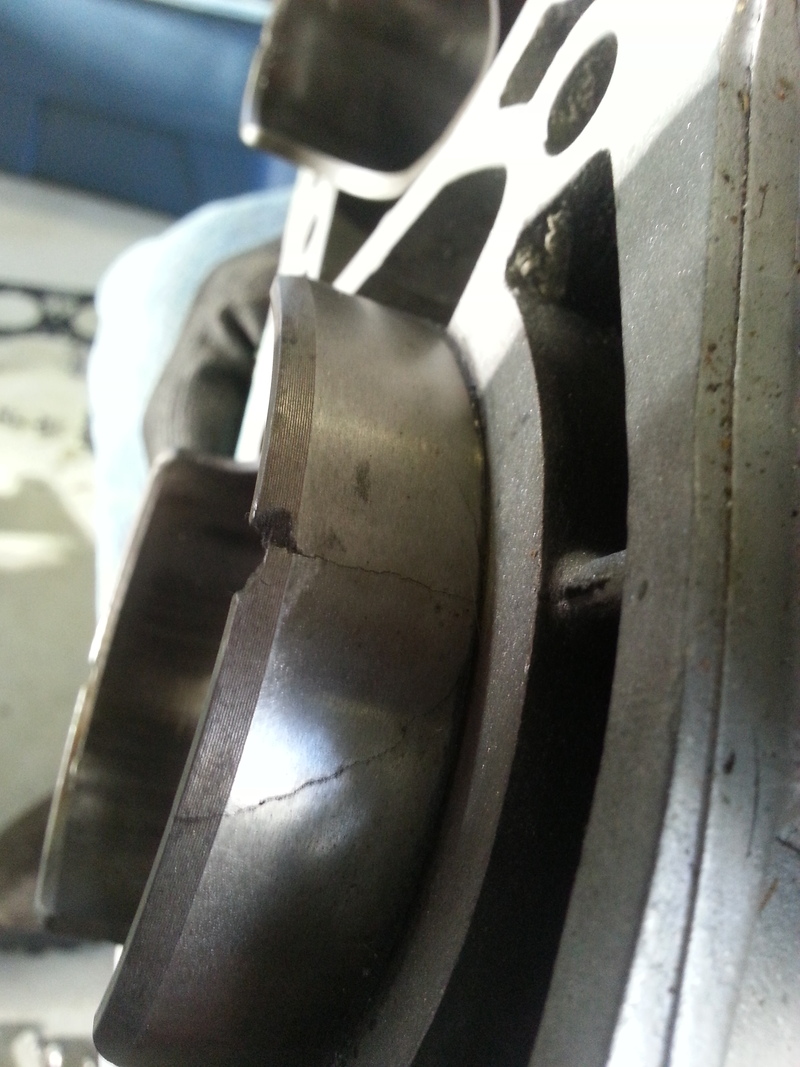
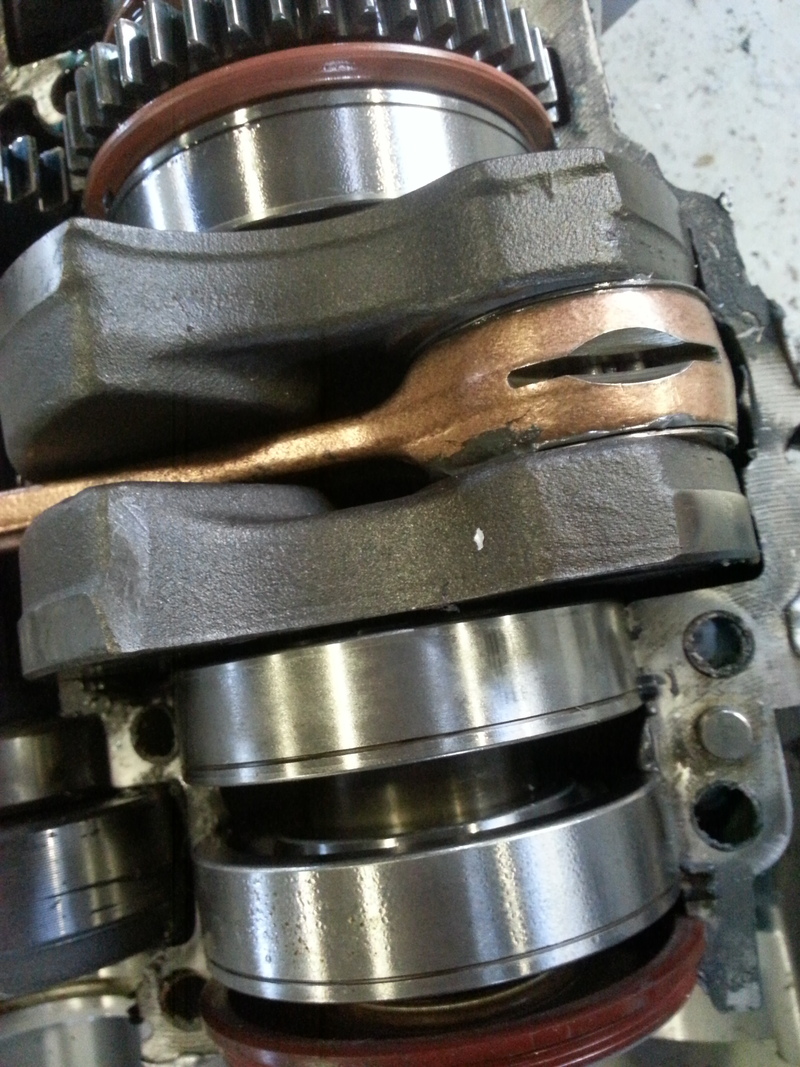
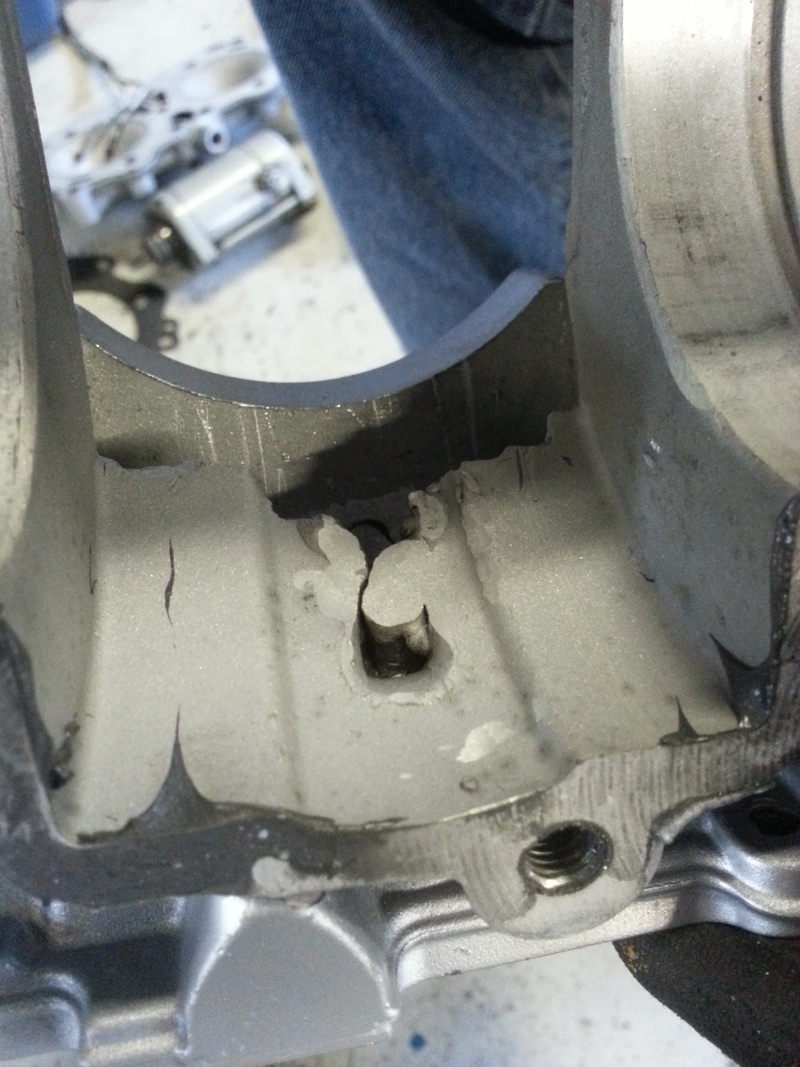
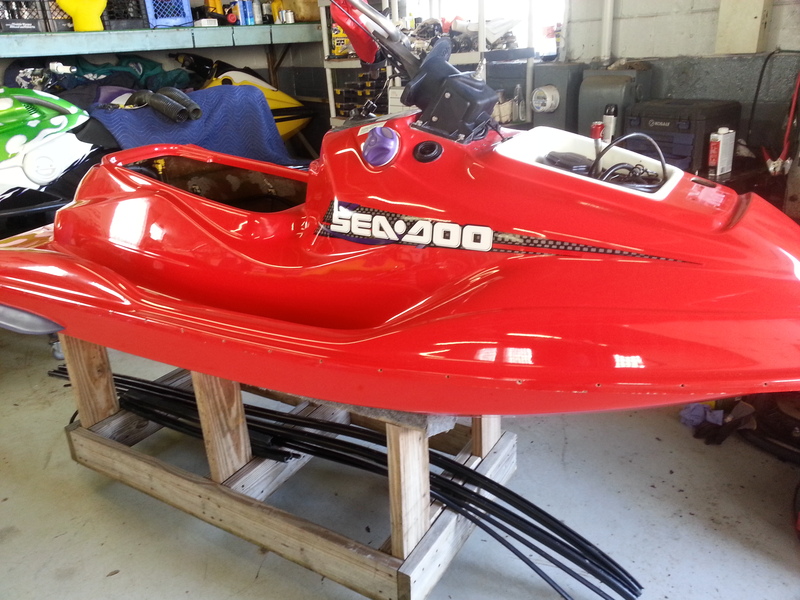
We show up, it is in a garage and the hull looks great, the motor is sitting on the floor. We could see new pistons and he had all the receipts showing his purchase.

We loaded it up and took it home where it sat covered in my back yard for months.

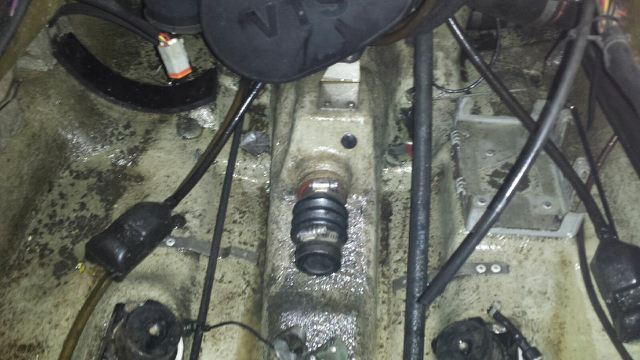
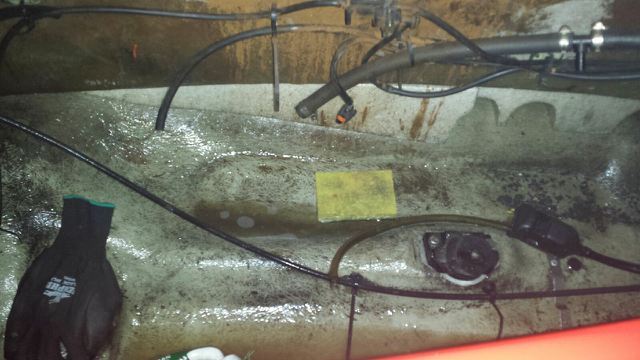
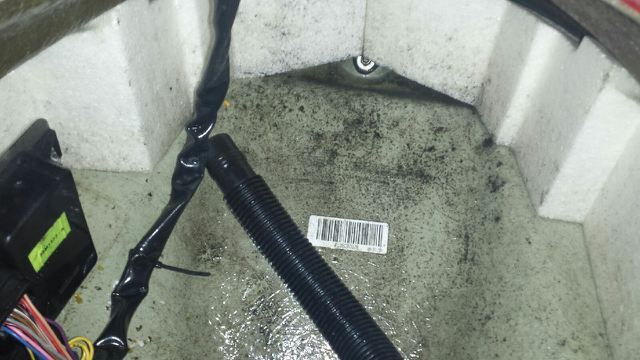
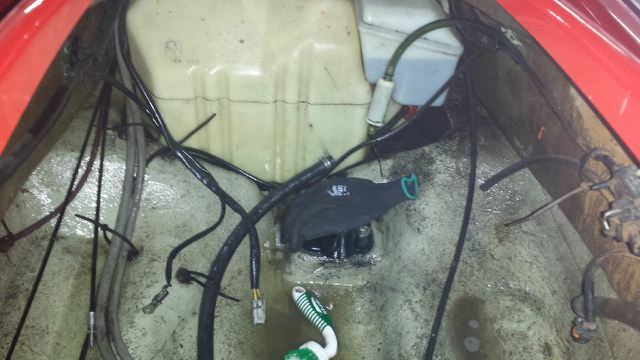
So first things first, clean up the hull


309.jpg


310.jpg


311.jpg


312.jpg


Some how I forgot to get pictures of the inside clean! I will get them tomorrow.

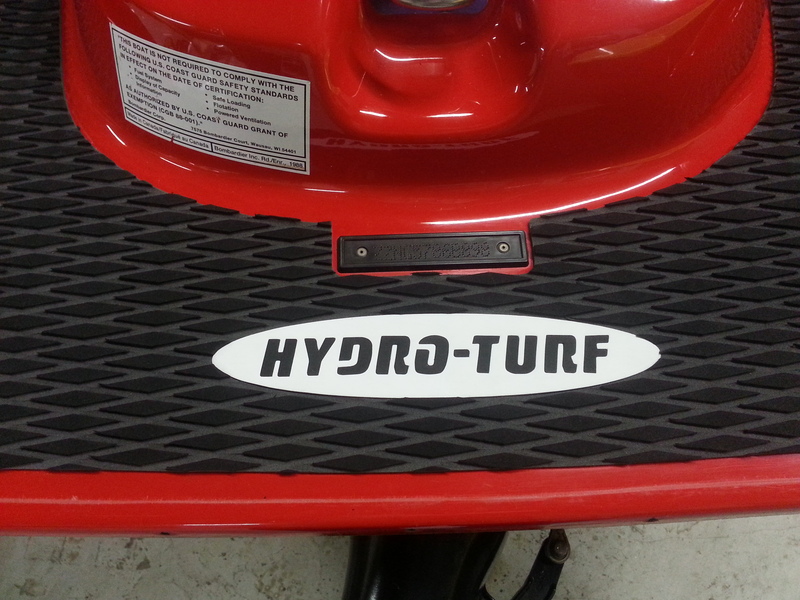
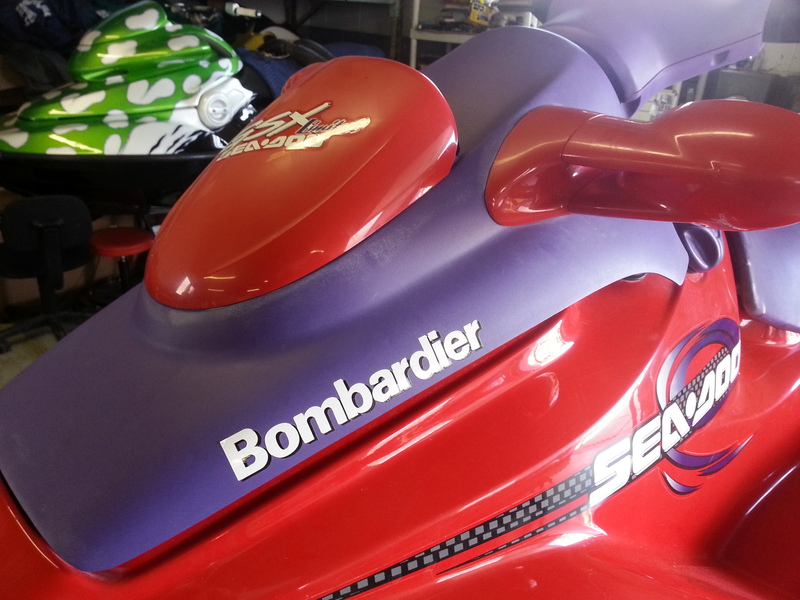
Now the outside. I know all you purist will hate this but decals are gone, with no suprise nos ones.

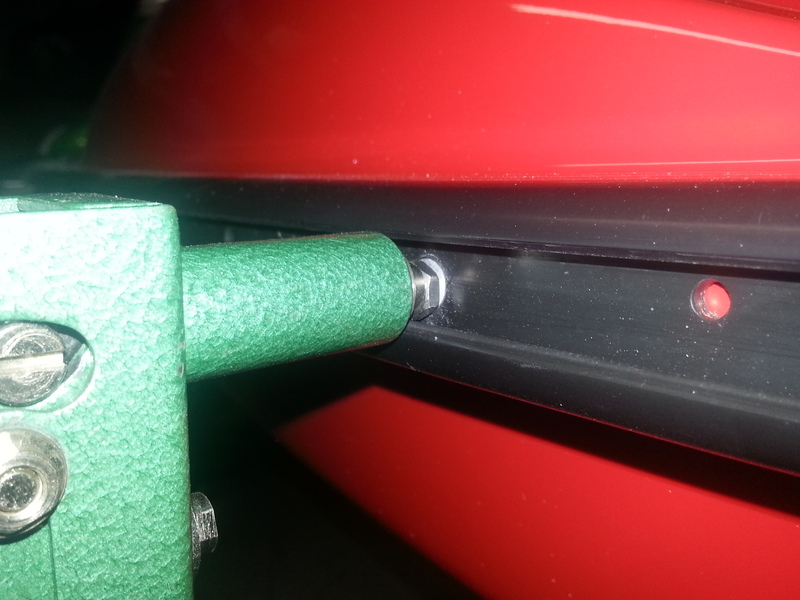
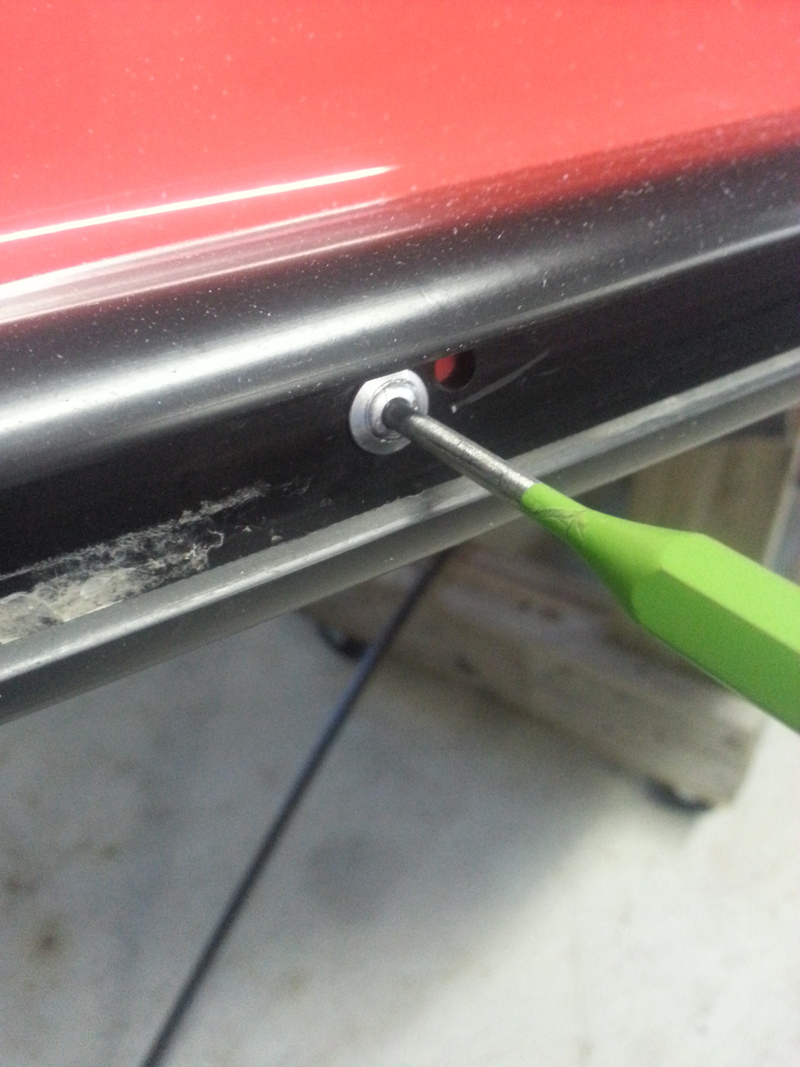
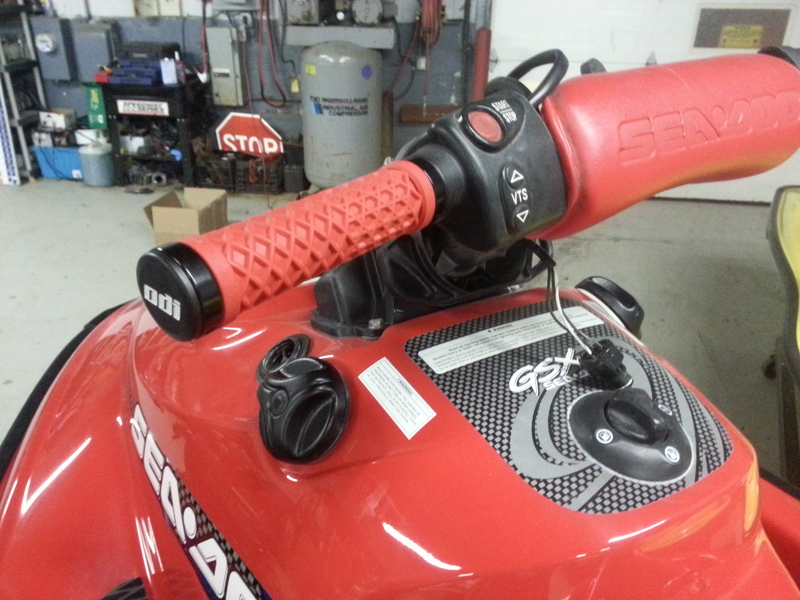
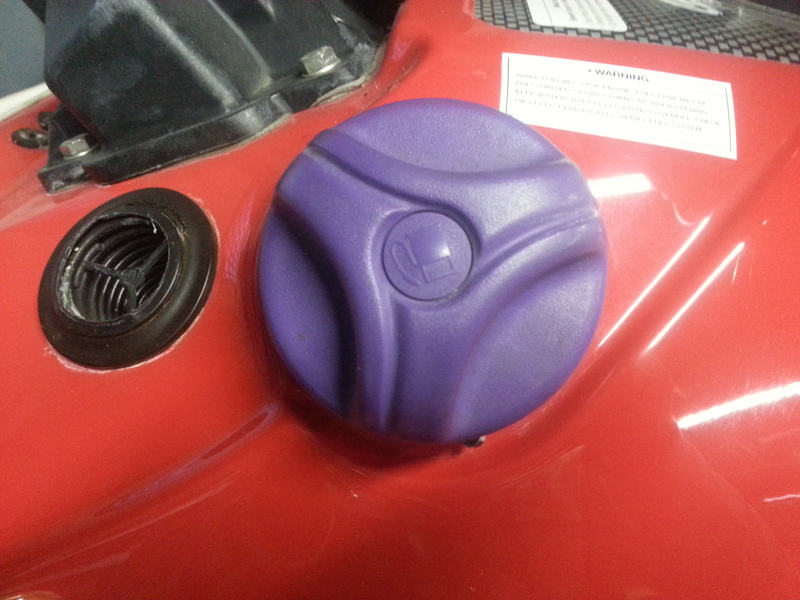
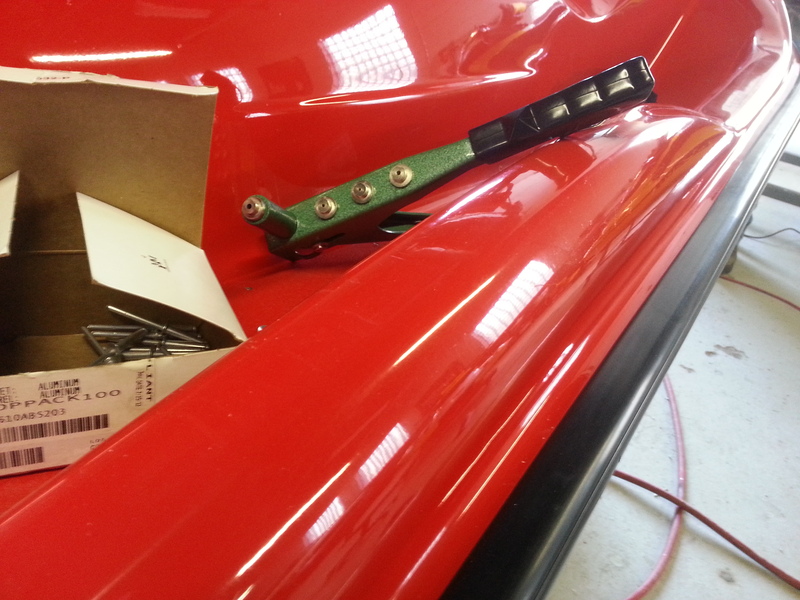
Also the rub rails are being drilled out. All purple is going away.

313.jpg


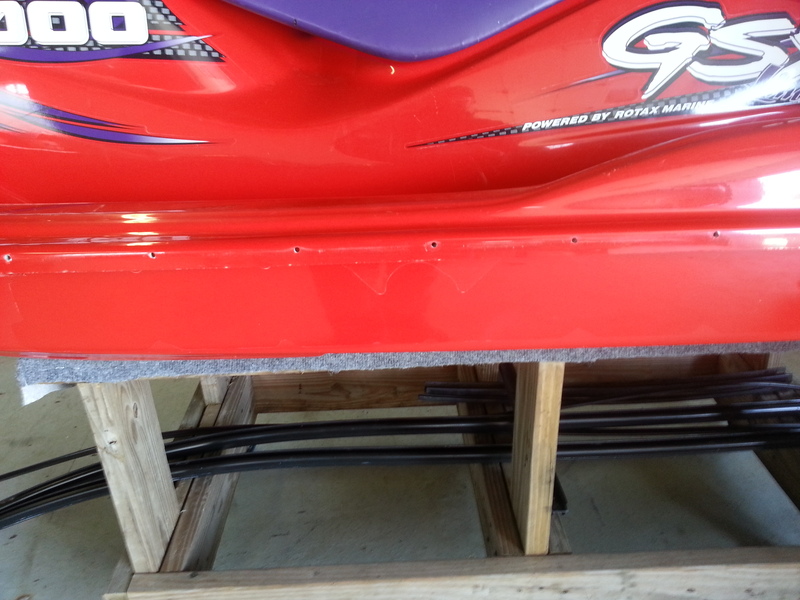
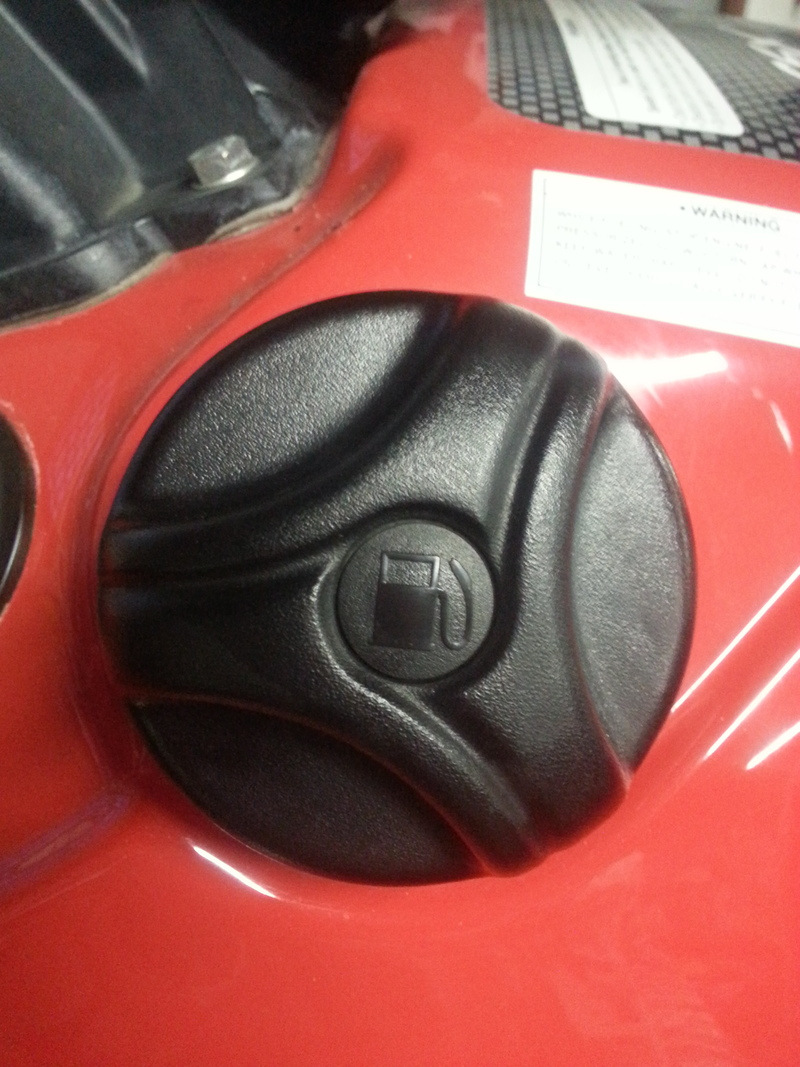
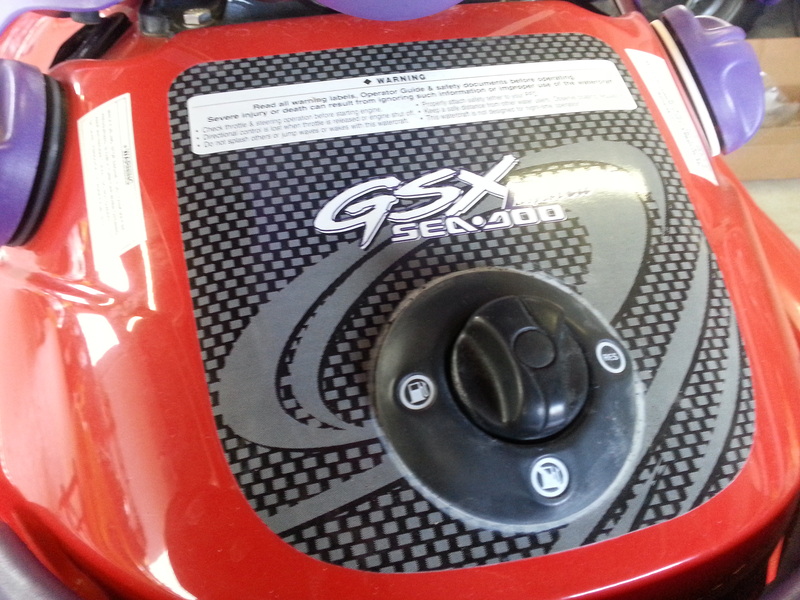
Purple selector gone and a black one put on
314.jpg


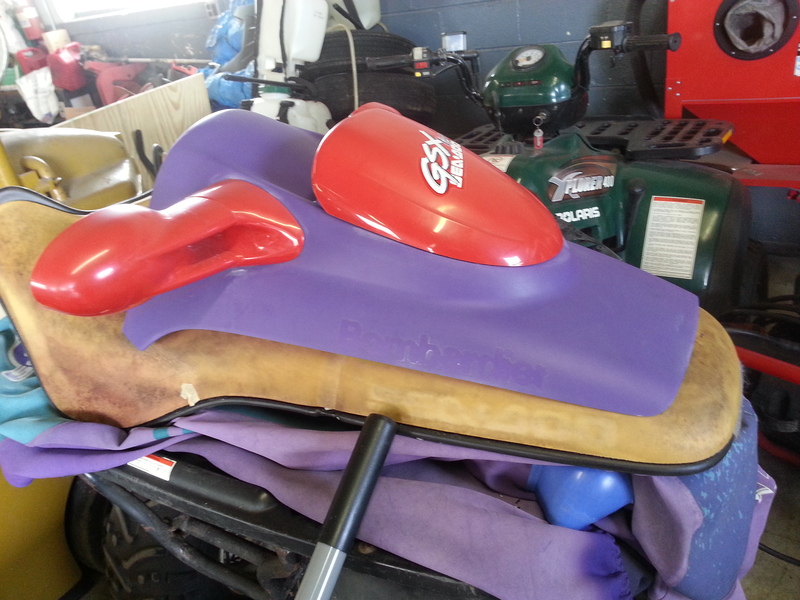
The hood came off. It is going to be painted black
315.jpg


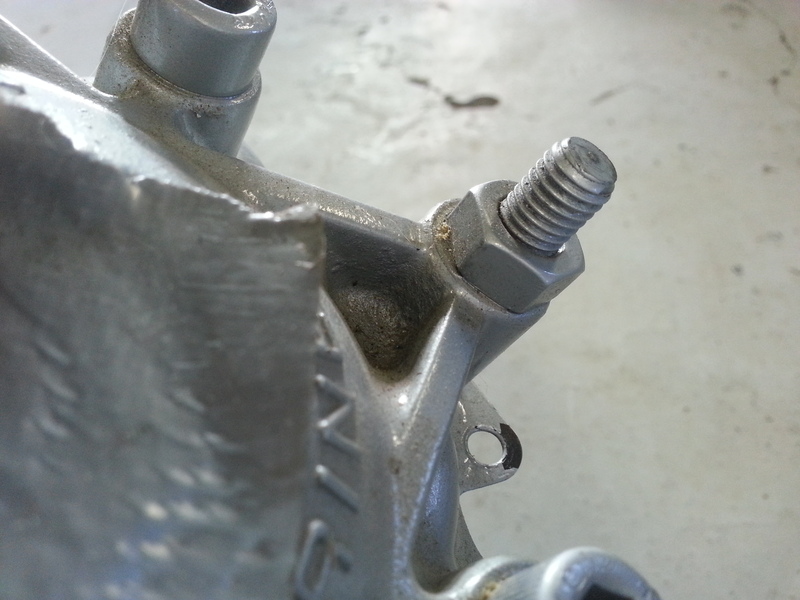
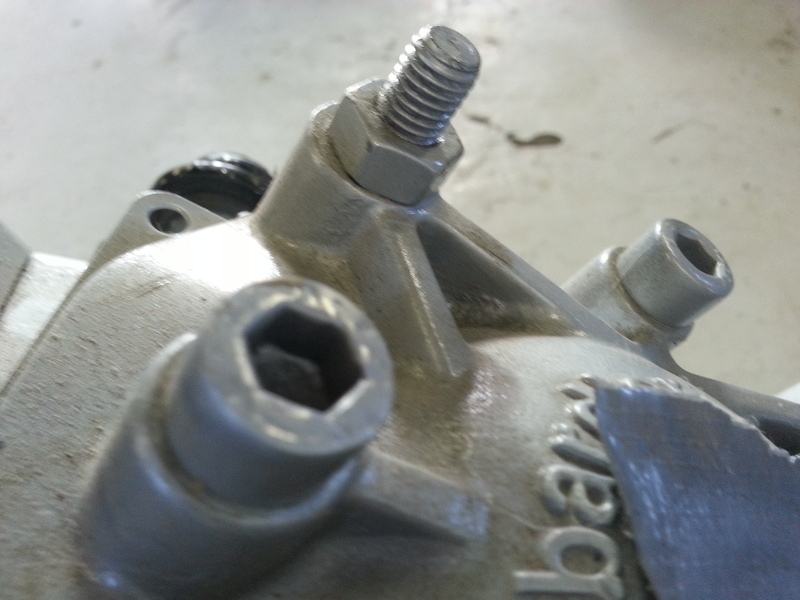
Best 5.5 we have found. It is narrow enough to get to all the screws
316.jpg


317.jpg


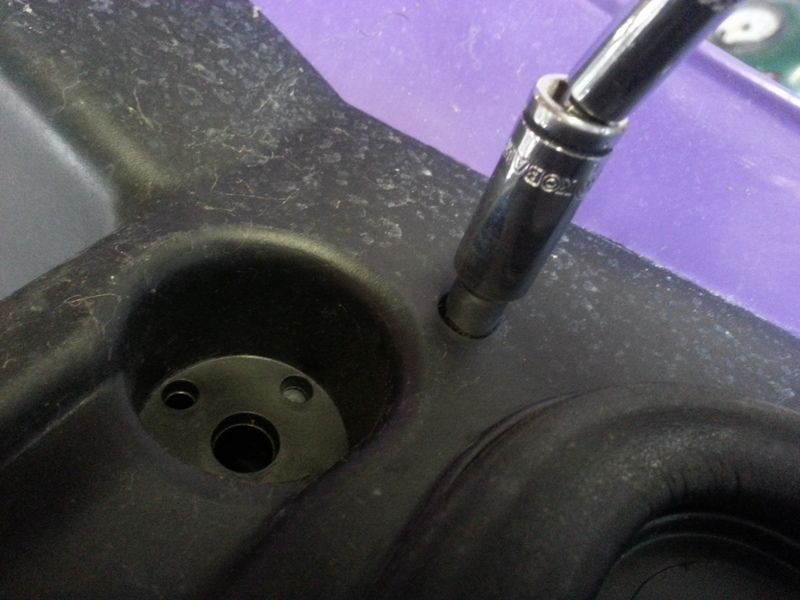
It is a kobalt deep well 5.5

Hood off gauges out, ready to go get painted
318.jpg


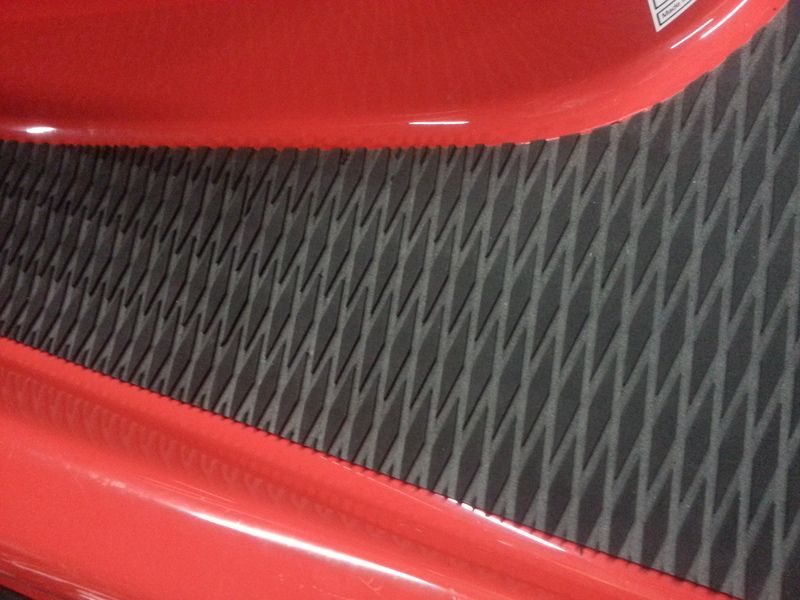
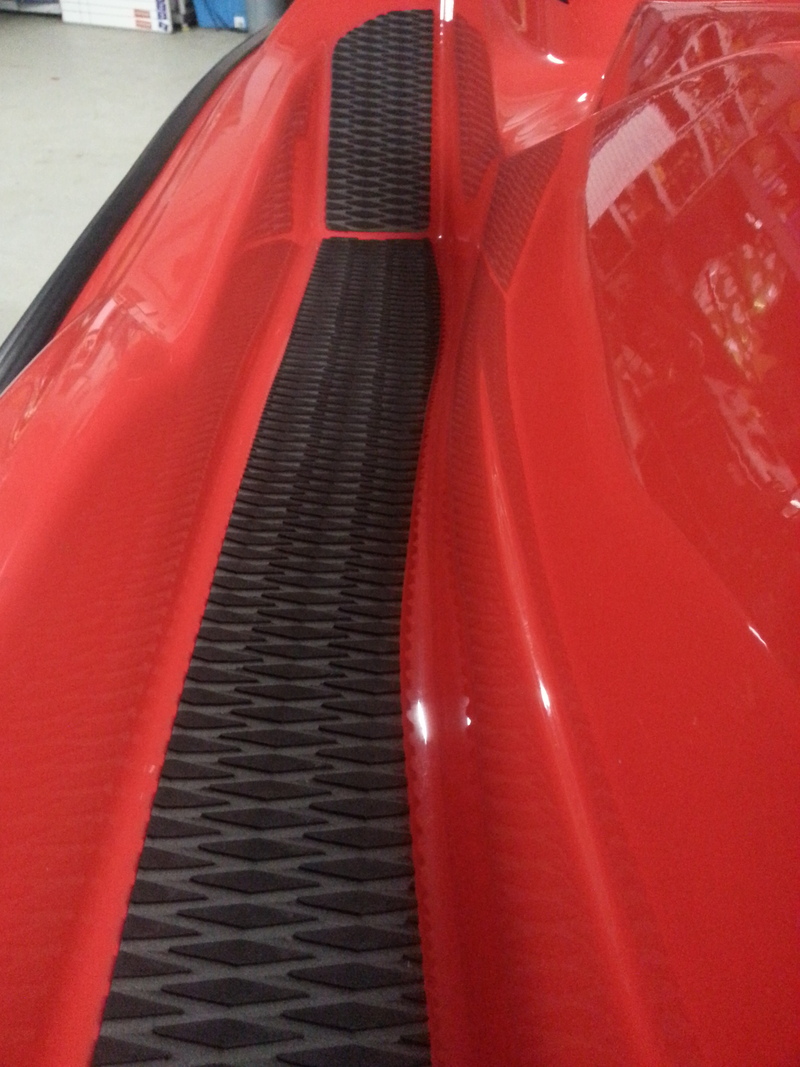
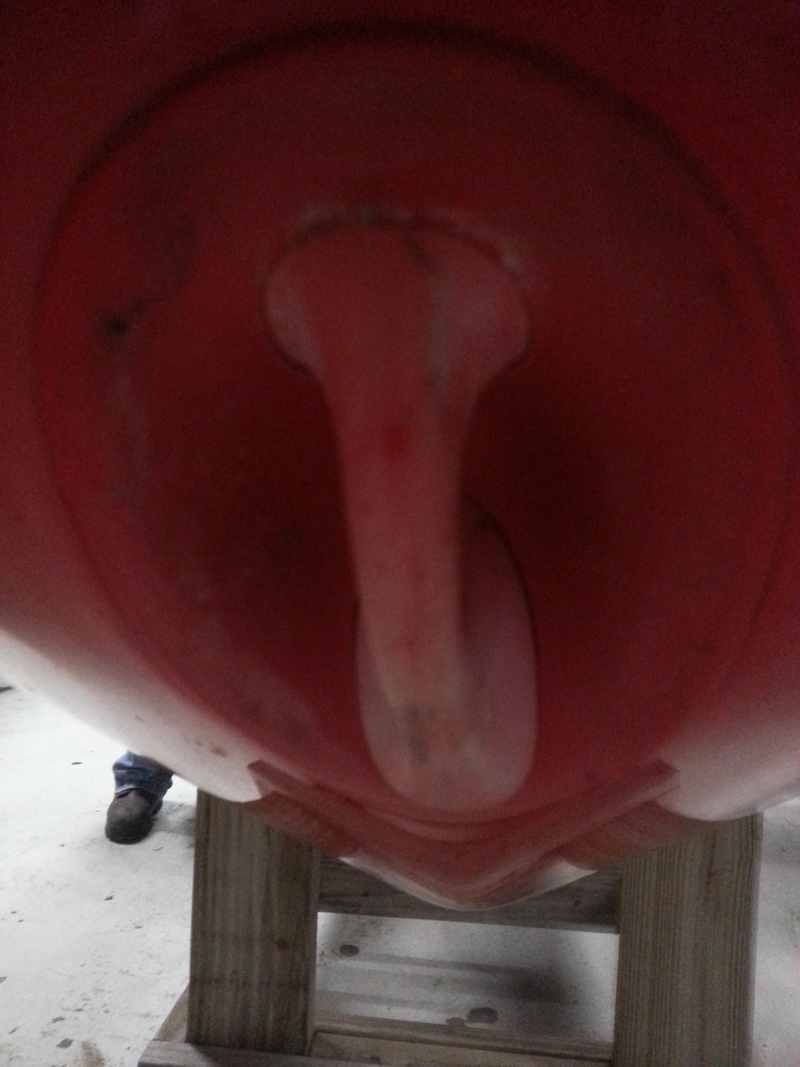
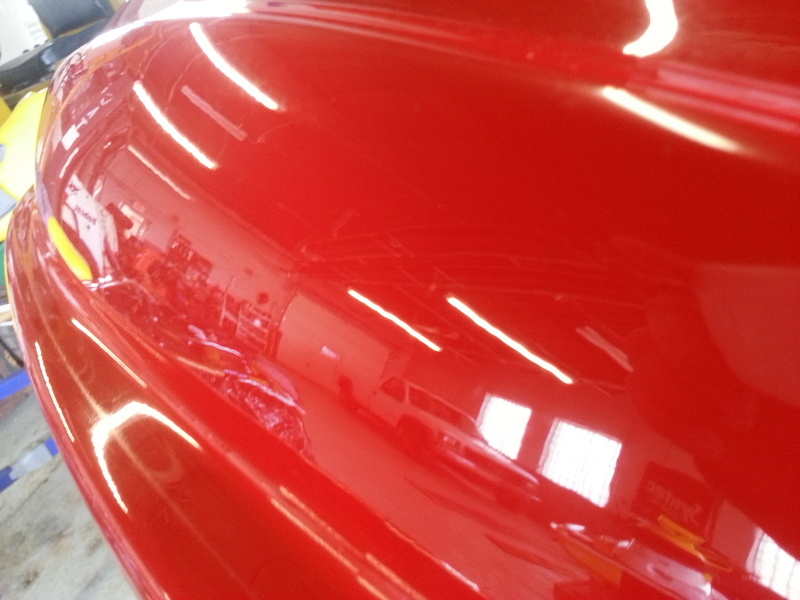
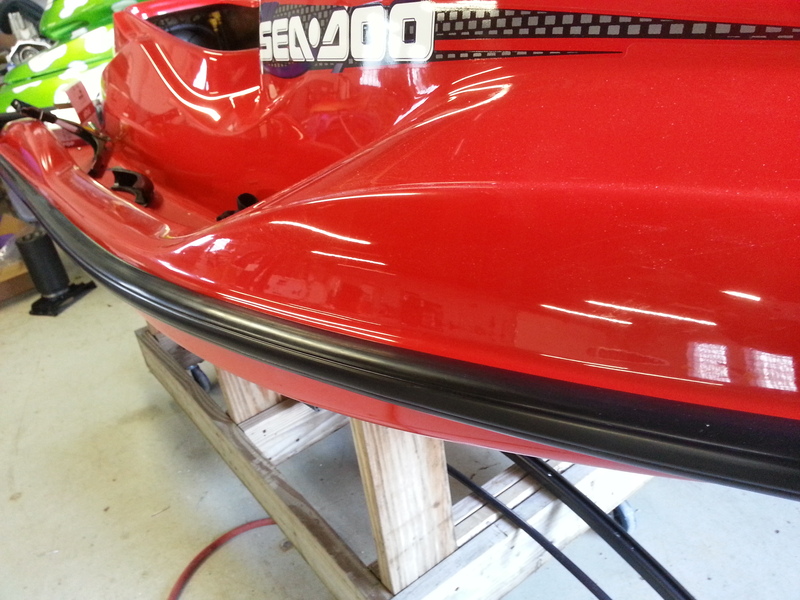
Now she was buffed with just meguiars swirl remover and a foam pad
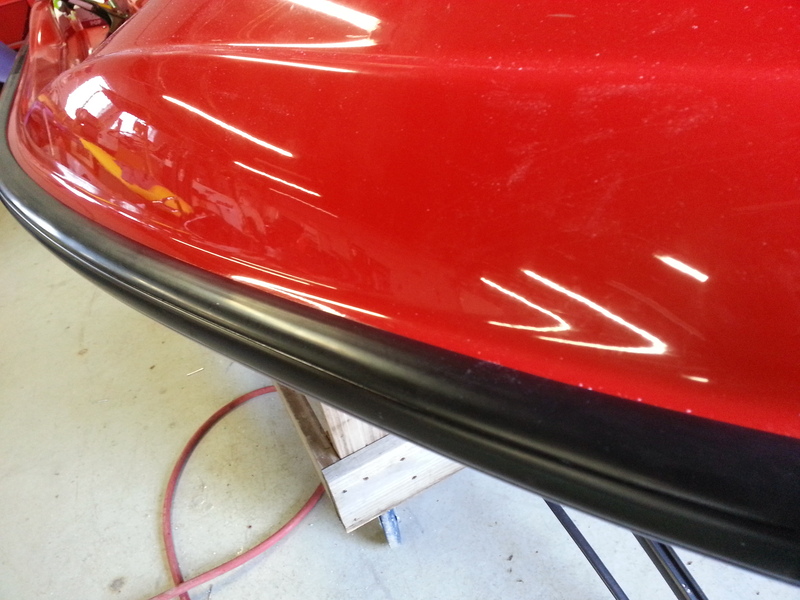
Insane reflections
319.jpg


320.jpg


321.jpg


This last decal may stay, most of the purple was trimmed off with a razor
322.jpg


323.jpg


324.jpg


325.jpg


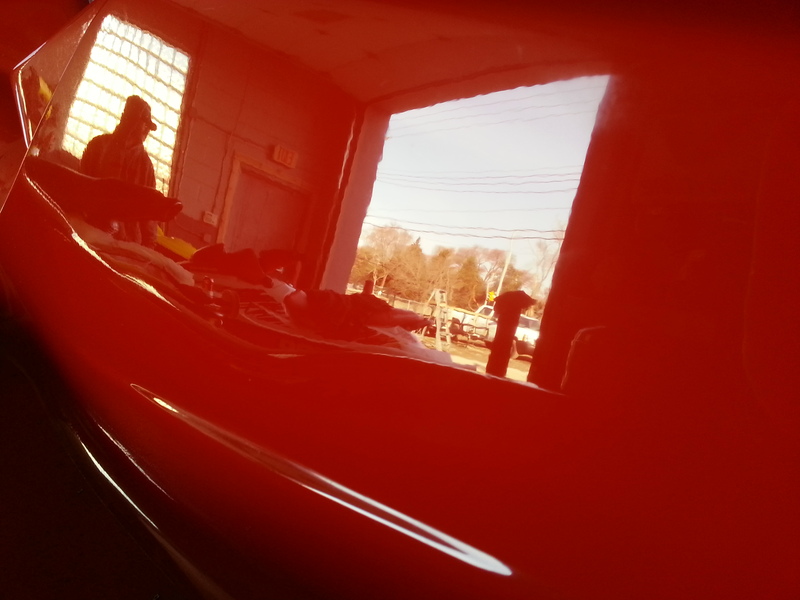
The truck in that reflection is 50 ft away, the trees are at least 150 ft away, they are all the way across the end of our lot, and across a road!!!!
 
Last edited by a moderator:
We then put black bumpers on it

326.jpg


327.jpg


328.jpg


329.jpg


All the little white specs are fiberglass dust. The new rails holes did not line up at all. We drilled new 3/16 holes and riveted it into place. This time with the rub rail insert we sprayed the track with white lithium grease. They slid in smoothly.

Mats have been ordered, hydroturf black on grey diamond cut.

Seat is going to be mline. Rj did not like jettrims gsx patterns. I agreed with him when he showed me what he had planned with the mline.


The motor is done but will be painted a different color.

You guys know me...... More pics to come
 
Last edited by a moderator:
beautiful so far !!!
I parted out a 98 GSX not that long ago, still have some assorted pieces laying around if you need something feel free to ask me.

I agree with dumping the purple, I have made my hatred of purple well known in the past ....
 
No we ordered them straight from them. The last 3 sets we did buy from you though. I will keep you in mind though from here on out. My buddy ordered them.
 
No we ordered them straight from them. The last 3 sets we did buy from you though. I will keep you in mind though from here on out. My buddy ordered them.

No worries. Let us know. We can match all pricing.
 
Got some more work done. We finished the other side of the rub rails.

So here are a few tips we have learned over the years.
Our rivet guns head is not long enough to make it to the back of the rub rail. The head hits the edges of the rails. So if you try to rivet like that the rivet will not make a good contact with the backside and your rivet will be loose.

So we take the rivet, stick it in the hole, place a nut on the rivet then rivit into place. The nut is from a choke cable
372.jpg


373.jpg


Sometimes the rivet does not pull all the way through and will snap off.
We take pliers wiggle it back and forth until it breaks and you are left with this
374.jpg


Then just take a punch or pin tool and hammer it in until it is flush
375.jpg


All riveted on.
376.jpg


Next, sliding in the inner rail.
We clean them up with acetone first.
We use to use dish soap as a lubricant but after the last set I put on we took some advise and used white lithium grease
377.jpg


Lightly sprayed in the track
378.jpg


Now just start them in by hand as far as you can.

Then pull the rail taught and just tap them in with a mallot.
379.jpg


They will slide in like butter
 
Last edited by a moderator:
Now some of the good stuff

So the mats looked like this
380.jpg


They went on like this with all the tails still on them
381.jpg

382.jpg


Now all the tails removed and they look killer
383.jpg


384.jpg


385.jpg
 
This is what needed to be pulled off of the mats
386.jpg


The mats look great with the decal
387.jpg


388.jpg


These are the grips that are going on
389.jpg


Just mocked up
390.jpg


Removed some purple items and swapped them out for black

391.jpg


392.jpg


Also did the oil cap too.

The tow hook is pretty beat up. That will get a nos black one.
393.jpg


394.jpg


We also pulled this off. A black one will go on tomorrow
395.jpg
 
Love the mats, is it possible to get them without any "Hydro Turf" wording on them?

Rob
 
Love the mats, is it possible to get them without any "Hydro Turf" wording on them?

Rob

Yes, it's an upcharge. Look at the mats on my 95 limited build. I ordered through www.pwcmuscle.com I emailed Greg and told him what I wanted and he took care of it. I think it was like $10 or $15 upcharge.

Sent from my SGH-T889 using Tapatalk
 
Last edited by a moderator:
Schweet, I have all the holes filled in finally on my 96' so its time for some mats.

Rob

Yes, it's an upcharge. Look at the mats on my 95 limited build. I ordered through www.pwcmuscle.com I emailed Greg and told him what I wanted and he took care of it. I think it was like $10 or $15 upcharge.

Sent from my SGH-T889 using Tapatalk
 
This project just hit a huge snag.

The engine is a reman from east coast cycle. It has been sitting for years not installed. Even have the paypal transaction and paperwork, including fedex shipping receipts on this thing.

I will post what we found and see what you guys think.

Here it is
440.jpg


Notice that the head nuts for the studs are actually nuts for the pump? Then the allen style bolts are wrong too.

441.jpg


442.jpg


All of the bolts and nuts for the head were way over torqued. We took a torque wrench and started at 20 and worked all the way to 45 when it finally clicked, over by 20

Anyway here is where the real fun begins
Starts off looking ok.
443.jpg


Oh wait lets look at the head
444.jpg


445.jpg


446.jpg


447.jpg


448.jpg


The whole thing was sandblasted even the mating surfaces. Plus it is pitted


More wrong hardware
449.jpg

450.jpg


More sandblasted mating surfaces
451.jpg

452.jpg


There was no orings for the studs
453.jpg


Anyone see a problem here?
454.jpg


455.jpg


Jugs just look honed not bored, you can still see slight scoring
456.jpg


457.jpg


I know a site that claims that there 2 hole lubing system is more advanced, looks like 2 holes on the rods here

458.jpg


So the crank went through the block, here is the fix

459.jpg


460.jpg


This was a short block, everything is painted, even the exposed mating surface where the stator cover would go. You can see the crank seal and plug are painted.


461.jpg


The crank does have new seals, bearings and rods. The coumterbalancer cavity looks to be over filled.
462.jpg


Black stuff on the rods is just grease
463.jpg


More of the great case fix
464.jpg
 
465.jpg


This has never been apart either. The gaskets looked new, the paint was not cracked, the oil looks new, you can just tell it was put togethor and set on the shelf.

The past owner put the bendix, stator, manifold, and the reeds back in, those things are a different color and dirty but the short block was just dusty

The guy paid $949 for a horrible job. I am glad we did not run it. We were going to. We were just going to pop off the head because the wrong hardware was there. We bought a new head gasket and ordered the hardware from minnetonka. After we saw the head we knew we had to keep digging
 
Last edited by a moderator:
So all that was good on this thing is the pistons and starter. We may use the crank but after the rest of this thing we may get a new one.

So I will be contacting a few of you guys to see what kind of deal I can get for cases, jugs that have a stock bore that need to be bored over, and a head.
 
That welding job is an embarrassment. I don't wanna talk bad on a company or whoever fixed this but this is dangerous
 
Wow! That's ridiculous. Hope you get the project back on track soon. I'm enjoying this one. Especially looking forward to seeing the purple pieces painted black.
 
Status
Not open for further replies.
Back
Top