


-
This site contains eBay affiliate links for which Sea-Doo Forum may be compensated.
You are using an out of date browser. It may not display this or other websites correctly.
You should upgrade or use an alternative browser.
You should upgrade or use an alternative browser.
RESTO 96 XP Resto Project: Clapped out
- Thread starter racerxxx
- Start date
- Status
- Not open for further replies.
CReynoldsMIZ
Well-Known Member
you finished up this project yet racerxxx???
you finished up this project yet racerxxx???
Not yet. Work has been crazy busy, been traveling just about everyday. On top of that I'm refinishing our basement, painting, laying carpet, hanging trim,. As they say, busier than a one arm paper hanger! Got another busy week this week, hitting Long Island tomorrow, early 4:30 leave. I'll get there don't worry, I'd still like to go for a dip this year. Ordered mats on Black Friday, hope to order a seat cover this week. I have flip flopped on my seat like 5 times already but I'm narrowed down to Jettrim and M-Line. Soon bro, soon! Also been shopping for Xmas gifts and managed to score a Wii U for the young man, waited in line at Wally World the night it came out for like 3 hours and got one of the only four 32GB units that wasn't a pre-sale unit. X-Mas is gonna be JACKED at our place between that and my seat cover and mats--my favorite time of the year we usually go a bit overboard. I'm like a big kid.
Jetskigoodies
Well-Known Member
Im shocked noone has asked yet but would did you plug you high and low speed screws with when you painted your carbs?
Im shocked noone has asked yet but would did you plug you high and low speed screws with when you painted your carbs?
Q-tips baby! They fit perfect and masked off the threads perfectly.
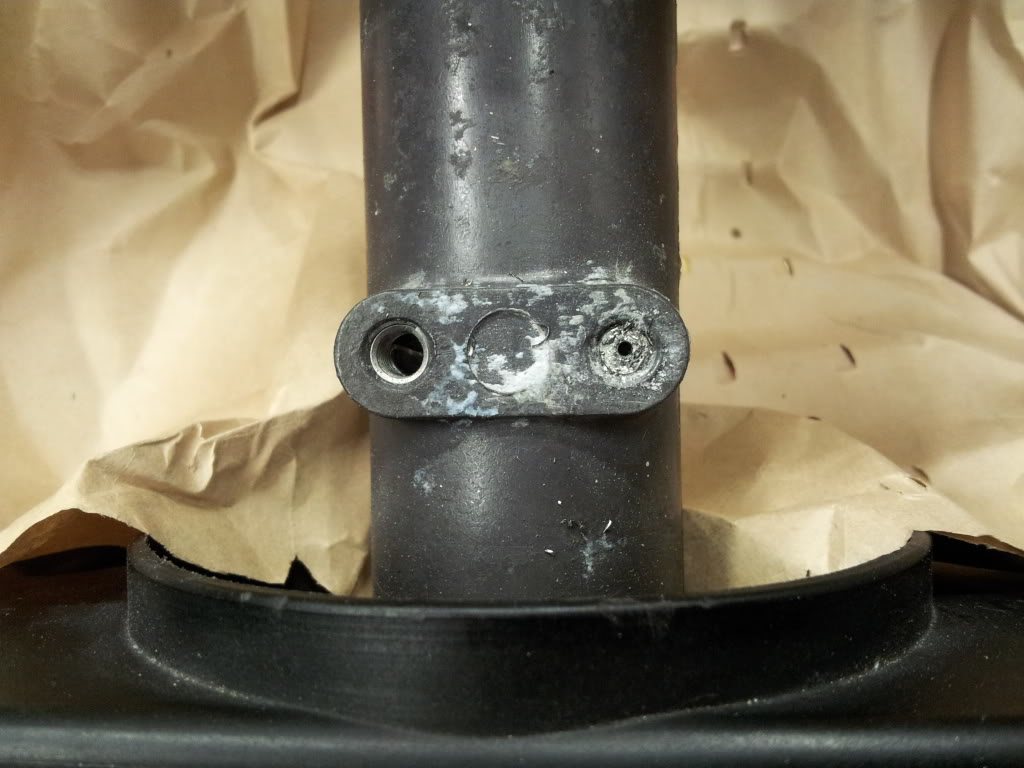
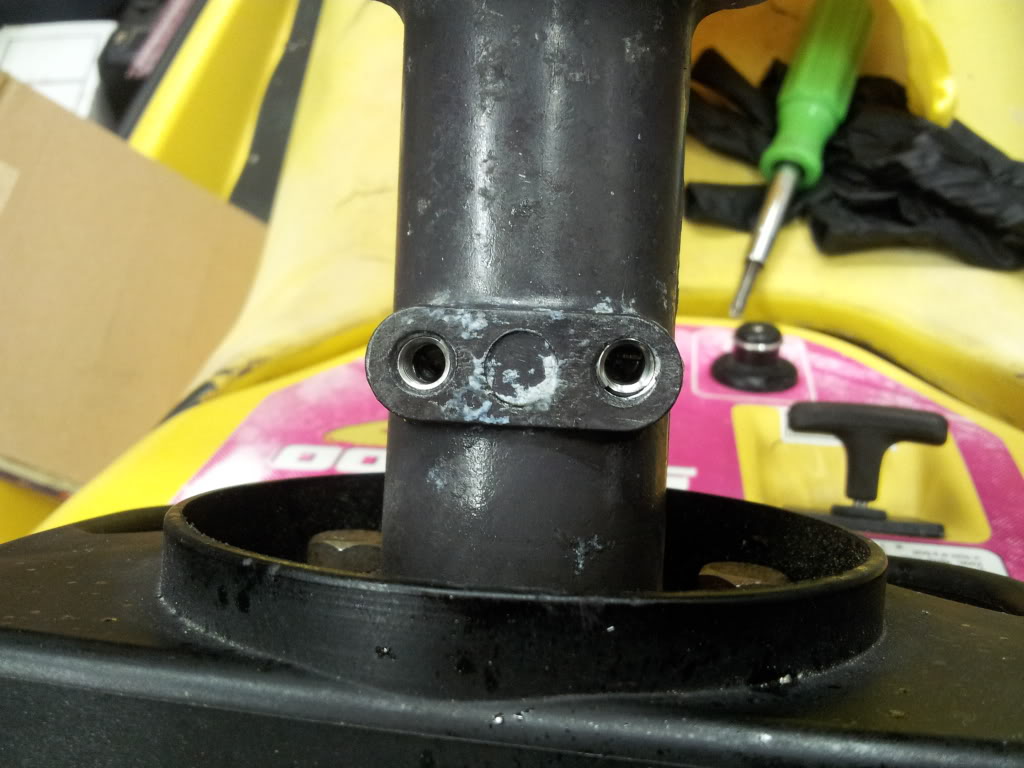
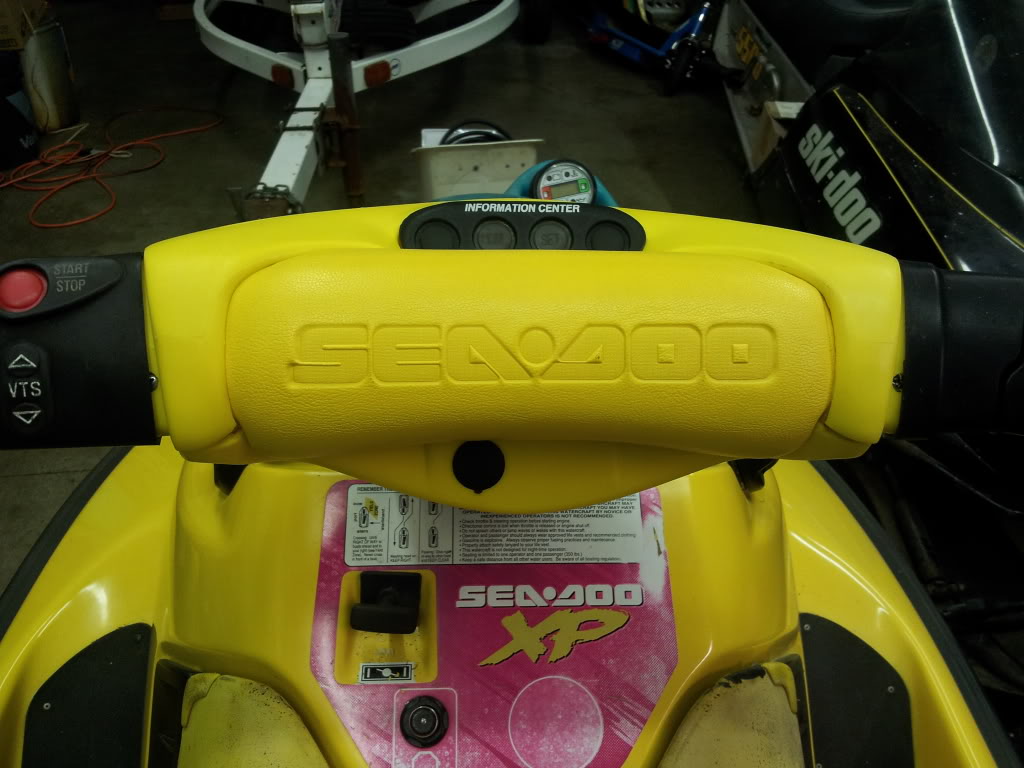
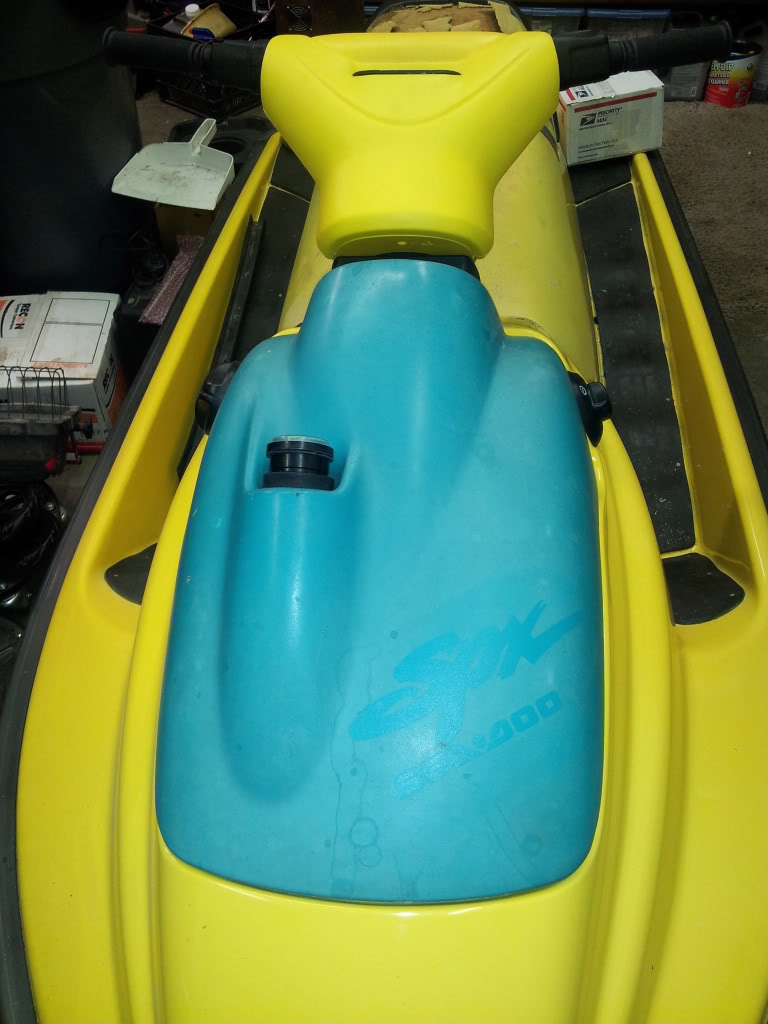
Well since all some of you guys ruined my mostly stock resto and now have shifted me towards the resto-mod look I figured I better post up some of the stuff I have been working on. No Spim, I'm not ditching the purple pipe yet--YET. These were that last goodies I bought before the HX money drainer was bought. Jetskigoodies kept flashing his cool handlebar pad upgrade around so I scored some super clean units for a good deal--boy were they clean. The bar pad has a manufacturers sticker still on it without a spec of dust on it. And Nammer passed on the single gauge hood so I snapped that up on and Ebay make offer auction. That is just laying on there until I figure out what I want to do with it and come up with some cashola to do it. JSG is coming up with a mounting kit to do the pad conversion, I dickered with it for a while to get it just right, but I think what he might have or is coming up with would possibly make the job flow real quick. The only thing I have left to do is dress the throttle lever housing and the start/VTS housings to fit properly. They are tight at the top and away at the bottom so I think I'll hit them on the belt sander to match the angles so you can't see the screw that should be hidden. And we use HEYCO bushings at work so I had one that was super close to fill the DESS hole in the lower half. Oh and it looks dead sexy, way better than the over priced moldy, nasty, gummy stocker for sure. Oh yeah, had to drill and helicoil the steering column, the PO stripped the one side and snapped the other off, all fixed. Anyway off to the pics!
Nice. Are you going to paint the hood?
I've got a few ideas I want to experiment with but not sure which way I'm going yet.
Jetskigoodies
Well-Known Member
Im shocked you dont have those diamond plate mats on that bad boy. Looking good though. Just think you wont have to use naptha anymore:cheers:
Im shocked you dont have those diamond plate mats on that bad boy. Looking good though. Just think you wont have to use naptha anymore:cheers:
I'm waiting to put the mats on, I think I'm gonna buff it one more time. There are a few places I think I might wet sand. And I'd like to run some swirl remover over it. What do you do where there old REG numbers were or do you buff them and be done with it? I can see where the gelcoat is raised. I know they will be covered, and there was a Calvin flipping the bird on the back at one point, don't need the young man spotting that. OMG, I googled Calvin Jetski Sticker and it's the second one in google images--unbelievable!

Jetskigoodies
Well-Known Member
I wet sanded some areas on the one im doing now, there was an alpine stars sticker and it left a brown outline that i couldnt buff out so i hit it with some 800 then 1200 but its a long process i feel the the 800 isnt rough enough but i dont want to put deep scratches by going rougher, but most of the time i dont wet sand them but i know you want yours perfect so you will need to wet sand it to get rid of the raised area
The decals people use to put on these are funny, I had a 94 xp with marvin the martian air brushed on the nose, a taz on a 95 xp, u of m decals on the back. The 96 im doing now had wiseco,audiobahn,ngk,solas,and some random splashes decals. Pia to remove all of them, i blew up my harbor freight heat gun on the very first sticker, but that 8.99 i spent on it did at least 10 seadoos so i got my moneys worth and they just built a harbor frieght 2 miles from me :hurray:
The decals people use to put on these are funny, I had a 94 xp with marvin the martian air brushed on the nose, a taz on a 95 xp, u of m decals on the back. The 96 im doing now had wiseco,audiobahn,ngk,solas,and some random splashes decals. Pia to remove all of them, i blew up my harbor freight heat gun on the very first sticker, but that 8.99 i spent on it did at least 10 seadoos so i got my moneys worth and they just built a harbor frieght 2 miles from me :hurray:
Last edited by a moderator:
Perfect! Notice this "calvin" character is a Yamaha rider. Looks like one of the old Crankshaft snapping 500's. He is shooting a bird cause a Seadoo is passing him by 
I have two sets of those yellow covers in mint shape along with black, red, blue...lol I also have the blank trim piece for the info buttons to delete those.
Its a VERY good replacement...they dont get gummy or moldy. I am also interested in what it takes to get it all installed clean/correct.
Its a VERY good replacement...they dont get gummy or moldy. I am also interested in what it takes to get it all installed clean/correct.
Spimothy Leary
Well-Known Member
no more purple exhaust pipes !!!!!
yuk yuk yuk
yuk yuk yuk
Can you make me a set of those block plates you made for a 787 seadoo engine? PM me thanks
http://i616.photobucket.com/albums/tt249/racerxxx1999/96 XP/20120922_223625.jpg
http://i616.photobucket.com/albums/tt249/racerxxx1999/96 XP/20120922_223625.jpg
Yeah, I've got an order in also.Can you make me a set of those block plates you made for a 787 seadoo engine? PM me thanks
http://i616.photobucket.com/albums/tt249/racerxxx1999/96 XP/20120922_223625.jpg
Jetskigoodies
Well-Known Member
All i want for xmas is some block off plates lol. He is very busy and has had alot on his plate. He is getting around to it, just be patient
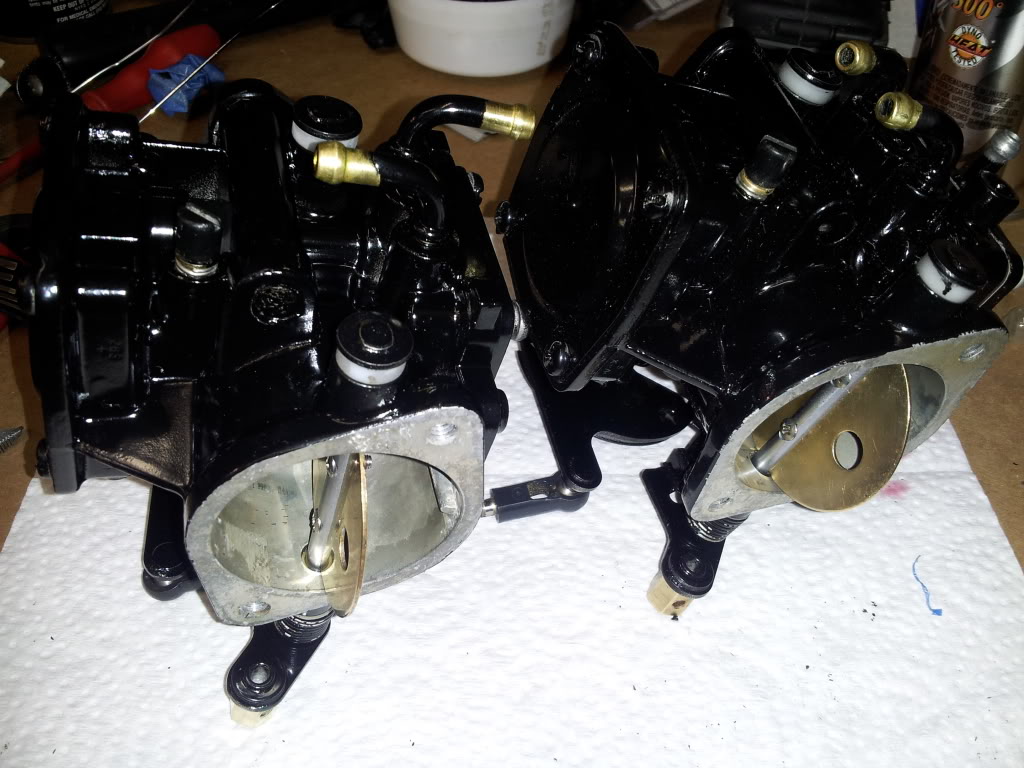
Lil' update:
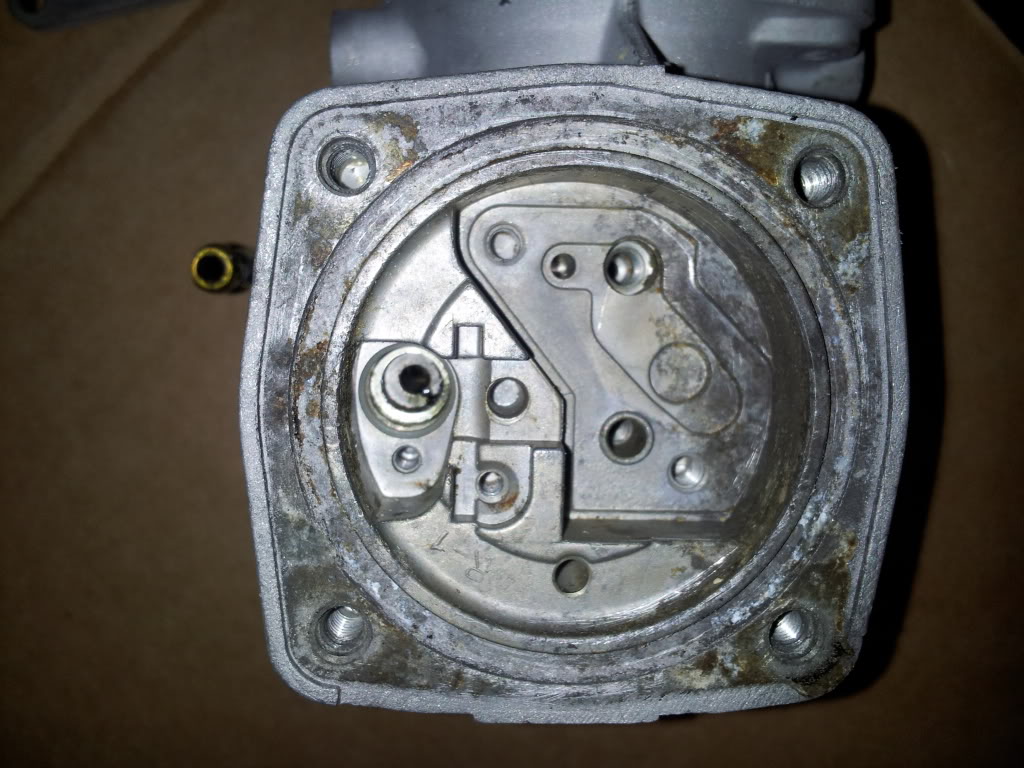
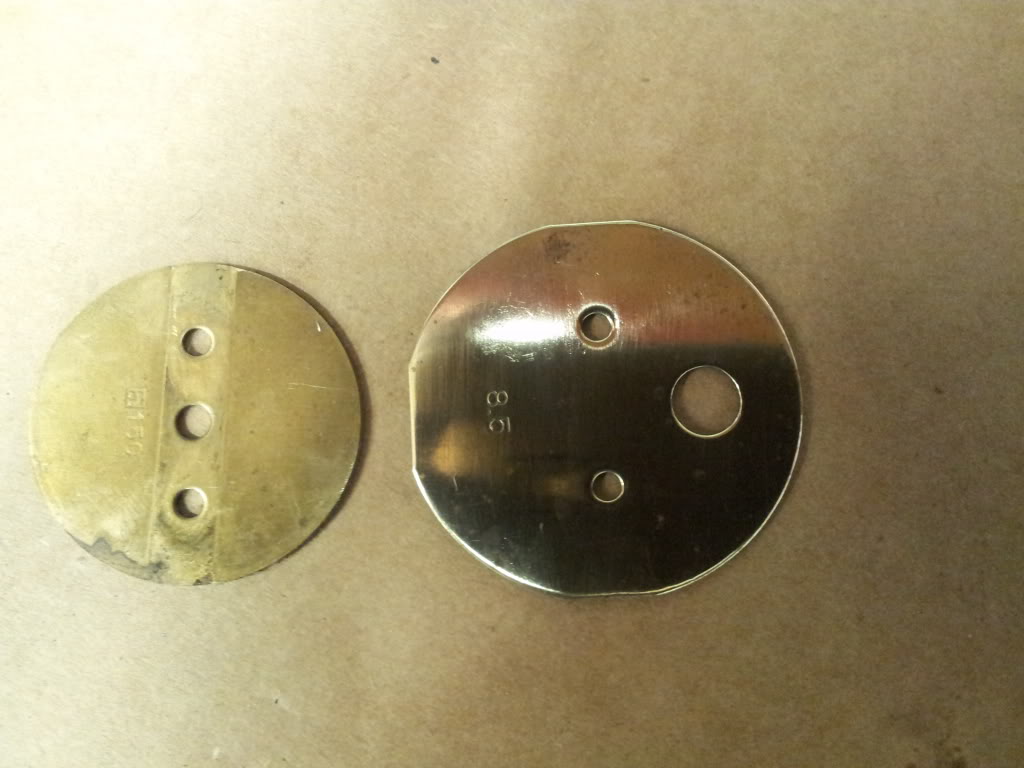
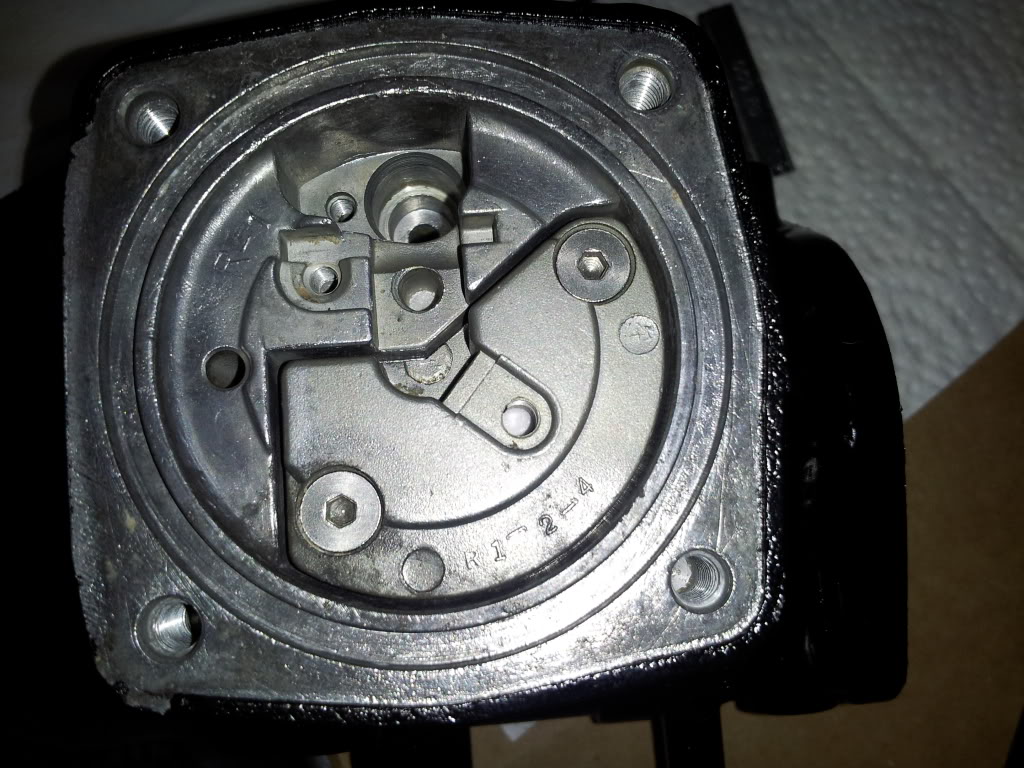
Holidays are over and I finally got some gusto to get back on the project. I FINALLY finished up the second carb today. Cleaned, painted and rebuilt. I even polished the butterflies with some steel wool and Mothers polish.
Inside Before:
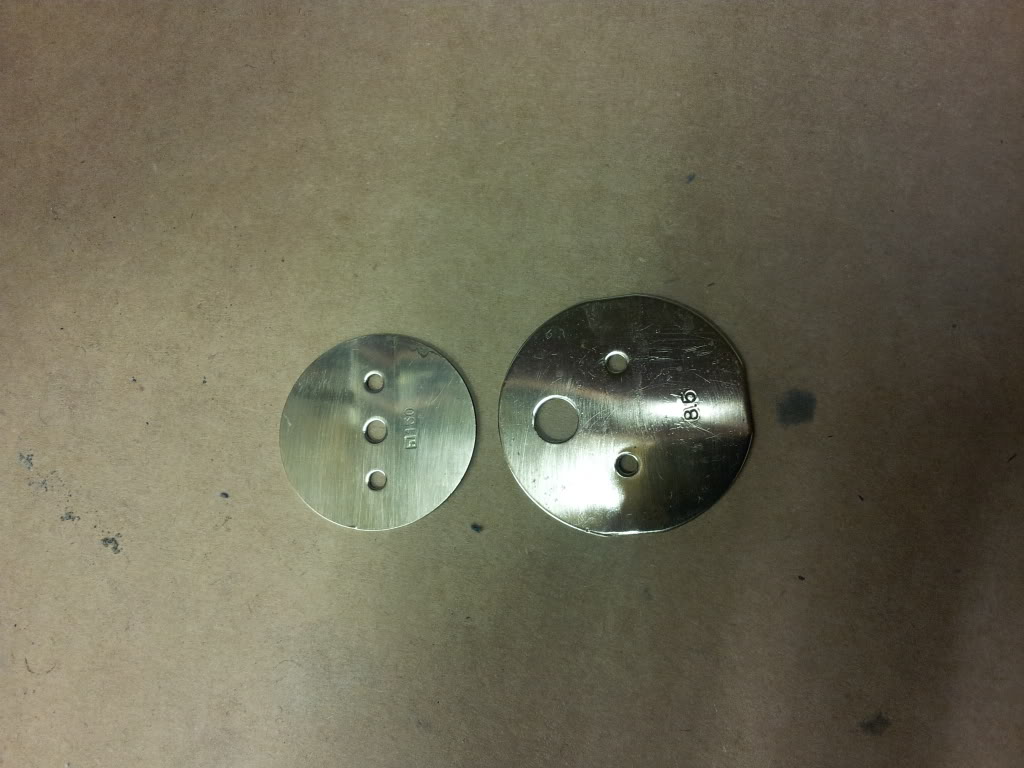
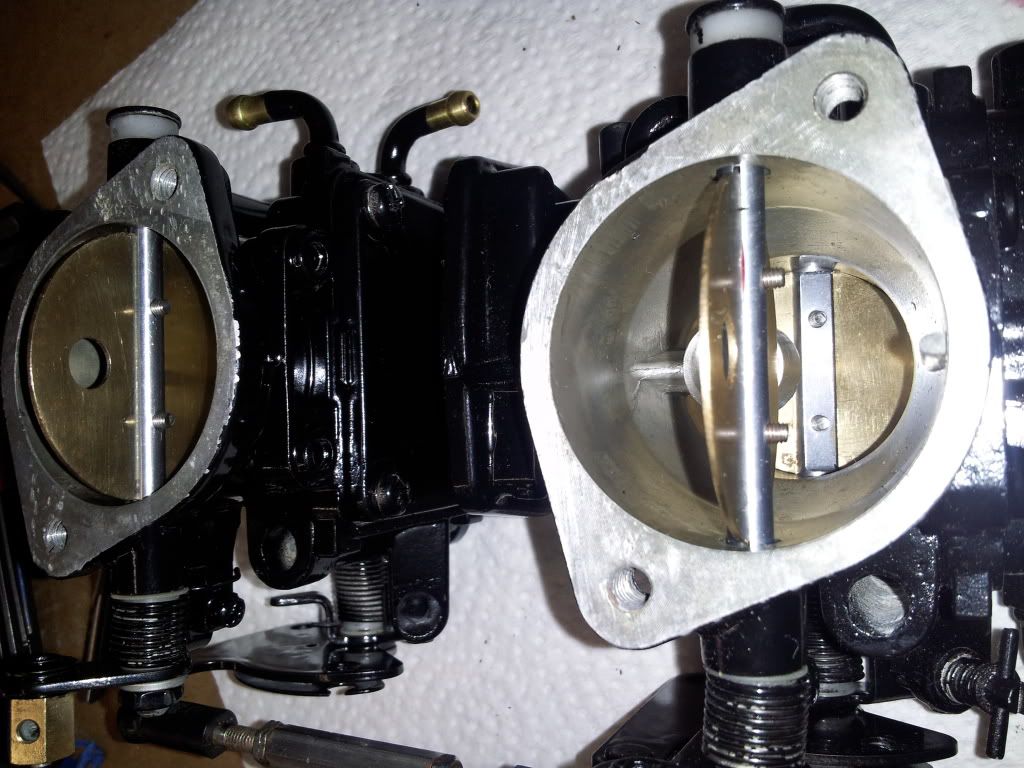
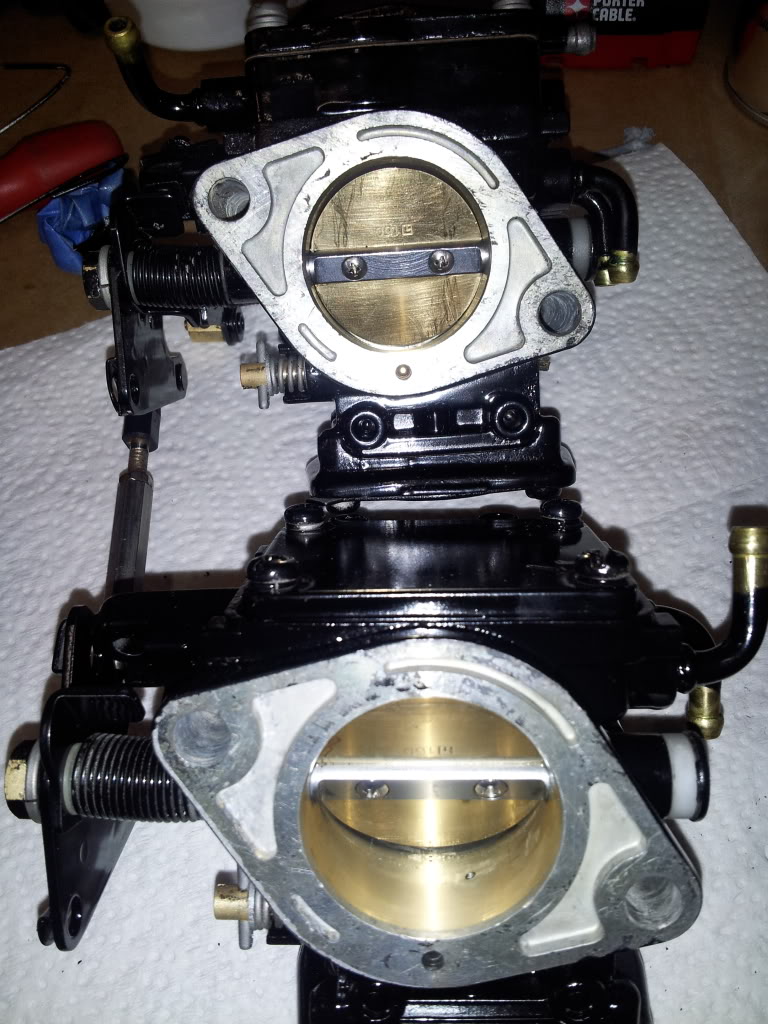
After shots. Replaced the stripped phillips heads with some nice new stainless socket head flats. Also replaced the butterfly screws with correct oval head phillips in stainless and loctited them in.

Holidays are over and I finally got some gusto to get back on the project. I FINALLY finished up the second carb today. Cleaned, painted and rebuilt. I even polished the butterflies with some steel wool and Mothers polish.
Inside Before:
After shots. Replaced the stripped phillips heads with some nice new stainless socket head flats. Also replaced the butterfly screws with correct oval head phillips in stainless and loctited them in.
Those screws are a little long I dont know if that matters but I do know you want to peen them in, not just loctite.
You dont want any air velocity from those polished butterflies getting fubar'ed up by the extra bit on those screws do you??")
You dont want any air velocity from those polished butterflies getting fubar'ed up by the extra bit on those screws do you??
Last edited by a moderator:
They are actually the same length as the factory screw I removed. And yes I will try and peen them, but it's bad enough Mikuni bent the choke shaft doing it the first time. I feel safe with the Red loctite but will more than likely dink the threads on the side of the screw so I don't tweak the shaft since I straightened it.
Jetskigoodies
Well-Known Member
Where o where did you get those amazing replacement allen head screws? That is the best idea i have seen you have yet, and youve had alot of good ones, ive seen the allen head kit for the outer bolts to replace those frikken phillips but i havent seen anyone replace those. Only 1 usually gets stripped, or is hard to get out, but a impact driver goes along way
Those carbs look great by the way.
Those carbs look great by the way.
Last edited by a moderator:
Very nice . I noticed when I took the fuel pipes off of mine that one or two of the brass elbows on the carb turned slightly , should they be able to do this ? I can't see any way to tighten them them other than to turn them back to their original positions . I've noticed in some other people's pics these elbows have been gummed up around the base , presumably to stop leaks .
Where o where did you get those amazing replacement allen head screws? That is the best idea i have seen you have yet, and youve had alot of good ones, ive seen the allen head kit for the outer bolts to replace those frikken phillips but i havent seen anyone replace those. Only 1 usually gets stripped, or is hard to get out, but a impact driver goes along way
Those carbs look great by the way.
LOL I have hardware out the wazoo at work 98% is stainless. That is the benefit of manufacturing equipment. I used M4 X 12, they are actually 14mm long so they could be a custom screw. By using the 12mm long your losing like 2 threads, no biggie.
http://www.mcmaster.com/#93395A257

You can get them at Mcmaster Carr, you could probably do Fastenal too but I prefer McMaster, if I order by 11 am they deliver it by 3:30 the same day.
Now if you need butterfly screws they are Phillips Oval heads, in stainless of course. These we did not have, I have 92 left! They are also the same as the internal M3 screw for the needle arm cross shaft.
http://www.mcmaster.com/#90258A178

Very nice . I noticed when I took the fuel pipes off of mine that one or two of the brass elbows on the carb turned slightly , should they be able to do this ? I can't see any way to tighten them them other than to turn them back to their original positions . I've noticed in some other people's pics these elbows have been gummed up around the base , presumably to stop leaks .
They shouldn't move, I think they are just pressed in, I always figured they should silver solder them in. The gummed up might just have been corrosion?? Perhaps straighten it and put some epoxy or as much as I hate to say it JB Weld, but SPARINGLY!
Spimothy Leary
Well-Known Member
laff @ 92 left ") your good for just a few more rebuilds
your good for just a few more rebuilds
your good for just a few more rebuilds - Status
- Not open for further replies.
Similar threads
- Replies
- 9
- Views
- 279
- Replies
- 4
- Views
- 90
- Replies
- 0
- Views
- 149
Share: