


-
This site contains eBay affiliate links for which Sea-Doo Forum may be compensated.
You are using an out of date browser. It may not display this or other websites correctly.
You should upgrade or use an alternative browser.
You should upgrade or use an alternative browser.
What I did to my 4-tec boat today...
- Thread starter go_panthers
- Start date
- Status
- Not open for further replies.

Mine came blue stock. Is that not normal?
slaizer2000
Active Member
someone get brave and swap out the orange for blue in the 4-tec cluster....
the speedometer and 2 rpm gauges on mine were very easy to swap from bulb over to blue LED. Just twist out, replace and twist back in.
I'm going to have to disassemble the fuel gauge though to find out how to replace the bulb.
gb387
Active Member
Mine came blue stock. Is that not normal?
Mine are the same color-- I would guess the blue is standard on our 2010 210's.
The gauges on my 2010 210 are not blue, they are orange. Maybe it is meant to compliment the interior color of the boat?
I've only used my boat at night a couple of times sine we always hit the lake early. The few times I have used them the dash lights are blinding. Is there any way to dim them?
I've only used my boat at night a couple of times sine we always hit the lake early. The few times I have used them the dash lights are blinding. Is there any way to dim them?
Over the weekend I replaced the wear rings and checked the impellers. It looks like I had swapped the pumps when I had them rebuilt this spring. There is the same ~1mm difference between the pitch of the impellers at eh leading edge, so I swapped them back and will see if that changes the handling characteristics (slight pull to port) at all.
The freezer method made swapping the wear rings very easy, by the way.
The freezer method made swapping the wear rings very easy, by the way.
slaizer2000
Active Member
bunk board guide ons
installed bunk board guide ons for the boat trailer.
Definitely made it easy to get boat on the trailer.
Boat went on very straight. Previously I had several times where the boat went on the trailer tilted and didn't know till I pulled the trailer out of the water and then had to put it back in the water and re-seat the boat.
The boat being better aligned on the trailer made the winch much easier to crank as well.
slaizer2000
Active Member
spent about an hour over the weekend pulling and checking all engine fuses and testing voltages since my engines would not start. This was the first time I tried starting the engines after installing a perko switch and 2nd battery. All electronics and lights had power. Just engines would not start.
In the end it turns out that my solar trickle charger (installed a few weeks ago) being connected was somehow preventing the engines from starting. After disconnecting the solar charger the engines fired right up.
In the end it turns out that my solar trickle charger (installed a few weeks ago) being connected was somehow preventing the engines from starting. After disconnecting the solar charger the engines fired right up.
installed bunk board guide ons for the boat trailer.
Definitely made it easy to get boat on the trailer.
Boat went on very straight. Previously I had several times where the boat went on the trailer tilted and didn't know till I pulled the trailer out of the water and then had to put it back in the water and re-seat the boat.
The boat being better aligned on the trailer made the winch much easier to crank as well.
View attachment 41054
Got a link to the source and price? I'm interested in doing that now.
Got a link to the source and price? I'm interested in doing that now.
eBay has many. E-trailer does as well.
eBay has many. E-trailer does as well.
Never would have thought to check there.
slaizer2000
Active Member
Several different ones on Amazon. This one was fairly well rated.
https://www.amazon.com/dp/B001445EUW/ref=cm_sw_r_em_api_c_rKqIzbHSG389T
https://www.amazon.com/dp/B001445EUW/ref=cm_sw_r_em_api_c_rKqIzbHSG389T
slaizer2000
Active Member
Solder Seal Wire Connectors
Did some wiring work today on my boat.
Installed a better fuse connector for my bluetooth adapter and added a usb/voltmeter rocker switch to my dash by splicing in to the cigarette lighter wires.
I found these and they were amazing and easy to work with to do my wiring.

https://www.amazon.com/gp/product/B01FI6IKG6/ref=oh_aui_detailpage_o04_s01?ie=UTF8&psc=1
Did some wiring work today on my boat.
Installed a better fuse connector for my bluetooth adapter and added a usb/voltmeter rocker switch to my dash by splicing in to the cigarette lighter wires.
I found these and they were amazing and easy to work with to do my wiring.
https://www.amazon.com/gp/product/B01FI6IKG6/ref=oh_aui_detailpage_o04_s01?ie=UTF8&psc=1
slaizer2000
Active Member
added SAE port and usb/voltmeter rocker switch
Actually did this yesterday. Always too tired after working on the boat to post pics.....
Added a waterproof SAE port to the rear starboard side for my Solar powered trickle charger. Currently I only plug the solar trickle charger in when it's sitting in my driveway but will be rigging something up so I can have it plugged in while out on the water. Probably somehow rig it to the Bimini top so it gets full sun. SAE port is directly wired to my #2 battery.

Also got an SAE extension and SAE usb/voltmeter to be used with the port.

Had a spare rocker switch port on my dash. Removed the spare cover and added a Rocker switch size waterproof usb/voltmeter to the dash. Spliced it into the same wires for the cigarette lighter port. The voltmeter on this is nice. I get 4 different readings based on what the perko switch is set to. Off, battery 1, battery 2, all batteries.


Actually did this yesterday. Always too tired after working on the boat to post pics.....
Added a waterproof SAE port to the rear starboard side for my Solar powered trickle charger. Currently I only plug the solar trickle charger in when it's sitting in my driveway but will be rigging something up so I can have it plugged in while out on the water. Probably somehow rig it to the Bimini top so it gets full sun. SAE port is directly wired to my #2 battery.
Also got an SAE extension and SAE usb/voltmeter to be used with the port.
Had a spare rocker switch port on my dash. Removed the spare cover and added a Rocker switch size waterproof usb/voltmeter to the dash. Spliced it into the same wires for the cigarette lighter port. The voltmeter on this is nice. I get 4 different readings based on what the perko switch is set to. Off, battery 1, battery 2, all batteries.
I replaced another broken hatch latch. 
This is the 2nd latch like this that I have replaced. Both times the latch failed on the back side. We don't overfill the hatches, and we don't slam the hatches shut. It seems like the latch has a design flaw, but maybe it is just me.
It this a common problem?
This is the 2nd latch like this that I have replaced. Both times the latch failed on the back side. We don't overfill the hatches, and we don't slam the hatches shut. It seems like the latch has a design flaw, but maybe it is just me.
It this a common problem?
slaizer2000
Active Member
upgraded blown speakers to kicker 43KM654LCW LED speakers
Today I installed new speakers.
Looks like the stock clarion speakers on the boat I bought were blown out and rotted. Only 100 watt peak. All the tweeters were ripped and only 1 speaker had a woofer in-tact.
These things were so rotted that when I pulled out the spade wire connector all the metal tabs and plastic broke away from the speakers.
Only hooked up the speakers. Will have to run the wires for the LED's when I get more time.
Like the new speakers. Hopefully the more open grills won't be a problem with accidental damage.
What I liked most from these 43KM654LCW is that they were exact size fit. Didn't have to widen the hole or drill new screw holes. Completely plug and play except for the LEDs.
slaizer2000
Active Member
blue LED upgrade fro fuel gauge
Today I replaced the fuel gauge bulb with a blue LED.


Today I replaced the fuel gauge bulb with a blue LED.
I replaced another broken hatch latch. View attachment 41254
This is the 2nd latch like this that I have replaced. Both times the latch failed on the back side. We don't overfill the hatches, and we don't slam the hatches shut. It seems like the latch has a design flaw, but maybe it is just me.
It this a common problem?
I've not had any issues with the. Which hatch is it that is breaking the latch? Rear deck? Ski locker? Anchor locker?
Same problem here and they are expensive. Have you found them from Southco directly vs a Sea Doo dealer?
A lot of boat parts can be found at Great Lakes Skipper:
https://greatlakesskipper.com/catalogsearch/result/?q=Latch
slaizer2000
Active Member
upgraded rocker switch covers from contura II to contura V
Today I replaced the stock contura II rocker switch covers with Contura 5 laser etched switch covers.
Even though the switch covers fit the old rockers the Contura V switch covers are wider.
Because of this I ended up having to widen the opening to fit rocker panels in order to accept the new switch covers.
Took several hours of using a rotary tool (generic dremel) to cut away the plastic, remove the metal kick plate and score the fiberglass. Then used an oscillator tool to cut away the fiberglass. The dremel had better precision and control vs the oscillator. But the oscillator was able to do straighter cut lines for the final work.
The rocker panels were a bit too large for the dash inserts but good enough for me.
Overall I'm satisfied with the look. Considering painting the fake marble dash inserts black to blend in with the rocker panels but not sure if I want to deal with cracking/peeling paint in the future.
Original switch covers upgraded from green LEDs to blue LEDs


New Contura V etched switch covers


Lights on during the day


Lights on at night. The text and symbols are blue. Camera makes them look white/blue.


Nighttime with flash since the camera doesn't do well at night with lights and makes them look extremely bright.

Today I replaced the stock contura II rocker switch covers with Contura 5 laser etched switch covers.
Even though the switch covers fit the old rockers the Contura V switch covers are wider.
Because of this I ended up having to widen the opening to fit rocker panels in order to accept the new switch covers.
Took several hours of using a rotary tool (generic dremel) to cut away the plastic, remove the metal kick plate and score the fiberglass. Then used an oscillator tool to cut away the fiberglass. The dremel had better precision and control vs the oscillator. But the oscillator was able to do straighter cut lines for the final work.
The rocker panels were a bit too large for the dash inserts but good enough for me.
Overall I'm satisfied with the look. Considering painting the fake marble dash inserts black to blend in with the rocker panels but not sure if I want to deal with cracking/peeling paint in the future.
Original switch covers upgraded from green LEDs to blue LEDs
New Contura V etched switch covers
Lights on during the day
Lights on at night. The text and symbols are blue. Camera makes them look white/blue.
Nighttime with flash since the camera doesn't do well at night with lights and makes them look extremely bright.
Last edited by a moderator:
One on the rear deck and two on the ski locker.
i just ordered a new lock from Uglyfishinc. They have the latch in white for $56. Cheaper than $90 I paid elsewhere for stainless. And free shipping this week.
http://www.uglyfishinc.com/southco-marine-cabinet-and-compartment-latches-p/mp-03-110-770.htm
i just ordered a new lock from Uglyfishinc. They have the latch in white for $56. Cheaper than $90 I paid elsewhere for stainless. And free shipping this week.
http://www.uglyfishinc.com/southco-marine-cabinet-and-compartment-latches-p/mp-03-110-770.htm
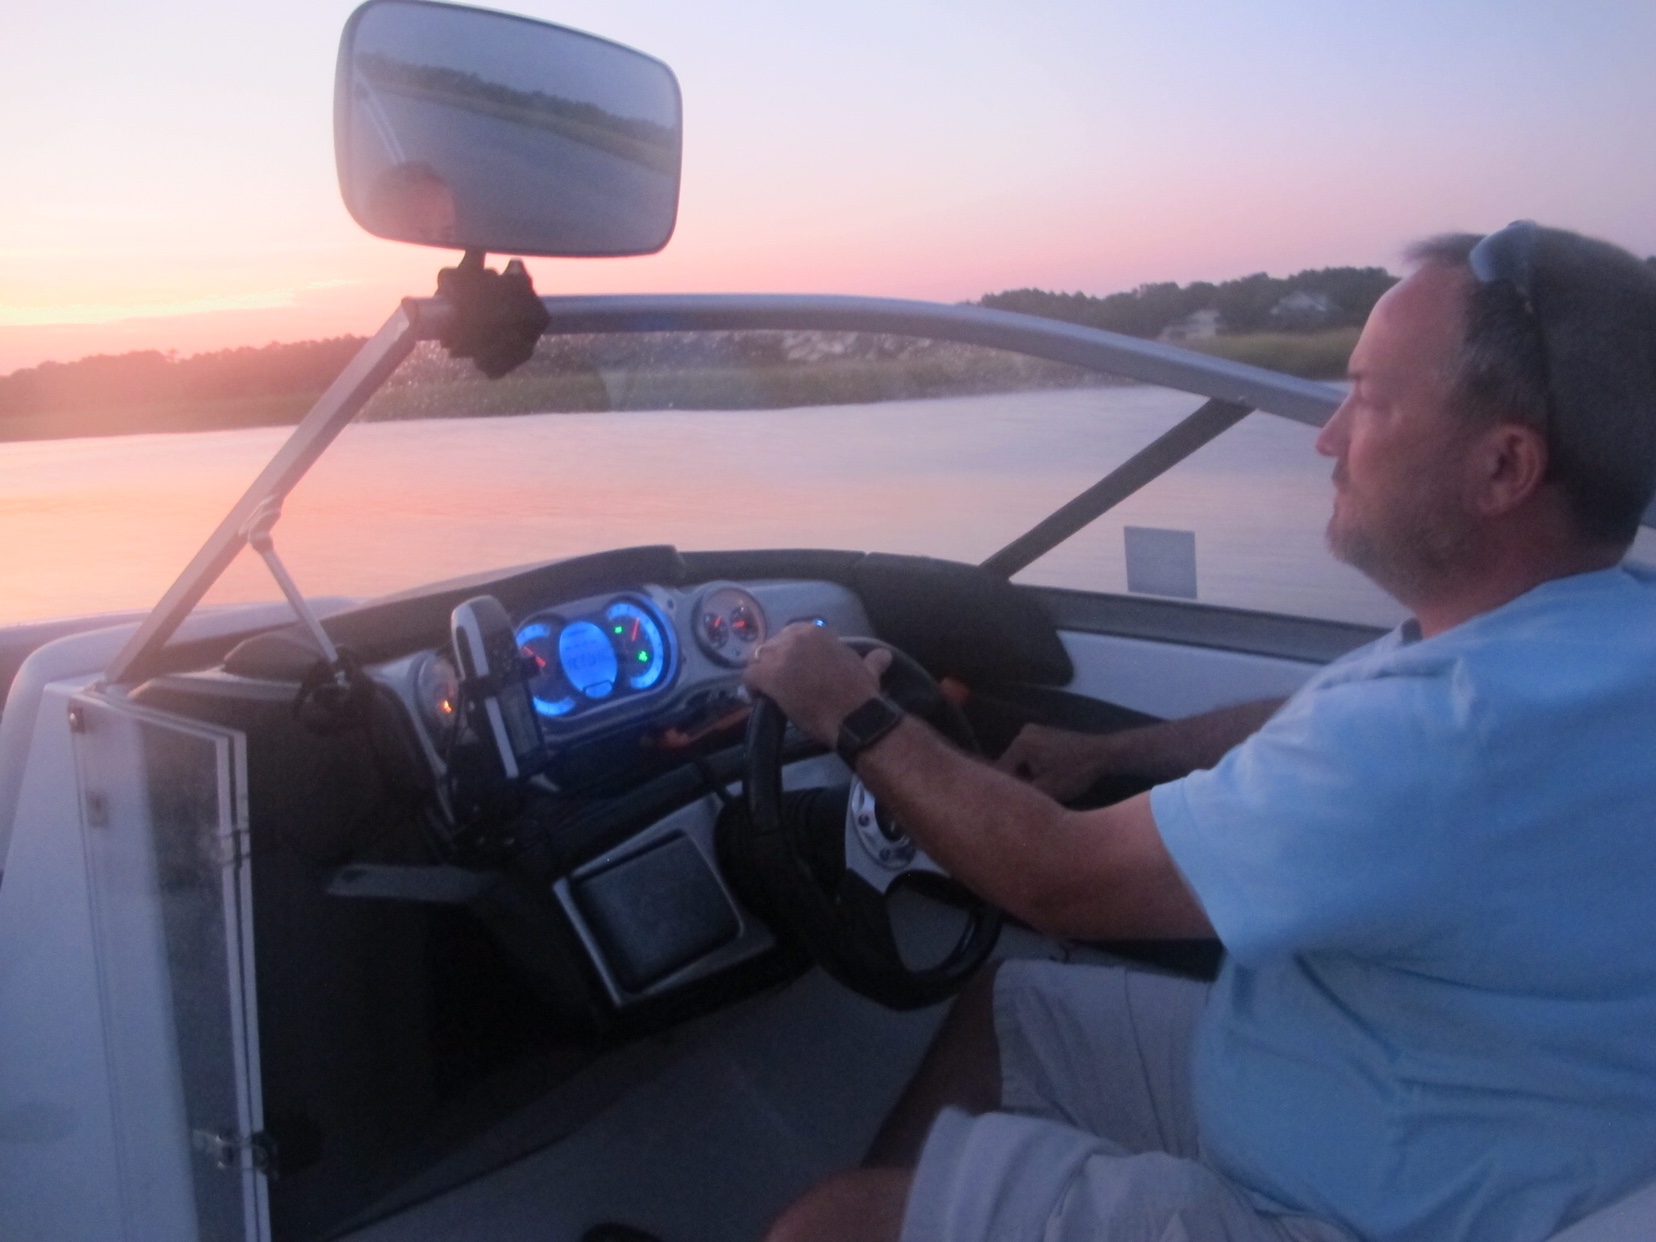
I spent nearly all of Saturday on the boat, and all I can say is I love my 210 Challenger. I know we see a lot of people with a lot of different problems on this forum, so I wanted to put something positive in here. My wife and I drove to the coast on Friday, got in the boat on Saturday after breakfast and cruised over 120 miles total on Saturday. We started in North Myrtle Beach, SC and Northeast to Southport, NC. Stopped for lunch and walked around Southport a little bit, then headed back to NMB, rode about 10 miles past where we put in (just for the fun of it) and brought the boat out of the water at about 7:30pm and went to dinner. It was an amazing day on the water.
The green line indicates our route. Love the ICW...

The green line indicates our route. Love the ICW...
slaizer2000
Active Member
Installing speaker wires for Speaker LEDs
Spent 4 hours today running speaker wires to hook up the speaker LEDs.
Went with straight blue to compliment my other blue lights.
2 sterns speakers were relatively easy to run the wires since it's a straight pass from the cockpit to the starboard/stern side and the wire from the Port/stern side easily ran through the engine compartment.
It was a bear running the Bow speakers. Relatively no access, lots of obstructions and little visual line of site. Bow wires took fish tape, coat hanger and string as the fish tape would not go were I wanted it to go. I also literally had to climb in to the floor storage compartment to see and snag the fish tape with the coat hanger.
Wires are spliced in to the radio cut off rocker switch. Same one I wired the bluetooth adapter in to so I could take advantage of the 2 amp fuse from that upgrade. LED's only come on when the radio switch is turned on.
- Status
- Not open for further replies.
Similar threads
- Replies
- 1
- Views
- 516
- Locked
- Replies
- 5
- Views
- 1,234
- Replies
- 1
- Views
- 652
- Replies
- 3
- Views
- 634
- Locked
- Replies
- 1
- Views
- 535