The Seadoo Carb Rebuild Thread

Note: This site contains eBay affiliate links for which SeaDooForum.com may be compensated
Status
Not open for further replies.
Thank You! Excellent thread! I have a '96 XP 800 with carbs that have never been taken apart. It has always run well since I bought it new in '96 but I want to at least open up the carbs to see if there is any green goo inside of them since I have the original gray Tempo fuel lines that apparently cause this issue.
 
Last edited:
What part of 02 xp 957 carb is this ? I took apart acc pump and now i dont know were it came from 20180605_172810.jpg
 
It goes between the accelerator pump arm and carb body.
0094e622328d6046e1a6f668f56a84bc.jpg
 
You say that the pilot circuit is the most important part of the cleaning and show the spray cleaner coming out of the holes inside the carb body. Where are you spraying into?
 
I rebuilt my 717 carbs yesterday. they are the type with the accelerator pump.

this thread was fantastic in getting me through.

I thought I would post a few pics that might help the next guy.


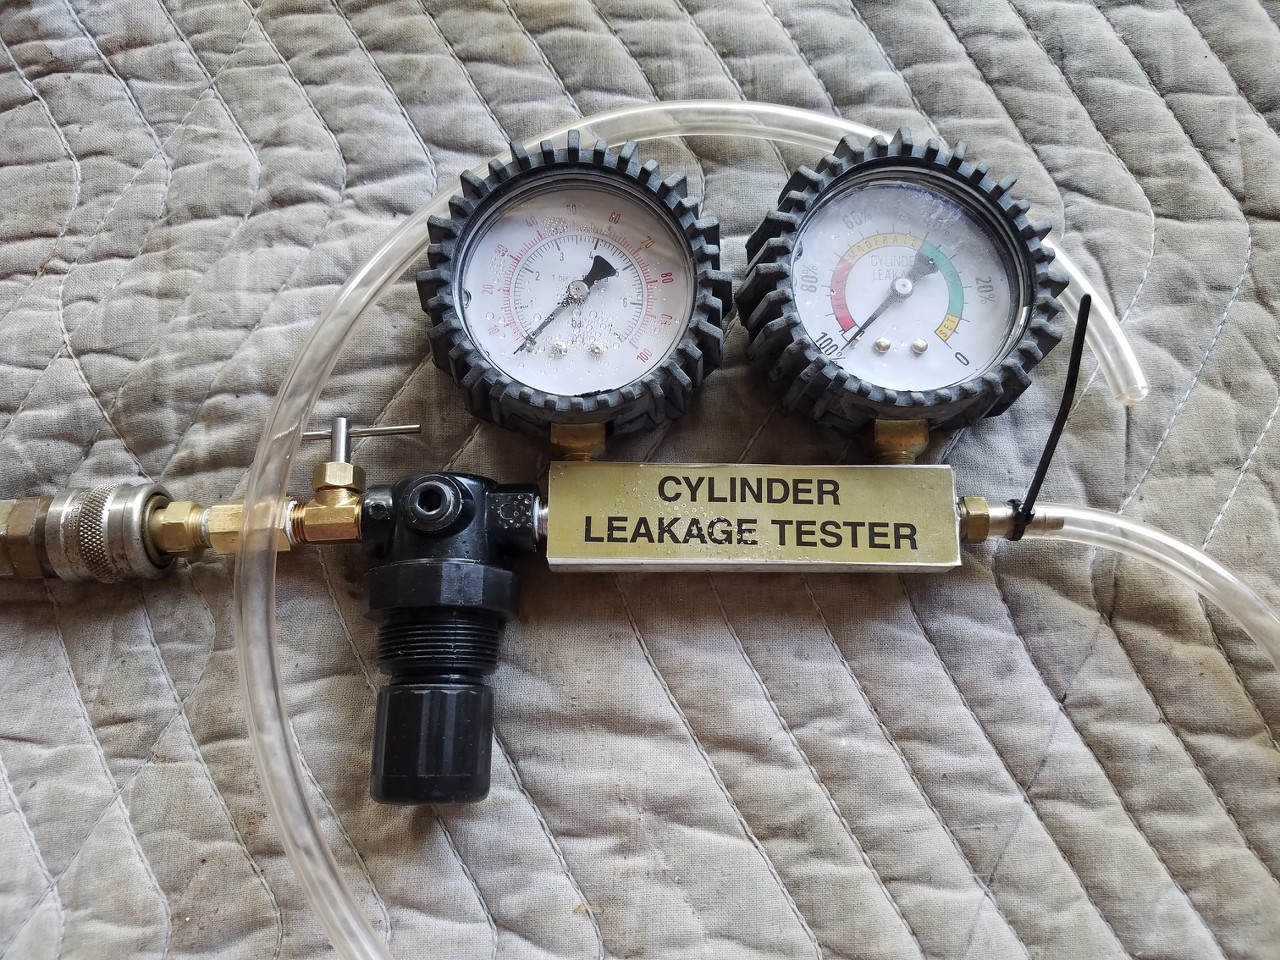
this is the pressure tester I made. it was an automotive leak down tester that I added a couple brass fittings to make it work. I think I spent about 8 dollars on parts. the right gage is superfluous for this purpose, but since I already owned the tool, it was easy to modify for the purpose at hand. on the left side, I bought a coupling and the shutoff valve. on the right, I bought a nipple. the thing I like about it is that I can just plug it into my air compressor and use the regulator to pump it up to whatever pressure I want. depending on the test I am administering, I can use the shut off valve on the left side to hold pressure in the system to check for leaks. by adding a nipple with a 1/8" npt fitting on the end, this tester also works well to pressure check the jet drives.


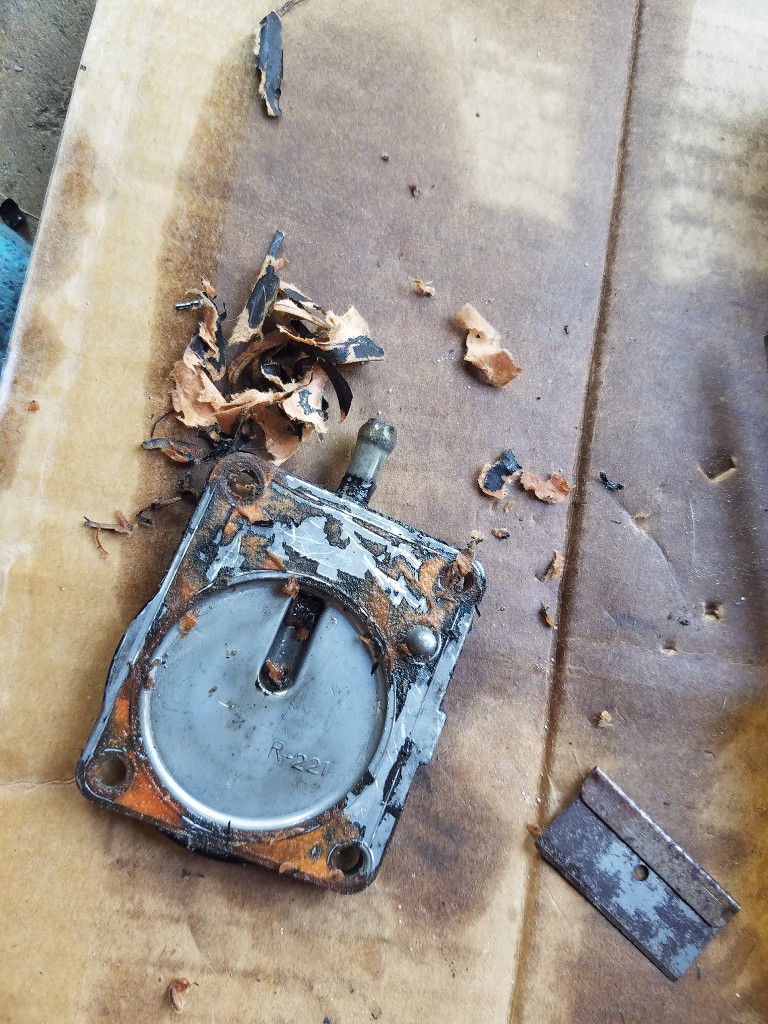
the worst part of the rebuild was removing this gasket. that thing was glued on with reckless abandon. I think it would be preferable to be hung by one's thumbs than spend your days scraping these off. both my carbs were glued on in the same way.


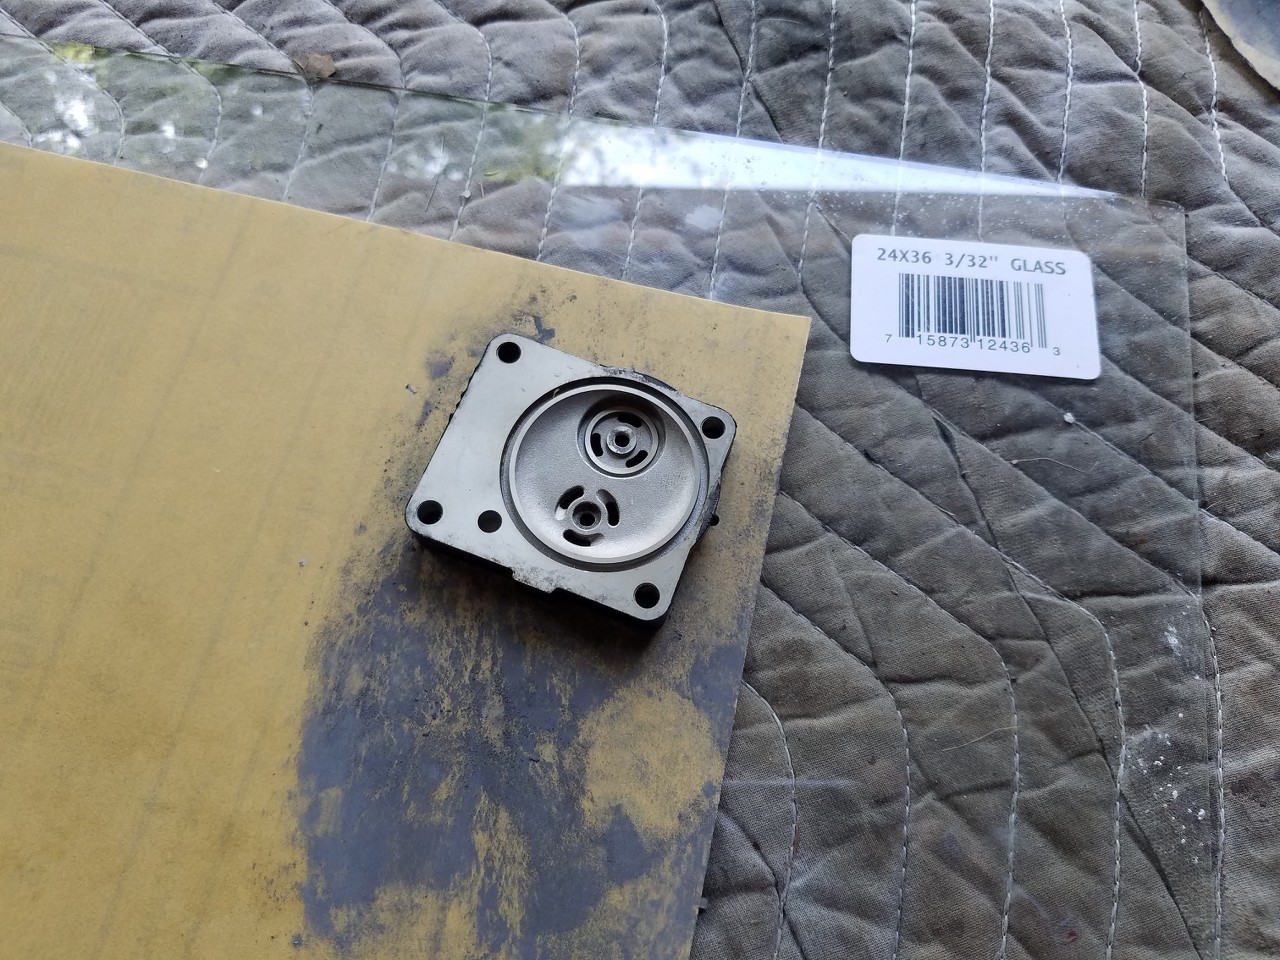
I used 400 grit wet/dry sandpaper set upon a piece of sheet glass to remove the corrosion.


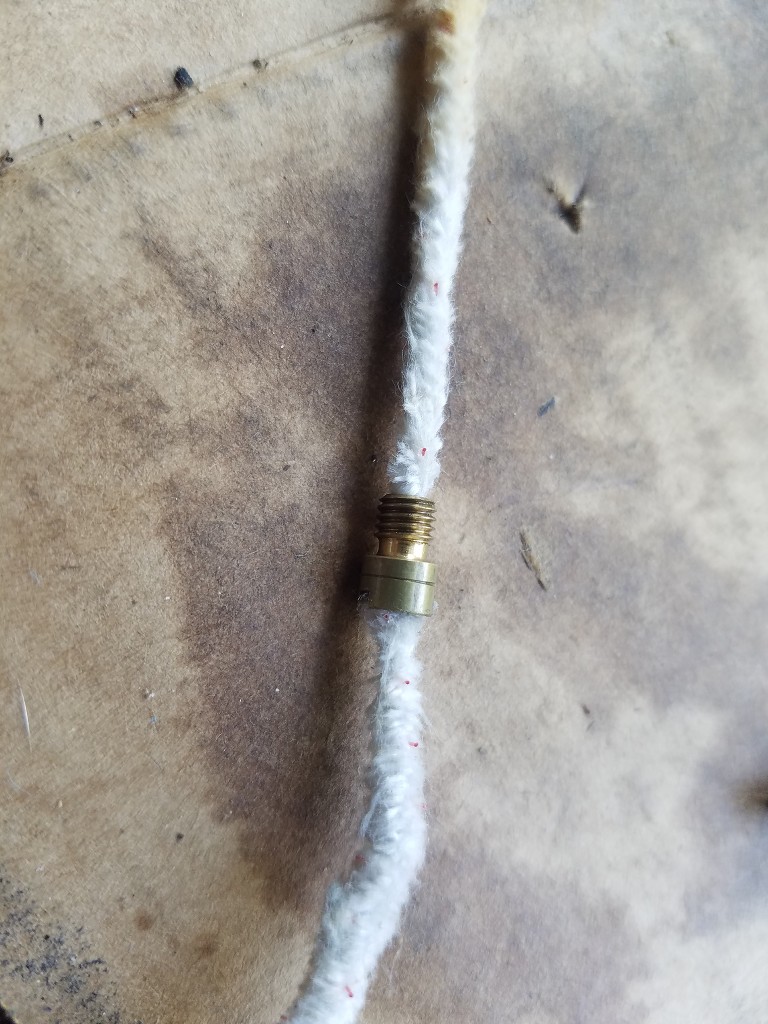
using my pipe cleaners to rod out the larger jet. I used these in several places on the carb body too.


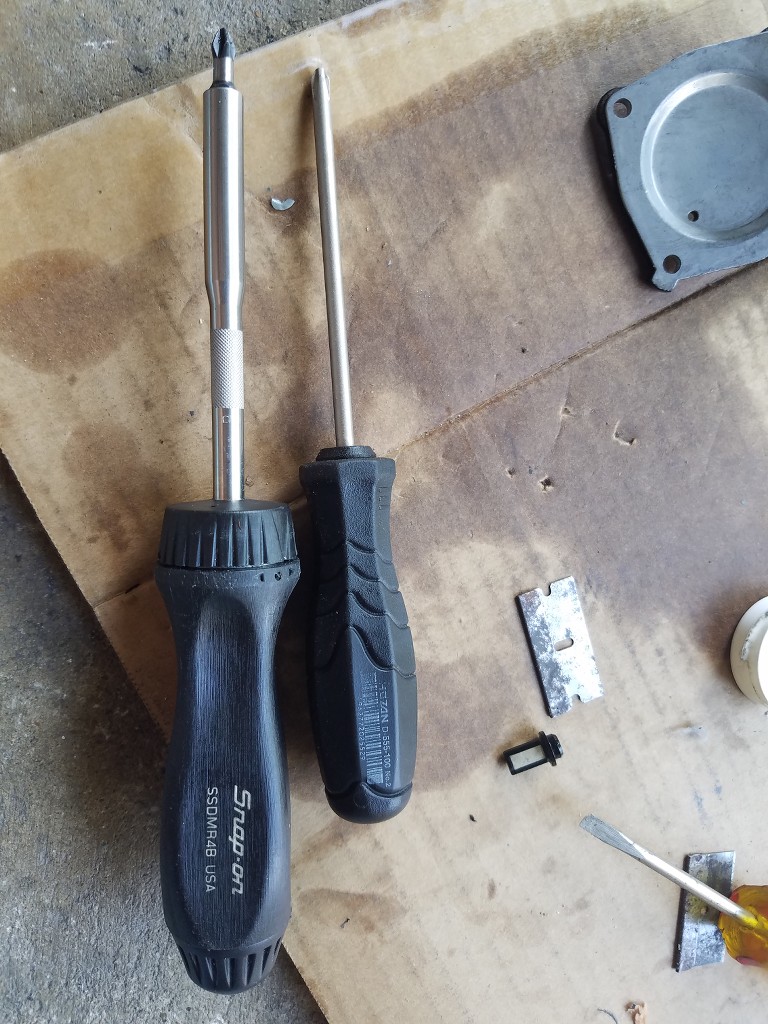
miki recommends using Japanese industrial standard screwdrivers so I purchased a set. I didn't buy the same brand but I honestly wasn't very happy with them. I found my ratcheting snap on with a Milwaukee #2 insert seemed superior. I had a lot better leverage and the bit fit the slot well in all occasions except for a couple of the small screws in the carb body.


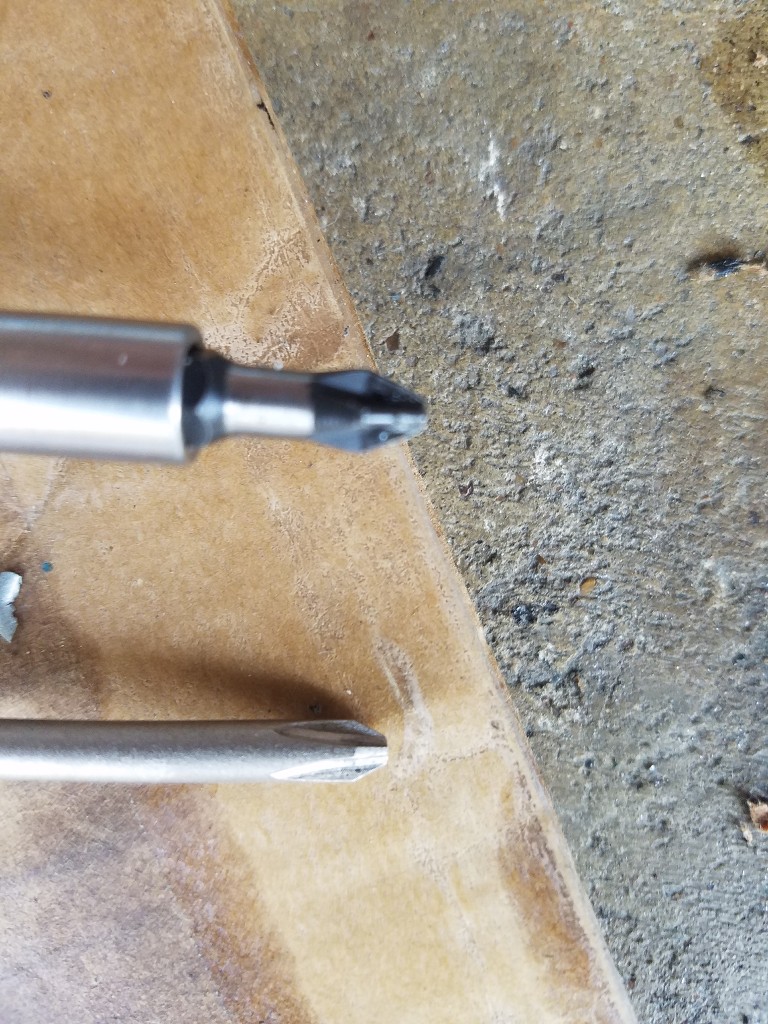
a closeup of the tips and they look pretty similar.


4.5mm flat tip insert was perfect for the small jet.


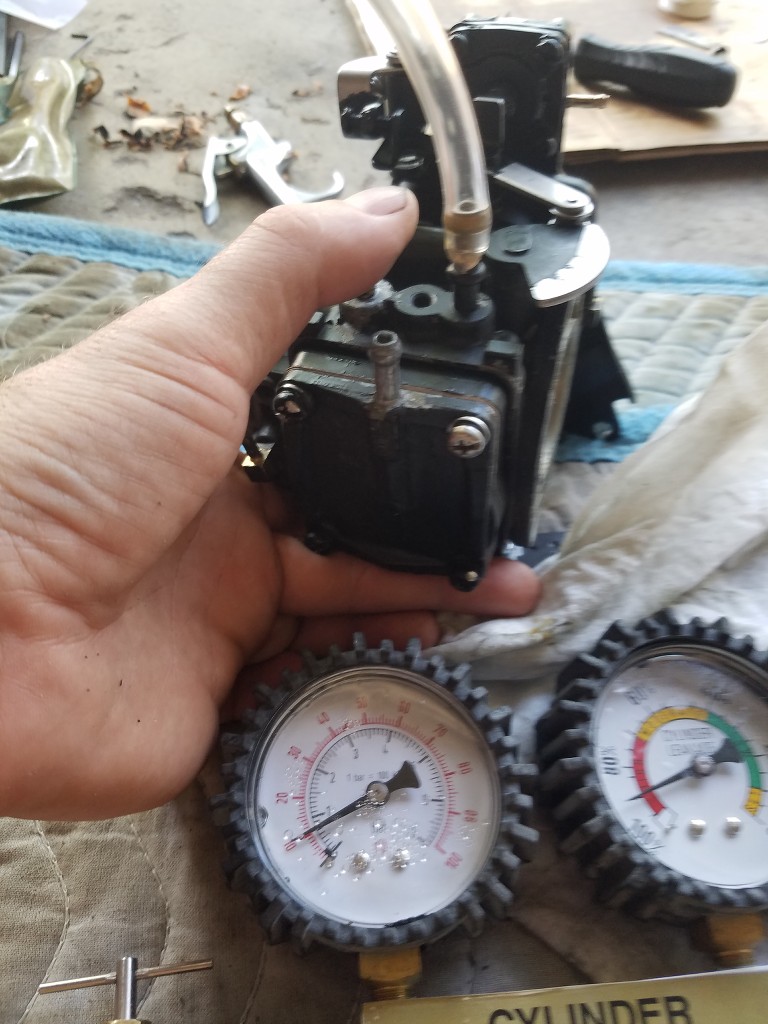
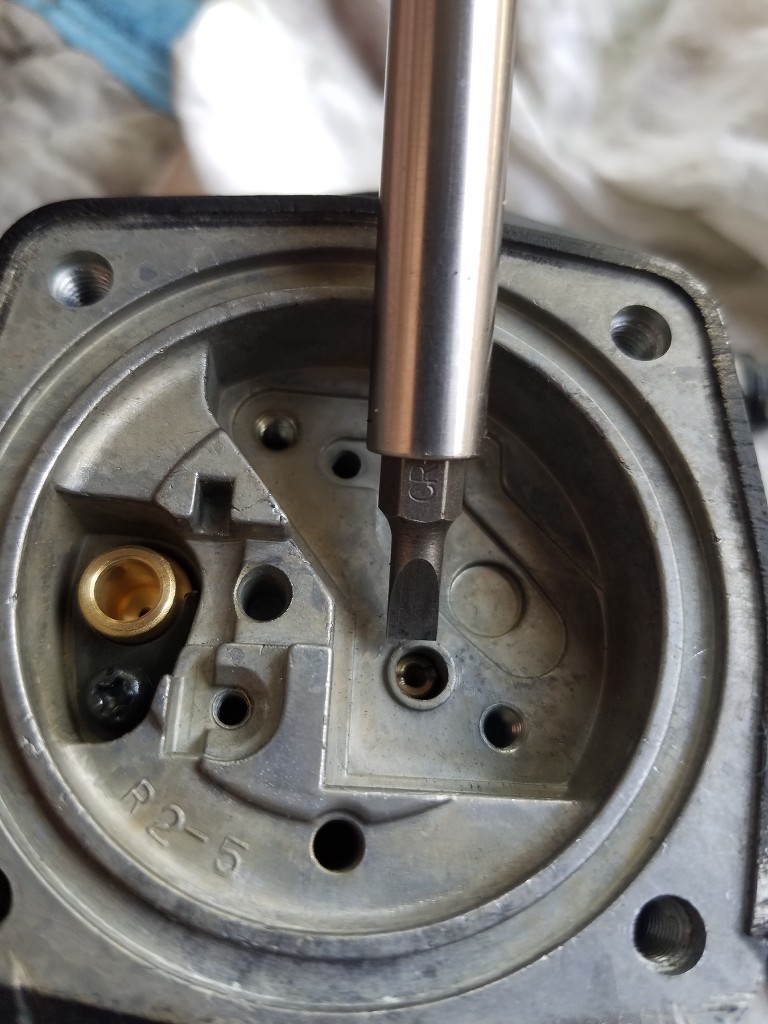
the 717 accelerator carbs do not have the same fuel inlets that 787 carburetors have. this is the port you need to hook the tester up to to check pop off pressure of this type of carb. the manual also states you need to hold 10 psi for...30 seconds? I don't remember the time value but its something like that.


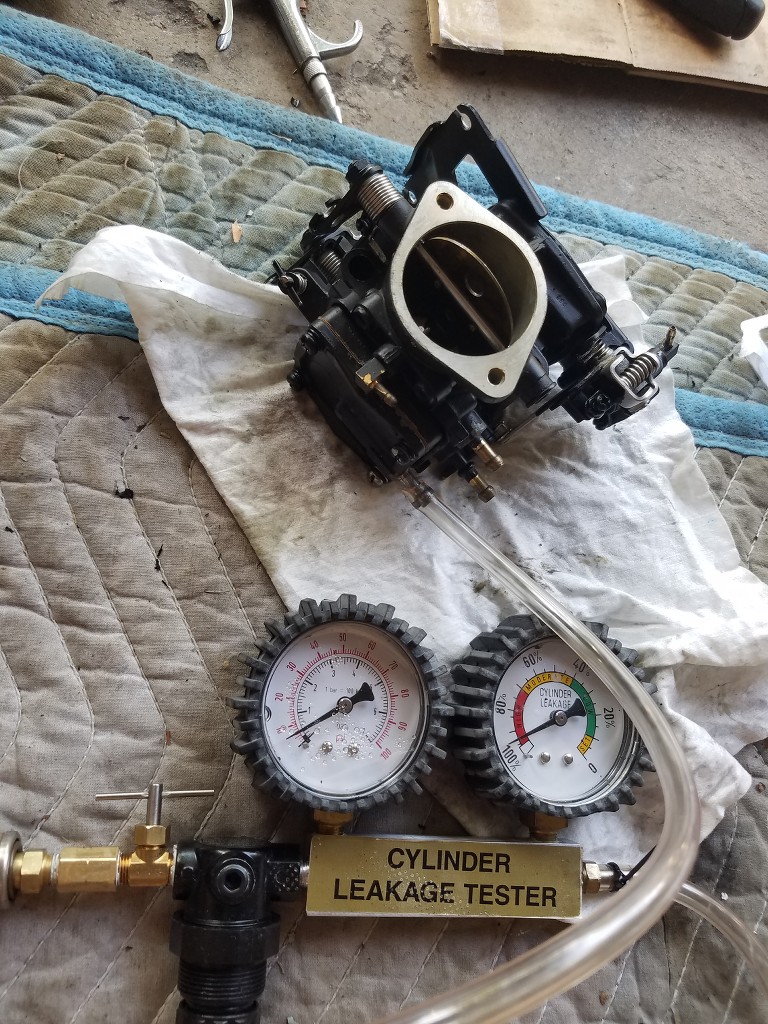
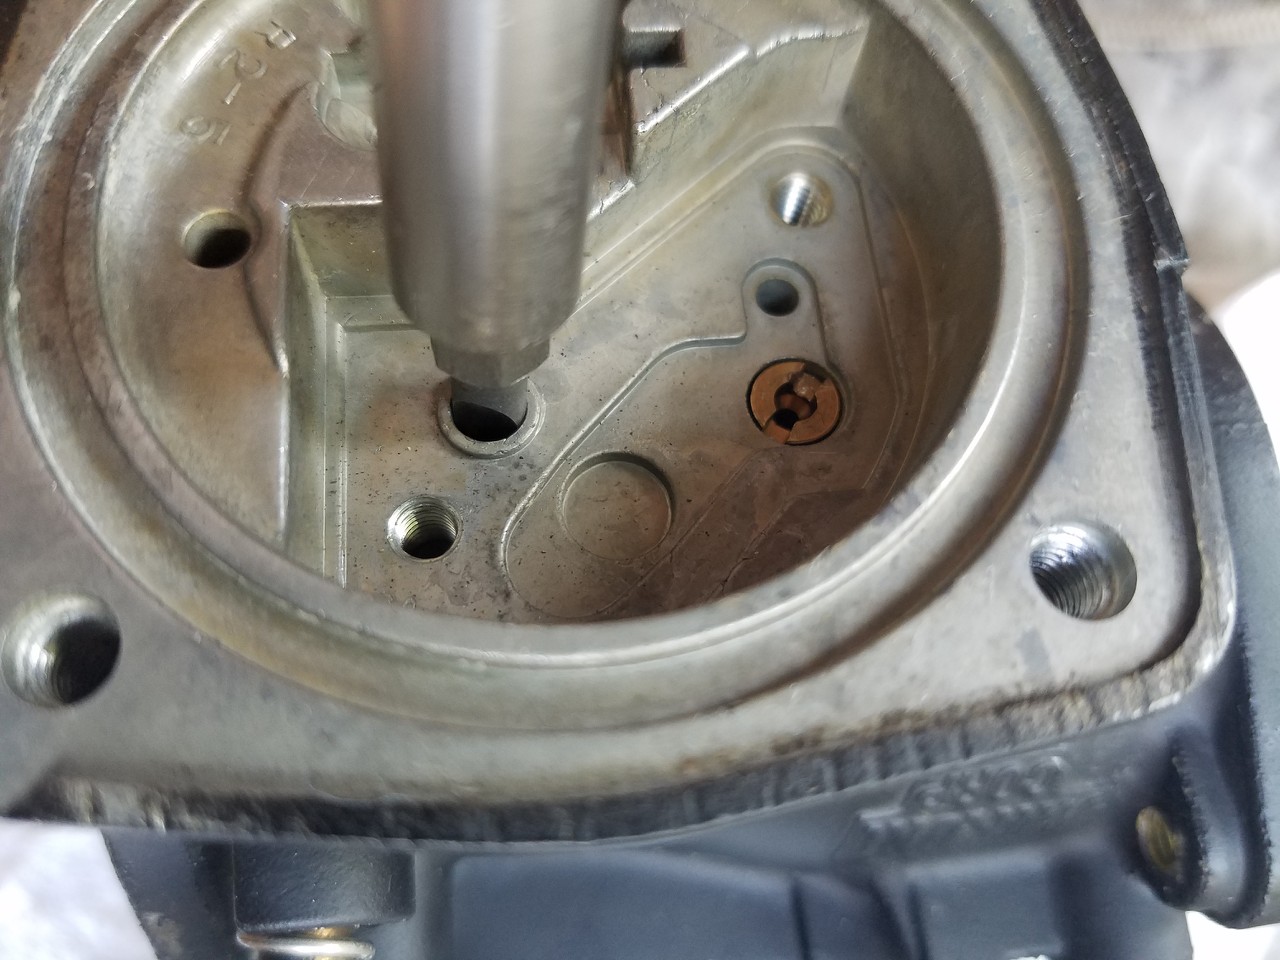
the manual also says to check the pulse port at 4 psi for a period of time.
 
WOW, that 96 is way overdue for a fuel system rebuild.

Yep, I agree it is way overdue. I have finally gathered my JIS screwdrivers, fuel line, Thomas & Betts Ty-Raps, Ty-Rap gun, genuine Mikuni carb kits, needles & seats and I have started the process.

Surprisingly the insides of the carbs look very clean with no green goo. The jets & internal fuel filters look perfect as do all of the other original internal parts. Perhaps because I avoided ethanol gas since owning the ski new in '96 and I always ran all of the fuel out before each winter storage. I obviously will still be replacing the gray Tempo fuel lines with black automotive fuel line and will be doing the complete carb rebuilds so I am good for another 22 years. LOL!

Thanks again for this very informative thread. I have found this forum to be very useful in general as I have searched for and found many other helpful threads. So much so that I upgraded to a premium membership to help support the forum and to access the manuals. Well worth the money IMO!

I have one question. Why are you using brake cleaner rather than carb cleaner?
 
Last edited:
I don't think carb cleaner does as good of a job and the crap we get here in California leaves a residue. I buy the Walmart brand by the case.
 
Thanks! I have to agree with FlyboyX about this gasket. I have never been hung from my thumbs but it is starting to not sound as bad as scraping this gasket. What makes it especially difficult is that there are raised ridges in the aluminum plate that prevent you from simply scraping the entire surface flat with a razor blade.

IMG_5316.jpg
 
Thanks! I have to agree with FlyboyX about this gasket. I have never been hung from my thumbs but it is starting to not sound as bad as scraping this gasket. What makes it especially difficult is that there are raised ridges in the aluminum plate that prevent you from simply scraping the entire surface flat with a razor blade.

Did I forget to mention that is the worst part of the entire job?
 
Finally after three beers, much patience, and determination with a razor blade and wire brush I have the first one done. I soaked the gasket in Goo Gone and it seemed to help get it loose from the aluminum.IMG_5317.jpg
 
Can anyone provide the source/part number for the replacement carb-to-manifold gasket? I cannot find it anywhere, but have found everything else I need to finish up.

Thanks in advance!

Edit - Additional Questions
- The seadoosource link for the carb reference doesn't include anything on the jet boats. Which should I follow for a 97 Challenger 1800 w/ 787s? I am going to reset the low/high speed screws and also want to replace the springs.

- Is there a part number to replace the rubber caps that cover the low/high speed screws? I only have 1 of them and the rest were MIA. Thanks Previous Owner(s)...
 
Last edited:
OK, job done including the replacement of the original '96 gray Tempo fuel lines. It runs perfect. Thankfully I only had to scrape that terrible gasket once since only the mag carb has the fuel pump. This meant many extra parts from the two carb rebuild kits but after 22 years I can't complain about the cost of the very first fuel system overhaul. This thread and this forum have been very helpful. Thanks again!

IMG_5327.jpgIMG_5330.jpg
 
Should any of the three fuel pump nipples hold pressure? I can't find any instructions for a carb leak-down procedure. All of my ports leak down. I plug the inlet and outlet port when I'm testing the other. I'm having a hard time just getting my pressure tester line not to leak. I have to clamp it down tight.
 
You have 3 ports, the pulse line that is the fuel pump, the inlet and the return. You plug the return and pump air into the inlet. Don't mess with the pulse as it should not leak at all.

On a dual carb the MAG carb will have an inlet, an outlet, a return and a pulse. Connect the outlet and return then put air pressure into the inlet.
 
I did have leak-down, through the pump! After I fixed the tester, everything holds pressure. Duh.
 

Attachments

  • 20180619_193225_resized.jpg
    20180619_193225_resized.jpg
    225.1 KB · Views: 125
Should any air slip up through the needle/seat and come out when doing the pop off test? It is definitely not popping yet, just slight air/bubbling (from WD40) until I’m back at 0 psi.

I am having trouble building the PSI high enough to test pop off for this reason. Using a bike pump and there is no air leaking anywhere else.

Ive ensured the needle is held down by the arm properly and if I take out the arm and hold the needle down with my finger there is still the same amount of air coming up and out.

Thanks in advance!
 
If your needle is not holding, you have a problem. I spent the money and got Genuine MIkuni Needle and seats. I had to know what was in the carb and this was the best method. They ain't cheap by a long shot. :) Make sure you get the correct size for your engine.
 
Get the Mikuni parts. I find the Mikuni needles are twice as heavy as the aftermarket ones.
 
I folllowed the procedures outlined above and had a few hiccups when it came to the popoff pressure. I have a 1996 XP and after cleaning everything out and maing sure of the steady flow through the idle circuit I put the original springs back in and it was popping around 18 psi. It should be 23-43. I know you recommend using the original springs, so should I just bent the tabs until they break 23 psi?

I subbed in some of the springs in the kit (I saved the original on a magnet so they wouldnt get lost) and was able to get both carbs the same at about 35 psi. Should I re-install the originals or keep the new ones?
 
I am no guru but I"d leave that bad boy right where it is. I too am interested in responses to your question. I've been tweaking on my carbs since May. Been riding but always tweaking. I find my GTX responds way better at 32ish psi. I recently built carbs for a 96XP and made sure the pop off was about 33psi. When I took it for a test run that thing came out of the hole like nobody's business.
 
Status
Not open for further replies.
Back
Top