• This site contains eBay affiliate links for which Sea-Doo Forum may be compensated.

Speedtie Kit Install/review

Status
Not open for further replies.

Slywun

Member
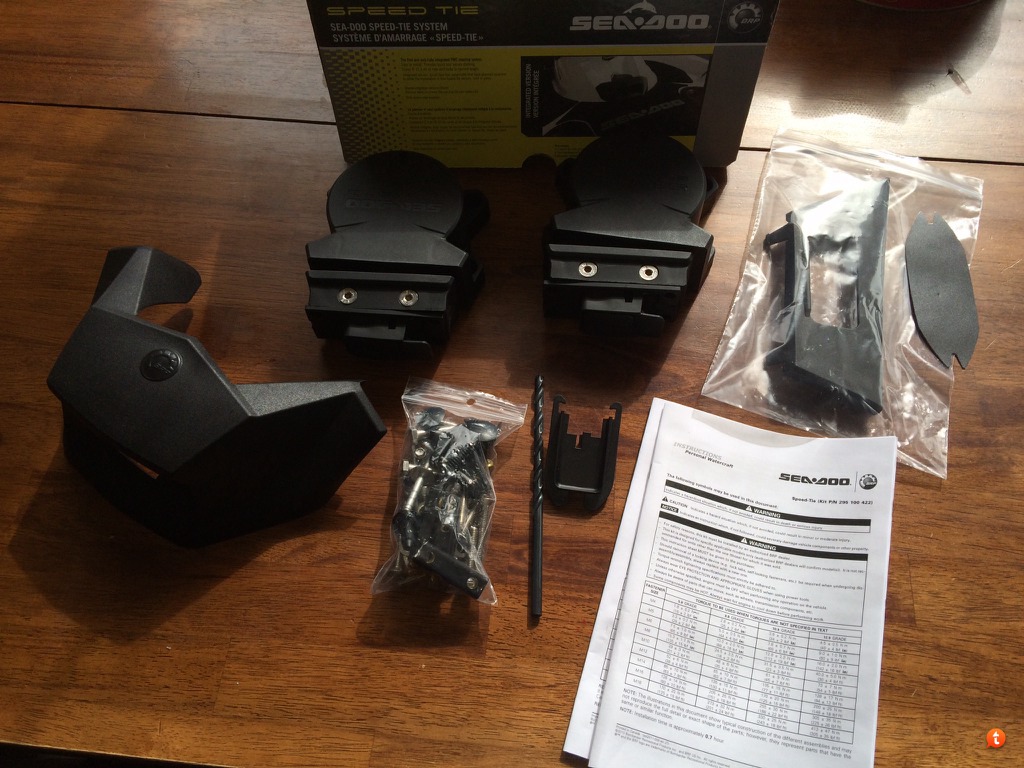
I hadn't seen any pictures or experiences from others and no dealers in our area were very familiar with the SpeedTie add on kit.

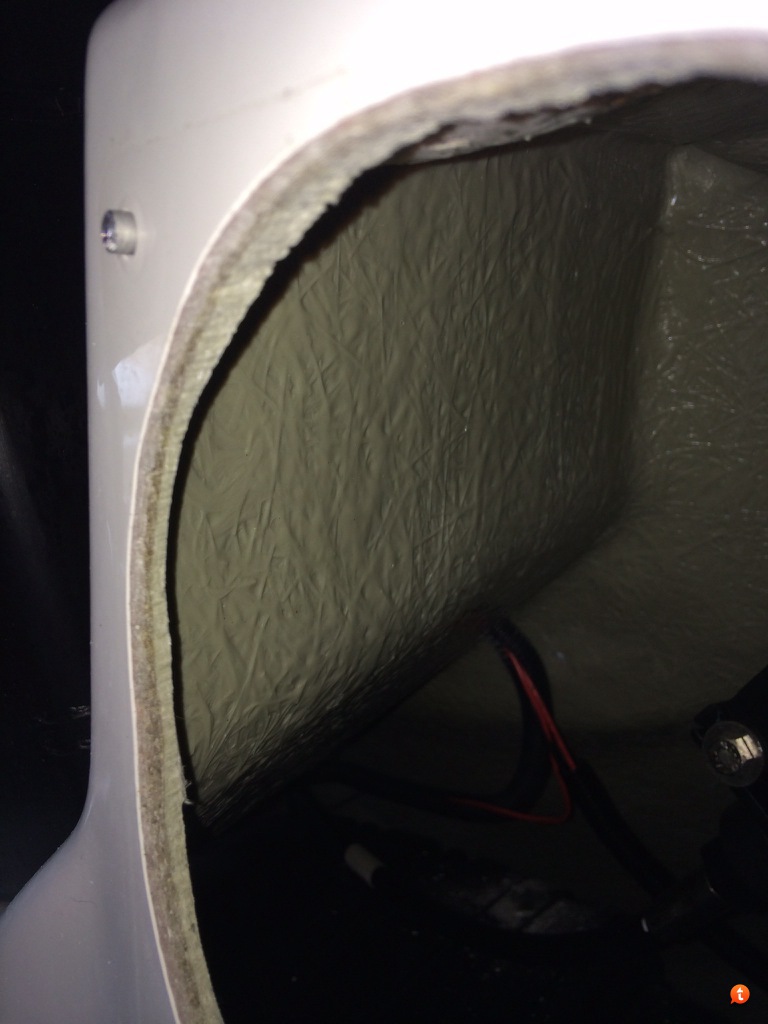
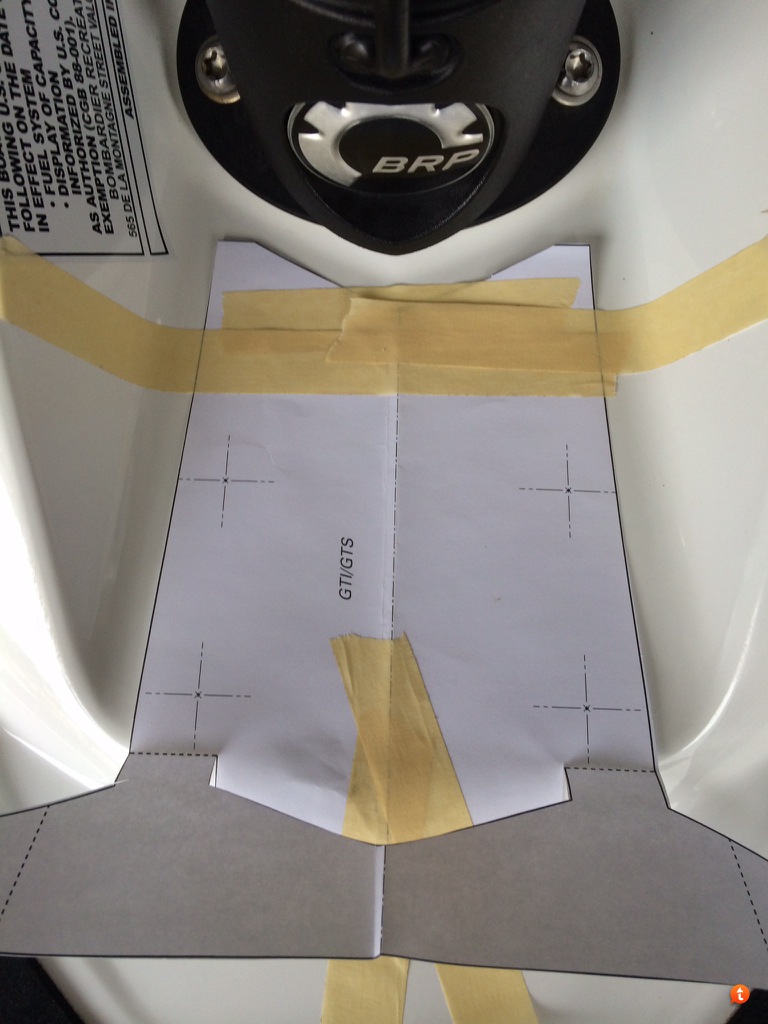
Install was straight forward on our 2011 GTI; the instructions were very clear.
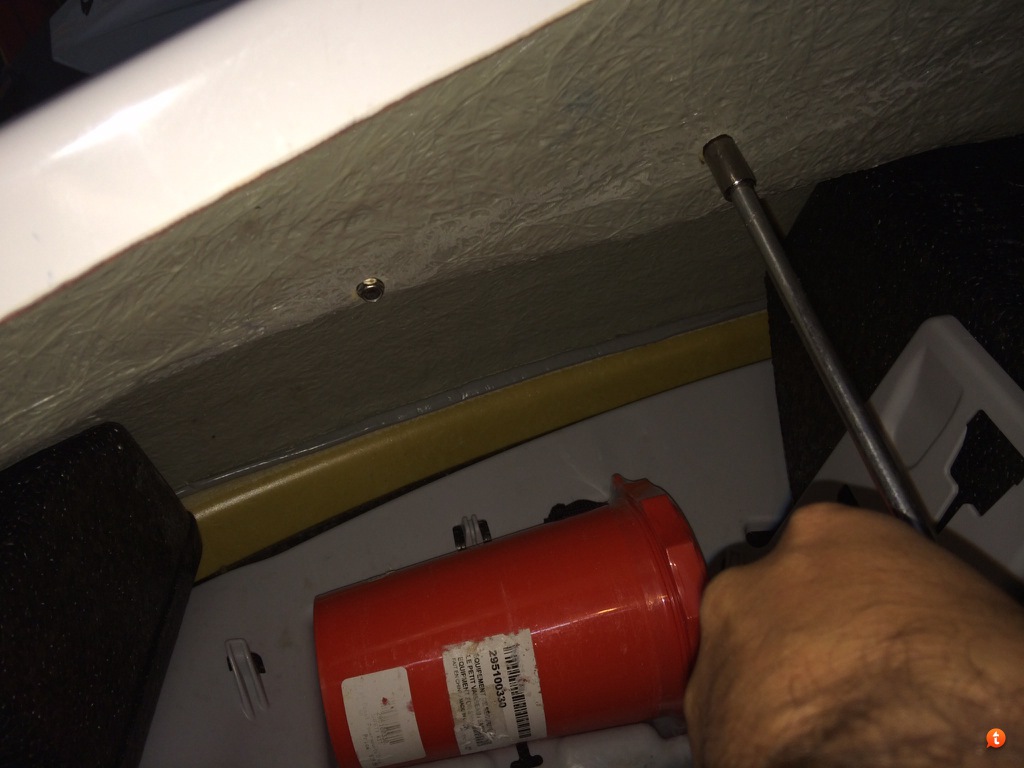
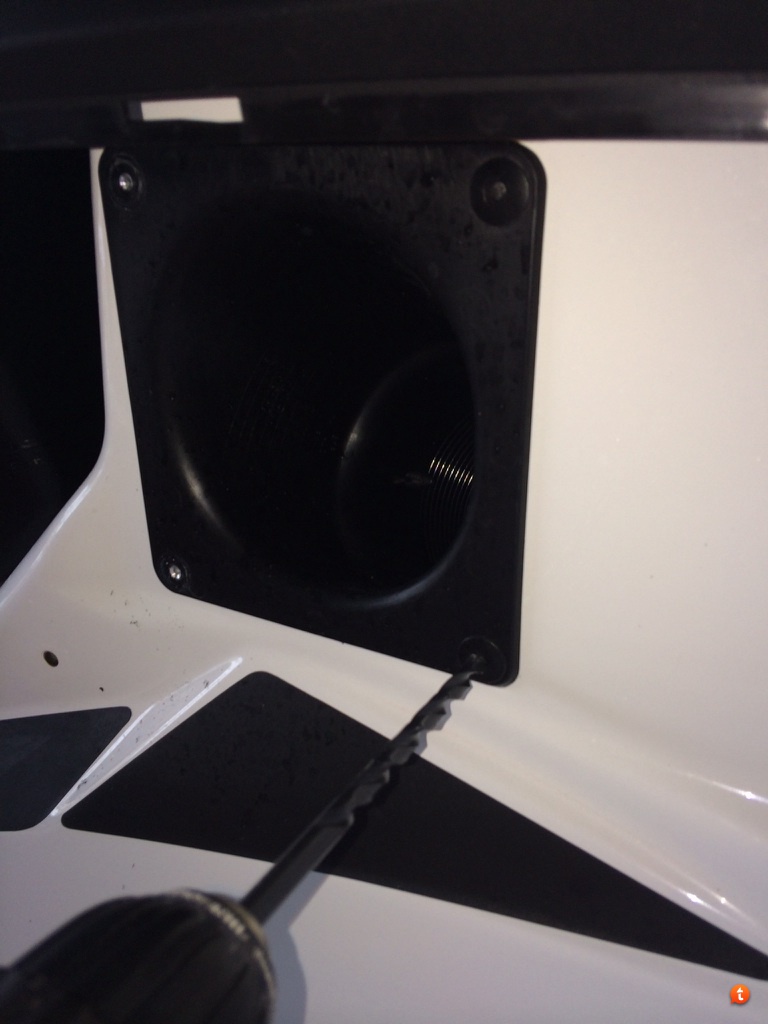
I took my time - the rear took just under an hour and the front was about the same.

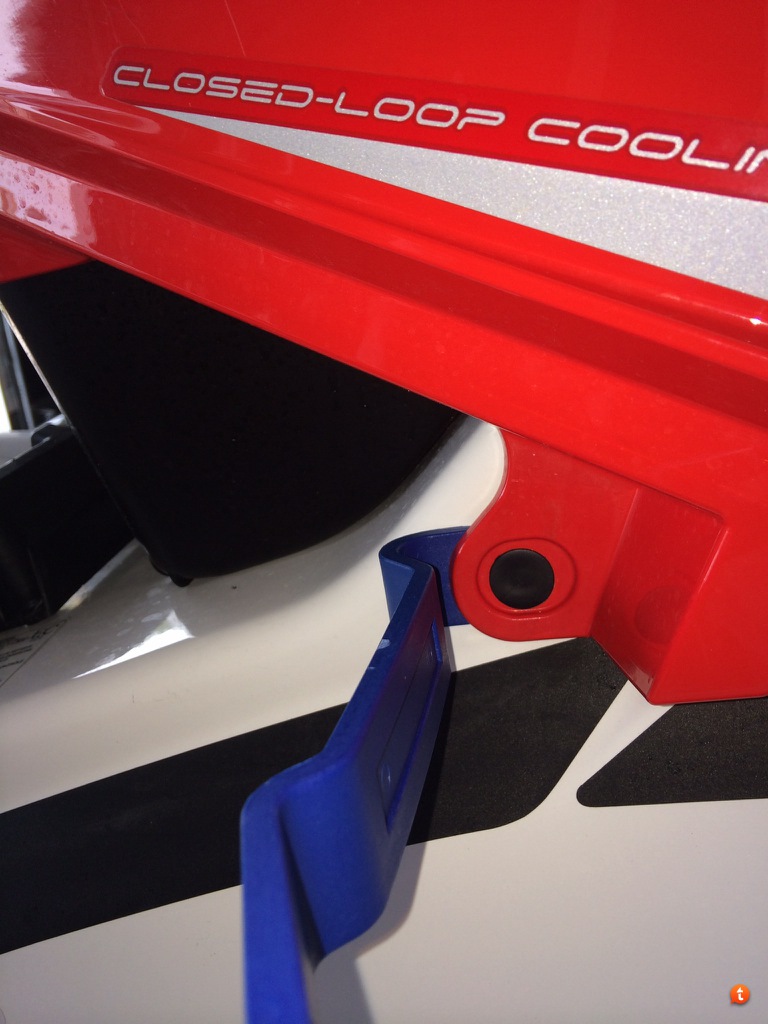
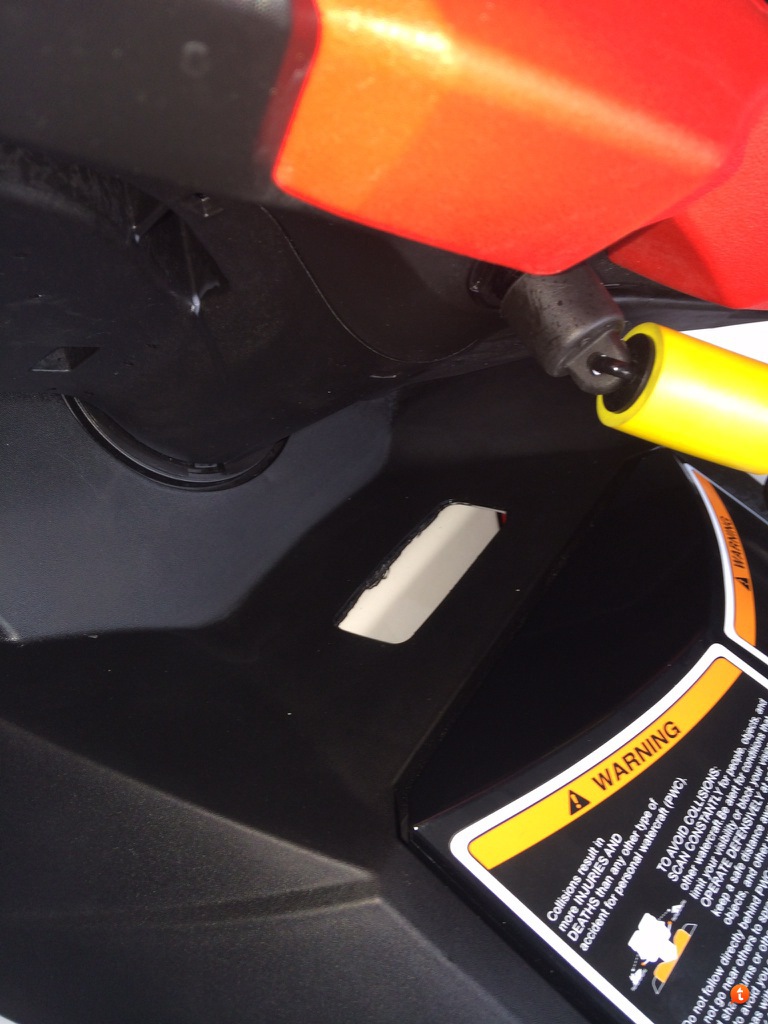
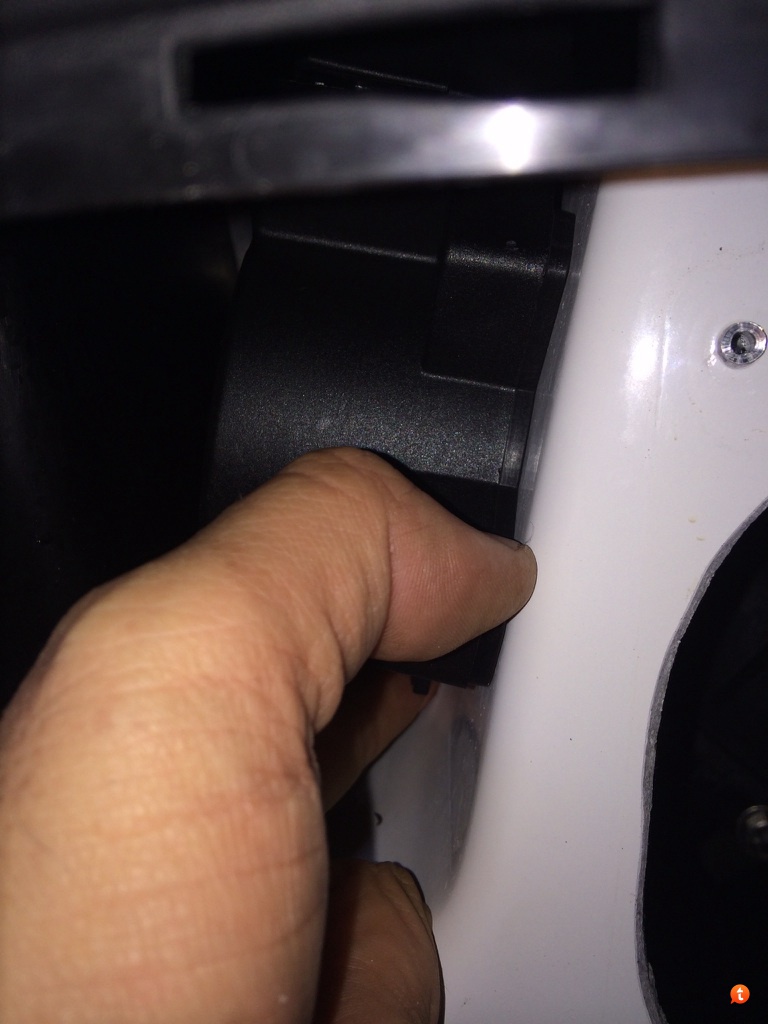
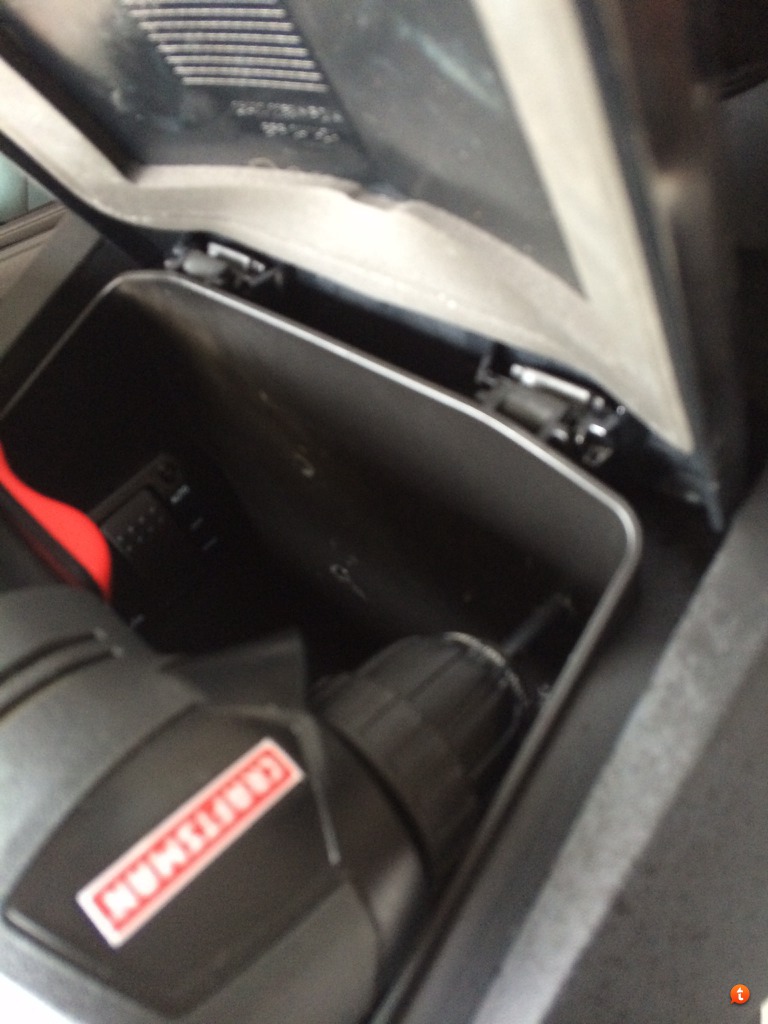
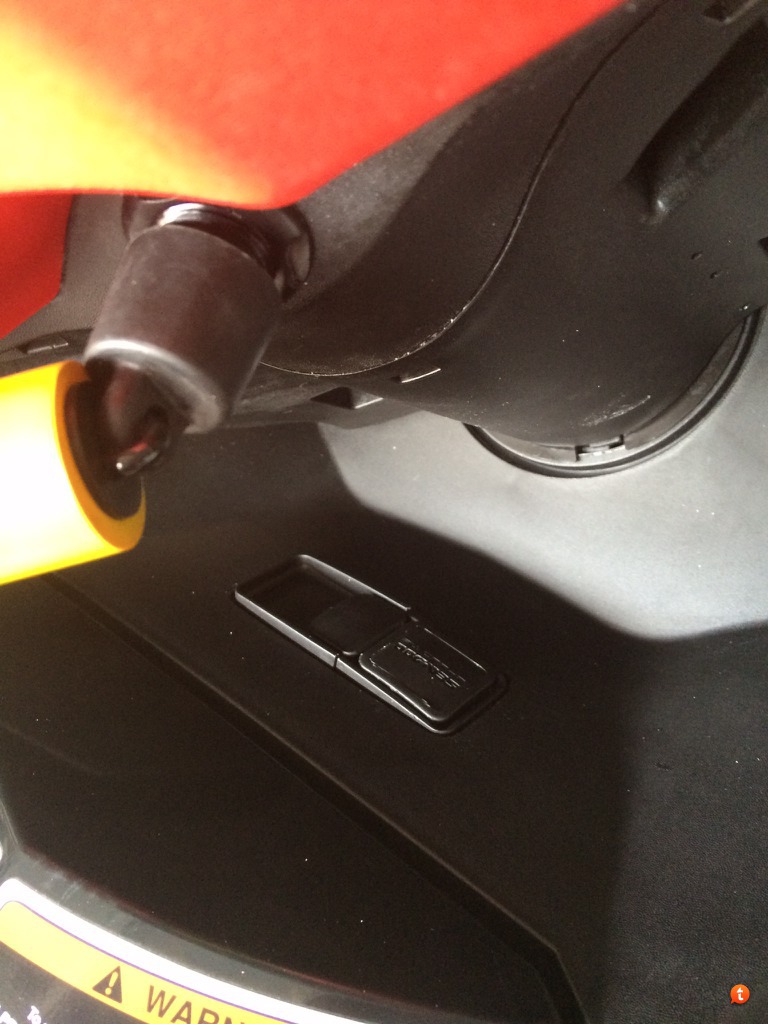
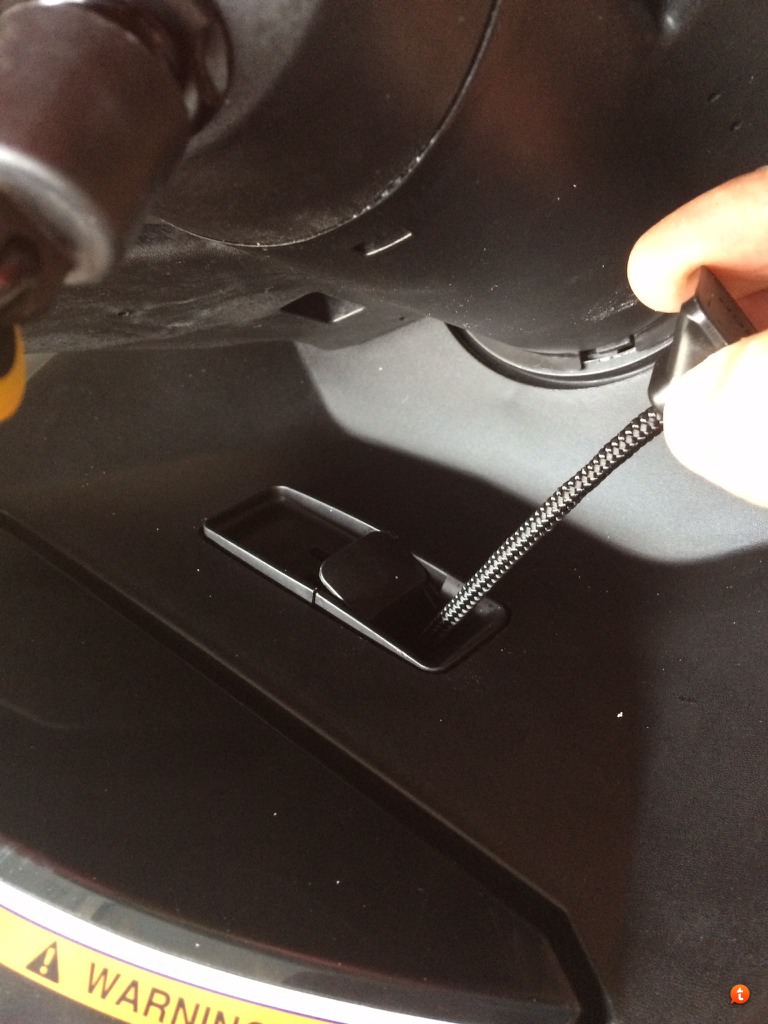
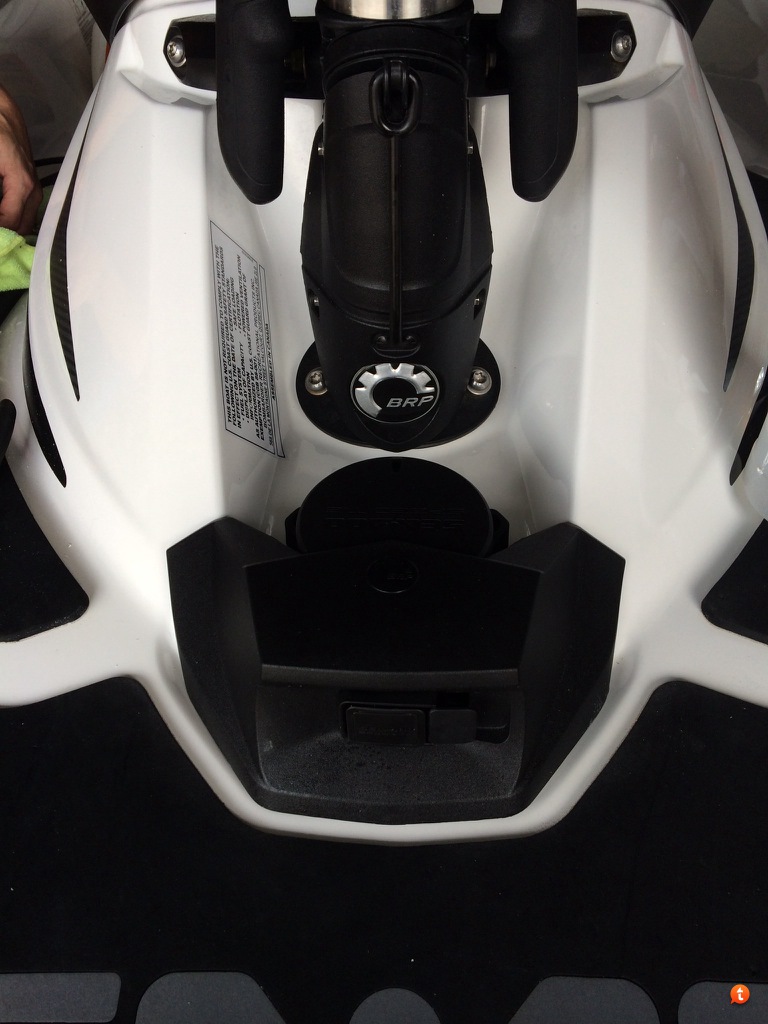
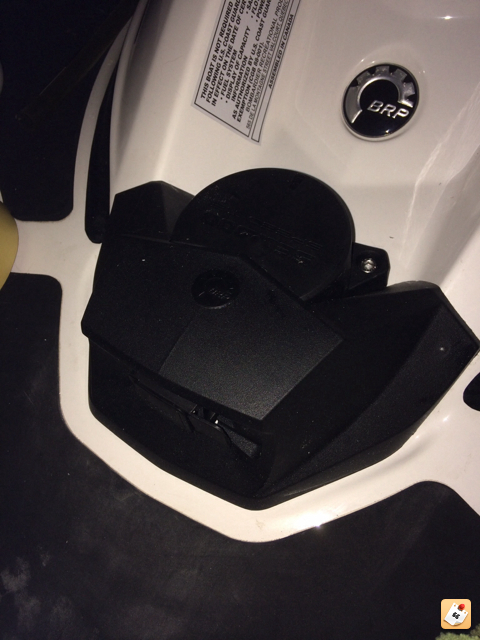
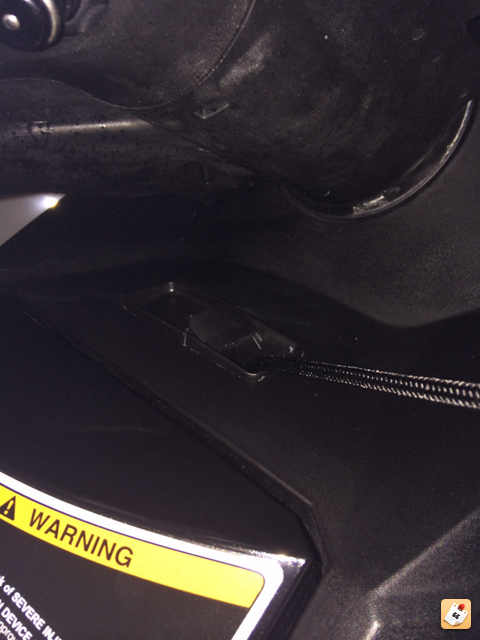
The rear sits centered behind the seat on the top of the swim platform, while the front is centered underneath the handlebars and replaces the "Seadoo" logo panel. Very sturdy and well built and will suit our needs extremely well.

Definitely getting another set for our Wake.

I wanted to share some pictures of the install.


42.jpg
43.jpg
 
Do you think you will use the back one? I just bought a new 13 TX and A set of these. Not a fan of the rear install unless it has the Suspension.
 
Was out on the water yesterday and used both front and rear. Had to slide back on the seat to reach. Was able to secure snug to a floating dock. For sure the front is easier to work with. I haven't tried to use the front exclusively.
 
Do they keep constant tension...ie bungie?...or can you extract so much, lock the length and keep slack in the rope/tie?
 
Do they keep constant tension...ie bungie?...or can you extract so much, lock the length and keep slack in the rope/tie?

It isn't a bungee/stretchable line but the the casing where the line is stored retracts so you can pull out the amount you need and keep it as snug/loose as you want it. Has about 8 ft in total. Not the same effect as a bungee.

There is a "pinch" tab (not sure what else to call it) on the housing that secures/retracts the line to the length you desire. When you "pinch it" towards the line, the line retracts, while sliding away from the line, it prevents the line from retracting. I'll try to post some better pictures to see if it gives you a better idea.

Just put a set on our Wake last week and love how they work.


Sent from my iPad using Tapatalk
 
Last edited by a moderator:
Took some extra pictures of the install on our Wake 155....
Kit comes with front and rear housing and all necessary hardware, nicely packaged with clear instructions. It also comes with an extra long drill bit required to install the front housing on the GTI based model. Our first kit came w an Allen wrench, however our second didn't - thought that was interesting, but have a long Allen wrench kit that came in handy.

44.jpg


Started with the front first, removed the 2 screws in the storage bin that hold the right side plastic trim. Our 2011 GTI used torx fasteners but the Wake had hex screws.

45.jpg


Had a plastic pry kit (not required but helpful) to pull plastic fasteners that hold the plastic trim to the hull, underneath the seat. Once the 2 plastic fasteners are removed, the entire trim piece can be slid forward to remove. Replacement fasteners are included in the kit.

46.jpg


Once the plastic trim is removed, the rivets that hold the vent need to be drilled out to access the underside of the fiberglass in front of the glovebox. New rivets are provided with the kit as well.

47.jpg

48.jpg


Then cut out the seadoo logo underneath the handlebars with a razor

49.jpg

50.jpg


The speedtie assembly is mounted in the space between the fiberglass hull and the front of the glovebox. There are factory marks inside of glovebox that show you where to drill. Kinda tricky and you need a 90 degree drill. Provided bolts secure the speedtie to the fiberglass hull. This is where longer T style Allen wrenches are your friend. The kit also comes with plastic plugs that fill in the drilled holes inside the glovebox. Very factory look/fit/finish.

51.jpg

52.jpg

53.jpg

54.jpg

55.jpg

56.jpg


The rear was a little more straight forward. The kit had a template to use to mark the drill holes

57.jpg

58.jpg


Sent from my iPad using Tapatalk
 
Last edited by a moderator:
Status
Not open for further replies.
Back
Top