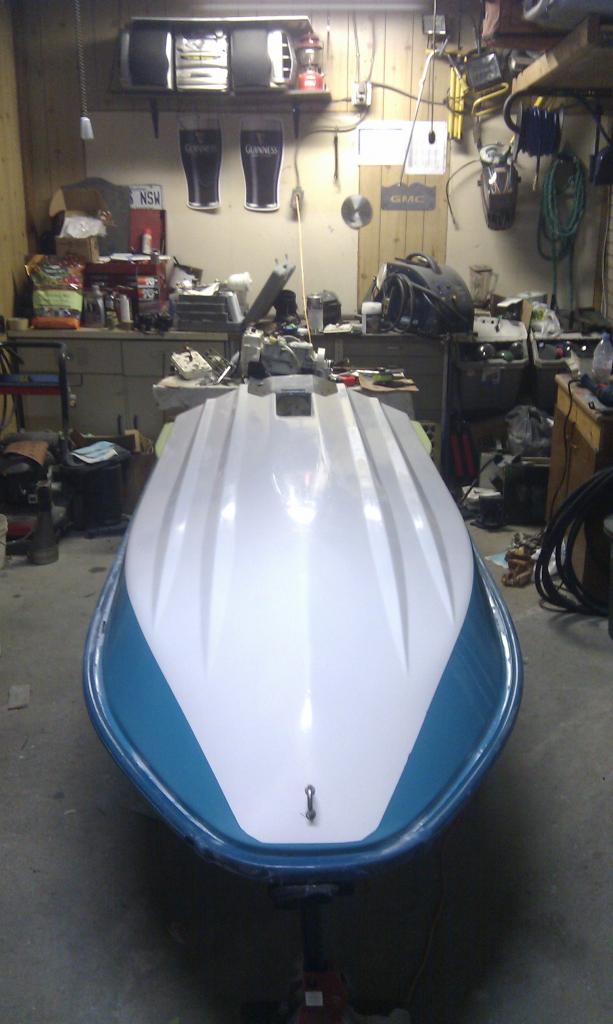
Ok well since I haven't updated this in a while I guess its time to show you guys what I have been up to...
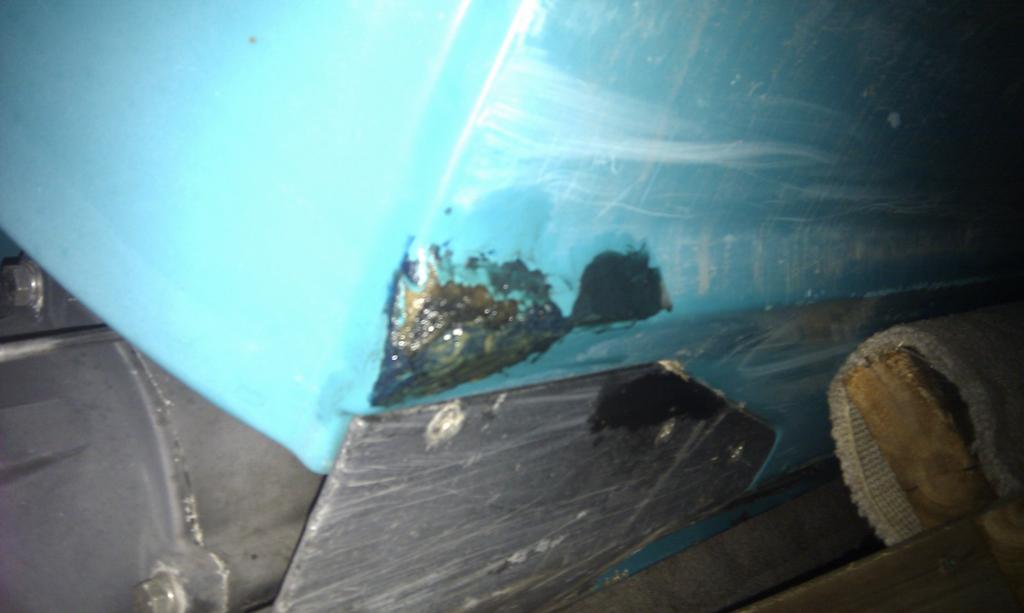
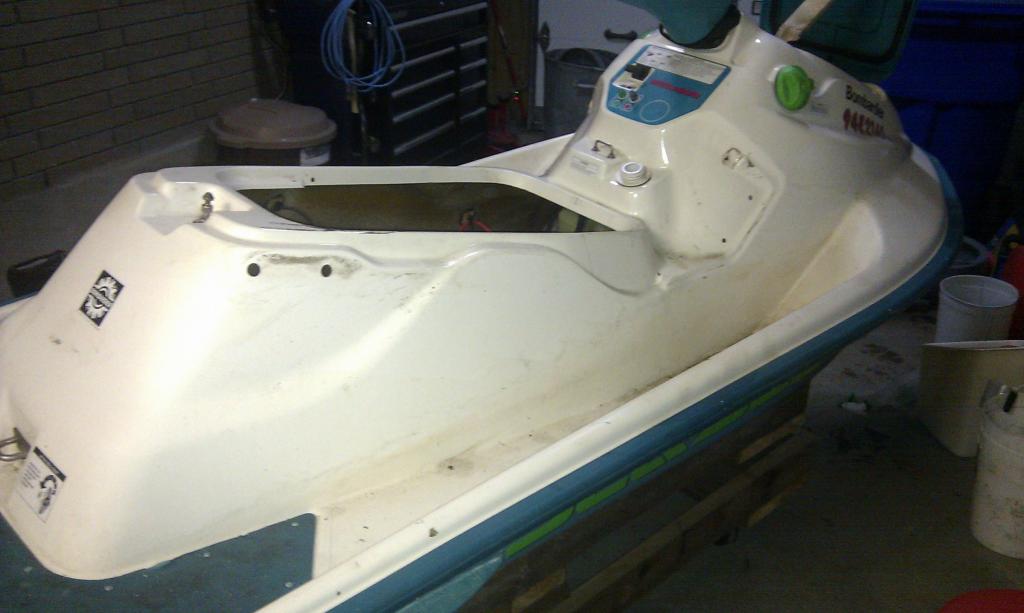
While I was waiting on the 2nd set of replacement wrist pin bearings to arrive I decided that while the ski was virtually empty that it would be the best time to flip it over and see what kind of shape the bottom was in... even I wasn't prepared for what I saw, remember these pictures from the beginning of the thread? while that was just the start of my problems under there...
after I flipped it over I began to asses the damages and sand them down ... unfortunately I forgot to take pictures when I started to do the work on the bottom so I only have a couple from after I sanded it down, filled in the damage and sanded it smooth...
and the big chunk of missing GelCoat ...
Now fortunately for me I am in Ottawa ON, Canada and that is the location of
GelCoat International, unfortunately though for me I did not allow for refinishing the bottom of the hull in my budget so I had to make a couple sacrifices and that started with the repairs on the bottom of the hull, and that ment that I would have to use white GelCoat instead of the original teal that was there, but I think that I was able to pull it off in a tasteful manor.
Now a warning for anyone who is thinking about trying this out ... Gelcoat is very forgiving but it also requires a lot of additional work ... its not a simple spray and play kind of product ...
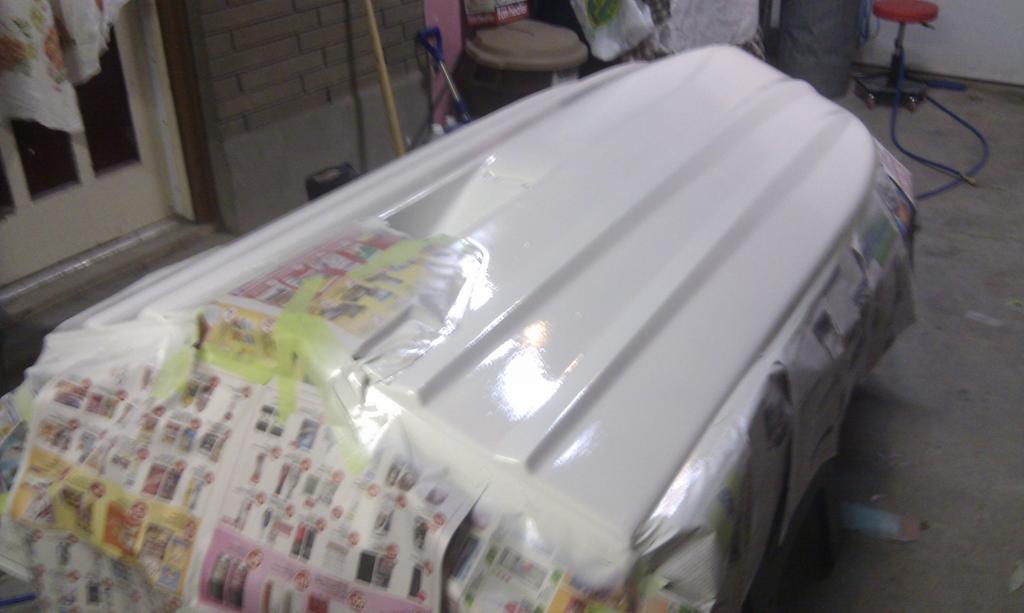
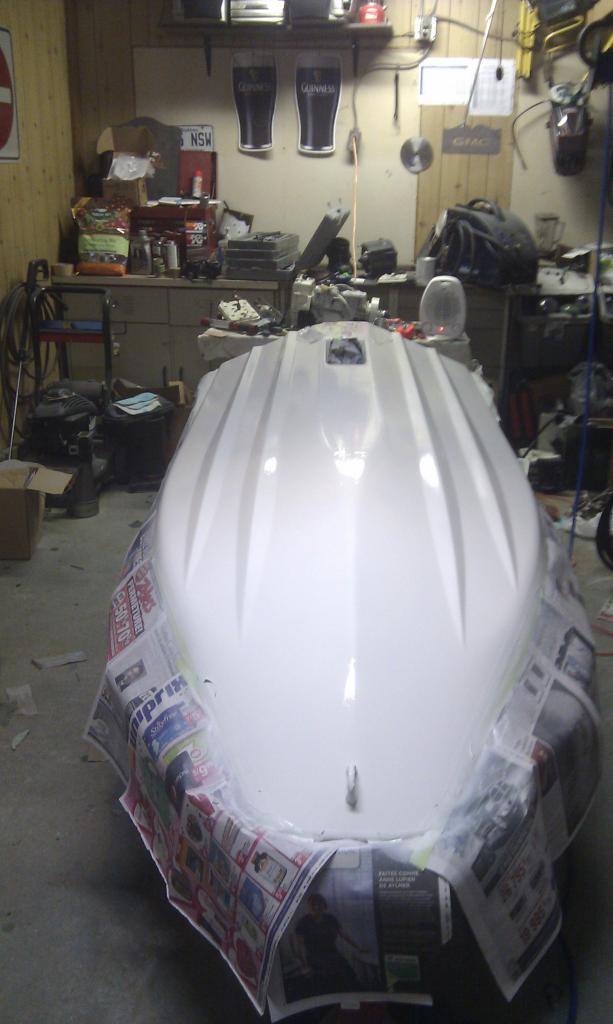
anyhow back to the task at hand...the hull was taped off and papered and then sprayed...
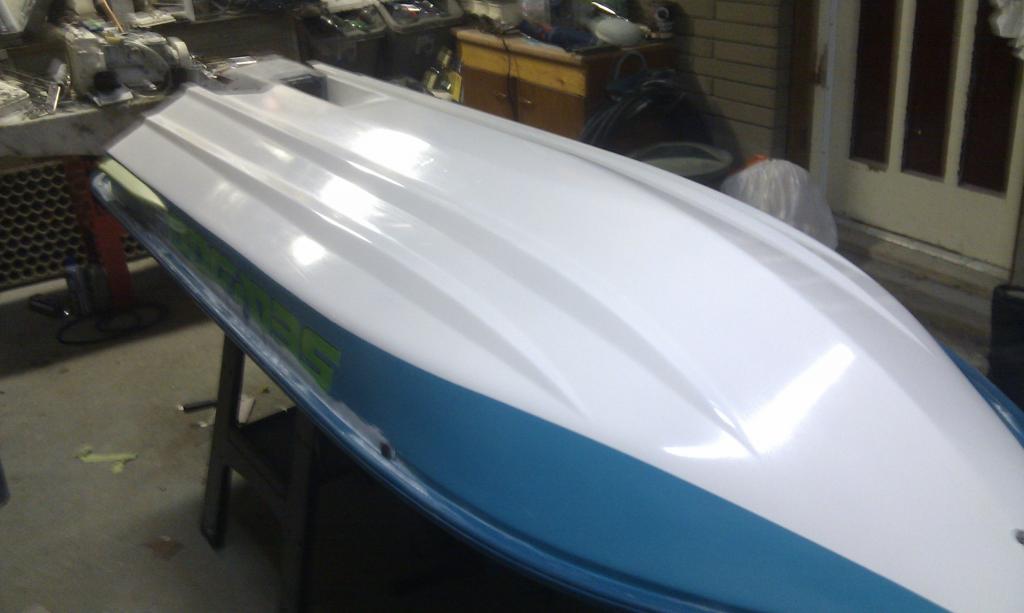
then the paper and masking were removed to reveal my like new hull ...
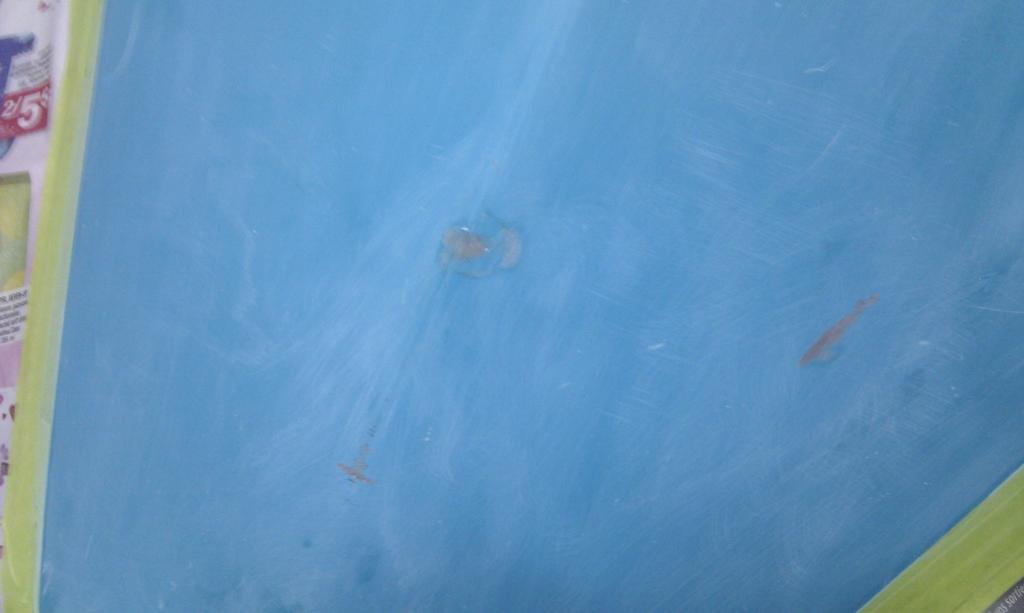
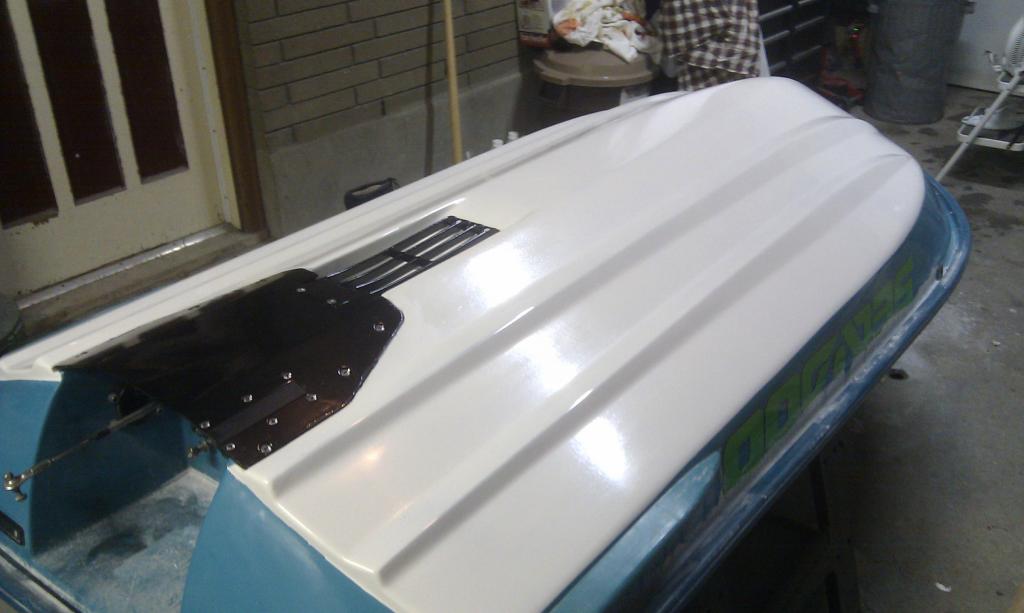
Since Gelcoat goes on so thick it has extreme orange peel and its also somewhat dull in appearance, well that all had to be sanded smooth and then compounded and polished to bring back the smoothness and shine ...
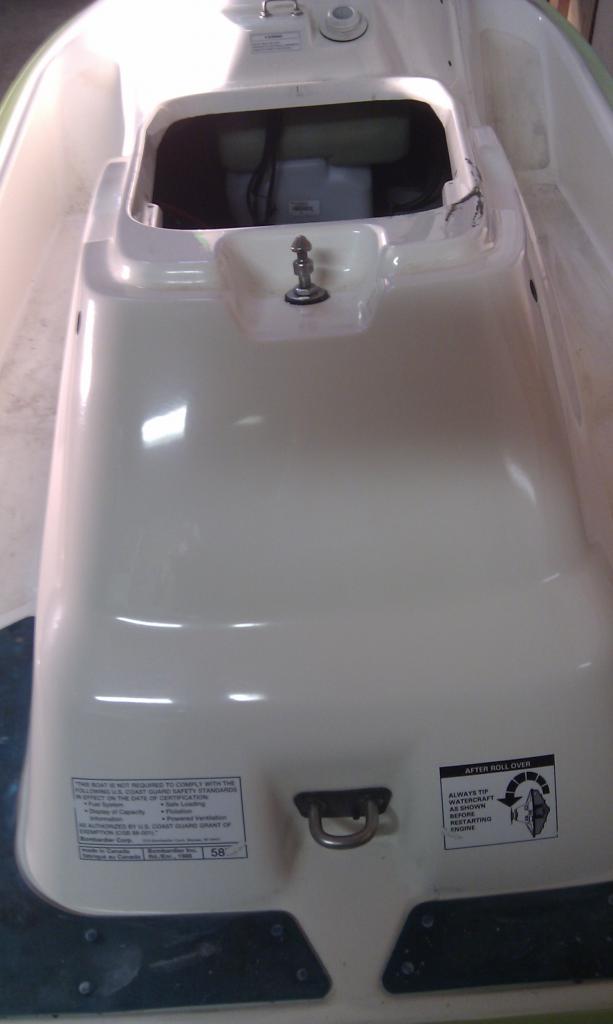
In this pic you can kind of see how the GelCoat is, the inside of the intake is untouched and just sprayed, while the outer surfaces have been sanded and buffed...
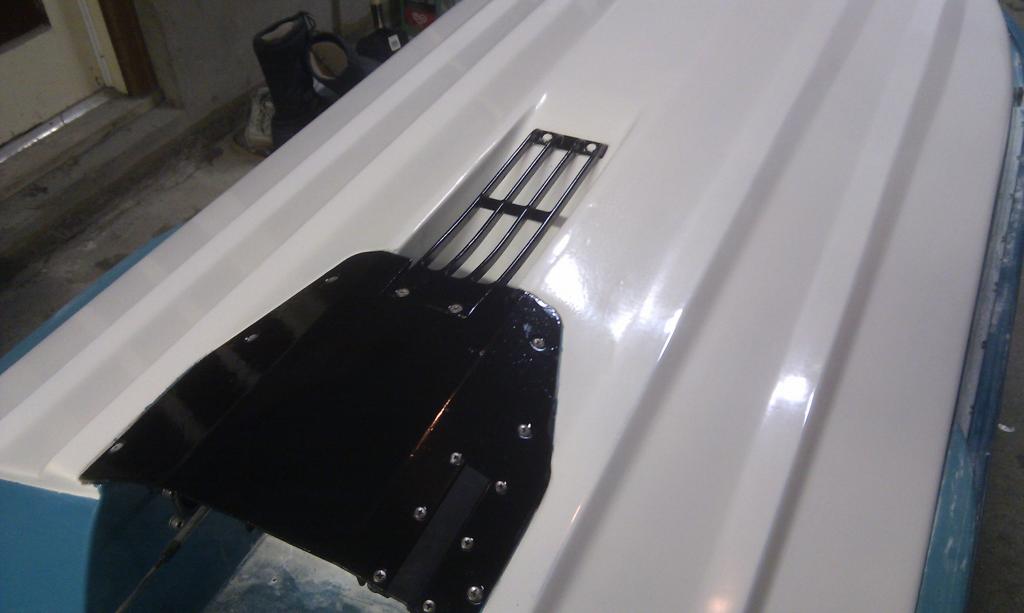
So I sanded and buffed and polished and while its not perfect its a lot better then it was before and I have to admit I kind of like it... oh and I painted the intake grate and ride plate in a gloss black.
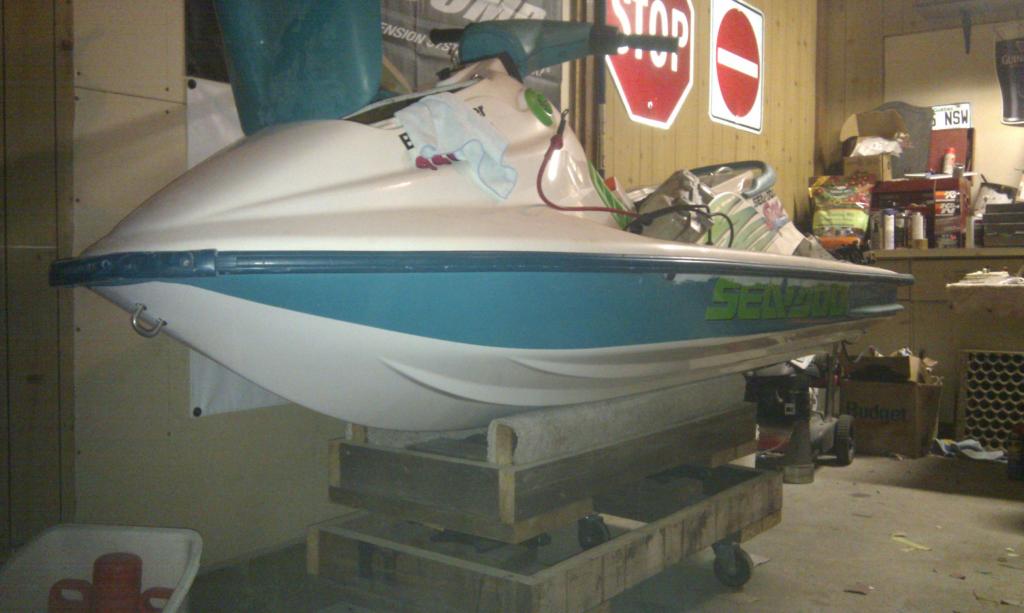
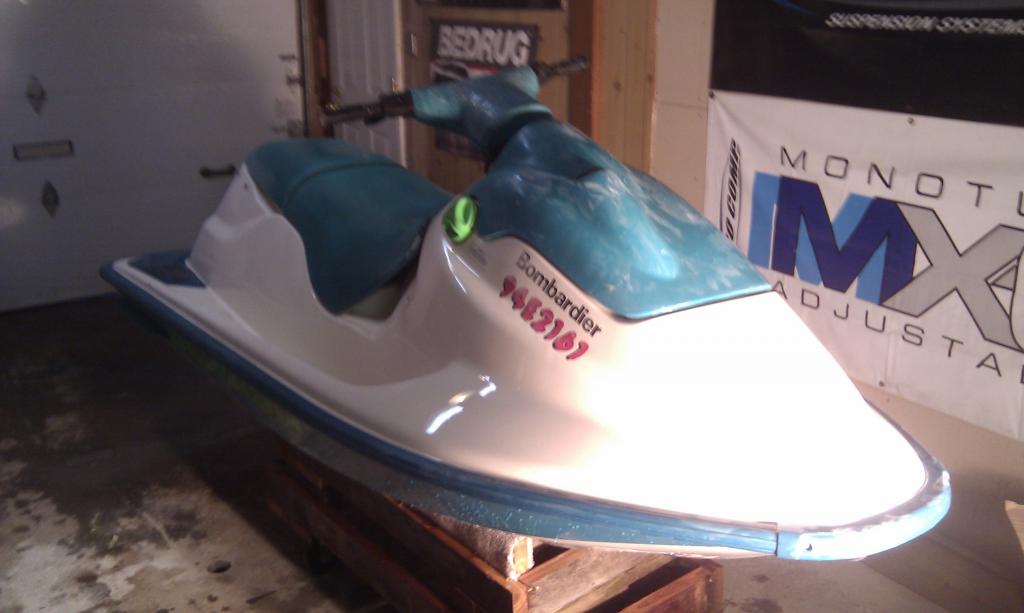
Then it was flipped upright again... unfortunately the bearings still hadn't arrived at this time...
Well, while I wait for the bearings to arrive, and since I enjoy polishing and buffing cars and trucks in my spare time I already have all of the products to polish the hull so I decided to put some time in and see if I could make the top side of the hull shine...
So almost all of the hull stickers were removed ...
After wet sanding it with, 400, 600, 800, 1000, and 1500 grit sand paper ... 95% of the fading/yellowing is gone and the hull was washed off and brought back inside to dry ...
All dry, extremely smooth and dull ...
then I broke out the polisher and went to work and I think I was able to make improvements in leaps and bounds...