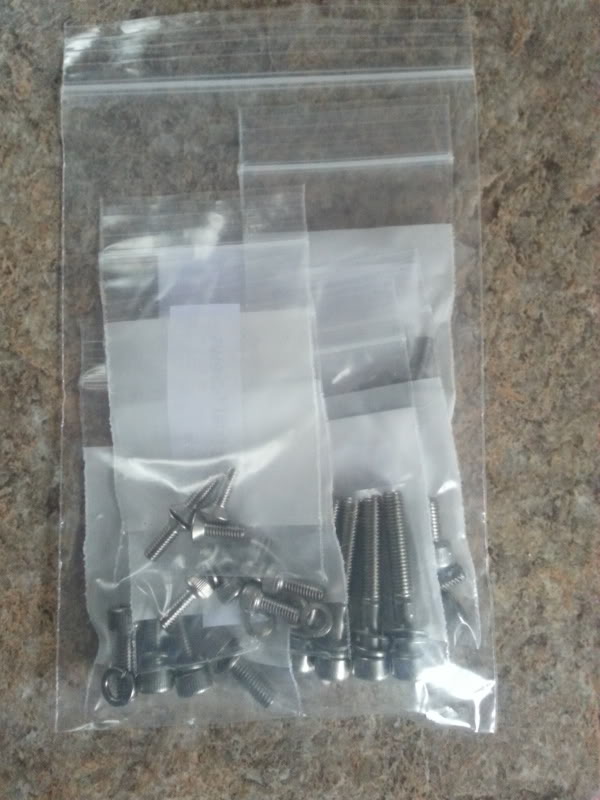
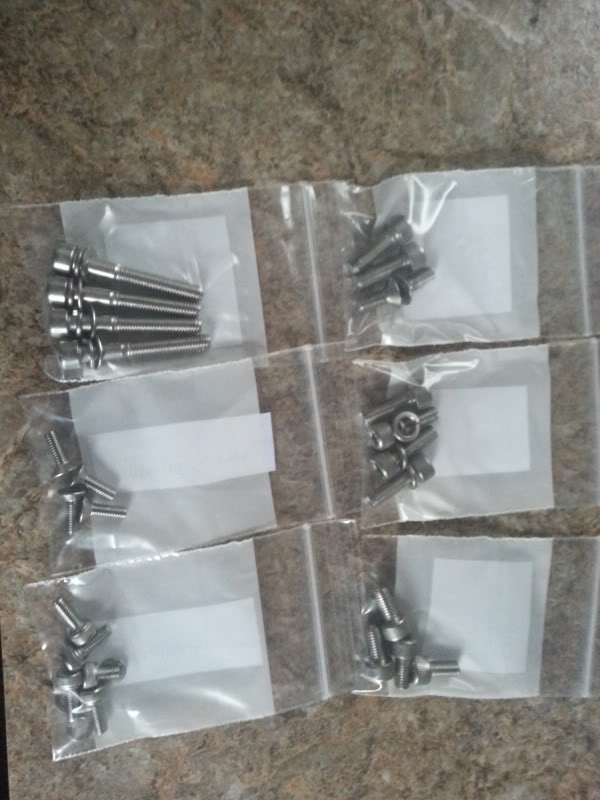
I'm finished with most of the carbs, except of one side the replacement screws are too short. I used the loctite but it seems a little waterly,
is that normal?
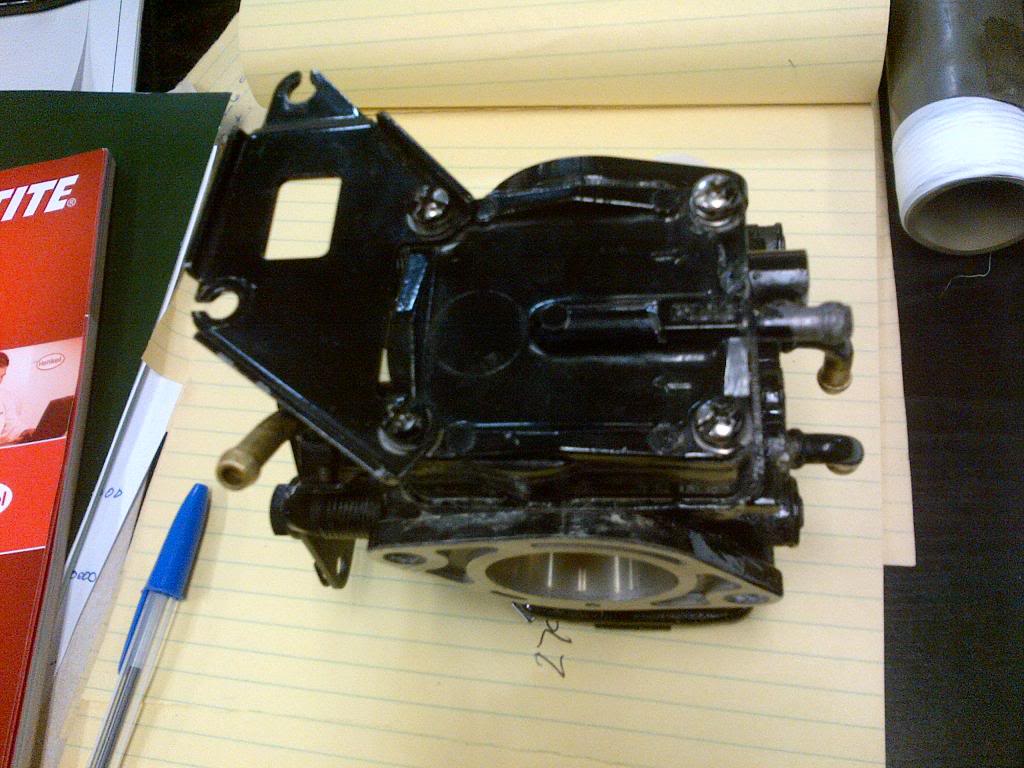
I have uploaded some pictures of the carbs, can anyone tell me if i reassembled them right?
Carb one:

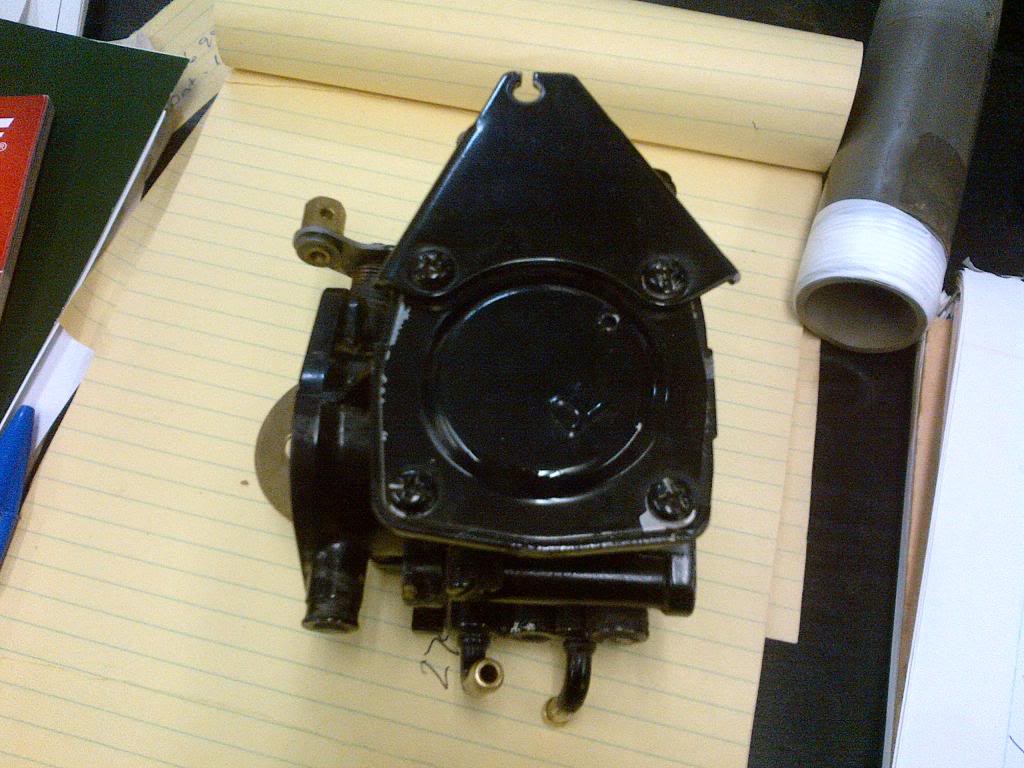
Carb one photo two:
http://
Carb two:
Please tell which carb is wrong if any?
Thanks everyone.
is that normal?
I have uploaded some pictures of the carbs, can anyone tell me if i reassembled them right?
Carb one:
Carb one photo two:
http://
Carb two:
Please tell which carb is wrong if any?
Thanks everyone.