Jetskigoodies
Well-Known Member
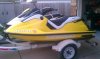
How to clean your hull and sun faded hood cover w/ pictures
Ok I had posted some pictures on a thread a while back on a hood cover I restored and I got a few pm's on how I did it and what I used. This is the process I use. It is fairly cheap but does take a couple of hours.
I use these steps on my hulls as well,
First off this is what you will need to complete the project
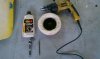
1. a drill(ive used a buffer and had bad results)
2. buffing wheel attachment for a drill http://www.oreillyauto.com/site/c/d...=Search_buffing+pad_-1_-1&keyword=buffing+pad $6.99
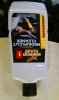
3. Meguiars mirror glaze medium cut cleaner. They have a high cut but I tried that and it can sctach and burn the plastic. http://www.oreillyauto.com/site/c/d...rch_mirror+glaze_-1_3316&keyword=mirror+glaze $12.99
4. a 7/32 nut driver(this is to take your hood apart if you want to clean between the mirrors and cracks where the hood is joined together. In this how to I didnt do that because i dont have mirrors on this or a gauge panel.) I got the nut driver in the picture at lowes. It is Cobalt brand. I recommend getting this one because I know it fits in the cavity where most nut drivers dont fit. Also keep in mind that if you plan on doing this you will have to drill out rivets that hold the the hood togethor behind the mirrors. the mirrors come off simply by reaching in and unscrewing the wing nuts. It is very simple.
5. rags
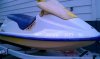
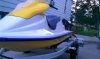
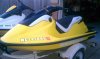
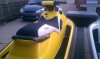
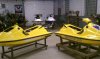
I recommend leaving the hood on the hull to do the majority of hood. It is much easier than trying to keep the hood in place, I couldnt do this how to with a hood that was on a hull because all of mine that are on a hull are already done. When you get most off the hood done and want to do the areas behind the mirrors and the creases of the hood then remove the hood.
If you do remove your hood from the hull DO NOT CUT THE WIRES. Buy this tool http://www.ebay.com/itm/SeaDoo-New-..._Watercraft_Parts&hash=item5adad8ce4c&vxp=mtr If you want to buy it for $4.95 free shipping search (weatherpack tool) on ebay. The link I used shows you instructions and you get a better idea of what its used for.
Now for the instructions. Pictures pretty much speak for themselves.
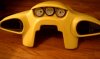
First I start off by removing all gauges all rubber pieces and decals. you can remove decals with a $9 heat gun or a blow drier.
Then I apply the cleaner to the pad, Also apply the cleaner all over the hood. i use almost a whole bottle when I clean one hood. While you are using the drill use it at different speeds until you notice what speed the cleaner is working the best at. You will notice immediate results.
Start off doing small sections at a time. i usually do 8" by 8" area.
you will notice the pad will start to absorb most of the cleaner. When this starts to happen take a rag and wipe down the section you worked on, you will really have to rub hard to get the cleaner off. You will notice some areas you will have to go over again. I just move section to section until I finish. You will have to do some sections by hand and really work the material. After you have finished the process and you think you are done, you are not. Do the whole process again. I personaly do it three times. What you are actually doing is taking a layer of the plastic off.
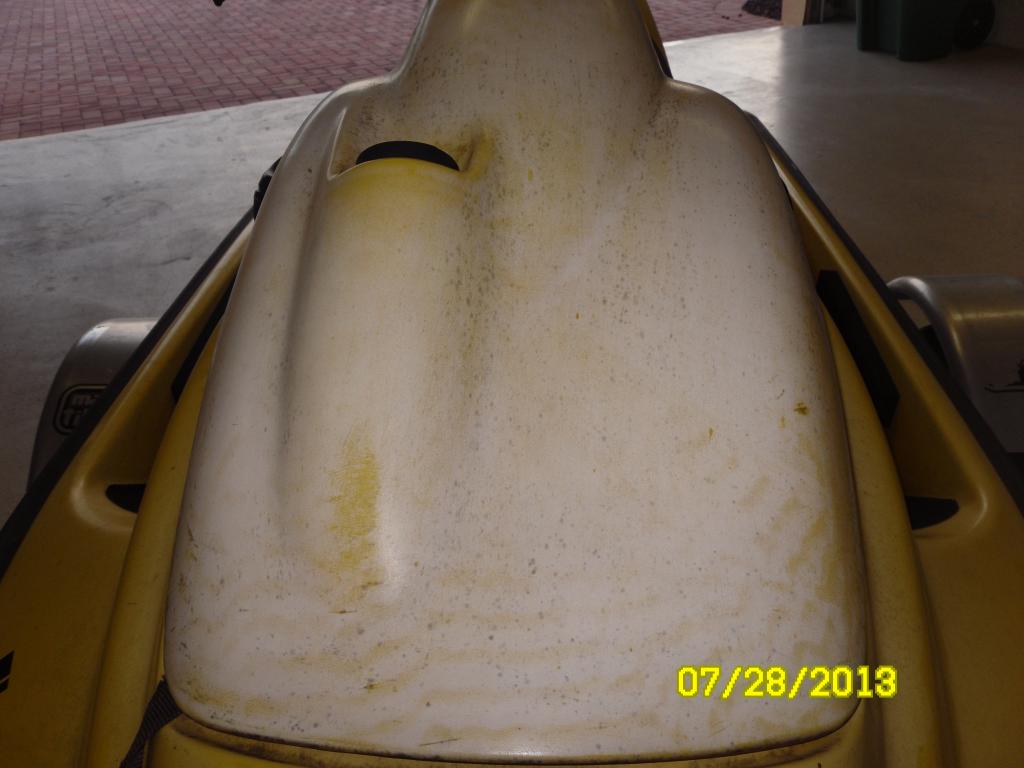
When you are done just put it back togethor. Keep the hood covered. Mine have stayed looking good for years with no need to have to touch them up, but i keep mine covered. If you keep the out in the sun it will just happen again. Plastic fades so protect it
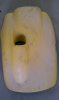
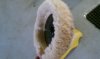
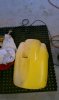
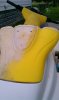
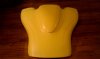
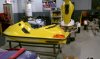
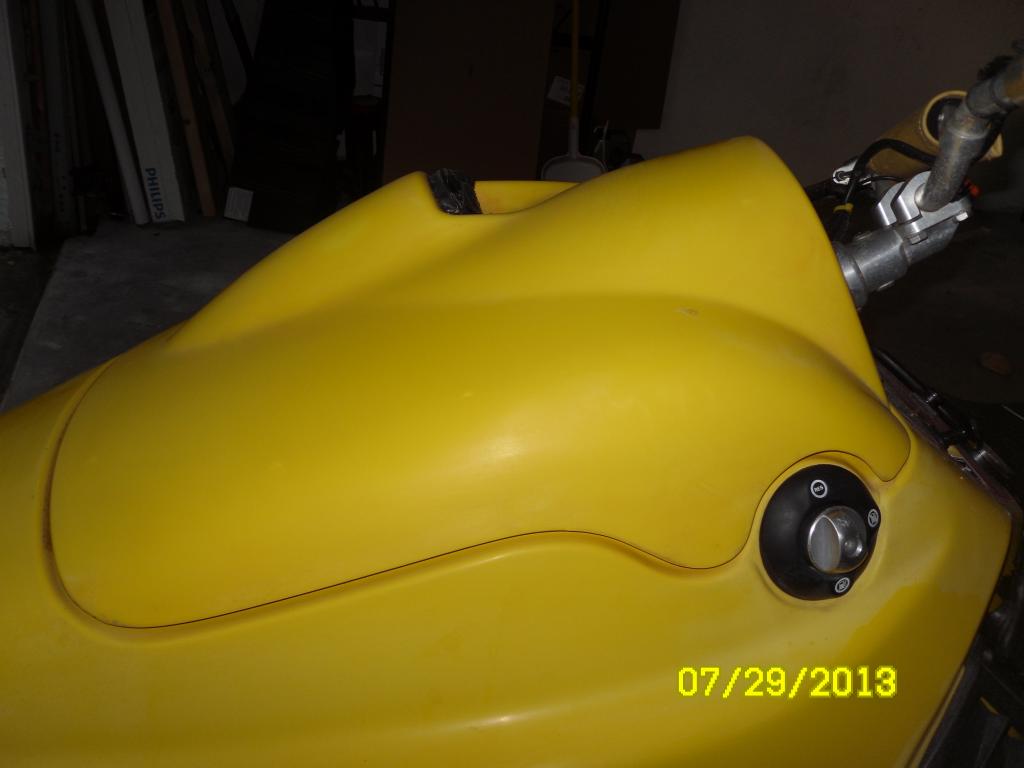
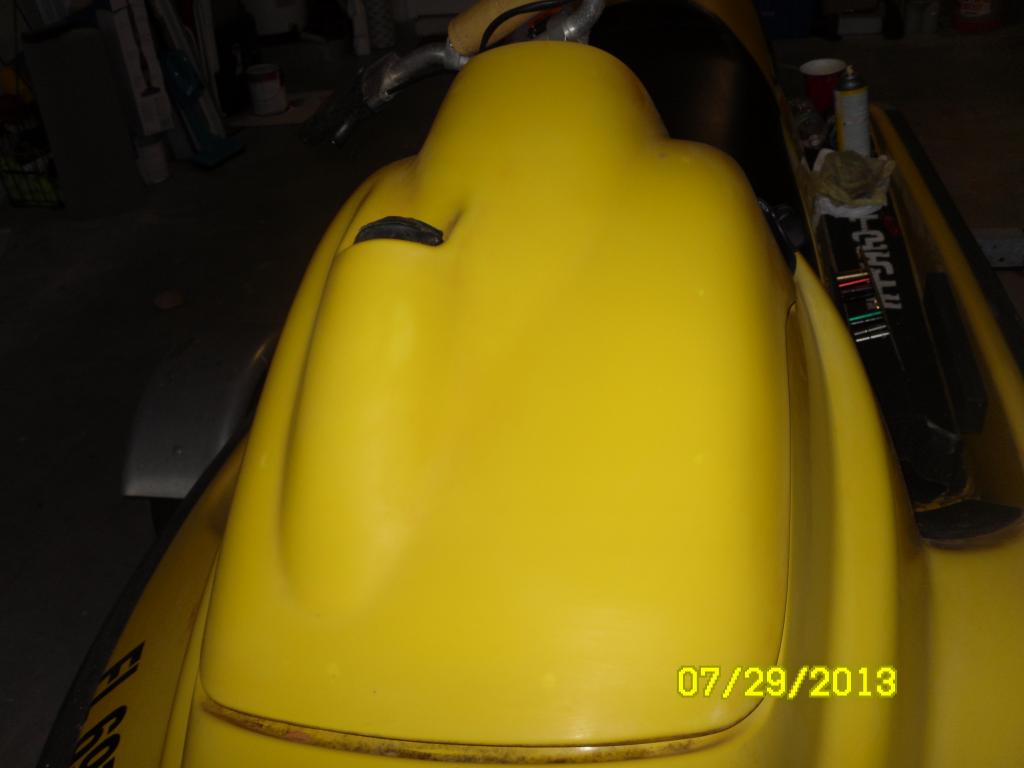
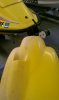
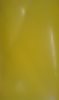
As you can see in the pictures I only did half of the hood , you can really see the difference
I will also repeat this step with a few other compound to really bring out the color just follow the instructions on the back of the bottle, I think the next step is fine cut then swirl remover then yellow wax. It doesnt need to be done but if you really want it to protected you could do that
Ok I had posted some pictures on a thread a while back on a hood cover I restored and I got a few pm's on how I did it and what I used. This is the process I use. It is fairly cheap but does take a couple of hours.
I use these steps on my hulls as well,
First off this is what you will need to complete the project
1. a drill(ive used a buffer and had bad results)
2. buffing wheel attachment for a drill http://www.oreillyauto.com/site/c/d...=Search_buffing+pad_-1_-1&keyword=buffing+pad $6.99
3. Meguiars mirror glaze medium cut cleaner. They have a high cut but I tried that and it can sctach and burn the plastic. http://www.oreillyauto.com/site/c/d...rch_mirror+glaze_-1_3316&keyword=mirror+glaze $12.99
4. a 7/32 nut driver(this is to take your hood apart if you want to clean between the mirrors and cracks where the hood is joined together. In this how to I didnt do that because i dont have mirrors on this or a gauge panel.) I got the nut driver in the picture at lowes. It is Cobalt brand. I recommend getting this one because I know it fits in the cavity where most nut drivers dont fit. Also keep in mind that if you plan on doing this you will have to drill out rivets that hold the the hood togethor behind the mirrors. the mirrors come off simply by reaching in and unscrewing the wing nuts. It is very simple.
5. rags
I recommend leaving the hood on the hull to do the majority of hood. It is much easier than trying to keep the hood in place, I couldnt do this how to with a hood that was on a hull because all of mine that are on a hull are already done. When you get most off the hood done and want to do the areas behind the mirrors and the creases of the hood then remove the hood.
If you do remove your hood from the hull DO NOT CUT THE WIRES. Buy this tool http://www.ebay.com/itm/SeaDoo-New-..._Watercraft_Parts&hash=item5adad8ce4c&vxp=mtr If you want to buy it for $4.95 free shipping search (weatherpack tool) on ebay. The link I used shows you instructions and you get a better idea of what its used for.
Now for the instructions. Pictures pretty much speak for themselves.
First I start off by removing all gauges all rubber pieces and decals. you can remove decals with a $9 heat gun or a blow drier.
Then I apply the cleaner to the pad, Also apply the cleaner all over the hood. i use almost a whole bottle when I clean one hood. While you are using the drill use it at different speeds until you notice what speed the cleaner is working the best at. You will notice immediate results.
Start off doing small sections at a time. i usually do 8" by 8" area.
you will notice the pad will start to absorb most of the cleaner. When this starts to happen take a rag and wipe down the section you worked on, you will really have to rub hard to get the cleaner off. You will notice some areas you will have to go over again. I just move section to section until I finish. You will have to do some sections by hand and really work the material. After you have finished the process and you think you are done, you are not. Do the whole process again. I personaly do it three times. What you are actually doing is taking a layer of the plastic off.
When you are done just put it back togethor. Keep the hood covered. Mine have stayed looking good for years with no need to have to touch them up, but i keep mine covered. If you keep the out in the sun it will just happen again. Plastic fades so protect it
As you can see in the pictures I only did half of the hood , you can really see the difference
I will also repeat this step with a few other compound to really bring out the color just follow the instructions on the back of the bottle, I think the next step is fine cut then swirl remover then yellow wax. It doesnt need to be done but if you really want it to protected you could do that
Attachments
Last edited by a moderator: