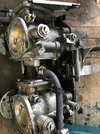
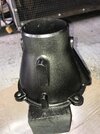
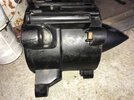
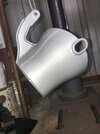
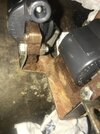
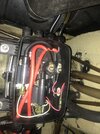
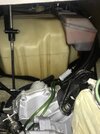
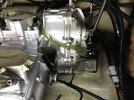
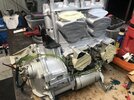
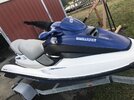
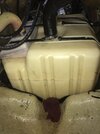
First off I am so very thankful that the electrical control system functioned exquisitely. The beeper even beeped twice when I inserted the key. Yay !!! As for everything else.... it was trip through the jungle. I bought the ski from a local guy that was going to get it running. That would have been a feat in itself. I replaced the engine with a SES rebuilt and went to town. I thought I had some Mikuni Carb kits for the 951s but didn't and that set me back a week. I had to shuffle through my parts pile many times. I think parts cleaning and preparation is the biggest part of these restorations for me. I like pretty and paint protects so that gets done. I finally got done piecing this thing together and figured I'd give the fuel tank a look. Day Yum. Sludge in the bottom like I've never seen. I spent 3 hours cleaning the fuel tank inside and out. Now it's pretty. LOL


-
This site contains eBay affiliate links for which Sea-Doo Forum may be compensated.
GTX 951 Restore
- Thread starter etemplet
- Start date
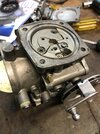
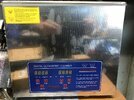
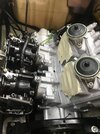
") I did find the fuel pump valves on these 951 Carbs are bigger than the orignials but I use Genuine Mikuni parts so... I used them. LOL I also replace the needles and seats on every carb. I bought this ultrasonic heated cleaner and filled with the Chemtool Carb Cleaner. Gives me a lot more confidence in end result with regard to all the little orifices and such. LOL
I did find the fuel pump valves on these 951 Carbs are bigger than the orignials but I use Genuine Mikuni parts so... I used them. LOL I also replace the needles and seats on every carb. I bought this ultrasonic heated cleaner and filled with the Chemtool Carb Cleaner. Gives me a lot more confidence in end result with regard to all the little orifices and such. LOL