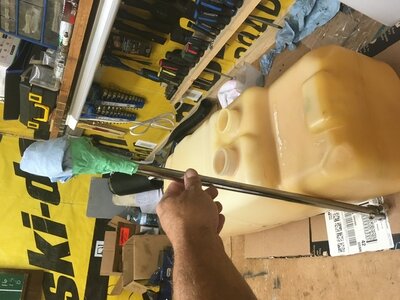
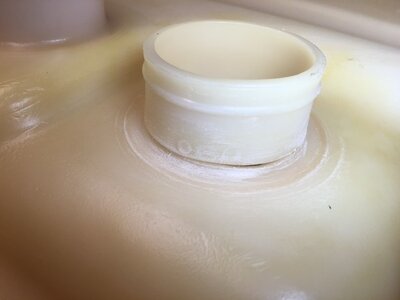
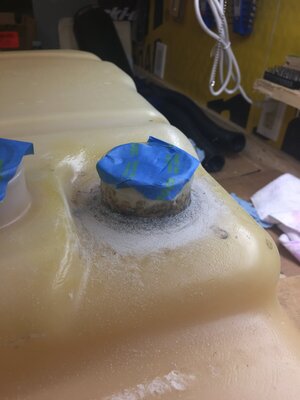
95 XP fuel tank was cracked about 75 percent of the way around the full neck fitting. Took it out today and plastic welded it. I’m going to detail how I did it here. So after getting the tank out the first thing I did was wash the inside and outside of the tank using simple green paying extra special attention to the area around the filler fitting where it is cracked. Rinsed it out well with water and dried it. To dry it I used compressed air to blow out the inside and then took my breaker bar, wrapped and taped a ball of shop towel to the end of it, I used this breaker bar with the towel to soak up any tiny droplets of water left in the tank, I used a light while drying the inside of the tank as well.
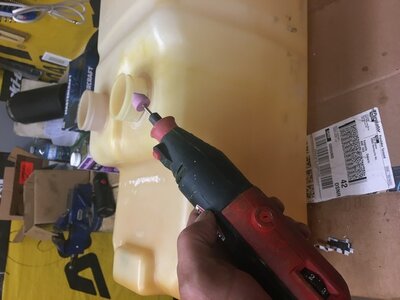
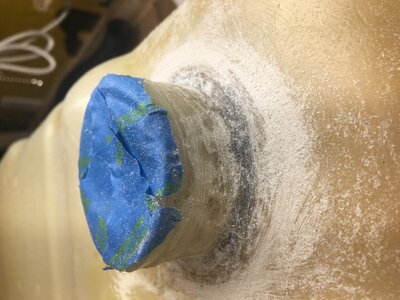
Next I used my dremel and a cone shaped stone to grind the crack down into a V, my thinking is I don’t just want the molten plastic to lay on top of t he crack I want it to melt into the existing plastic of the tank to become one. I then took some rough sandpaper maybe 100 grit or so I don’t think it really matters, let’s say 80 to 120 grit and sanded all around the crack our about an inch or so, blew the dust off with compressed air and wiped clean with acetone. It’s worth taping off the 2 fittings before sanding as you will get dust in their if you don’t.
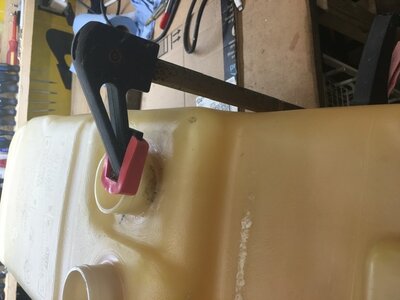
Once I had it sanded I tried to put an F clamp around the tank to hold the fitting tight together but it didn’t work very well because of the flex in the tank but it did work well enough to get it tacker in place with the plastic welding sticks.
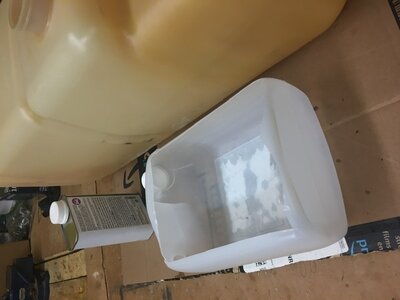
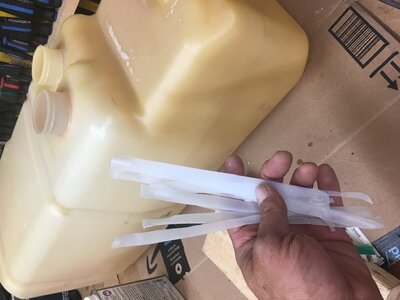
Speaking of the plastic welding sticks, the tank is constructed of polyethylene so you want your welding sticks to be made of the same material. I use windshield washer fluid containers. Rinse it out and cut it up into strips about 1/8 to 1/4 wide.
On to the welding. Now that the damage is a cleaned, sanded and cleaned with air and acetone to do the welding just light your welding stick ( strip of washer fluid container) on fire. The stick can be used a few different ways, you can let the material drip right off the stick or you can kind of drag the molten plastic over the damaged area. I chose to start by dripping the molten plastic over the damaged area, my thinking was that these drips would be hotter than dragging it across when t he stick is gooey and would help in melting the 2 pieces back together. When letting the stick drip the material left behind off the stick is quite thin so I let a lot drips fall in the same area. I rotated the tank so that my work area was fairly horizontal and the plastic would not just fall away like it would on a vertical surface. After I went over it with the drips I went over it again this time letting the end of the stick touch the plastic tank. If you need your stick hotter just pull it away from your work a little and it will ignite better and get hotter.
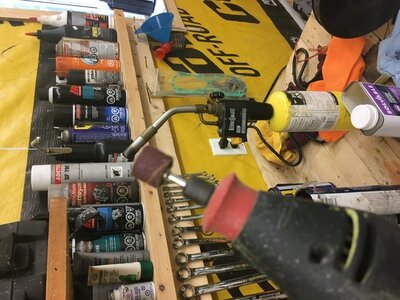
So when I went over it smearing the gooey molten plastic I left some mounds of plastic which I sanded down using the dremel and a little sanding drum, sands very easily so go easy. Cleaned it up with acetone again and laid some more plastic this time letting my stick get a little hotter and laying the polyethylene a little thinner.
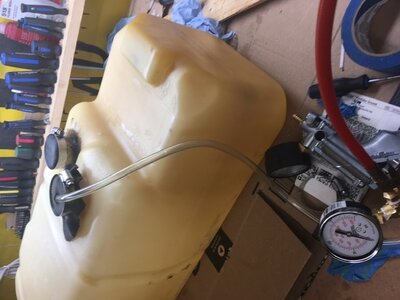
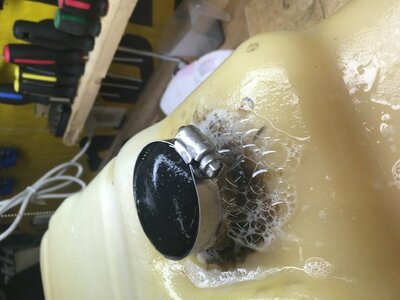
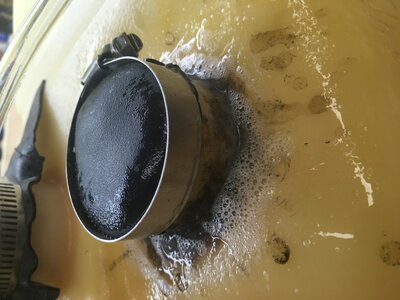
Time to check my work, I cut some inner tube out in the shape of the fill pipe and pickup openings ( a circle) I left the inner tube about 1/4 inch bigger all the way around then laid the inner tube circles over the openings and slide a gear clamp down over them, tightened them up a bit, poked a hole through the one inner tube with a small awl and then stuck a fitting through the awl hole so I could put my Mity vac on the tank I started trying to get vac but couldn’t get any, so I put my pop off pressure gauge I made on and used pressure from the compressor. All you need is a pound or 2 of pressure. My gauge is in 5 pound increments so I never read any pressure but you will see the inner tubes bulge out a bit. Sprayed my work area with real soapy water and looked for bubbles and I found bubbles. Sprayed the work area off with water, sanded it, cleaned with acetone and laid more plastic. I should mention that I did the same thing to the interior of the fitting but always had the tank laying so the work surface was horizontal. I don’t want any molten plastic to fall in the tank. Tested again and still a couple tiny pin hole that bubbles up. I’m sure these holes where minuscule but I wanted it as good as I could get it. So through the process again of cleaning of soap, sand, blow with air, acetone and lay plastic again but this time I had an idea. I put the Mity vac back on and pumped the pump with one hand creating vac in the tank while I laid the plastic thinking that the vac may pull the molten plastic into the tiny holes. Tested again with pressure and soapy water and not 2 single bubble, so not sure if the vac helped or not but the theory makes sense to me so I will be doing that from now on when plastic welding. I’m going to go ahead and post a few pictures which will all be separate posts because I can’t get the layout right when I do more than one picture in a post.


