GGuillot
Well-Known Member
1997 Sea-Doo XP, 5662 Fuel System | Sea-Doo Warehouse
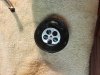
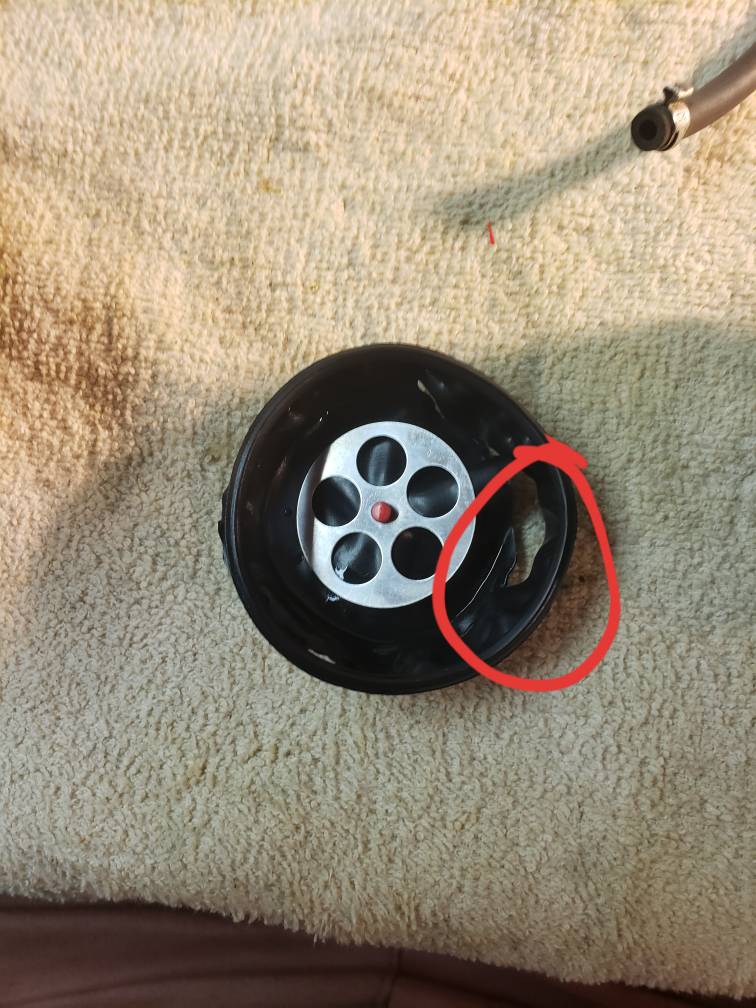
Could one of my issues be the fuel check valve (#37) and pressure relief valve (#18) not functioning? I was looking through the Carburetor adjustment sticky and found this excerpt; "A common cause is a carburetor needle(s) & seat(s) leaking fuel into the cylinders causing a hard to start condition when motor is hot. How can gas get past a needle valve other than what I have talked about? One way is if the fuel tank pressure release check valve in the OUT vent line thru rub rail is not functioning. The fuel pressure in the tank overcomes the spring tension on the needle valve and gas is FORCED past it. The valve should open at approx. 3-5lbs. psi."
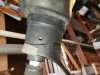
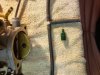
I replaced all the fuel lines except the breather lines because they dont have fuel running through them so I didnt think they would affect carb/fuel function. This breather line has a T where it goes out the side of the hull and the top of the hull kind of by the handle bars. If these arent functioning, they could be the cause of my no start when hot due to flooding! I believe the carbs are good so I would like to try this before doing a carb rebuild.
Thoughts, concerns?
It can't hurt, just spray carb or brake cleaner in them and blow out with compressed air.
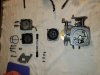
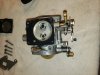
But I still think you'll need to rebuild the carbs with OEM kits.
")