Back on the Speedster. Fuel Baffle is ready to install and I'll make sure all of the fuel and oil lines are run correctly. Right now I'm prepping the engines. I had (3) 717s built and ready to go but only one engine had a dual carb manifold installed so I gotta use one of the removed engines. I like neat and pretty so It is taking me extra time to clean and paint the parts. Even painting up the oil pump before install.
")
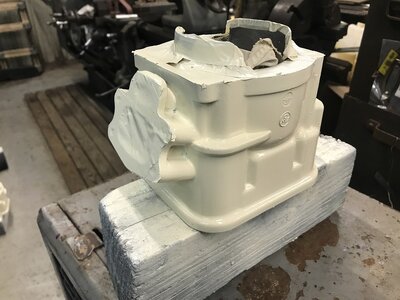
Boy O Boy these engines in South Louisiana can be difficult to disassemble. Got the exhaust manifold removed, cleaned drilled the crap out of the bolt holes and painted her up. Intake is almost ready for install. Gonna feel good when I drop these two in the hull and line them up.
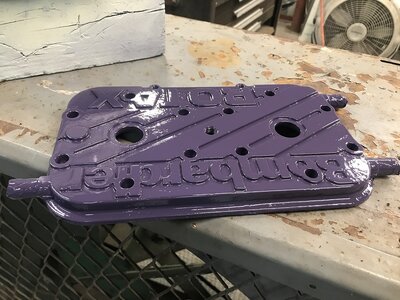
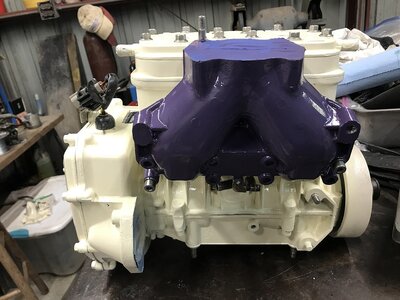
I thought purple might break up the bland white and give the interior a little panache'.
View attachment 63793
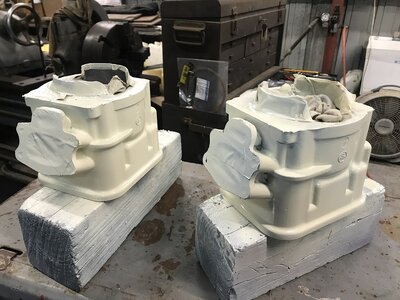
Intake manifold looking better.
View attachment 63794
Gonna look pretty when it gets in there. Ha ha.
View attachment 63795
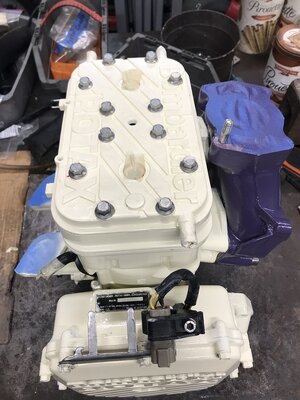
Prepping oil pump for paint. She's drying. Assemble tomorrow. Then on to Engine Number 2.
View attachment 63797


.JPG")
.JPG")
.JPG")
.JPG")


.JPG")

.JPG")
.JPG")

.JPG")
.JPG")
.JPG")
.JPG")
.JPG")
.JPEG")
.JPEG")
.JPEG")
.JPEG")
.JPEG")