-
This site contains eBay affiliate links for which Sea-Doo Forum may be compensated.
You are using an out of date browser. It may not display this or other websites correctly.
You should upgrade or use an alternative browser.
You should upgrade or use an alternative browser.
1995 HX Project
- Thread starter burtshaver2021
- Start date
- Status
- Not open for further replies.
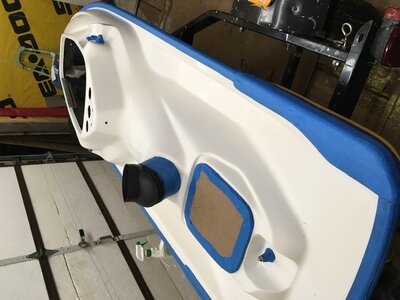
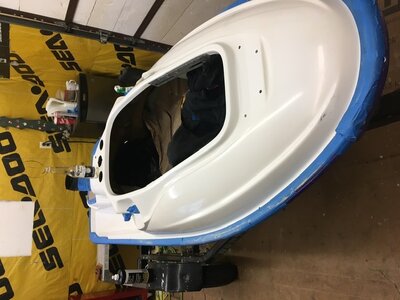
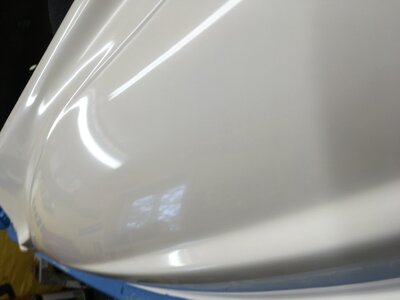 I’m glad I tried a spot with the 49,it wasn’t really shining after the 3M super duty compound but really happy after the 49, should really pop after I’m done with the polish. I’m going to go ahead and order Meguires 91 heavy cut for the next one, the 3M was ok and did what it was supposed to, took out the fine scratches I left but want to try the Meguires.
If your not first your last,
And after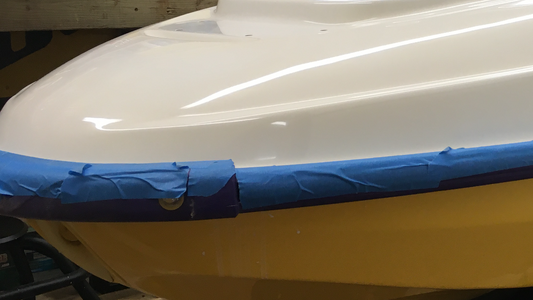 It’s all done, didn’t go as expected though. As I was doing the Meguires 49, off course I was tilting my head in all directions admiring my work but then I noticed some scratches that weren’t visible until I got a good shine on it, at first I was going back to the 3M super duty and then 49 again but after a bit I said f?@& it and wet sanded it again with 2000 grit. Glad I did now. Then over the whole machine with super duty and twice over with 49 and twice over with 45 and then a wool buffing pad dry. Pretty sure I’m supposed to wait till after the new graphics are on till I wax it. Glad that’s done
 . Looking forward to the next step of putting the new gaskets on the engine, do another leak down test, fix that bolt from mounting saddle to crankcase and then degrease that engine and paint it.
 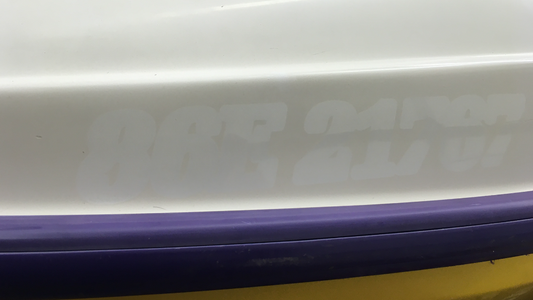 Before can plainly see the license
 It’s all done, didn’t go as expected though. As I was doing the Meguires 49, off course I was tilting my head in all directions admiring my work but then I noticed some scratches that weren’t visible until I got a good shine on it, at first I was going back to the 3M super duty and then 49 again but after a bit I said f?@& it and wet sanded it again with 2000 grit. Glad I did now. Then over the whole machine with super duty and twice over with 49 and twice over with 45 and then a wool buffing pad dry. Pretty sure I’m supposed to wait till after the new graphics are on till I wax it. Glad that’s done
 Before can plainly see the license
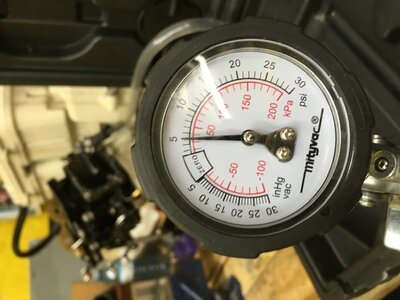
Good day, just sorting out my ne t order here, I was looking for the tool to pressurize the pump cone with. The only tool I see in the manual is the pump gauge tester P/N 295000083 which isn’t available. I didn’t need the whole pump gauge tester anyways as I have the Mityvac. Any ideas what type of fitting I would need in order to get my mityvac on there? Would anyone sell a barbed fitting that would screw into the threads that I could put the hose on to? Also in an earlier post @mikidymac you recommended a new wear ring. Just thinking, I have the inlet grate off now, if I crawl under there and take some pictures and measure clearance with feeler gauges. If I’m within specs would I be ok to not replace the wear ring at this time?
Thank you, I posted a desperate thread but 15 percent off for JULY4 right now to at Meguires direct.comIf the ski is old and was sitting replace the wear ring or it will typically blow apart shortly.
Correction, separate thread
I was going to clean up where the o rings go tonight, change the gaskets and torque the cylinder cover back on. Should I carefully clean the carbon off the top of the pistons? If I were to I was planning on blocking any intake or exhaust ports with some shop towels and then spraying a little brake/parts cleaner, scrub with a regular toothbrush or a brass toothbrush, not going to spray enough at a time that it gets down past rings. Should I clean them? For degreasing the engine before paint I was going to block the intake where the carbs go with some good quality duct tape, won’t put the pressure washer on it anyways. Thoughts, would I get myself in trouble using the pressure washer?
I wouldn't as it is too easy to pack it into the ring groove and cause a ring to stick.
Running it hard with the correct oil and fuel should clean them up pretty good. You could even run some Yamaha powervalve cleaner if you are really worried about it.
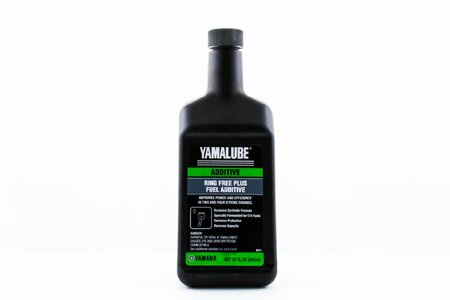
But I personally don't like fuel additives in 2-strokes.
Running it hard with the correct oil and fuel should clean them up pretty good. You could even run some Yamaha powervalve cleaner if you are really worried about it.

But I personally don't like fuel additives in 2-strokes.
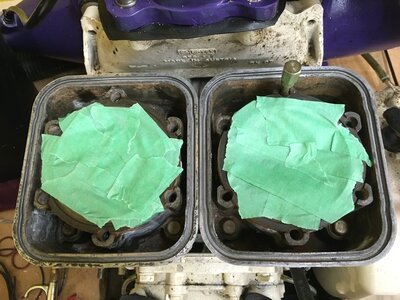 A little progress report, didn’t spend much time on it today, maybe an hour and a half but that’s an hour and a half closer to being done. Feels good putting things back together instead of taking them apart. I’m worried not having the photos I took when I was taking things apart. Probably had about 100 pictures, planned on just going back through them when I was assembling but computer took a dump, got a quote 1800.00 to recover my data, apparently very difficult from these newer ssd drives. Anyways, cleaned up the 2cylinder covers nicely paying special attention to the grooves where the o ring gaskets go, chased the threads on the cylinders, got a fair amount of crude out of them. Taped up the bores and used a combination of vacuum and compressed air to blow out the threads after chasing and did the same for the cooling jackets as they had a bit of silt in them. Washed up the covers nicely too.Cleaned up the cylinder cover bolts on the brass wire wheel, lines the cylinder bores with some injection oiland squirted a bit in through the intake into the crankcase. And that’s it for today.
 Just wanted to verify because I’ve seen manuals with wrong torque specs before. The 1996 manual is saying final torque for cylinder head and cover is 17 foot pounds, seems kind of light? Ski Doo engine was 21 foot pounds.
And the oring groove of cylinder sleeves is the only one calling for 518. Is it recommended to apply the 518 to any of the other o rings?
Manual calls for final torque of 19 foot pounds for cylinder head 717? Is manual correct? Manual only calls for 518 on cylinder sleeve o ring, is that correct also? Thank youI wouldn't as it is too easy to pack it into the ring groove and cause a ring to stick.
Running it hard with the correct oil and fuel should clean them up pretty good. You could even run some Yamaha powervalve cleaner if you are really worried about it.
View attachment 63095
But I personally don't like fuel additives in 2-strokes.
Still can’t get the cooling system to hold 5 pounds but I think it’s leaking from the engine drain hose, once I take the pipe off the manifold I should be able to block that easier
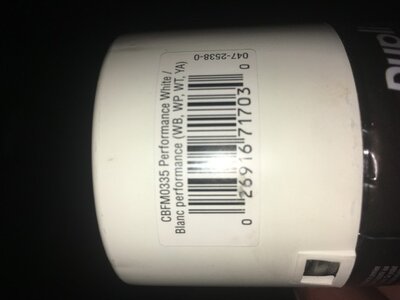
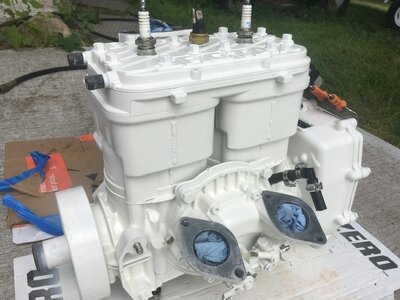 Today I degreased the engine, blocked all outlets and covered the electrical connectors first, used simple green and the pressure washer but lightly and especially lightly around the starter, gave it a quick scuff sand with 400 grit but it’s near impossible to get everywhere and I’m a big believer that you need to scuff sand before painting over old paint for adhesion. I will see how this one lasts, maybe next time I won’t be in such a hurry and will see if there’s a etching primer that can be used first. Taped everything off, removed the bed plate. Just a note that the whole reason this engine came out was because of a missing lug bolt from the bed plate to the crankcase, when I was taking the bed plate off I was able to remove another lug bolt with my fingers. Not sure how far it had turned out on it’s own but definitely was a disaster waiting to happen. Thankfullu I was persuaded by Mikidymac to remove this motor and check them. And then just a spray bomb for paint which I will post the colour later because it was a real
Close match.
I have glossed over the entire 1996 shop manual and did not see the torque values for the engine support to crankcase? Should I apply red loctite to the stud that goes in case and then red loctite on the nut that goes on the stud after the engine support ( bed plate )
Looked in the 2002 manual as well and couldn’t find the info there either. Unless someone tells me differently I’m going to go with 18 foot pounds, red loctite In both the stud into the crankcase and then red loctite on the stud before the nut that holds the bed plate to the stud.
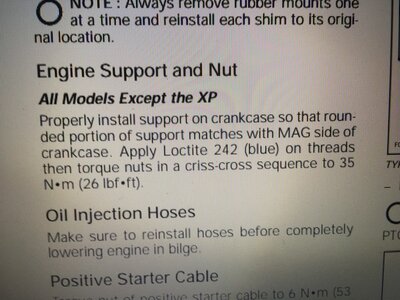 So yesterdayprobably spent about 2 to 3 hours combing through the manual to find the torque for the studs into the crankcase that hold the engine support plate on and today I open up the manual and within 1 minute find it, looks like it is 26 pounds. Glad I found it because if I hadn’t I was going to go around 18 pounds but I was already rethinking that.
- Status
- Not open for further replies.
Similar threads
- Replies
- 6
- Views
- 769
- Replies
- 4
- Views
- 500


