Pictorial On how to buff your faded nasty hull

Note: This site contains eBay affiliate links for which SeaDooForum.com may be compensated
Status
Not open for further replies.

Jetskigoodies

Well-Known Member
PLEASE DO NOT REPLY FOR ABOUT AN HOUR, I WILL NEED TIME TO UPLOAD PICTURES AND STEPS, IT WILL NEED MULTIPLE POST AND I WOULD LIKE THEM TO BE IN ORDER THANKS IN ADVANCE.

Ok a while back I had posted a thread asking if anyone would be interested in this and I had a good amount of feedback suggesting I do so, so here it is.

First of all I am not a detailing expert by any means, this is not my profession. People who are in this field may have differing opinions. These steps that im about to describe is what I have found to work after alot of trial and error.

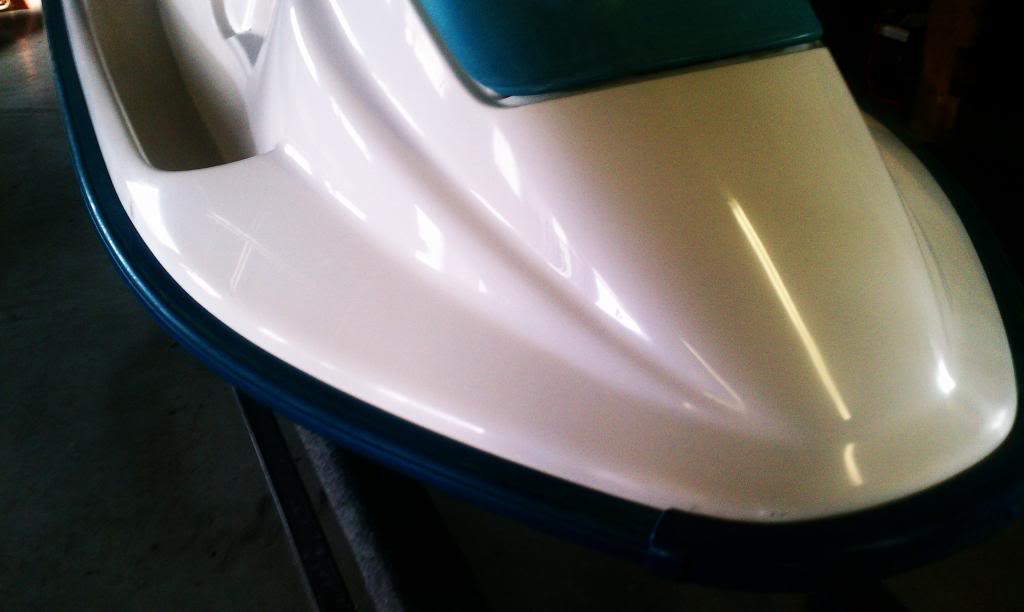
This thread is for the average guy trying to save some money and put some time into restoring their hull with tools that most of us already have or are inexpensive to get without having to get any professional grade equipment.

This is the list of items you will need to do this.

1. Meguiars heavy cut compound(just a heads up most stores dont carry it but you can call your local store and they will order it to there store for free, usualy arrives next day) $10.99
http://www.oreillyauto.com/site/c/d....oap?ck=Search_N0468_-1_-1&pt=N0468&ppt=C0209

2. Meguiars medium cut compound $15.99
http://www.oreillyauto.com/site/c/d....oap?ck=Search_N0468_-1_-1&pt=N0468&ppt=C0209

3. Meguiars fine cut compound $15.99
http://www.oreillyauto.com/site/c/d....oap?ck=Search_N0468_-1_-1&pt=N0468&ppt=C0209

4. Meguiars swirl remover $15.99
http://www.oreillyauto.com/site/c/d....oap?ck=Search_N0468_-1_-1&pt=N0468&ppt=C0209

5. Meguiars mirror glaze $10.99
http://www.oreillyauto.com/site/c/d....oap?ck=Search_N0468_-1_-1&pt=N0468&ppt=C0209

6. Your favorite wax to finish it off. I use meguiars yellow wax

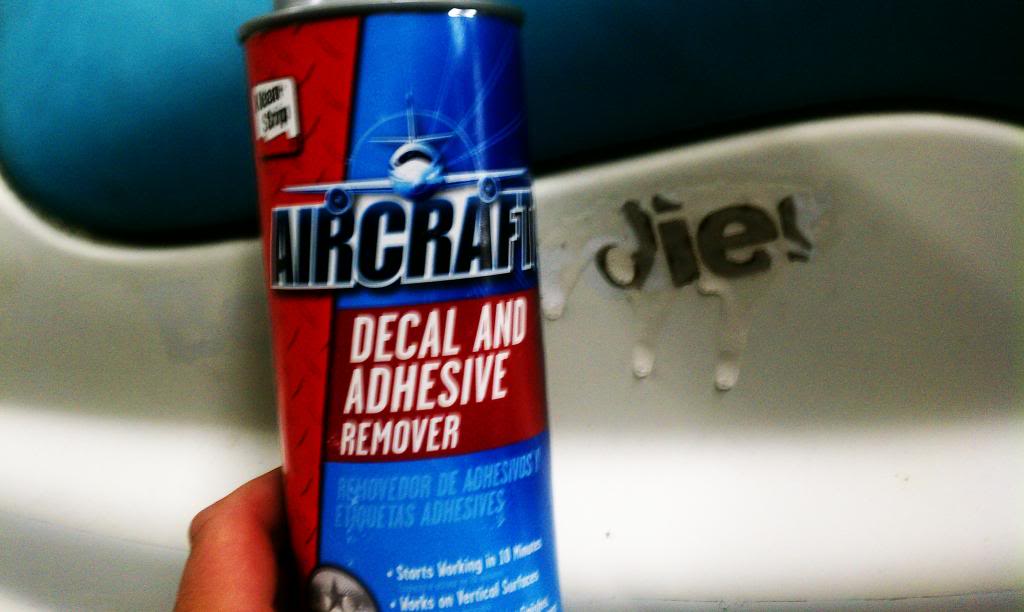
7. Air craft adheisive and decal remover $10
http://www.oreillyauto.com/site/c/d....oap?ck=Search_N1833_-1_-1&pt=N1833&ppt=C0171

8. A good drill I use a dewalt, not a cordless drill they dont seem to have enough power

9. Masking tape

10. lots of rags

11. A heat gun if removing decals, under $10 at harbor freight
http://www.harborfreight.com/1500-watt-dual-temperature-heat-gun-572-1112-96289.html

12. buffing attachment, you will need one for each compound you use, this is very important. $6.99 each
http://www.oreillyauto.com/site/c/d...ck=Search_drill+wool_-1_-1&keyword=drill+wool

Ok now that we got what we need here is the prep work

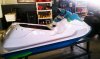
wash the entire seadoo and I usualy wipe it down and let it sit overnight to dry

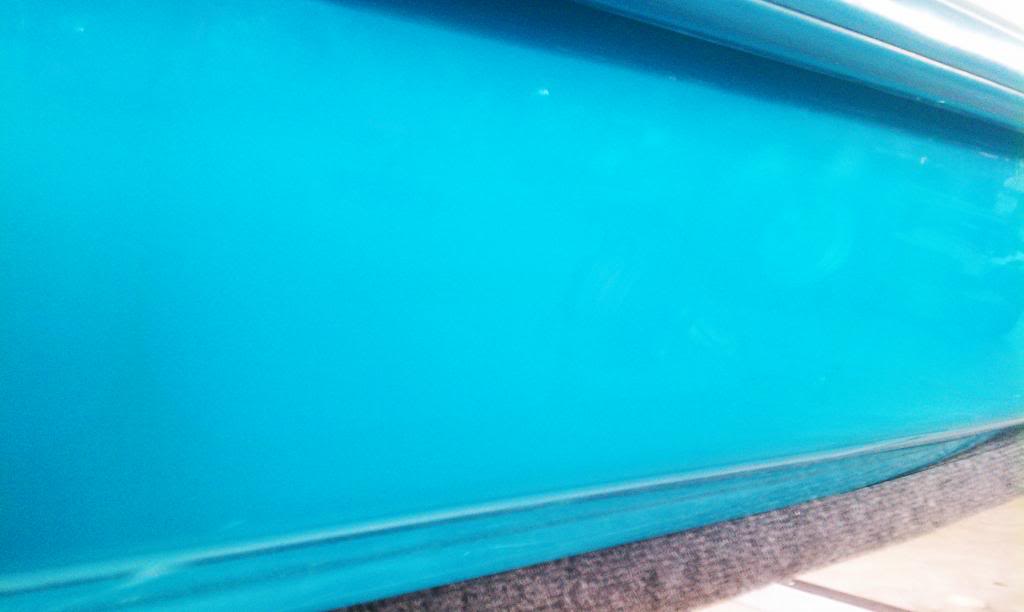
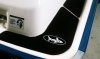
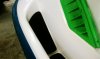
Now if you are going to keep the decals that are on there make sure you tape them off well, also tape of any rubber or plastic, this includes rubrails, vents, grab bars, hood. I usually take the seat off and cover the motor and everything inside the hull with plastic. The compound will scratch any uncovered decal and may burn any rubber or plastic.

Now if you are not going to keep the decals do this.
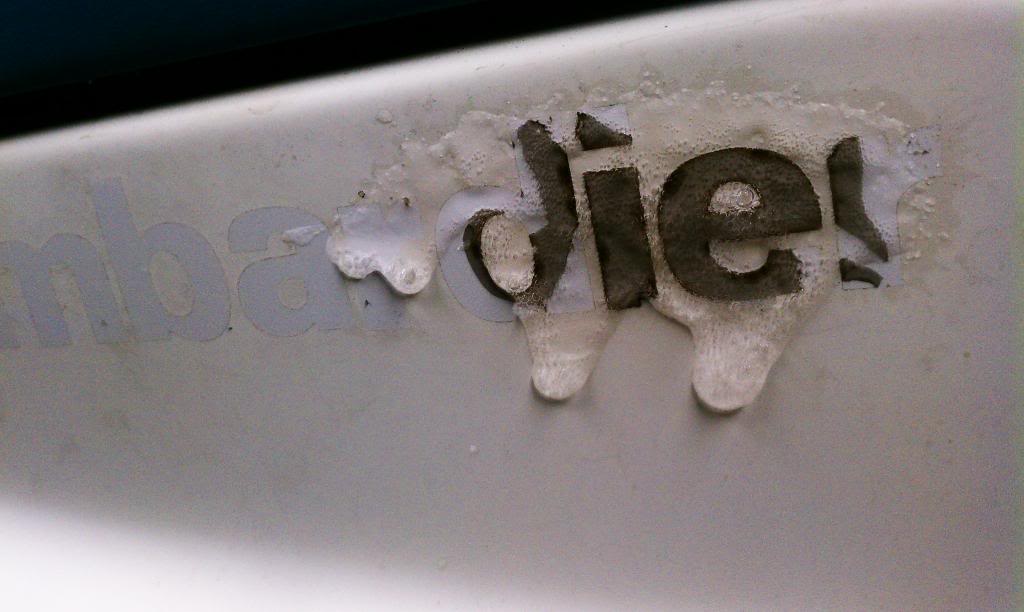
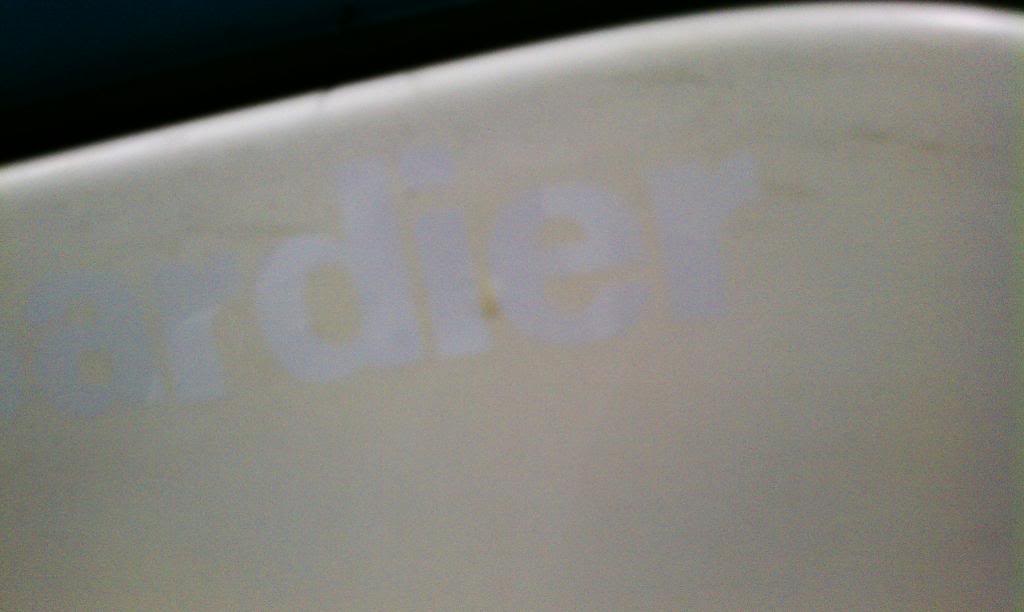
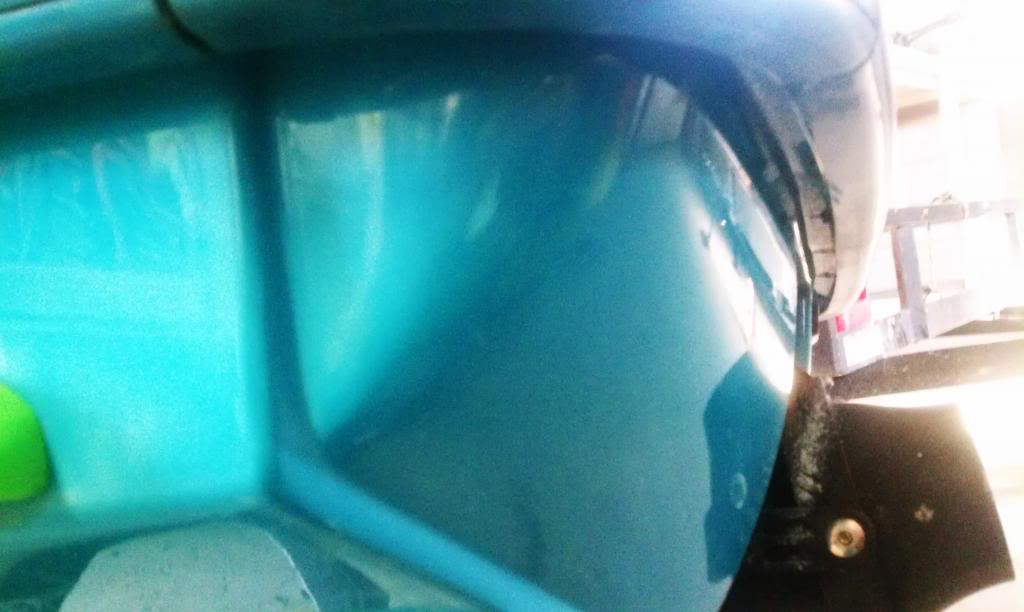
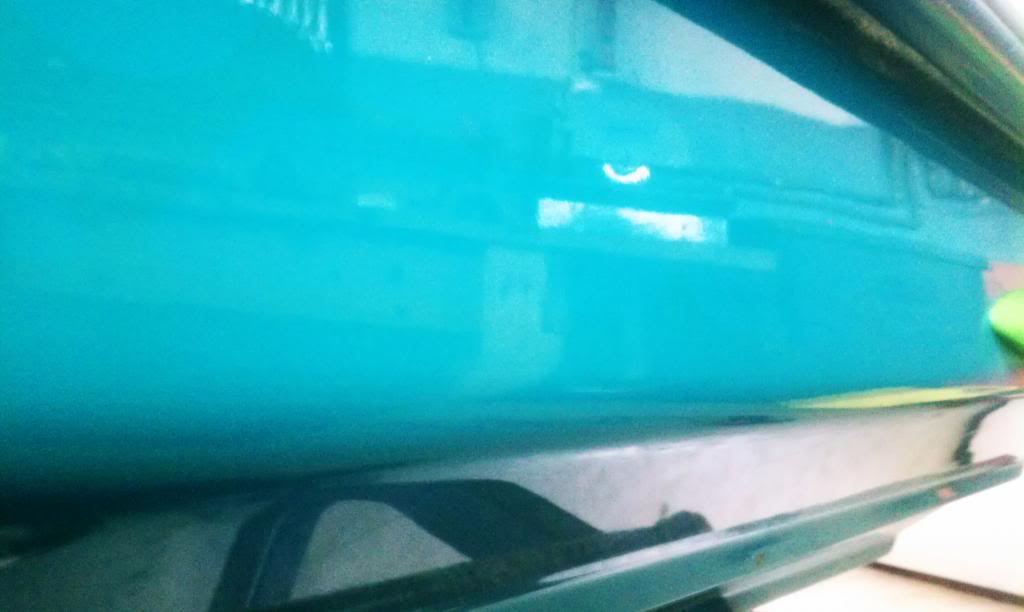
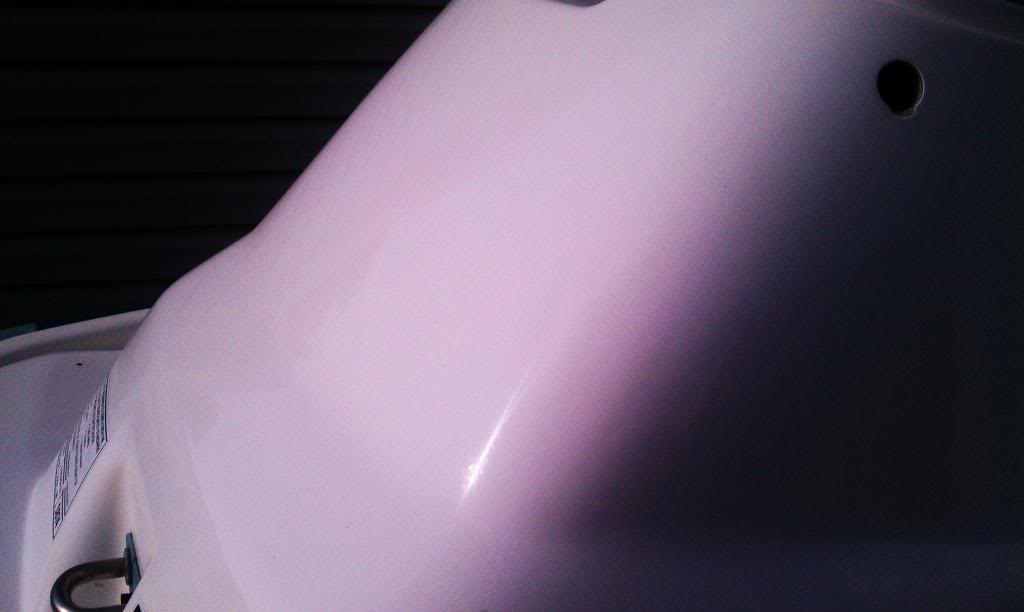
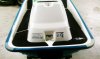
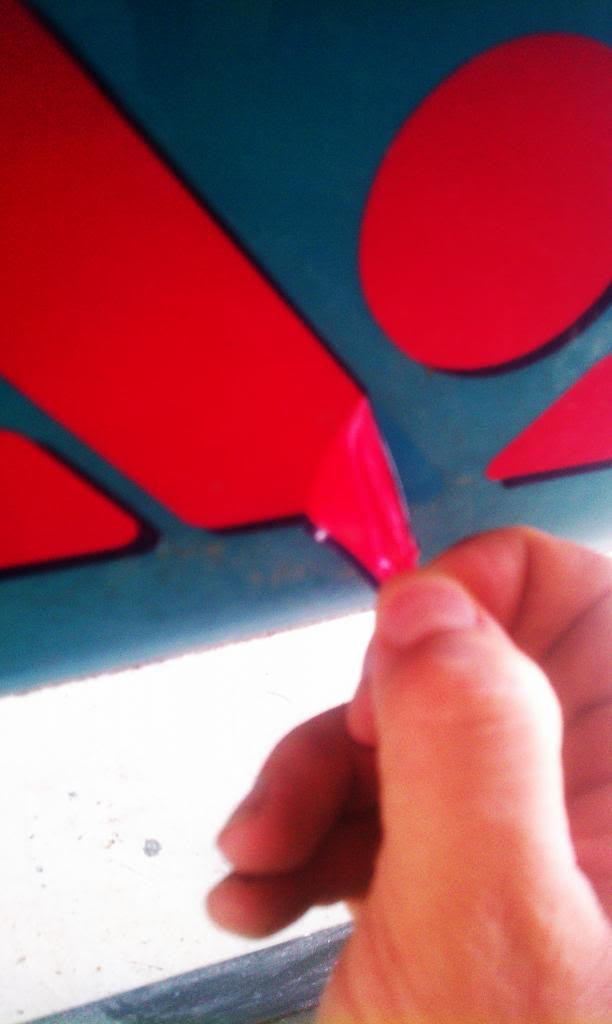
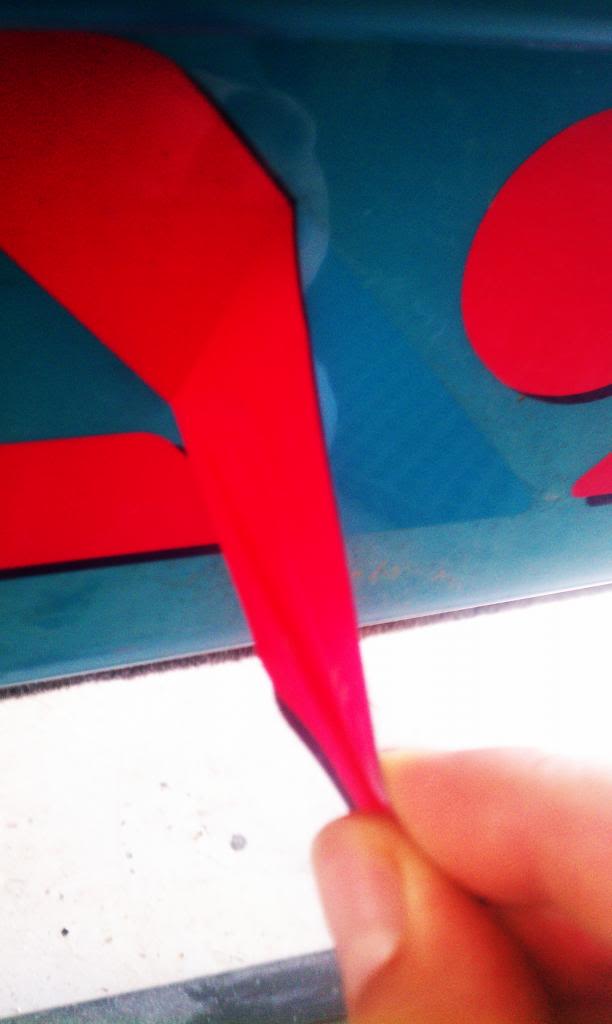
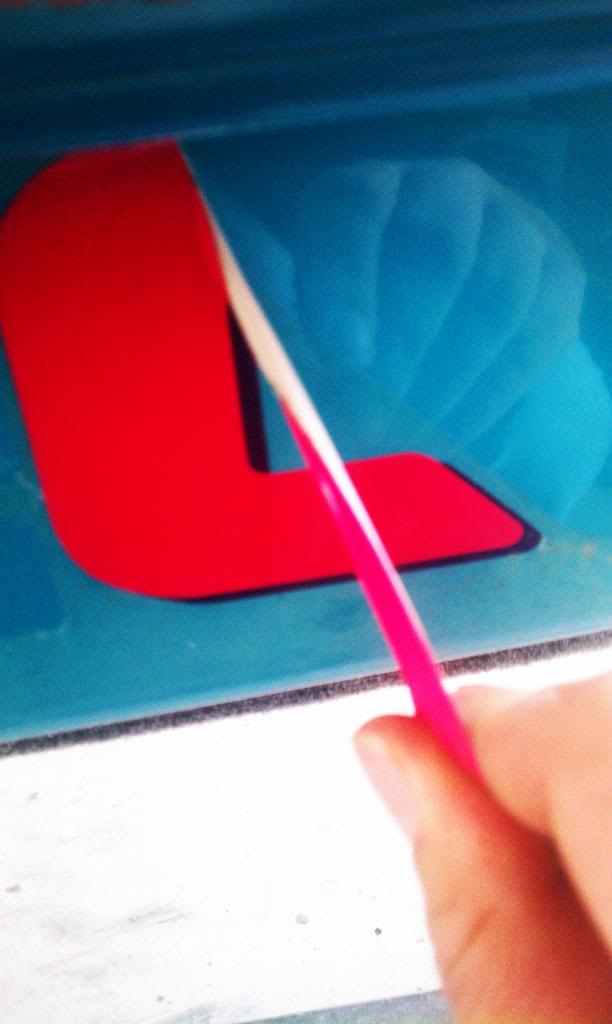
If you have not removed decals before this is very simple. Use a heat gun, turn it on and keep it about 3 inches away from the decal and use circular motions over the entire decal you are about to remove for about 30 seconds, with letters i do one at a time. After the 30 seconds try and peel up a corner as shown in the pictures, if it starts to come up easily keep slowly peeling it back on an angle. You should be able to remove most of it in one try. If it starts giving you trouble or isnt peeling up just go over it again with the heat gun. Some decals come up easier than others and larger decals will nee to removed in sections sometimes.

82.jpg


83.jpg


84.jpg


85.jpg


86.jpg
 
Last edited by a moderator:
After peeling the decals sometimes you will have some residue from the adhesive left behind. This is normal and easily handled with the aircraft decal remover. First just spray the area and let it sit for about 15-20 seconds and then wipe. it will smear, just spray it again and wipe it clean, simple as that.

87.jpg

88.jpg

89.jpg

90.jpg

91.jpg
 
Last edited by a moderator:
Okay Now to the buffing. I use a good dewalt drill with the above mentioned attachment, I use this over other buffers that I do own because it can get into the footholds rather easily and is easy to manuever aroung all the little creases and edges. This is the hull that i will be cleaning

92.jpg

93.jpg

94.jpg

95.jpg

96.jpg
 
Last edited by a moderator:
Some more. This hull has alot of yellowing you can see it around the old decals and the teal is really faded the picture doesnt show how faded the teal really is

97.jpg

98.jpg

99.jpg

100.jpg

101.jpg
 
Last edited by a moderator:
Okay here is the last of the before pictures. As you can see i removed the footpads because im replacing them with blacktip pads. The reason im using blacktip is they are cheaper. On my personal machines I use hydroturf, I think they have better designs with there 2 toned but they are more expensive but here is a tip. If you buy from them at checkout there is a comment special instructions area. If you are a member of this forum simply enter. Seadooforum.com member, and your member Id then 15% off. I have done this multiple times and when your items ship you will see the discount. at checkout your total will not change because they have not manualy added the discount. You can call to make sure if you are hesitant.

105.jpg

106.jpg

107.jpg

108.jpg

109.jpg
 
Last edited by a moderator:
Step 1 in actually buffing

Start by attaching the buffing pad to the drill and apply a generous amount of compound onto the pad. With the the drill off smear the compound onto about a 1ft by 1ft section. Use a good amount of compound, the area should amost look like you painted it with a brush, dont worry thinking you are not going to have enough compound, you wont use that much by the time your done. Turn the drill on working that section thoroughly, apply a decent amount off pressure but not so much that the drill drasticly slows, move the buffer up and down, left to right. You will notice the compound will start to thicken and even dry, This is good. When the compound is almost dry keep going over it and the buffing pad will absorb the rest of it. Dont be scared with the pressure or think you are over doing it, this gel coat is really thick. after that section is done just keep moving from section to section slighty over lapping the last area. I usually tend to due the top of the hull first then go to the bottom, the reason i do this is the hulls sometimes are 2 toned and the pad will absorb the color as seen in the pictures below, the pad is now a teal color. To get into the curves and creases just manuever the pad on angles I usualy do not use the pad flat against the hull. After the hull has been completed, wipe the whole hull down well with a clean rag. Then wash it again. The reason I clean it before the next step is that when you go to the next compound the next process is to use a product that is a finer grit that will buff the slight swirls that the last step has done and to smooth that out, but if the old grit is still there then this defeats the purpose of the next step.

110.jpg

111.jpg

112.jpg

113.jpg

114.jpg
 
Last edited by a moderator:
There is almost instant gratification when doing the heavy cut, especialy with any color but white, The color will be deep and a dramatic difference. I would say that the white hull is the hardest to clean. Just so you know going into it if you have a white hull it takes more time and sometimes may even need to be wet sanded a little, but I have not had to wet sand this and I have never had to wet sand a yellow, red blue or black hull.

Now Onto the next step

Step 2. Remove the Heavy cut attachment pad. You want to use a new pad for each step. i actually will take duct tape and put a piece on the back with writing indicating which compound was used on it.

Now attach the new pad and use the same exact process as the heavy cut just with the medium cut product. i am going to warn you now this compound is the dirtiest process because the compound is not as thick as the others and tends to spray a bit while buffing.

Step 3. Use the same method as the last 2 compounds but with a new pad and your fine cut compound. Make sure to wash everything down between steps

NOW HERE YOU CAN STOP AND JUST APPLY YOUR WAX but I go one more buffing step, It seems to seal the wax better to me

Step 4. Repeat the same process with mirror glaze on your last new pad.

Step 5. Get your favorite wax and apply and wipe it off. I use Meguiars Yellow wax. Now take your hat off and slide your hands over what now feels like a brand new seadoo hull.

This will not fix gouges or deep scratches.

Here are some pictures of this one finished.

115.jpg

116.jpg

117.jpg

118.jpg

119.jpg
 
Last edited by a moderator:
I Did not tape anything off because I am painting all the trim and putting on a new seat cover and pads just if people were wondering why I said to do it but I didnt

120.jpg

121.jpg

122.jpg

123.jpg

124.jpg
 
Last edited by a moderator:
I am sorry i didnt get more pictures of the actual buffing process, but it is hard to buff and take pictures of it by myself. If I can get some more of actually buffing i will insert them later. I will also be putting up final pictures with the painted trim, hood, new seat cover and pads.

and after that long winded post, here are the last pictures for today, whew posting this took forever. Im done for now lol


I hope this helps some do it yourselfers out there
 

Attachments

  • a21.jpg
    a21.jpg
    933.2 KB · Views: 213
  • a22.jpg
    a22.jpg
    961.3 KB · Views: 201
  • a 23.jpg
    a 23.jpg
    643.3 KB · Views: 221
Last edited by a moderator:
Holy smokes JSG! Great job!! Im thinking that since it seems like a lot of people are restoring ski's about now, that maybe this is "Sticky Worthy". Lol. But really, I have been wanting to make my GSX look new again and now you have given me a playbook on what to do to get a great looking result!
 
Holy smokes JSG! Great job!! Im thinking that since it seems like a lot of people are restoring ski's about now, that maybe this is "Sticky Worthy". Lol. But really, I have been wanting to make my GSX look new again and now you have given me a playbook on what to do to get a great looking result!

Thanks, we have a 96 gsx too it was in rough shape, if you check out my album there is pictures of what it looks like now. We are in the process of redoing 2 more now
 
Great job! On the ski and post. I have to say. Incredible work!!!
How long did the whole ski take to do? Was each step of buffing the same in time or does it get quicker every step?
 
Great job! On the ski and post. I have to say. Incredible work!!!
How long did the whole ski take to do? Was each step of buffing the same in time or does it get quicker every step?
Great questions, it took about, 3 hrs to do all steps, but it was like a hour a day, i didnt do them all at once. That was just the buffing time though. It took about 45 minutes to take off the decals and get the adhesive off. I would also say that the heavy cut takes the most time and that each following step gets easier and easier. Tape off can take a while too if you are trying to keep the decals. I always remove them though, i dont like seadoos color schemes and its just too easy to order the new ones from dr honda, all the decals on my seadoos came from him. The hull that is in this thread will be getting the ones i ordered from him put on tommorow
 
Thanks for the info! I'm going to try this with the HX I picked up a couple of weeks ago! I hope it comes out half a nice as yours did!
 
Thanks for the info! I'm going to try this with the HX I picked up a couple of weeks ago! I hope it comes out half a nice as yours did!

Just a fyi for your hx, the hood will not come out great, it will look good but not as good as the rest of the hull. I did a hx and was happy with the end result but as i did a bunch of hulls before it i was expecting better results. If you check my album there is pictures of a hx hull redone too. It has new hydroturf, new seat, buffed. The bottom decal was from doc honda too but the mc numbers are just store bought which were more than what honda would have charged me lol
 
As I said I'm hoping for half as nice work as that. I've done boats before ( not as bad as this ski i bought) but not skis. This will be my first ski.
 
I tried use mirror glaze fine cut on the plastic hood, but it left a white haze. I just brought a 1000 grid wet sand paper to use of the white part of the upper hull, is there any recommandations? And could I use the sand paper on the plastic hood as well?
 
I tried use mirror glaze fine cut on the plastic hood, but it left a white haze. I just brought a 1000 grid wet sand paper to use of the white part of the upper hull, is there any recommandations? And could I use the sand paper on the plastic hood as well?


With the plastic hood i start with the medium cut but on a lower speed because you can burn the plastic. I have a thread on that as well.

As for the wet sand paper, i would start with a heavier grit maybe 600, then, 800 then 1000. To me it would take you a long time with the 1000 to really remove any oxidation. If you have never wet sanded before, make sure you use a circular motion and a sanding block. Sand until you see a paste like substance on the paper and all over the hull. Make sure to rinse the paper often and also make sure your hull is wet as well Between changing sand paper make sure you dump out your bucket that youve been using to rinse the paper and use fresh water. The same rule applies here as well with the grit being left behind. Rinse the hull thoroughly so that none of the heavier grit is left behind or going to the next step is pointless.

And after the sanding you will still need to do some kind of buffing or your hull will just be dull. It may look whiter but dull, the sand paper is just knocking off the oxidation. If you want that luster, you will need to buff, but might be able to get away with starting with the fine cut
 
Last edited by a moderator:
Here are the decals that I ordered from dr honda. All the decals on our seadoos come from dr honda. They are very easy to install if you want to see how easy it is dr honda has a youtube video link on his signature.

142.jpg

143.jpg

144.jpg

145.jpg

146.jpg
 
Last edited by a moderator:
Here are the new pads as well. I also put a blacktip handle bar pad on as well kind of cheesy but better than the gooey pad for now.
Next step is the trim paint, I will get those pics up too
 

Attachments

  • pads 1.jpg
    pads 1.jpg
    592.1 KB · Views: 174
  • pads 2.jpg
    pads 2.jpg
    592.7 KB · Views: 162
  • pads 3.jpg
    pads 3.jpg
    899 KB · Views: 148
  • pads 4.jpg
    pads 4.jpg
    500.3 KB · Views: 142
  • pads 5.jpg
    pads 5.jpg
    893.2 KB · Views: 161
Wow, nicely done, what a difference you have made with just a few hours. The Doc did a nice job on those decals, sure sets it off nice.
Great "how to" post, thanks for the info.
 
Status
Not open for further replies.
Back
Top