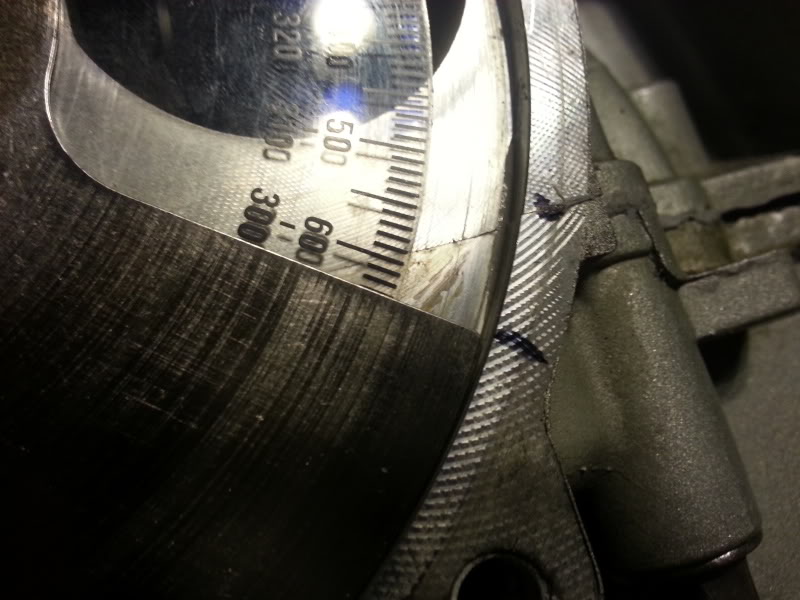
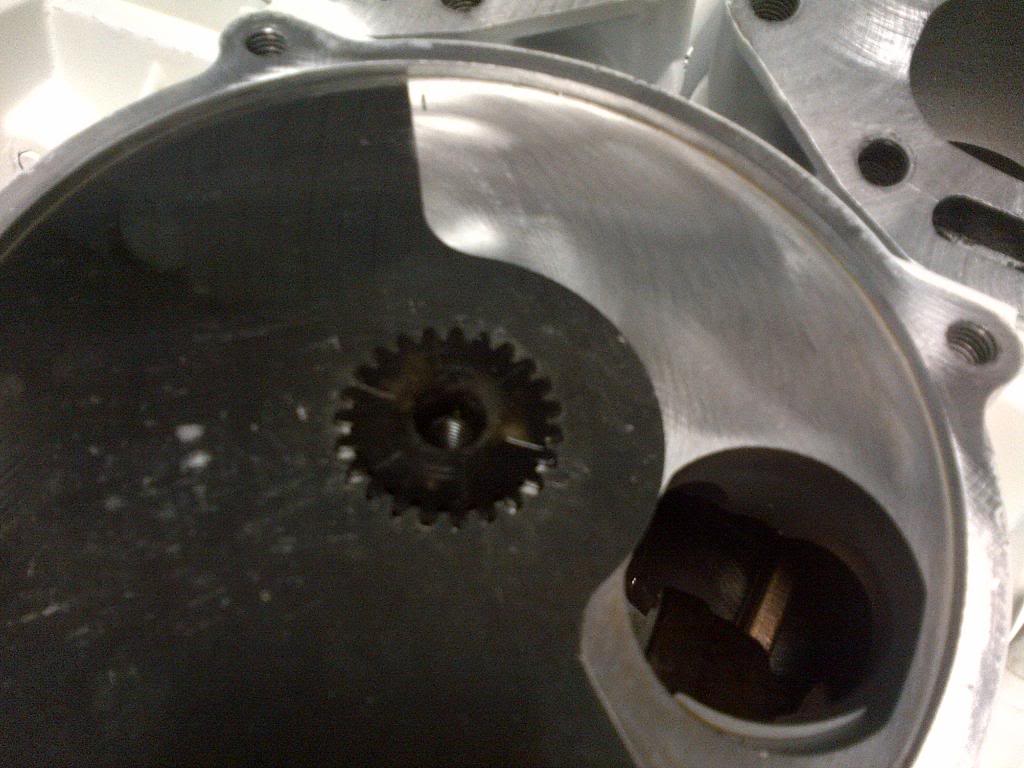
The rv should have some oil on it, but you have it off now so just rub some on yourself. It is timed correctly though, we have timed many of these within the last year and that mark looks dead on to me. Everything to me looks really good, I just think he traced and cut a new rv for you the same size. It looks like a standard 159 degree rv to me. When I say traced and cut, i dont mean with a pencil and tin snips either, it looks machine done. That is for sure a new rv
Here is a pic of where mine is lined up
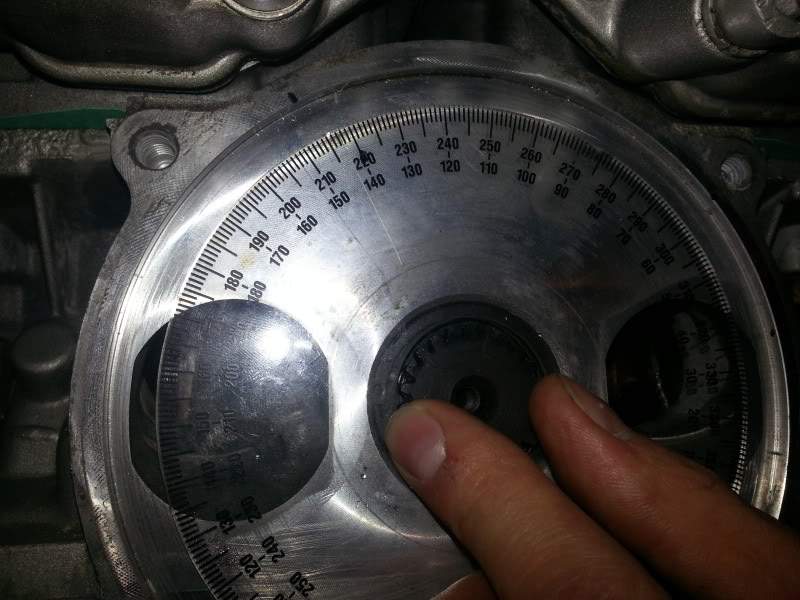
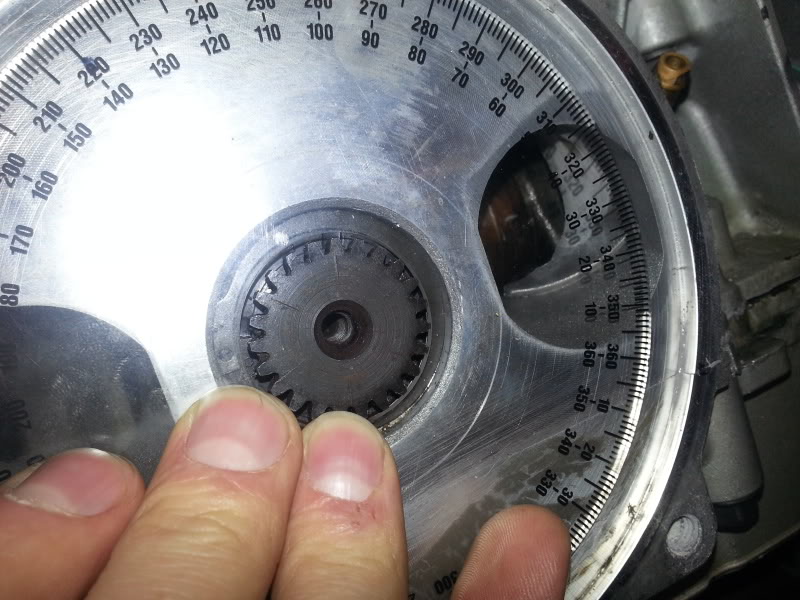
The mark that is visible on yours should be at 146.5. To get that you start by getting your piston to top dead center then you line up the degree wheel so that 360 is at the bottom of the mag side opening. You the mark that and hold it in place, you then go counter clockwise to the 146.5 degree and mark that. That is your timing opening or btdc(before top dead center). The rest of the process you move the degree wheel so the 360 is now on the top of the opening and hold it there then go clockwise to 64 degrees and mark that. That mark is timing closing or atdc(after top dead center). Now you just place the rv on so it sits between the 146.5 and the 64 mark. Just a side note for anyone trying this, if it does not fit right when you put it on just flip it over and it should line up. We may have done this once or twice lol
Notice 360 is below the opening, this is where to place the degree wheel to line up btdc
This is 146.5 marked, you can see the marker on the outer side of the circle
This is the 64 marked or atdc, you can see that the 360 would be above the opening. It is at 64 it is just a weird angle that makes it look like 63
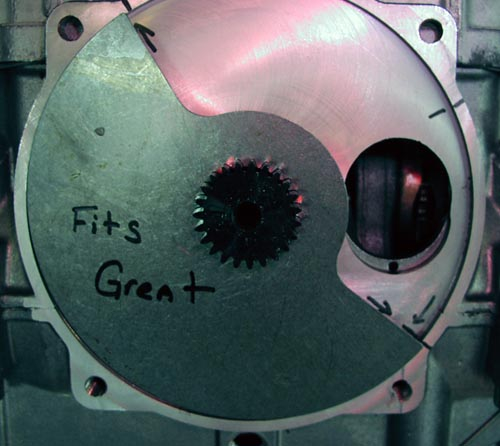
Ok this picture is just a picture off of yahoo images but I did not have a picture of the rv placed between my marks, but here is what it would look like in place. Note this is not a 159 rv, it looks more like a 147 or even a 130 but you will get the idea of how it should be placed between to marks.
Sorry if I turned this into a how to time your motor. Just wanted to show your mark on the cases look to be dead on.


") I'm so sick of telling people to throw them out. Actually that's a lie, I love telling them to toss them. Now they can finally get some Windows 7 / 8 machines and we can get stuff done.
I'm so sick of telling people to throw them out. Actually that's a lie, I love telling them to toss them. Now they can finally get some Windows 7 / 8 machines and we can get stuff done.