


So while I am waiting on my new wear rings to come in for my new to me 1999 Challenger 1800, I decided to work on installing some LED's. I purchased a ten pack of Oznium blue four chip LED's, today I swapped out the factory courtesy lights and thought I would share my install.
I wanted an install that was easy to replace and did not destroy the factory light housing. I started out with two Female Disconnect crimp on connectors. Due to clearance issues in the factory light housing I had to clip off the crimp area of the connector

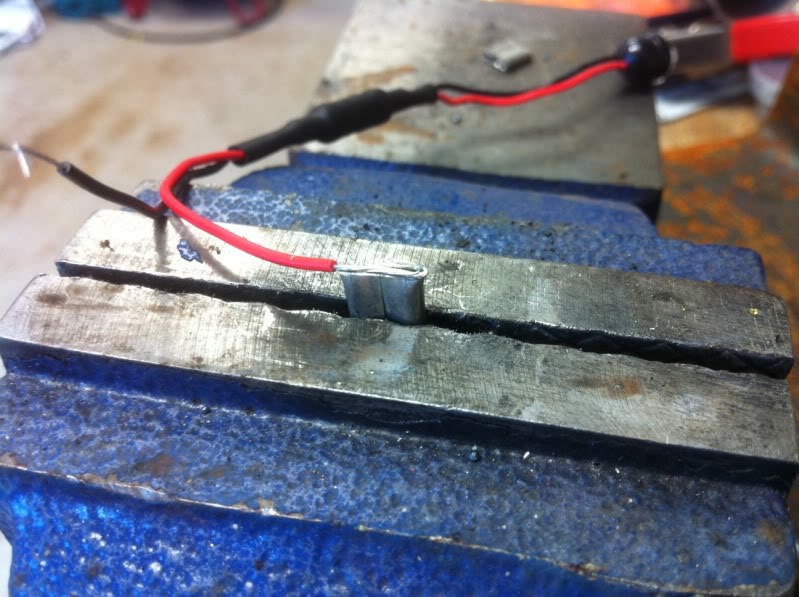
The Oznium LED comes with several inches of wire attached and an inline resistor. Cut the wire off a couple inches past the resistor and strip about 3/4 of an inch of the insulation off each wire. Then place the modified female disconnect in a vise and lay the wire across the end where the crimp was cut off
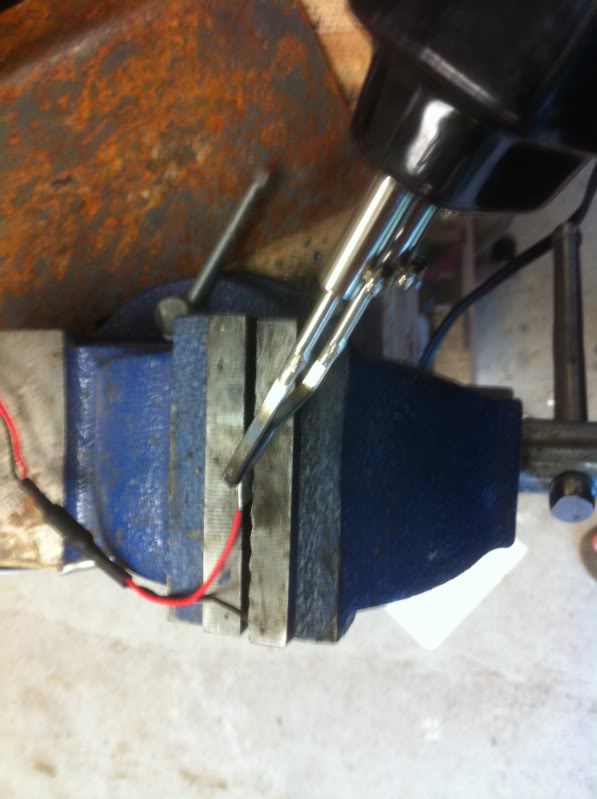
Next, solder the wire to the female disconnect
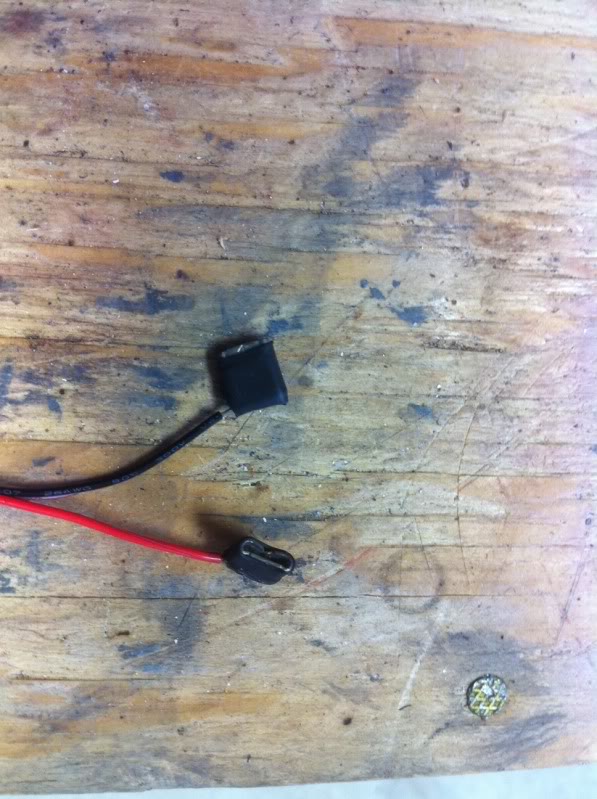
After soldering both leads you should have this

Just to be safe, I decided to heat shrink the connectors. Cut a strip of heat shrink tubing to cover the top where the wire was soldered on

Then slide a piece of tubing over the connector and over the piece covering the top
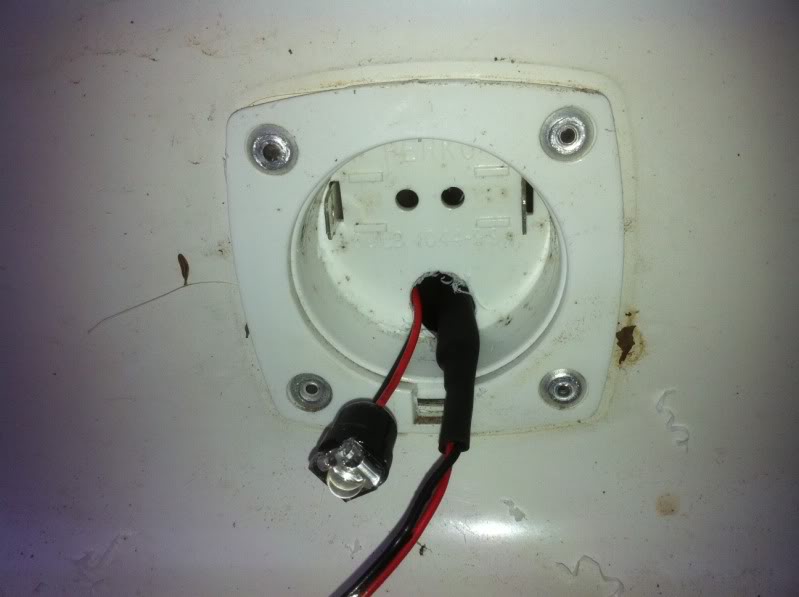
This is the inside of the factory courtesy light housing with the incandescent light
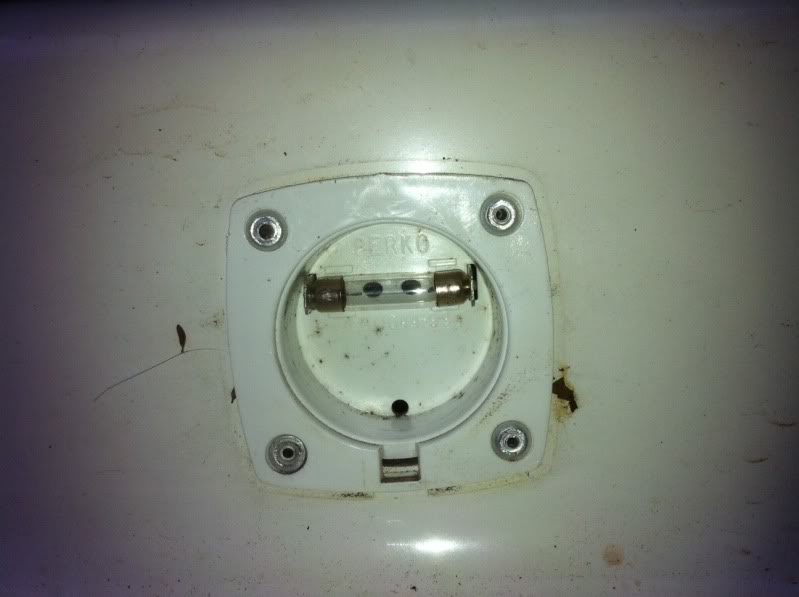
And with the lamp removed you can see the two leads that will slide nicely into the female disconnects on the LED.

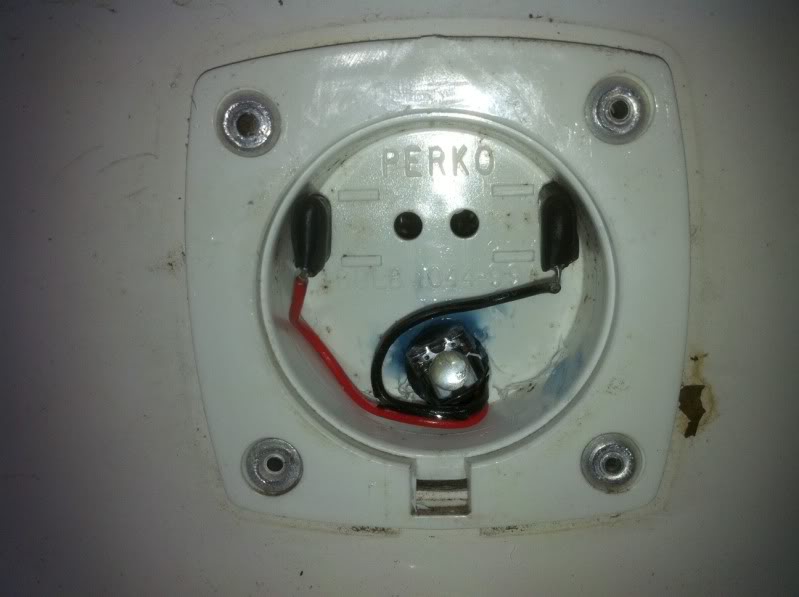
Now to mount the LED. Drill a 3/8 inch hole in the back of the housing near the bottom. The inline resister is too big to go in the housing so slide it through the hole and let the wire leads come back into the housing. Make a notch in the hole to make room for the wires.
Slide the LED into the hole and add a little silicone RTV to help hold it there. Then you need to figure out the polarity. Turn on the courtesy light switch and touch the female disconnects to the factory lamp connectors. If the LED does not come one, switch the polarity. Once you have the correct polarity, slide the disconnects onto the connectors making sure they are all the way seated. Route the wires out of the way to make installing the lens easier.
Snap the lens and cover back on the light. Fin.

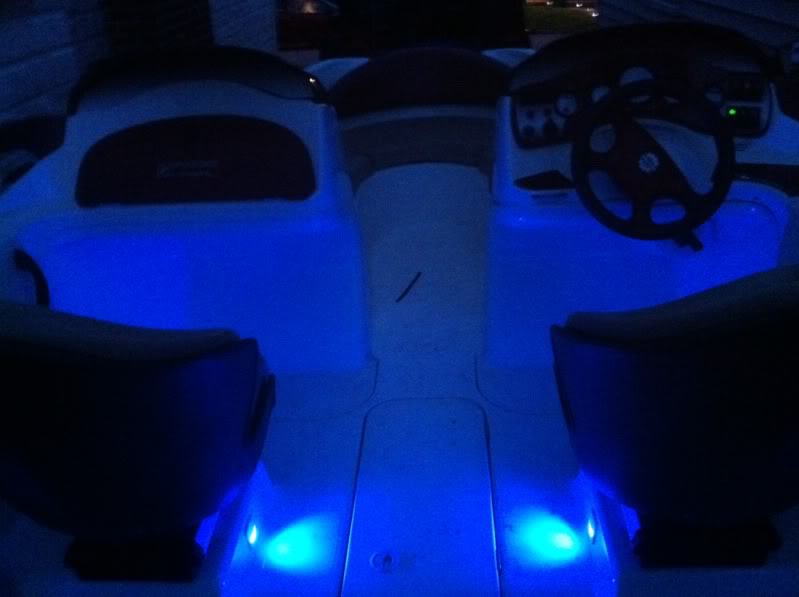
Repeat for the other side and you will have something that looks like this
I hope this was helpful. Soon I will be doing my cup holder lights and I will post pics of that as well. Feel free to ask any questions and offer any suggestions.
James
I wanted an install that was easy to replace and did not destroy the factory light housing. I started out with two Female Disconnect crimp on connectors. Due to clearance issues in the factory light housing I had to clip off the crimp area of the connector
The Oznium LED comes with several inches of wire attached and an inline resistor. Cut the wire off a couple inches past the resistor and strip about 3/4 of an inch of the insulation off each wire. Then place the modified female disconnect in a vise and lay the wire across the end where the crimp was cut off
Next, solder the wire to the female disconnect
After soldering both leads you should have this
Just to be safe, I decided to heat shrink the connectors. Cut a strip of heat shrink tubing to cover the top where the wire was soldered on
Then slide a piece of tubing over the connector and over the piece covering the top
This is the inside of the factory courtesy light housing with the incandescent light
And with the lamp removed you can see the two leads that will slide nicely into the female disconnects on the LED.
Now to mount the LED. Drill a 3/8 inch hole in the back of the housing near the bottom. The inline resister is too big to go in the housing so slide it through the hole and let the wire leads come back into the housing. Make a notch in the hole to make room for the wires.
Slide the LED into the hole and add a little silicone RTV to help hold it there. Then you need to figure out the polarity. Turn on the courtesy light switch and touch the female disconnects to the factory lamp connectors. If the LED does not come one, switch the polarity. Once you have the correct polarity, slide the disconnects onto the connectors making sure they are all the way seated. Route the wires out of the way to make installing the lens easier.
Snap the lens and cover back on the light. Fin.
Repeat for the other side and you will have something that looks like this
I hope this was helpful. Soon I will be doing my cup holder lights and I will post pics of that as well. Feel free to ask any questions and offer any suggestions.
James