Jetskigoodies
Well-Known Member
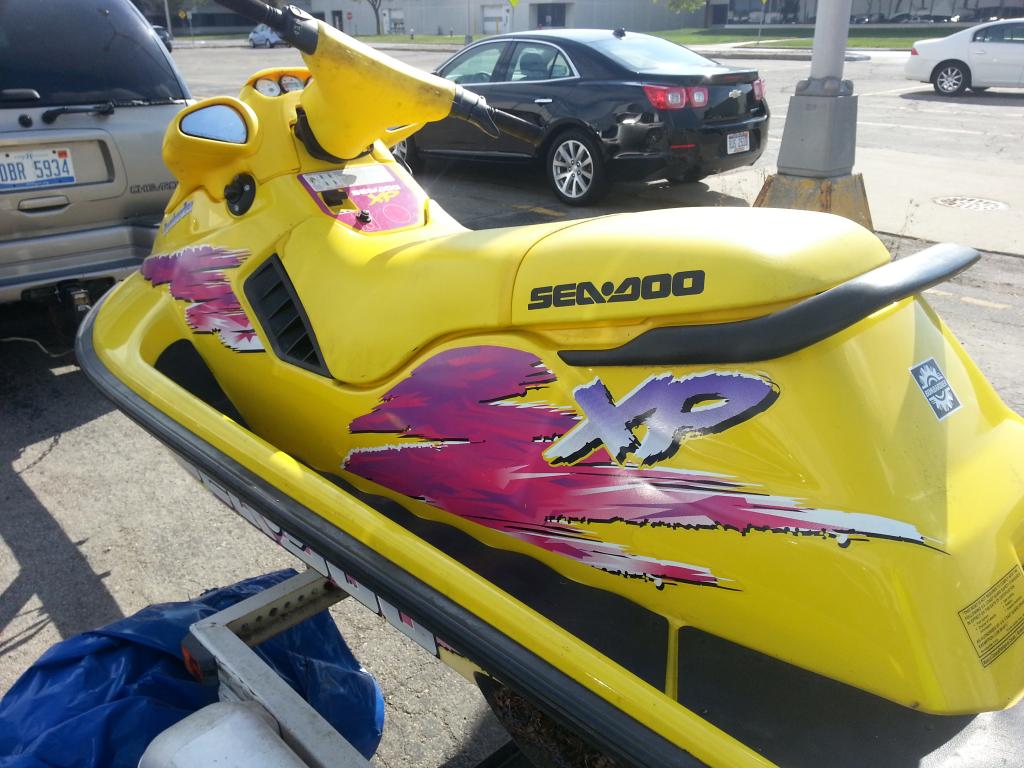
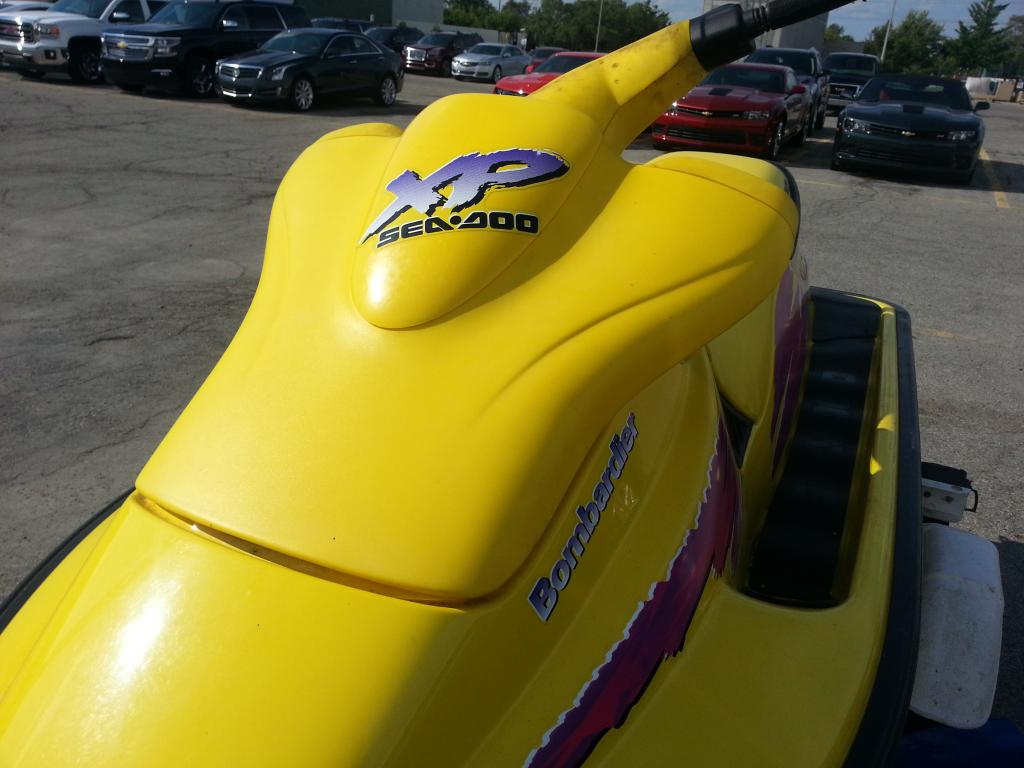
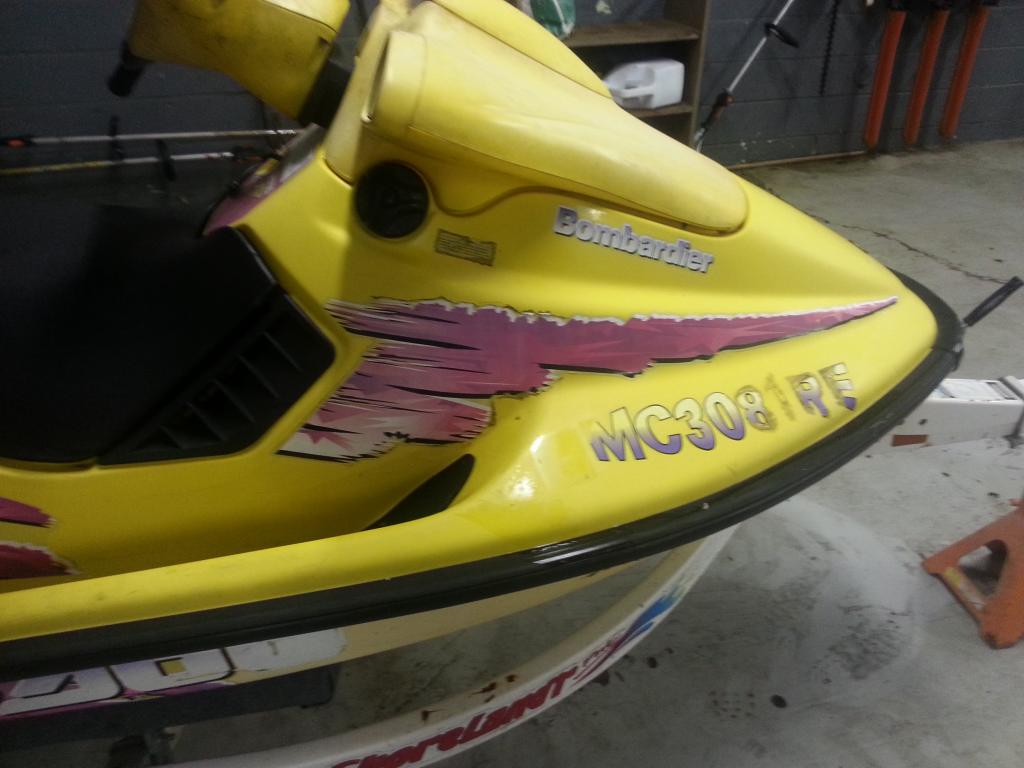
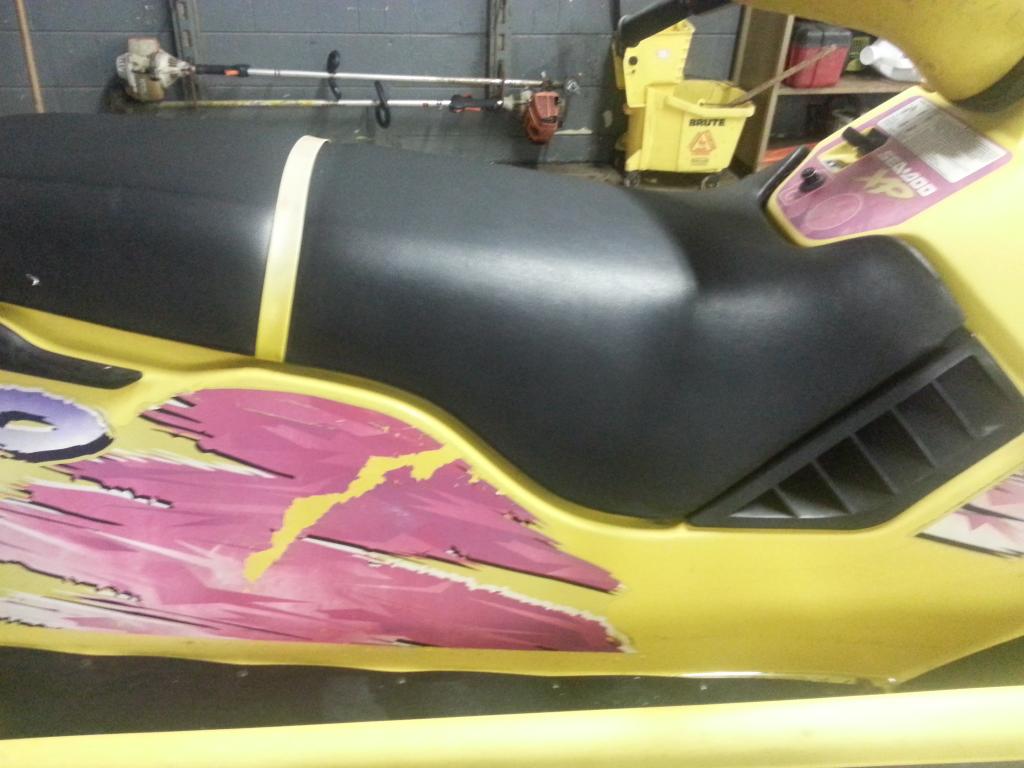
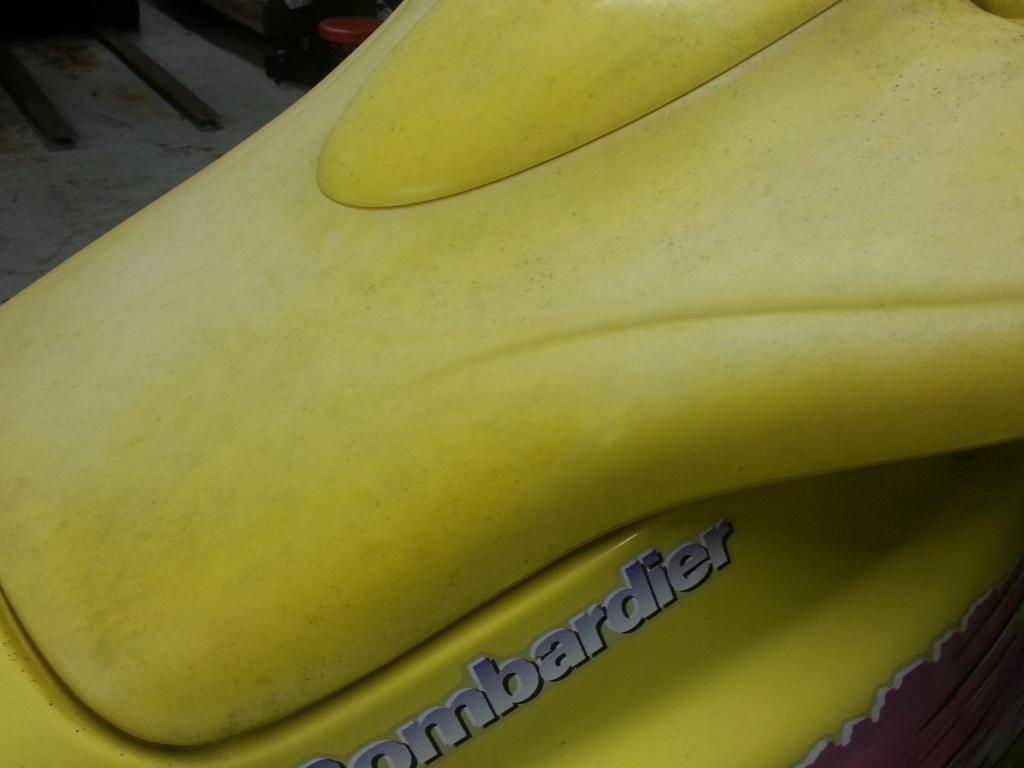
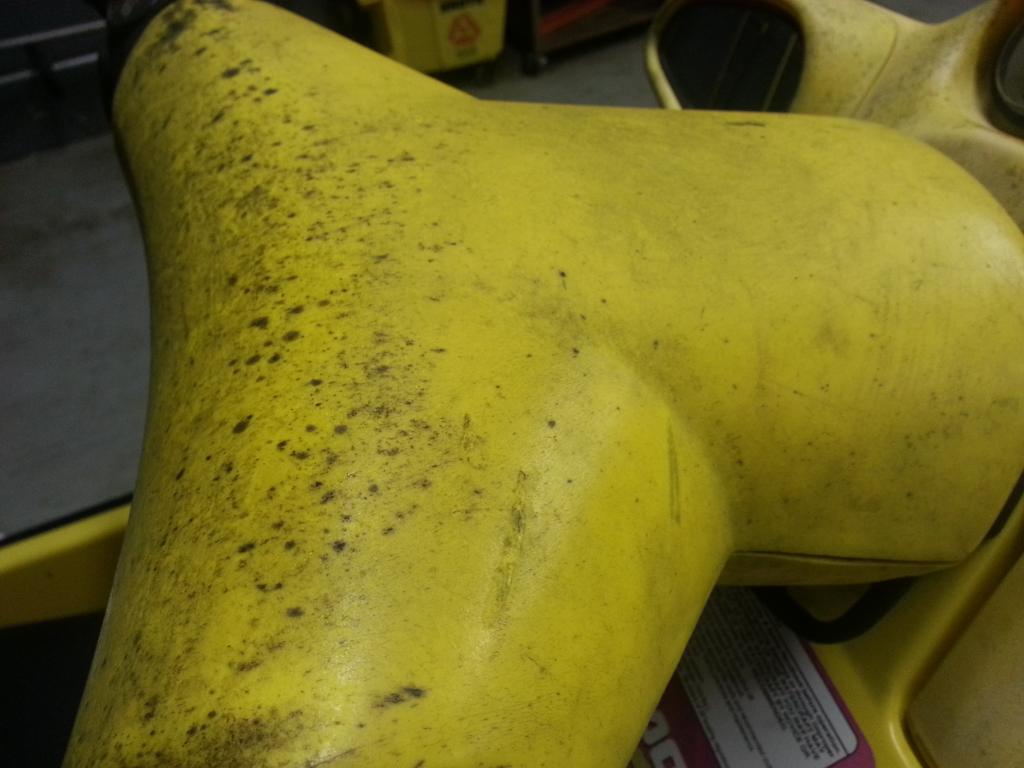
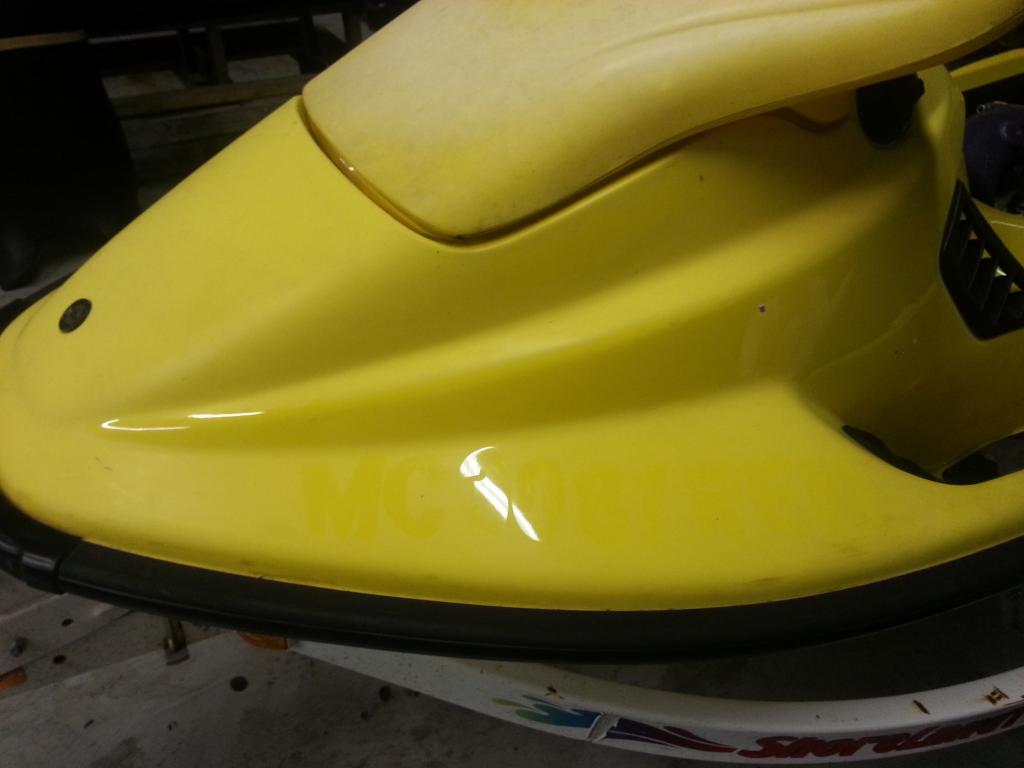
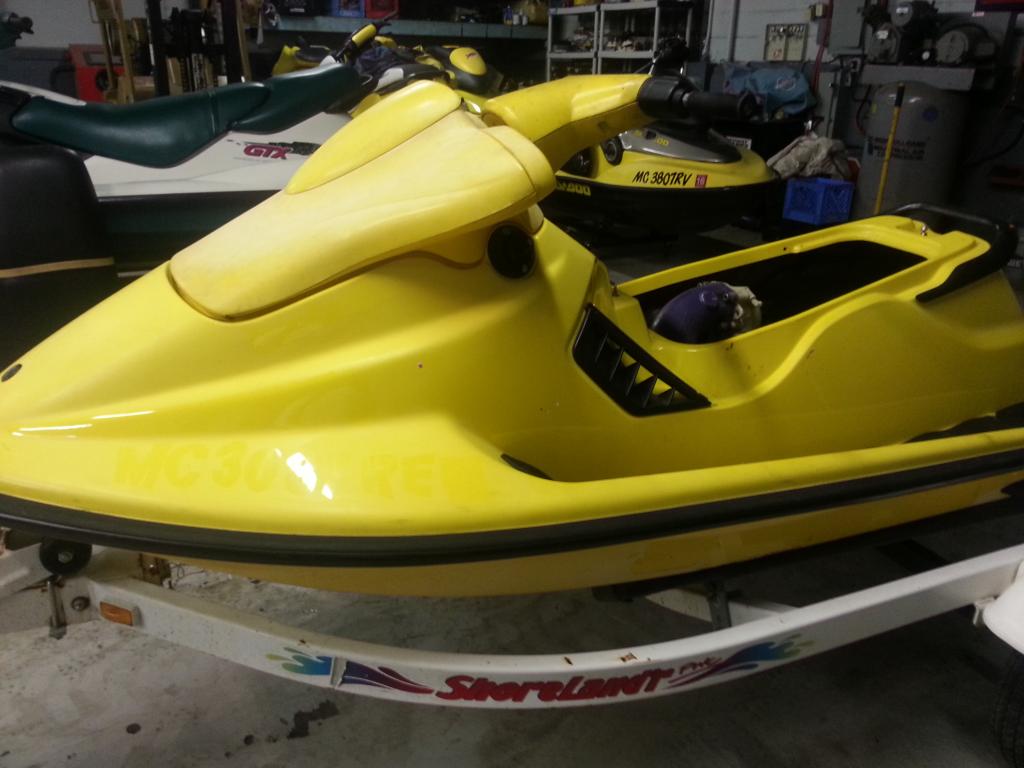
I know there are a bunch of these 96 xp threads but we have just had someone drop off their 96 xp and they want it restored. They want it close to original as possible. He wants new decals, the seat back to yellow, and it cleaned up to new. So I thought some of you may enjoy seeing the process.
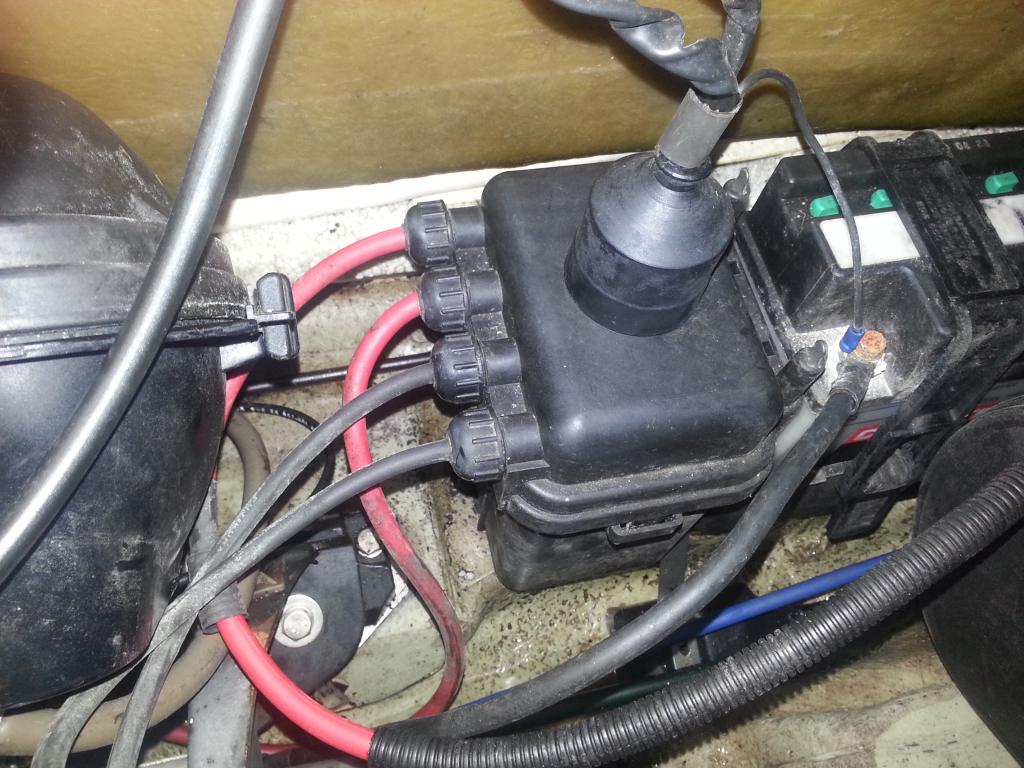
So he dropped it off and said it was not getting spark. We put an inline spark tester on and hit the start button. It turned over but no spark. We tested the battery and it was at 11.7, we put another battery in that was at 12.1 volts and it now had spark and fired right up.
So now that it is running here is the plan.
Exterior
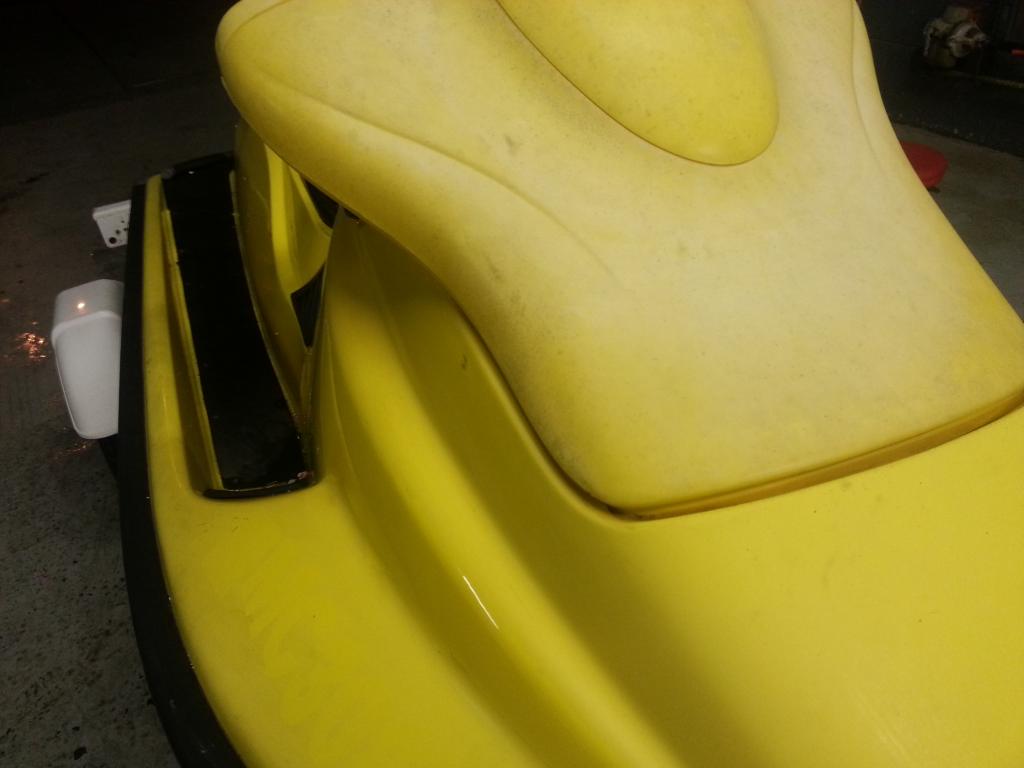
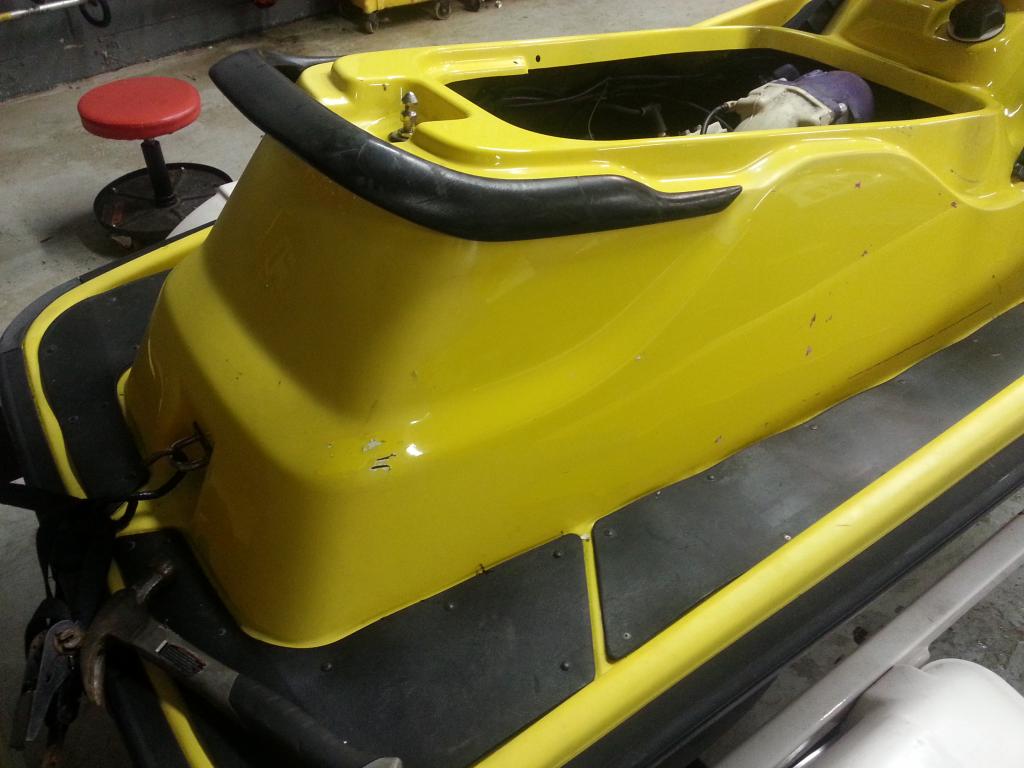
1. pull off all graphics
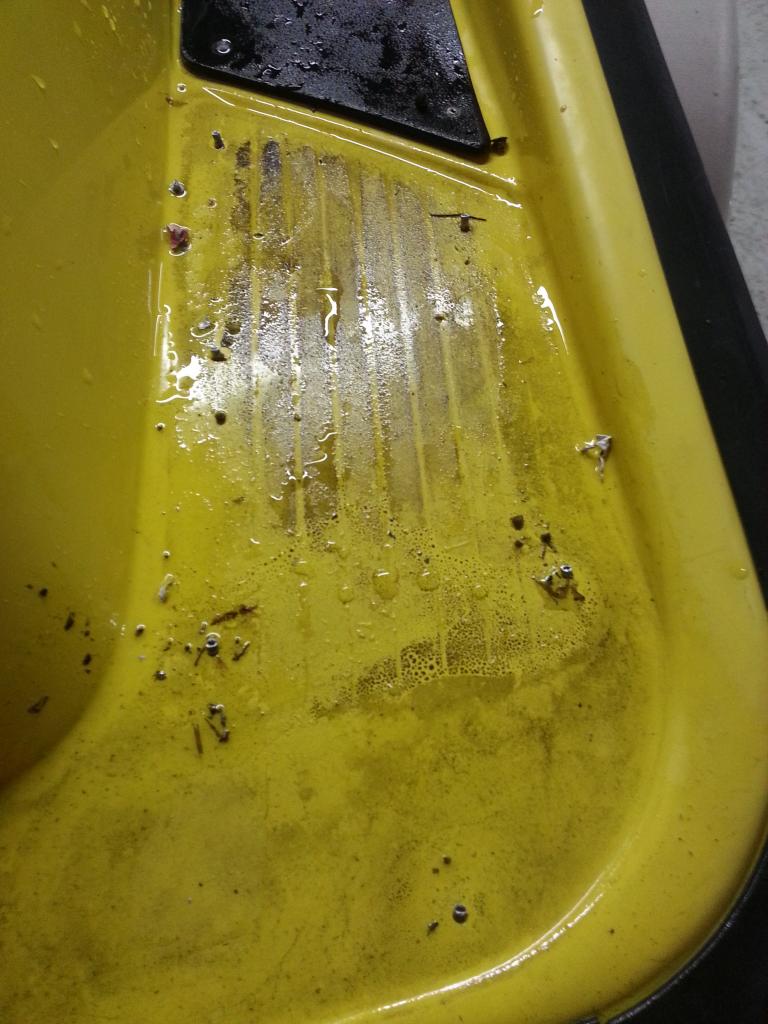
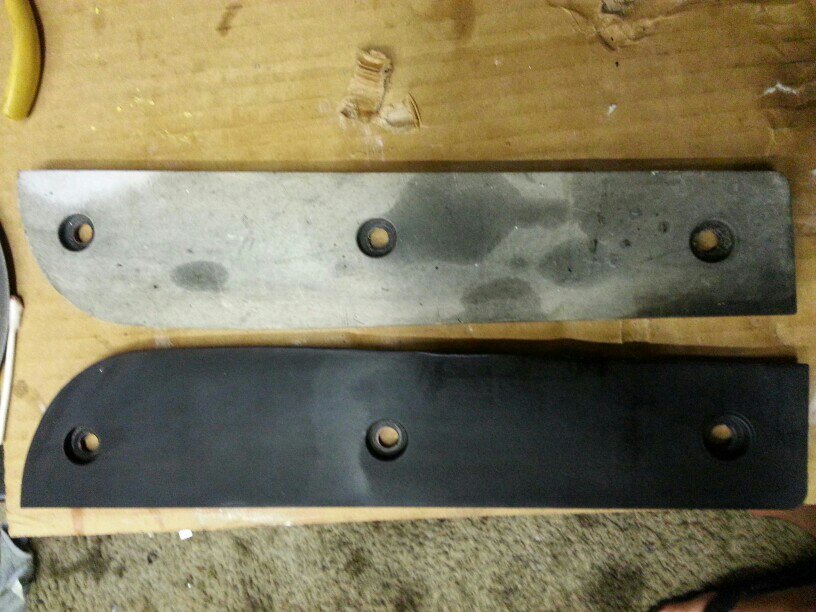
2. Remove mats
3. Wet sand and buff
4. Find new handlebar pad
5. Rewrap the seat
6. Clean the hood and try the wipe new method that [MENTION=41828]Minnetonka4me[/MENTION] and [MENTION=57920]racerxxx[/MENTION] have done
7. Install new graphics
8. Install new mats, hydroturf of coarse and we will buy them from pwcmuscle.com
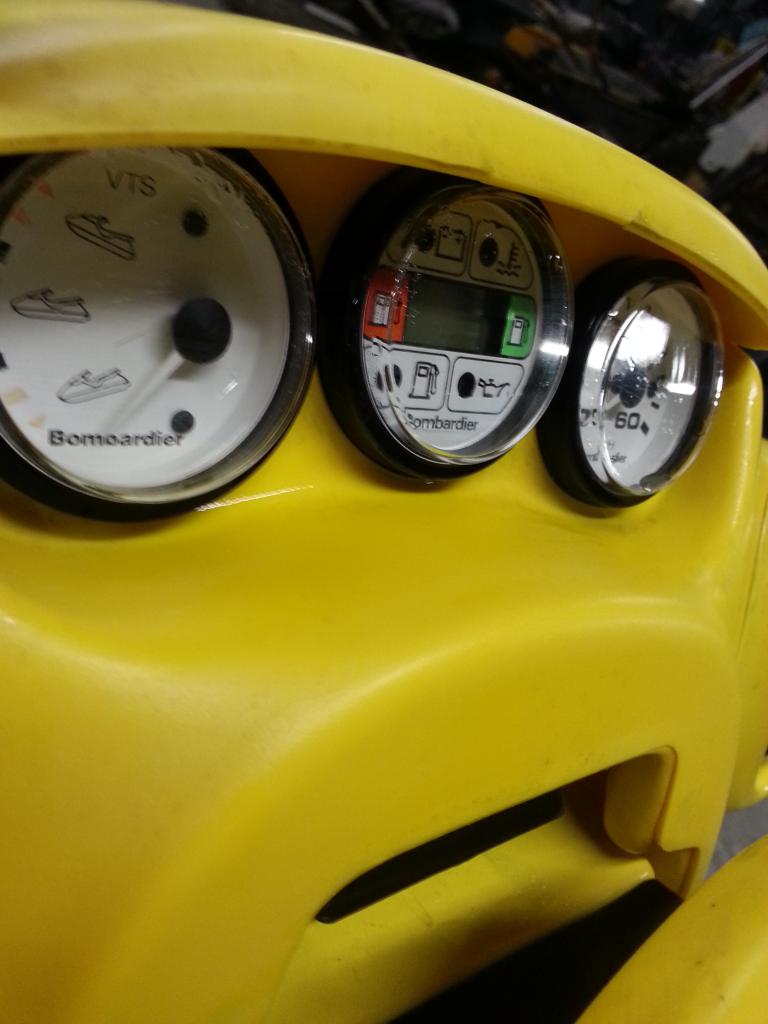
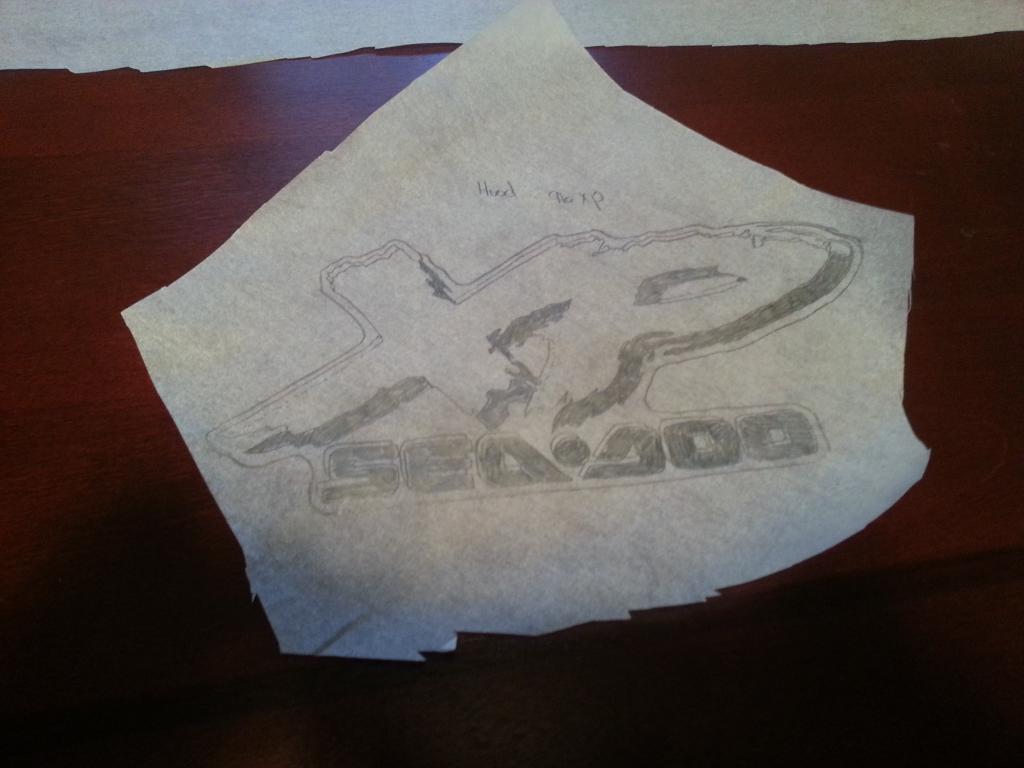
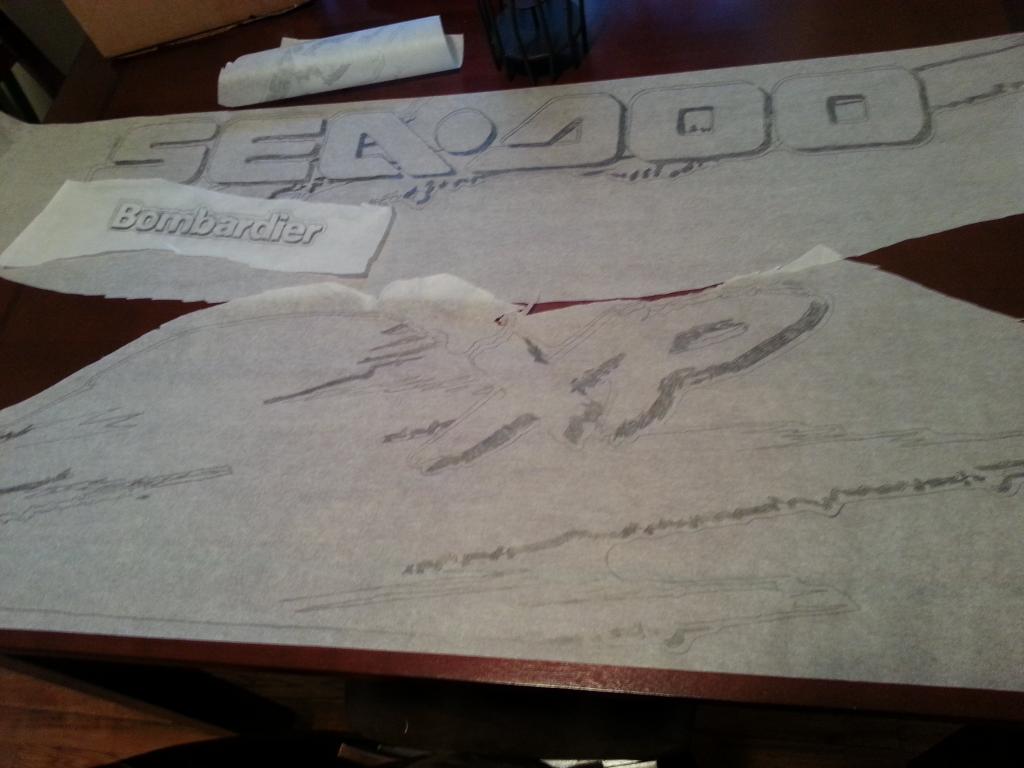
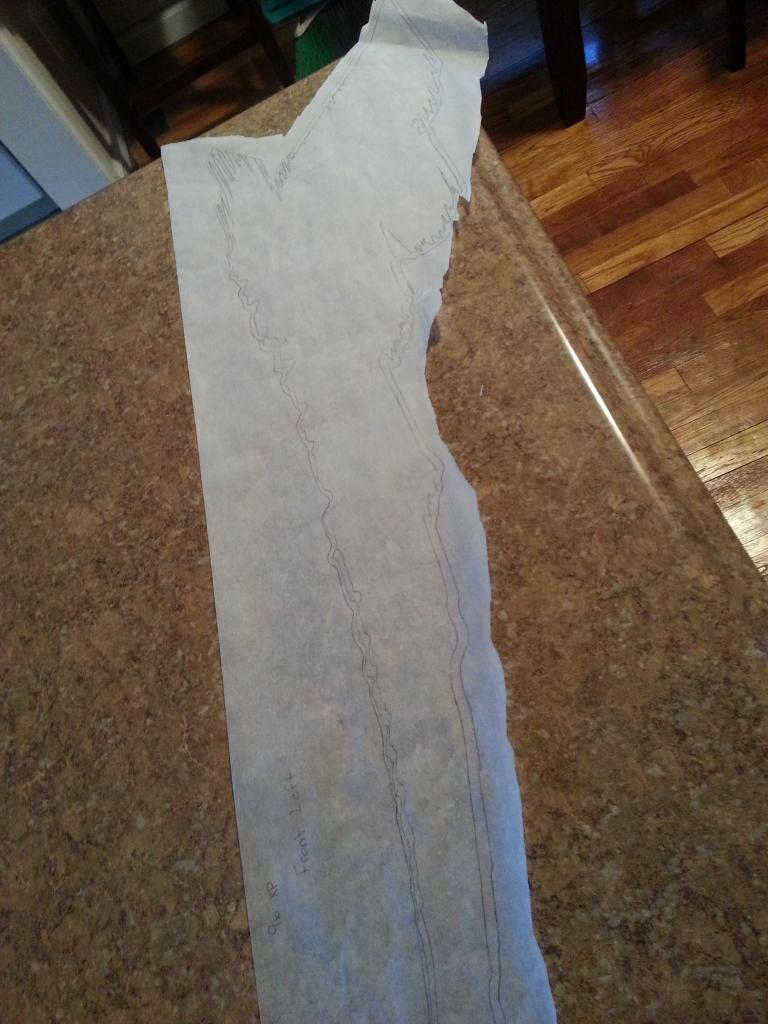
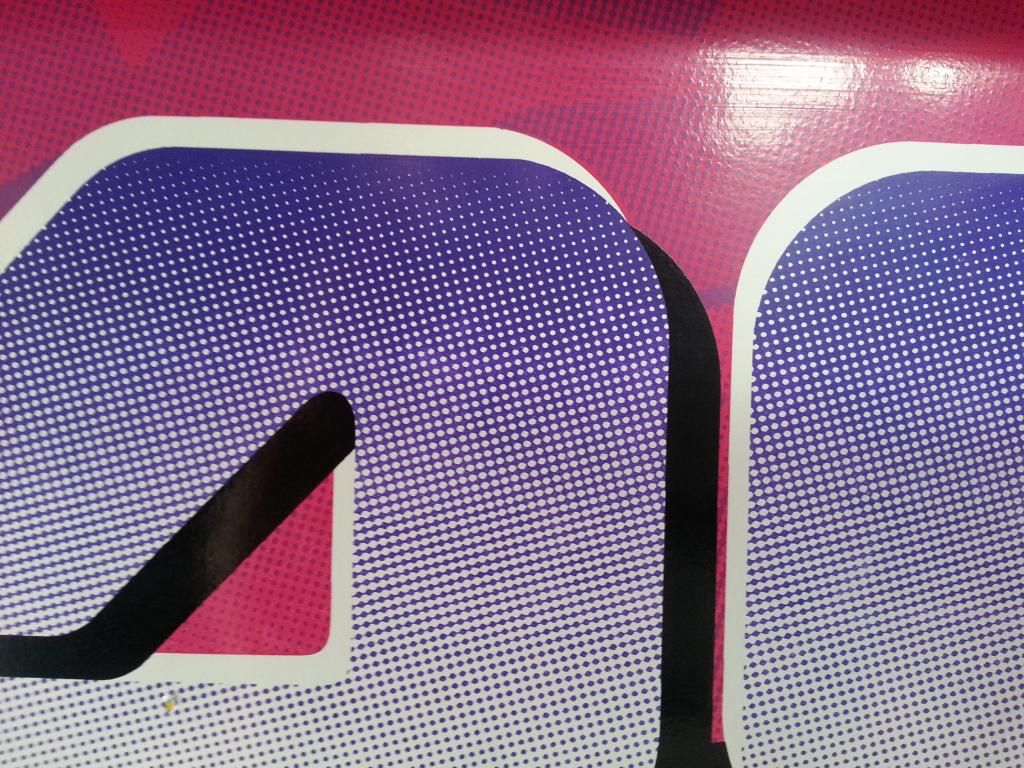
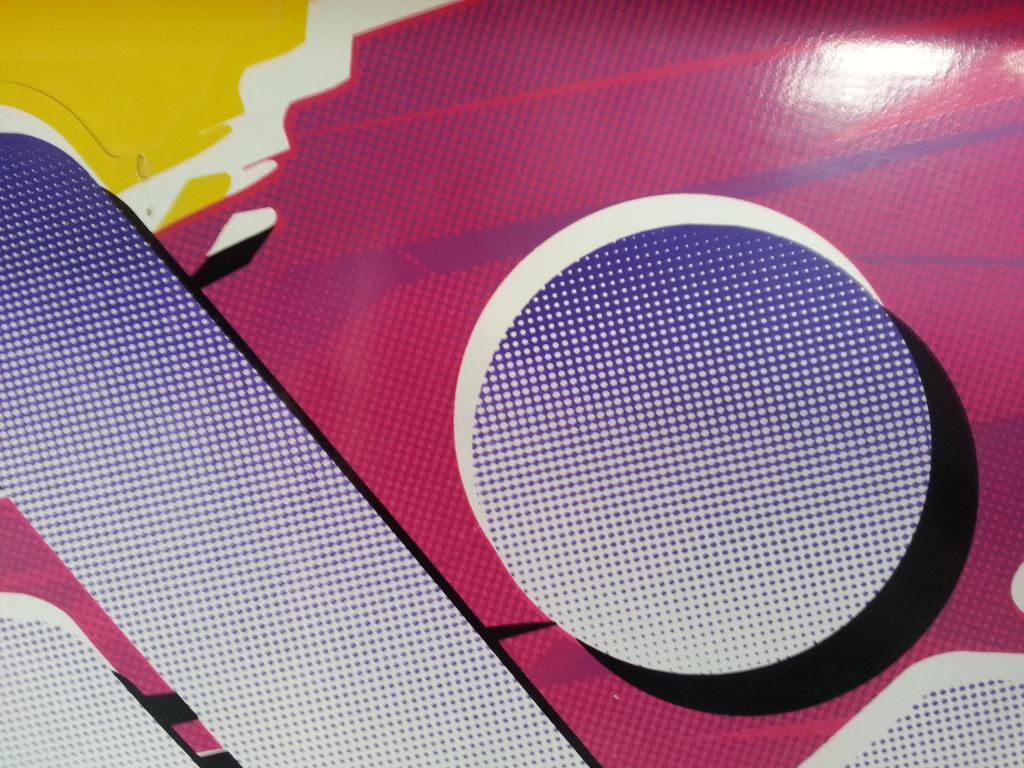
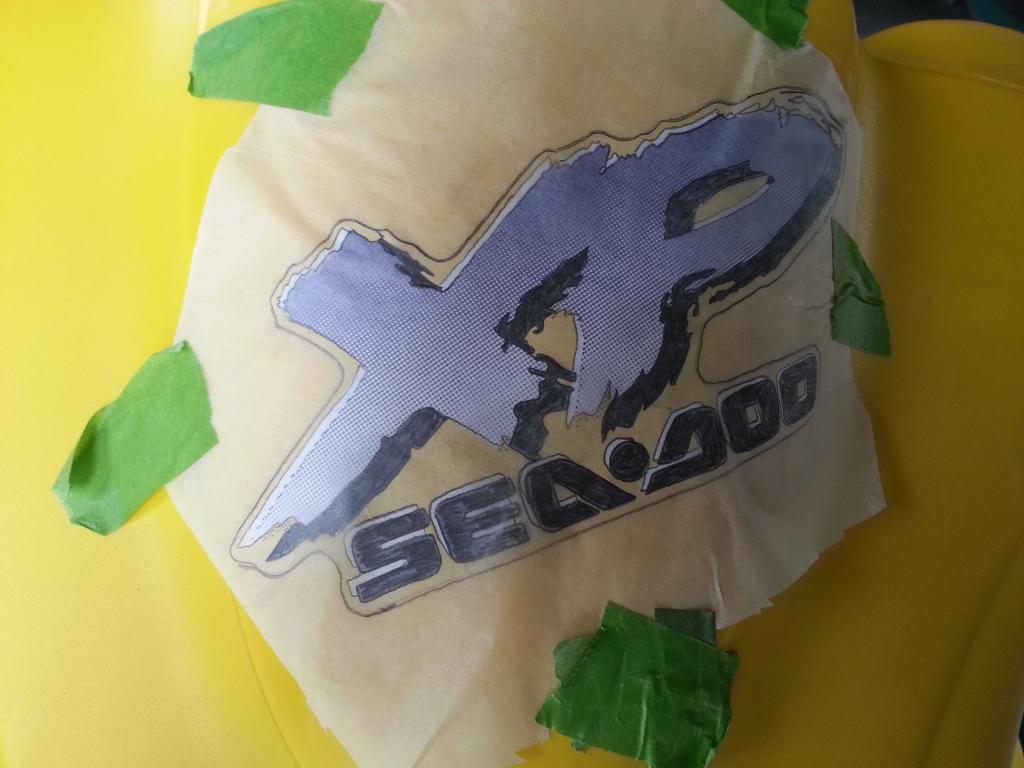
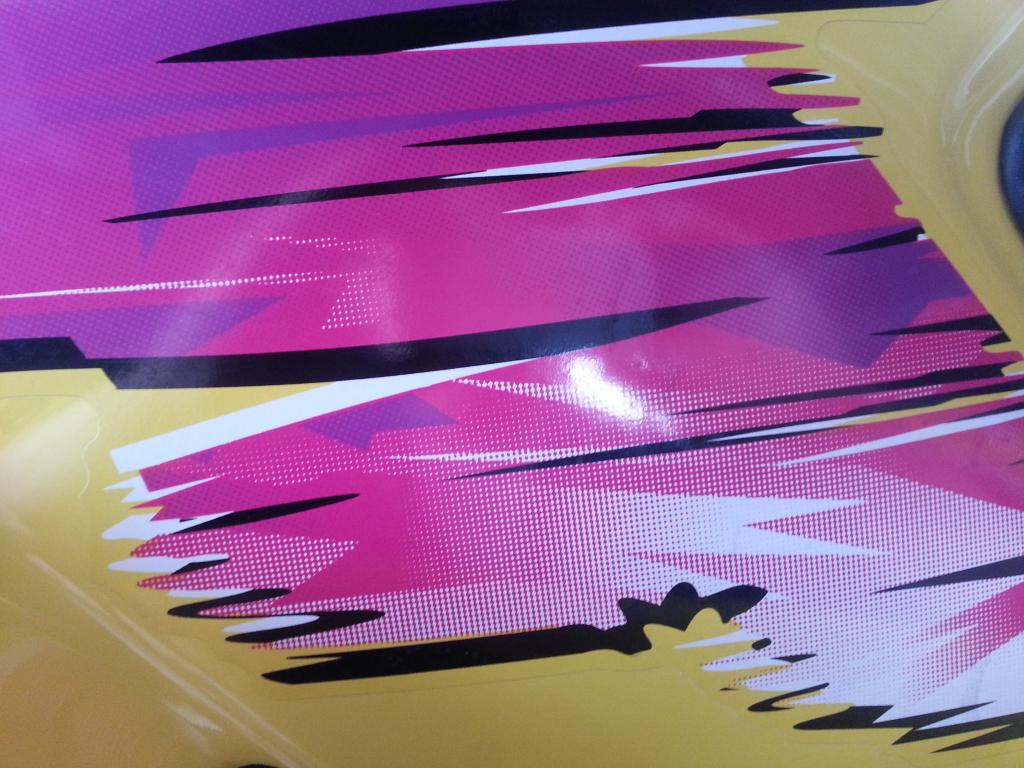
For the graphics I called Mike at pwcgrahics.com or [MENTION=70010]RatFink[/MENTION]. I told him what my plans are and I informed him I have a 96 xp that has nice graphics with vibrant colors. I am going to send him lots of pictures and dimentions this weekend. He said that would help him out greatly in reproducing them. He said there has been alot of interest in the 96 decals.
I will be taking pictures of this xp's decals to send in.
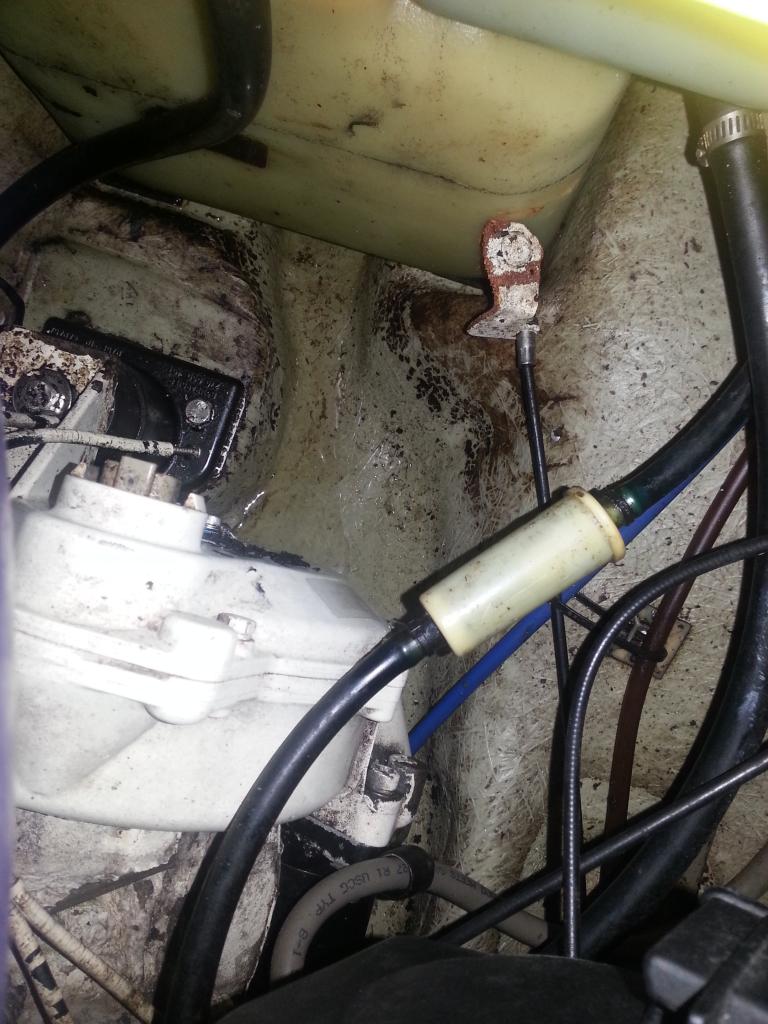
For the inside.
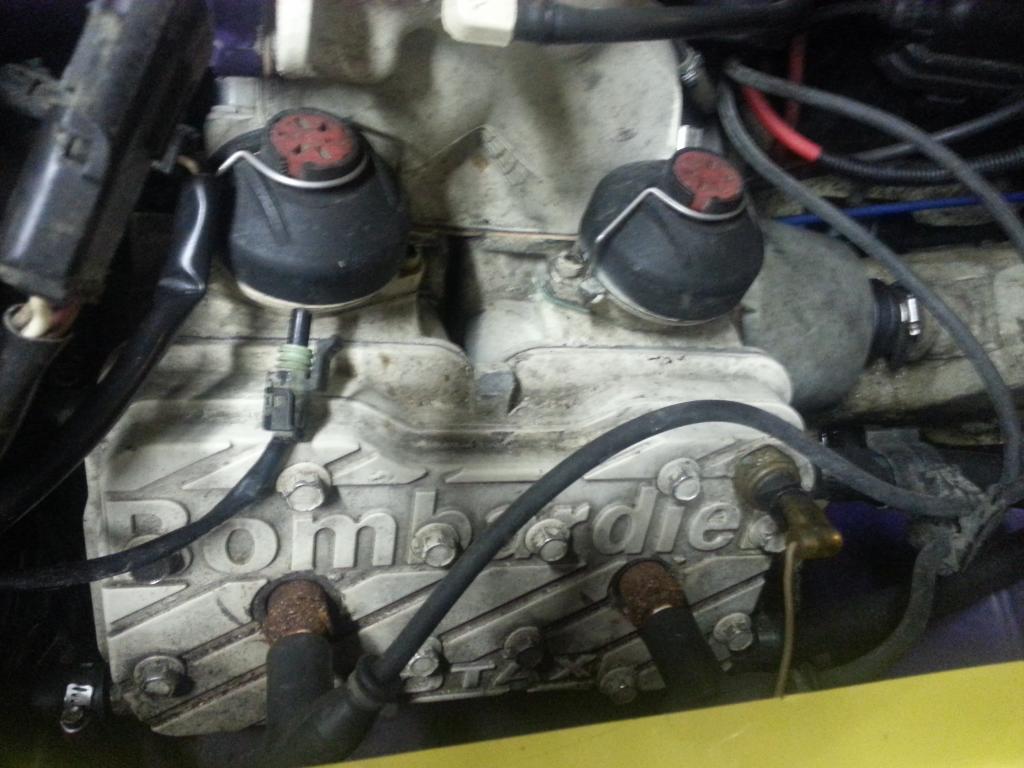
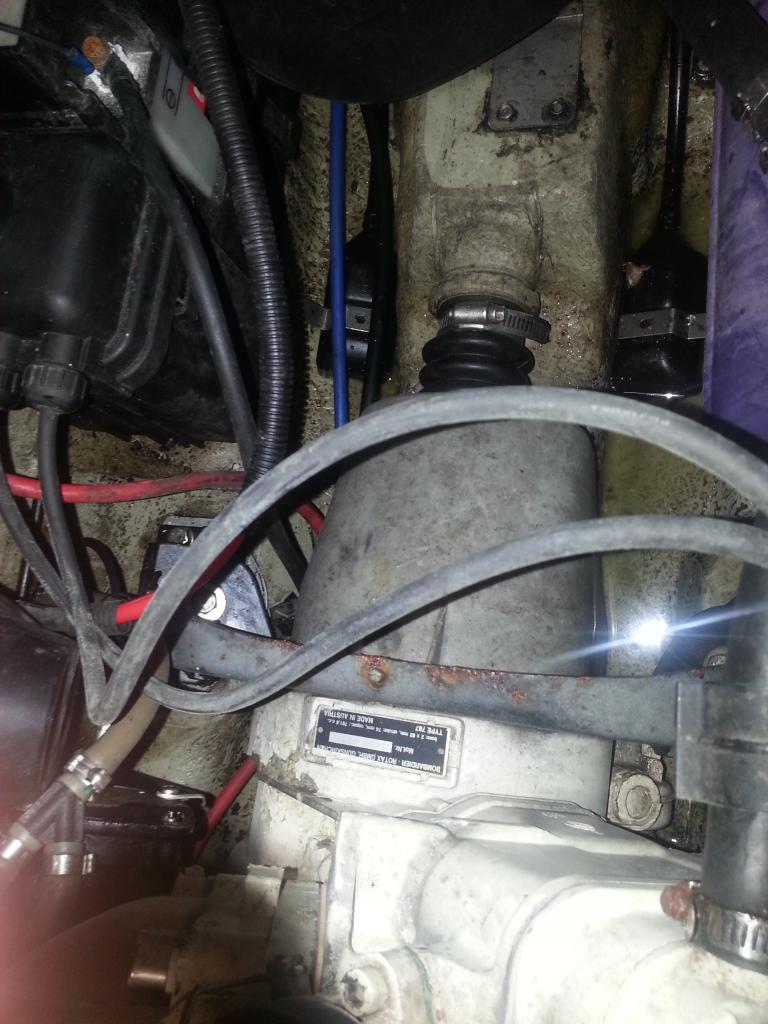
1. Pull the motor just to clean everything inside
2. Clean the raves
3. Change oil lines
4. Change fuel lines.
5. Weld the head pipe
6. Paint the motor and pipes the factory colors
7. Rebuild the carbs
8. Replace the vts housing
9. Change pump oil.
10. Right now it has an oil injection block of kit, he wants the injection pump back.
I am sure there is more but this list will get us going.
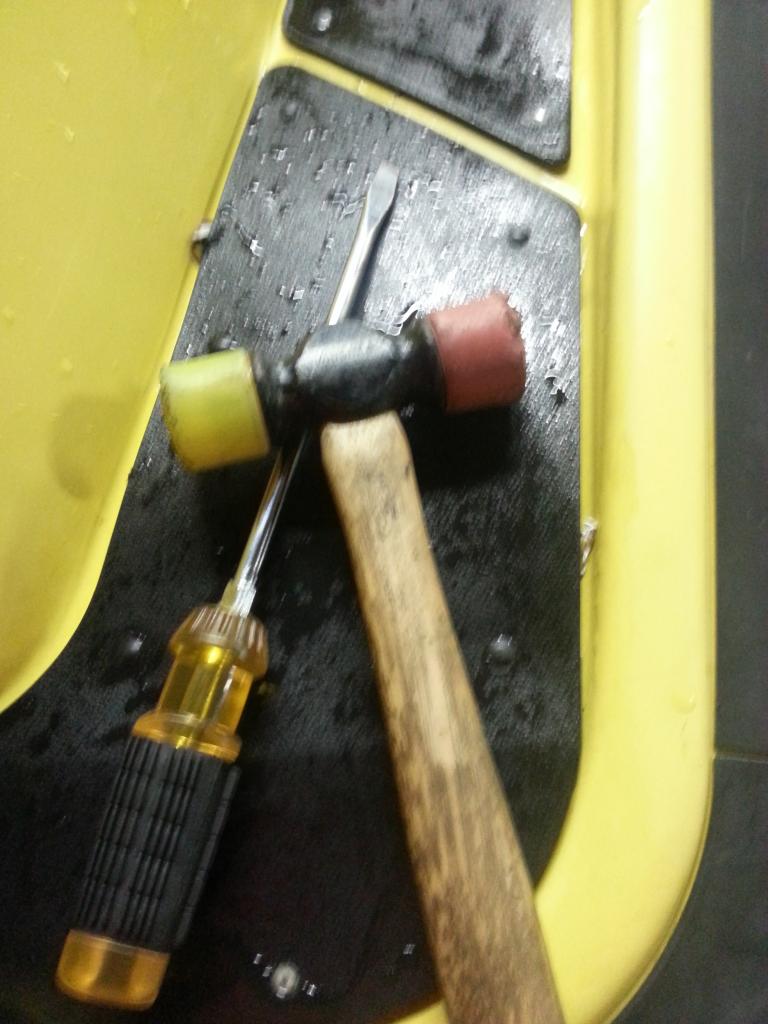
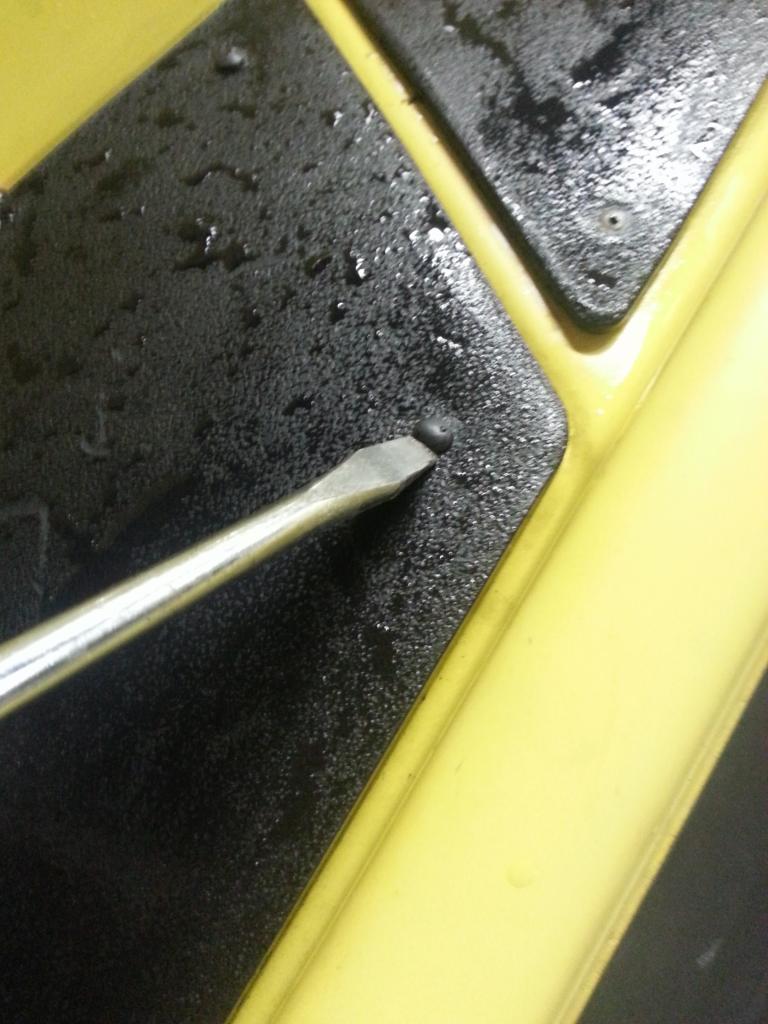
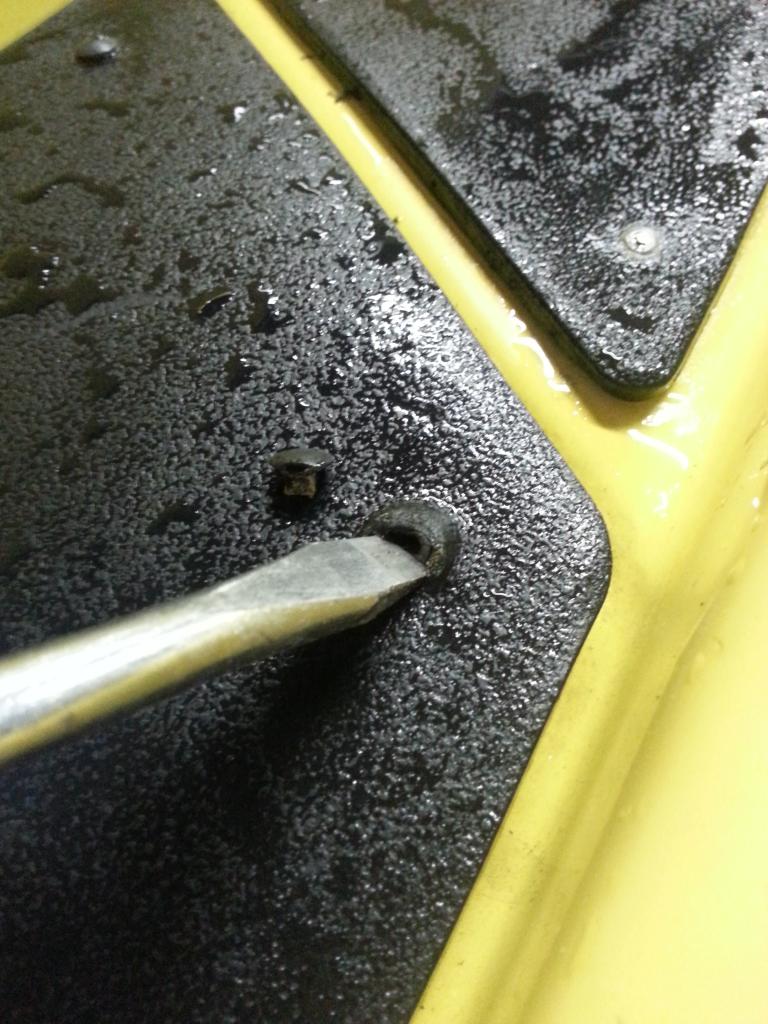
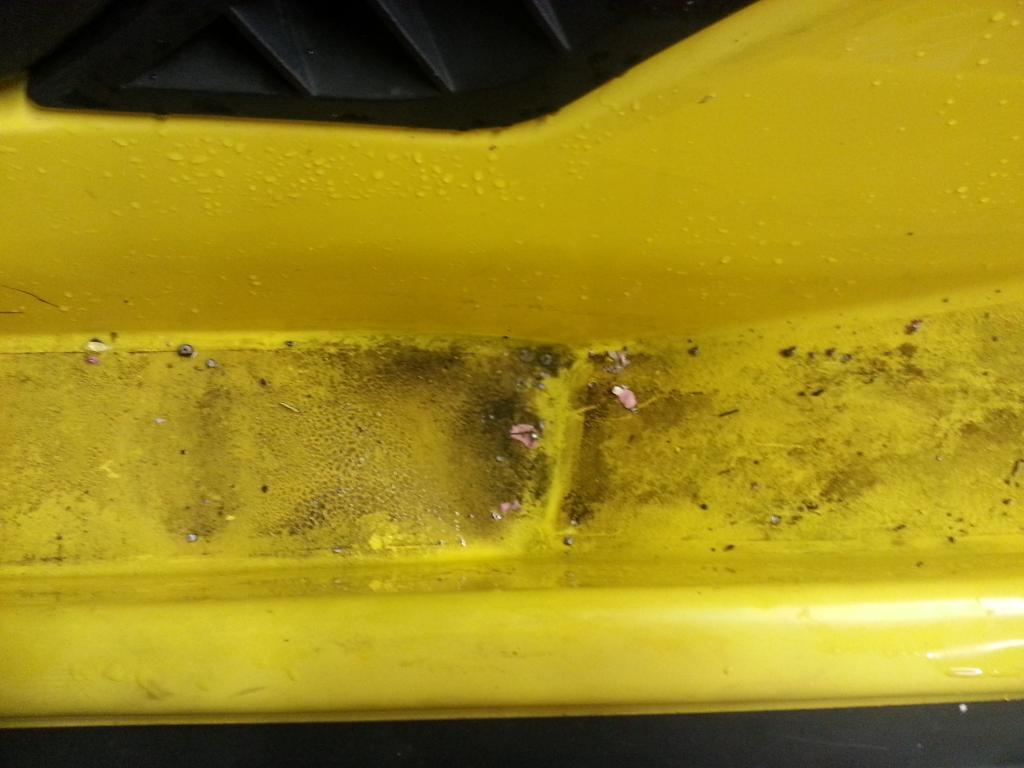
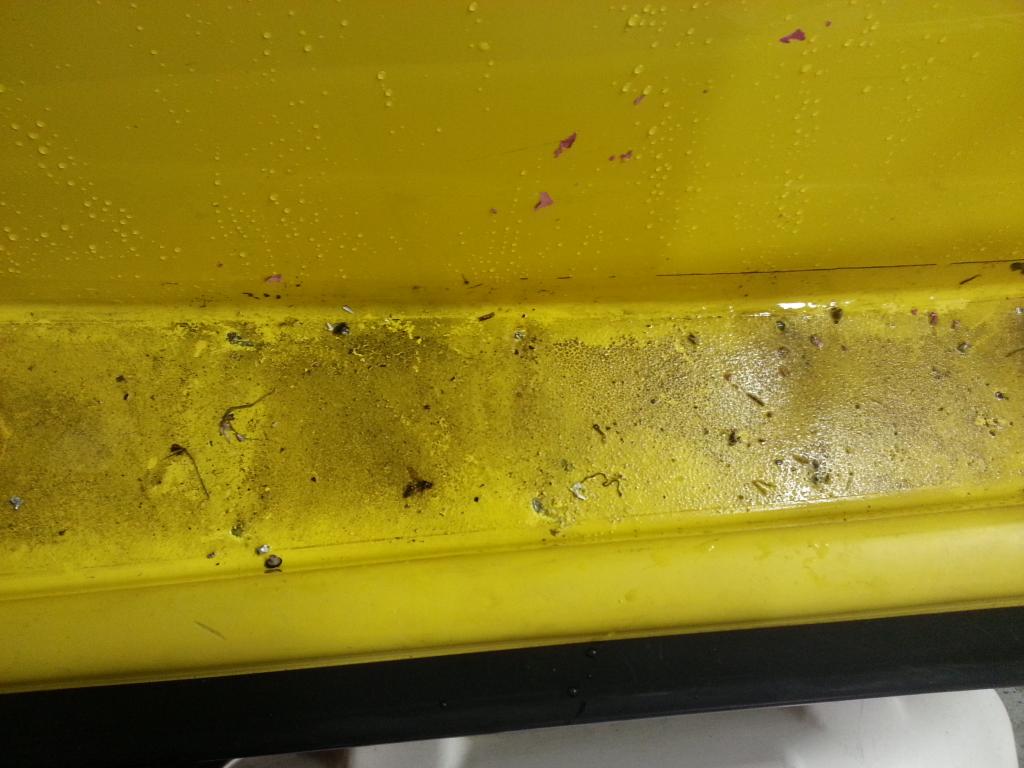
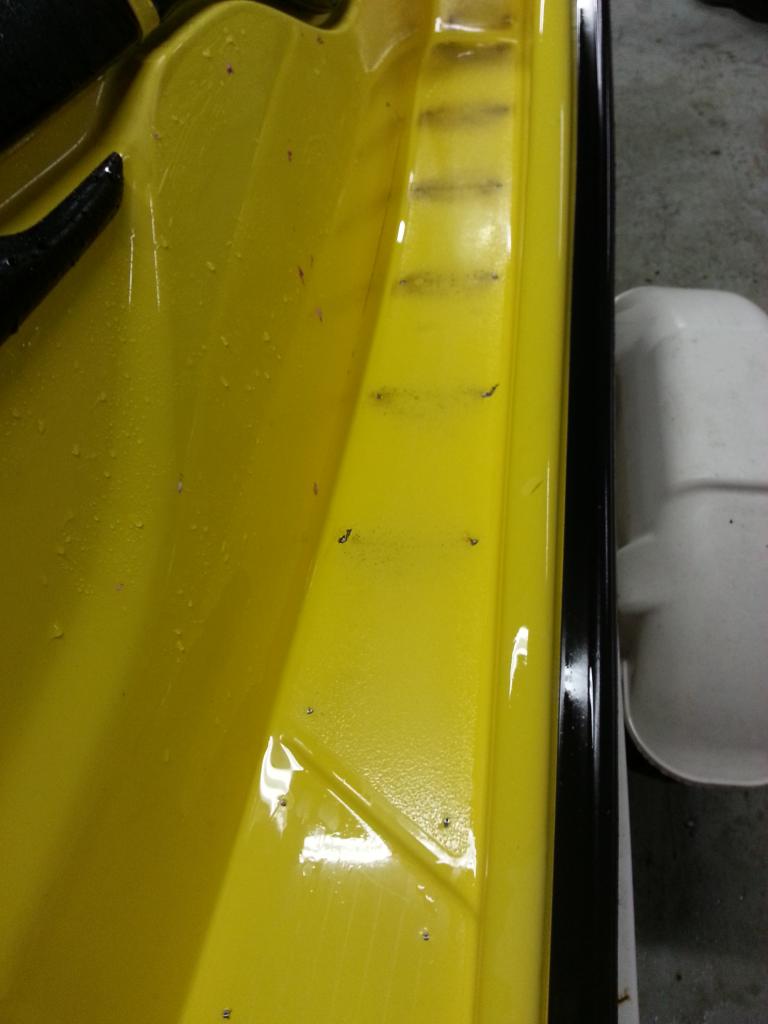
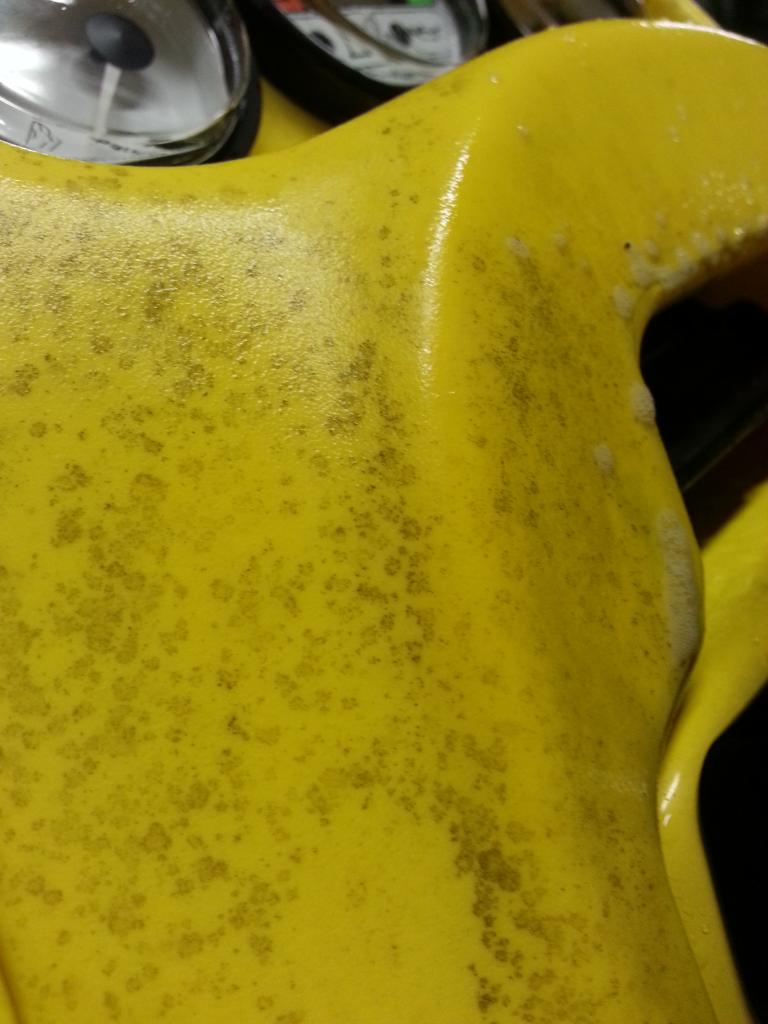
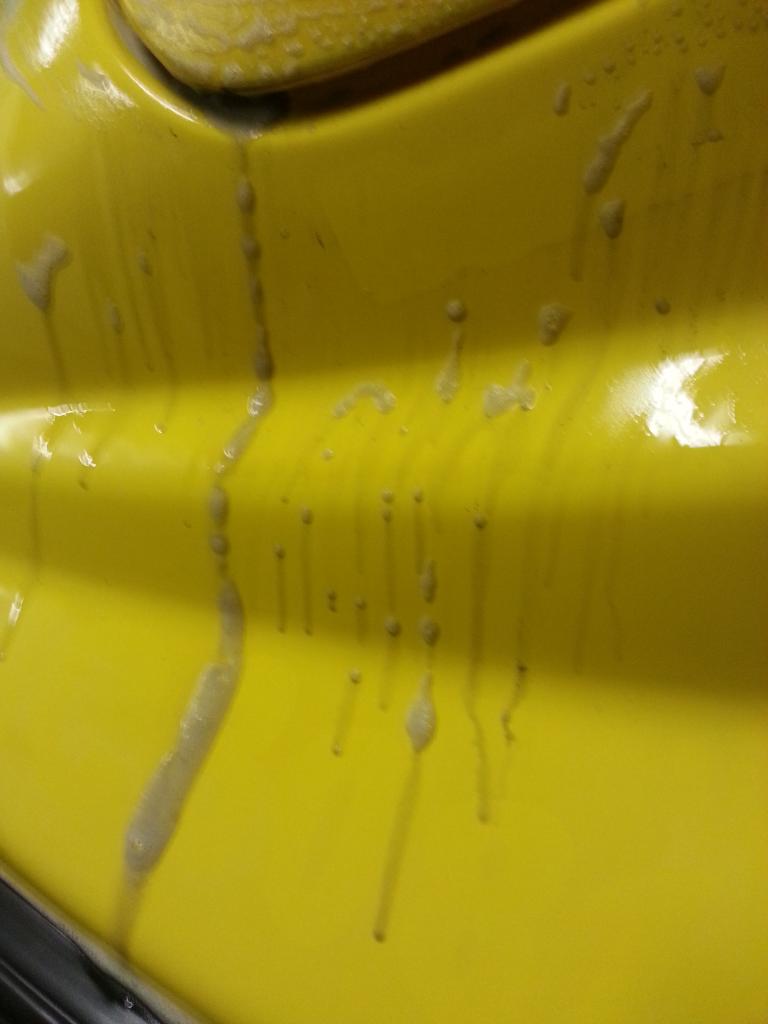
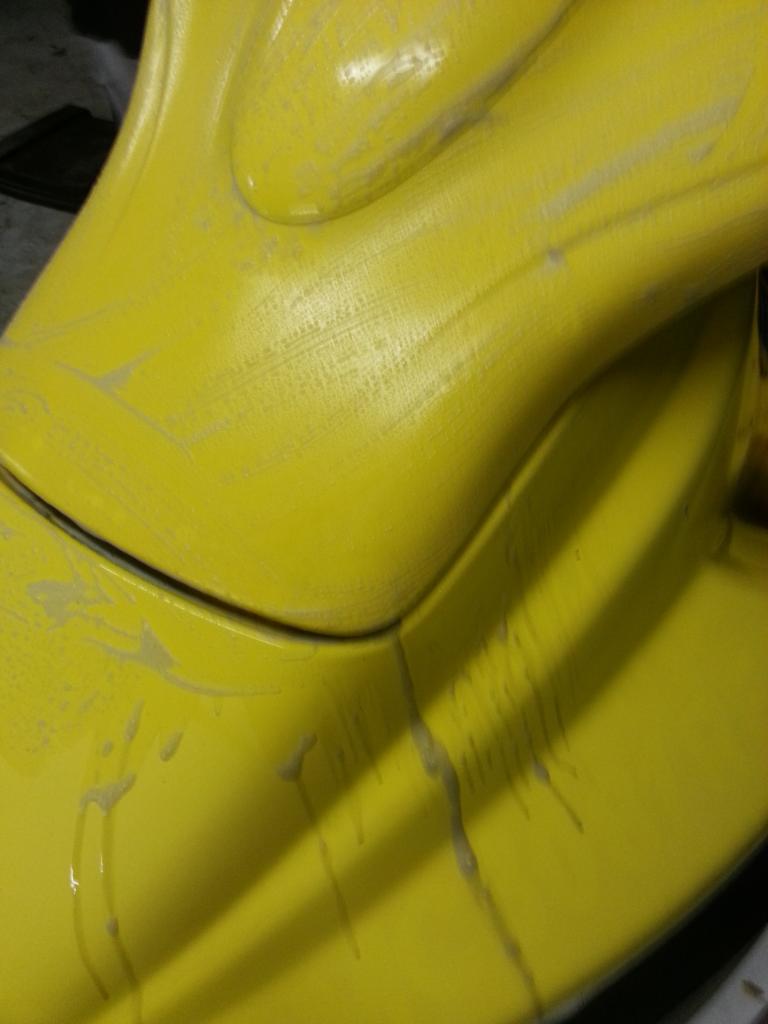
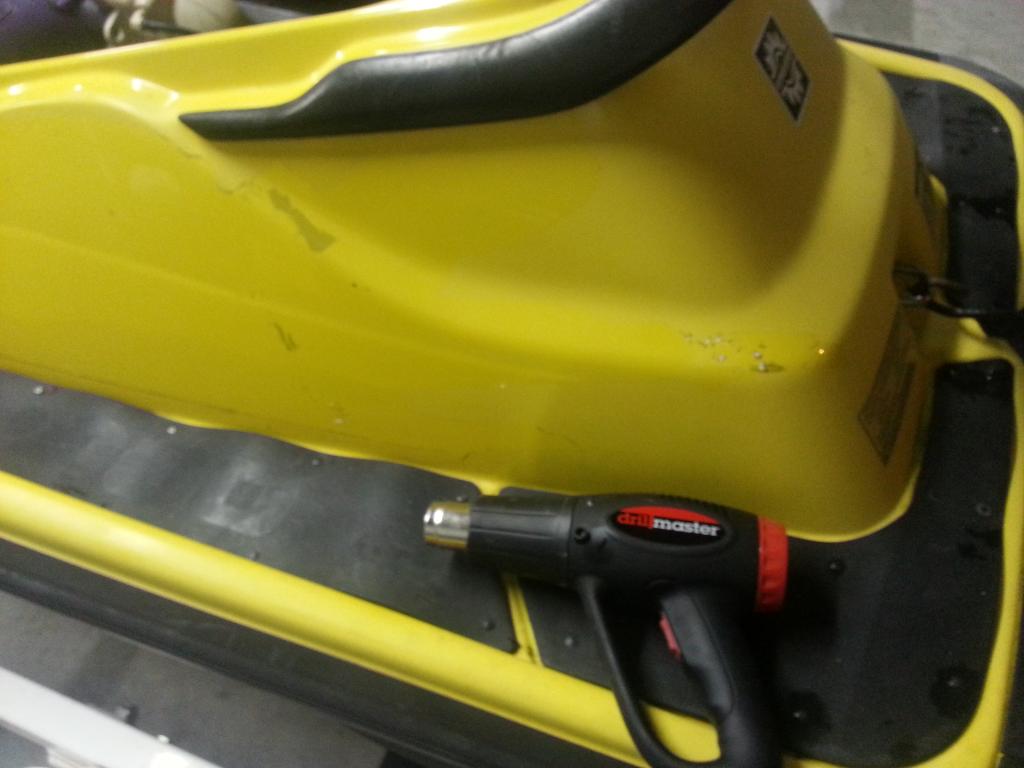
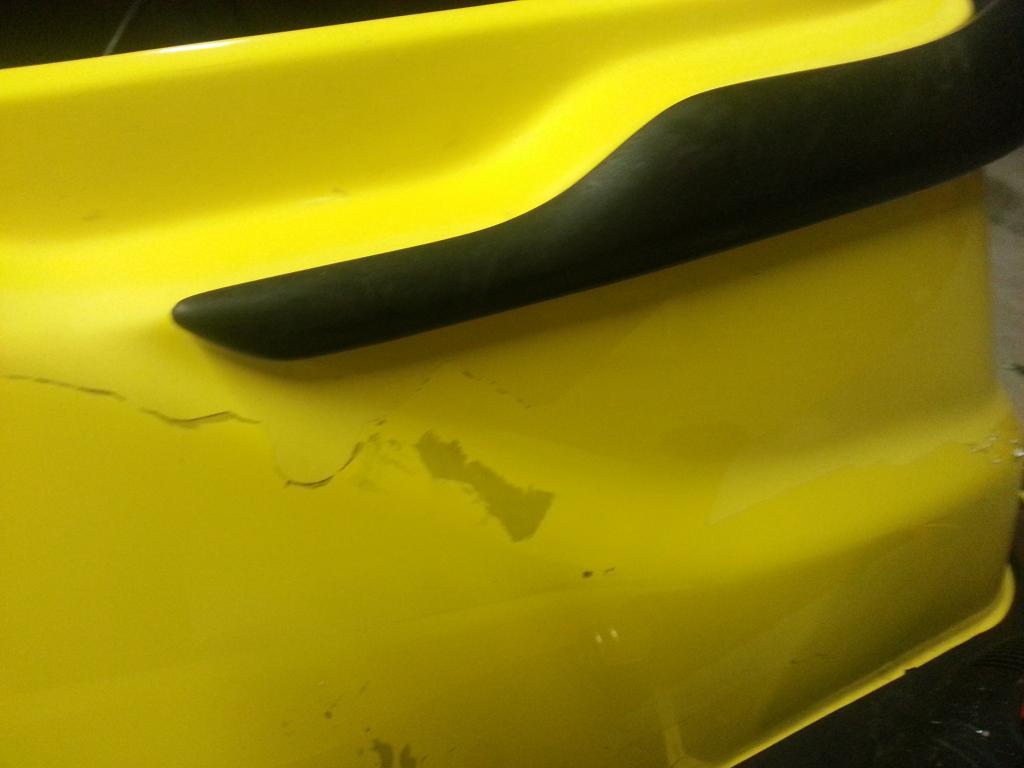
Today we already stripped the graphics
So he dropped it off and said it was not getting spark. We put an inline spark tester on and hit the start button. It turned over but no spark. We tested the battery and it was at 11.7, we put another battery in that was at 12.1 volts and it now had spark and fired right up.
So now that it is running here is the plan.
Exterior
1. pull off all graphics
2. Remove mats
3. Wet sand and buff
4. Find new handlebar pad
5. Rewrap the seat
6. Clean the hood and try the wipe new method that [MENTION=41828]Minnetonka4me[/MENTION] and [MENTION=57920]racerxxx[/MENTION] have done
7. Install new graphics
8. Install new mats, hydroturf of coarse and we will buy them from pwcmuscle.com
For the graphics I called Mike at pwcgrahics.com or [MENTION=70010]RatFink[/MENTION]. I told him what my plans are and I informed him I have a 96 xp that has nice graphics with vibrant colors. I am going to send him lots of pictures and dimentions this weekend. He said that would help him out greatly in reproducing them. He said there has been alot of interest in the 96 decals.
I will be taking pictures of this xp's decals to send in.
For the inside.
1. Pull the motor just to clean everything inside
2. Clean the raves
3. Change oil lines
4. Change fuel lines.
5. Weld the head pipe
6. Paint the motor and pipes the factory colors
7. Rebuild the carbs
8. Replace the vts housing
9. Change pump oil.
10. Right now it has an oil injection block of kit, he wants the injection pump back.
I am sure there is more but this list will get us going.
Today we already stripped the graphics
Last edited by a moderator:


")