• This site contains eBay affiliate links for which Sea-Doo Forum may be compensated.

96 Seadoo Speedster seats and battery.

Status
Not open for further replies.

bsocko

New Member
Hi Guys,

Back again with another season and another boat to rehabilitate. This time it is a 96 Speedster with the twin 717's on a 15 foot frame. Paid $2400

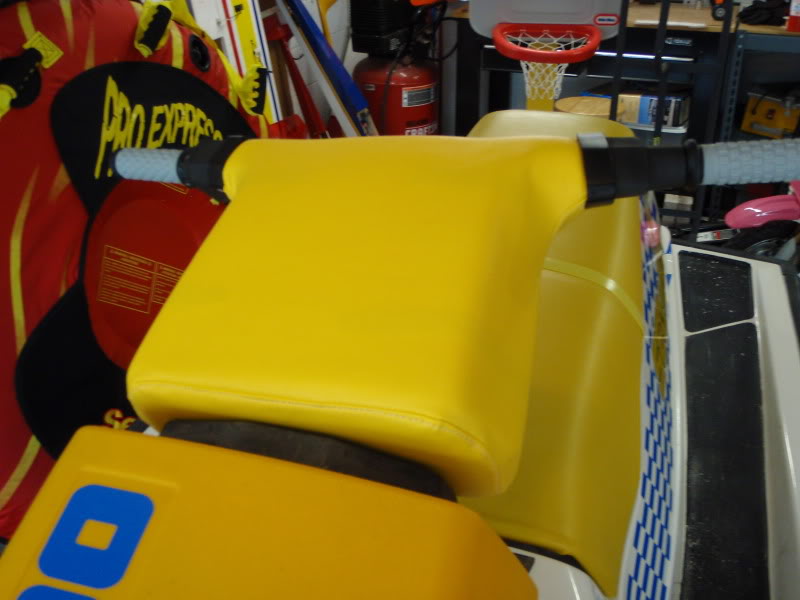
First off does anyone have a tutorial to get the seats out of this thing? They are cracked and need to get redone.

Secondly it has 2 small 12 volt batteries, is there any reason I can't put in a nice blue top optima gell cell?


3nc3k33ob5T05Q25P5a478f114eb91cac18df.jpg
 
I dont have personal experience with that boat, but search for both of your questions. I have seen several people swap the 2 small batteries for 1 larger one. And for the seats, I think you need to hang upside down over the back and reach way under to get to the bolts. Between the gas tank and the floor of the boat. Good Luck!!!
 
The seats.

I am 6'-2" and skinny. First of all. I pulled the Spark Plugs and put down a
couple layers of cardboard across the top of the Motors. Just to warm up a
little, Put Your head by the fuel cap and reach forward to unscrew the drivers
armrest. Don't forget the 10 mm socket and ratchet. Now flip over to the Port
side and say hello to the Oil cap. Thats right reach up in there. Just a word of
warning If You are bothered by fiberglass itch... Wear long sleeves and Gloves.
Your half way with the seat back. Two more screws or Bolt what ever
You want to call them. One is very easy.. directly behind that boob looking
thing is a screw a couple inches from the top of the engine compartment.
The other is Behind that Big Grey Box.
Now for the seat Bottom.
I left the "BIG GREY BOX" loose and pulled it up some to get My skinny arms
under the seat floor. there's only four screws under the bottom and they are
between the seat buckets. A word of warning here also. That group of Hoses
Coming Up out of the fuel tank. They are attached or clamped to some very
Small nipples on the fuel sending unit. I in the past have Broken old Plastic
parts like this, So I labeled the hoses and and moved them. I'm sure You
would have done the same. HEY while You have them off why not just
replace all the fuel lines. I did!
In the next couple of weeks I'm going to change My boat over to a single
automotive battery. I will keep an Eye on this thread to see if Anyone has
some good ideas.
I'm sure You'll have a boat load of fun. Be safe out there. Patrick.
 
You forgot to mention the excessive swearing and thoughts of suicide..


For the battery, I just cut the center sections out of the 2 battery holders and stuck the new single battery in place, you have to unbolt the oil tank to get the needed room to get the new battery in..
 
Also, measure the old new space created when you cut out the center section of the 2 place battery holder so you can get a single battery that fits, I reused the battery straps and crimped and sodered new connectors on
 
If you look at this website, it tells you the how to's.....www.seadooupholstery.com, :)

Yup... Keith from seadooupostery is a good guy. Fast turn around, good prices, and excellent customer service.

In the Photos section... that's my sportster... AND, he just made me a handlebar cover for my Si project, at a fraction of the price from Hydro-Turf. :cheers: :hurray:


78.jpg
 
I just wanted to chirp in on this real quick...
For your upholstery, Keith is the way to go. http://www.seadooupholstery.com
He does great work on top of being a great guy, and will help you out over the phone until you are happy with his product. I'm restoring a 96 Challenger and Keith have been very, very helpful in this project. (Pictures will be posted when it's all done)

As far as the seats, I removed my armrest screws by taking the cup holder out on the passenger side and with a 10mm socket, stuck my left arm in and under the seat. (Almost got stuck but made it out okay)For the Driver side, I unscrewed the cover plate for the levers, (4 screws) then another 4 screws for the lever assembly, and you can now lift the whole thing up and pull it forward so you can get your 10mm socket in there. Easier on this side since the whole is bigger. There are also 2 more screws in the engine compartment that are on the front wall, and they are no biggy with a 10mm socket and an extension.

The Seat bottom, I climbed in to the engine compartment and sat down on the side of the batteries and was able to use a flash light to get a good aim for where the screws were and then reach back up under the seat, above the gas tank, and take them out. It was easy actually and I didn't have to remove anything else.

Here is a link that might help.
http://partsfinder.onlinemicrofiche.com/seadooforums/Seadoo_oem/Seadoo_JB.asp?Type=12&A=10

Have fun
Conny
 
Status
Not open for further replies.
Back
Top