Asecilop
Member
I have been going through my boat trying to work out cavitation issues and decided to reseal the ride plate. I looked over the forum and did not see a write up on doing it so I figured I would write it up. Also I would love to get some feedback and pictures on how your boat's ride plate is sealed.
I noticed when I bought the boat a couple years ago, that there was sealant everywhere seeping out of the connections. I gather work was done before and they went crazy with it.
Steps for removal:
Drain coolant - remove drain plug from ride plate.
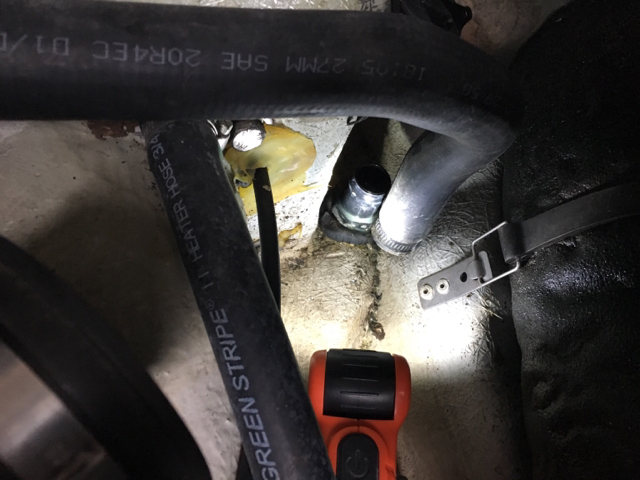
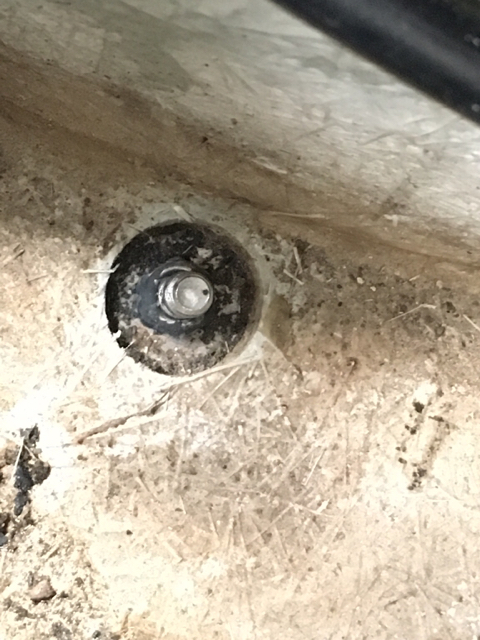
Disconnect the intake and outlet hoses inside the hull. This required using an 8mm(if I remember correctly) socket on the hose retaining strap. The below picture shows the hose pulled off the hose fitting.
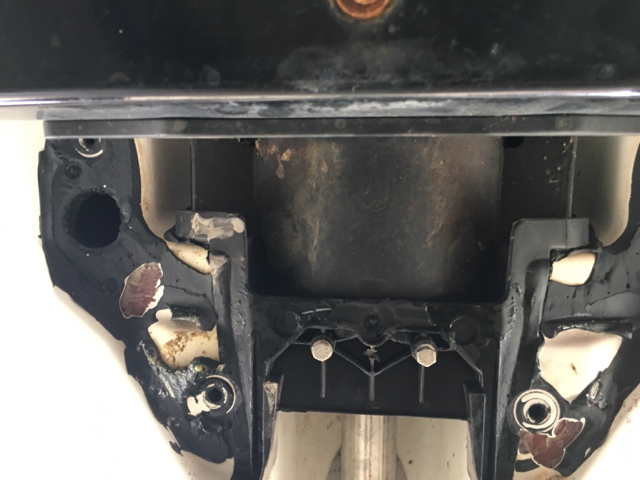
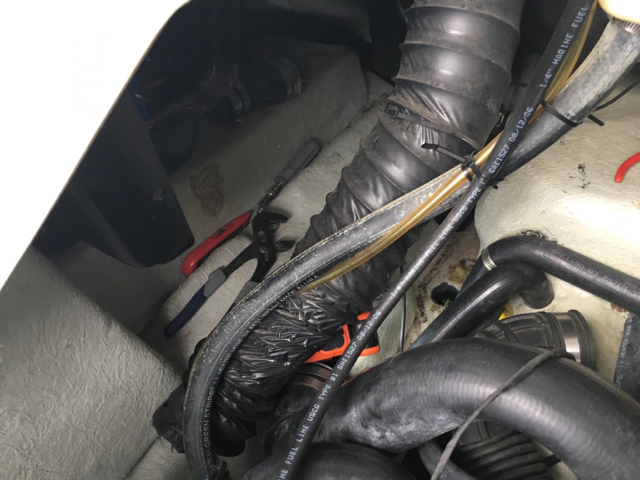
The hose on the starboard side was a bit more difficult to maneuver to and remove. I ended up removing the exhaust baffle (I believe that's what it is called) and the large rubber hose that was located directly next to the hose I was trying to remove. In the picture the baffle(large hollow black plastic piece) is gone, but was where my tools are sitting in the picture.
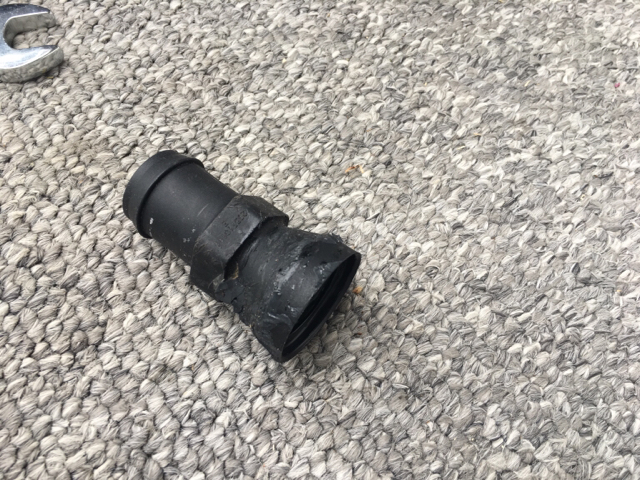
Next remove the hose fitting: in my case they both had black sealant/gasket material mounded around it. I took a box cutter to slice away and a pair of needle nose pliers to get the rest off the fitting. Then I used a pair of adjustable pliers and carefully unscrewed the fitting (standard loosen and tighten directions).
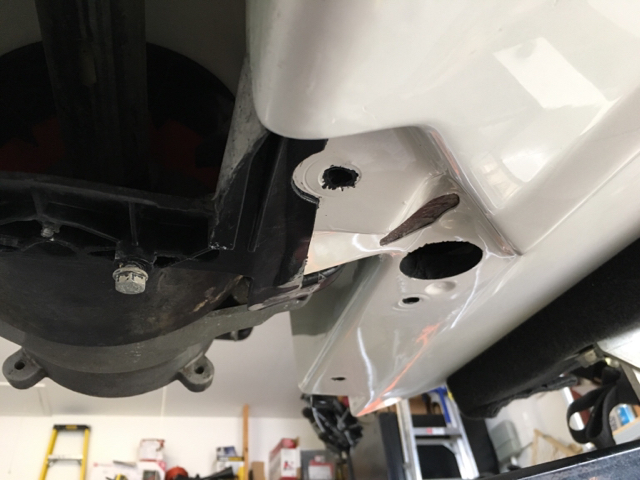
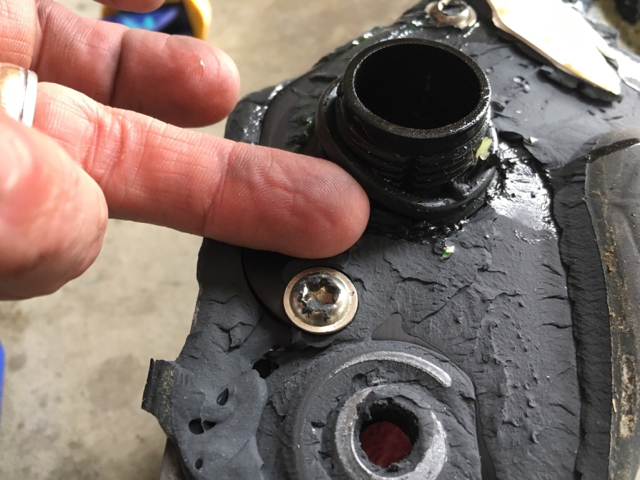
Here is the fitting by itself and the hole that was left over.

One thing to note is that the threaded piece the fitting screws into is not fixed and moves a bit. At first I thought I broke it but after I was done I noticed it was designed that way.
Next remove intake grate from underneath the boat. I believe there were four bolts to remove.
Then remove the six bolts from the ride plate. I used an impact driver for this. Two bolts came out no problem. The other four just spun. I went into the hull and removed the gunk off the end of the remaining bolts and found they had a nut and washer on that end. I haven't a clue if this is the standard design or if a previous owner added that. I ended up placing a 13mm socket wrench on the inside while going underneath and unscrewing. The remaining bolts came out.
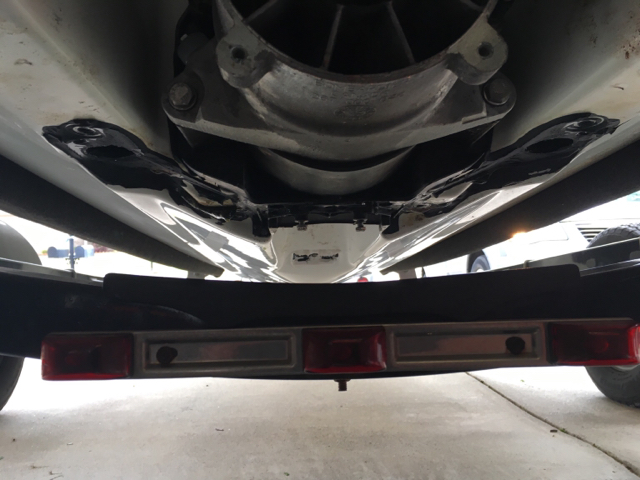
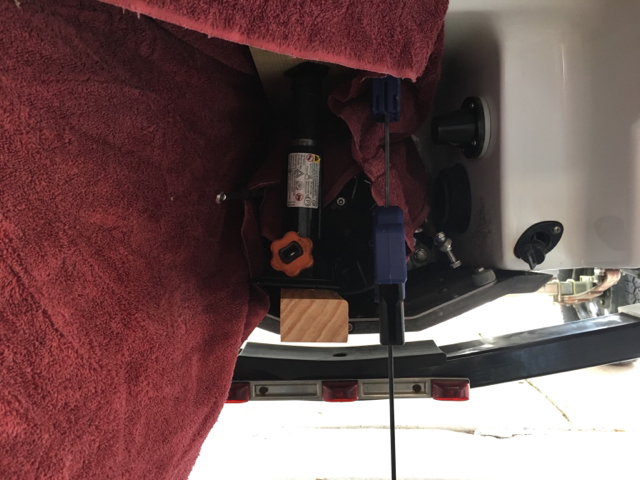
This left me with prying off the ride plate. The manual indicates to use a bottle jack between the hull and ride plate. It also indicates to remove the jet drive. In my case I really did not want to remove as much so I just unbolted the reverse gate and Venturi (same four bolts) and left the impeller portion attached. I used a wide board with a towel over it as my top block to protect the hull from the jack end. I also used clamps (reversed the heads to spread) and started to extend the jack slowly, each time giving the tension a moment to release the old sealant. It came off fairly quickly and easily. Here is a pic of the setup.
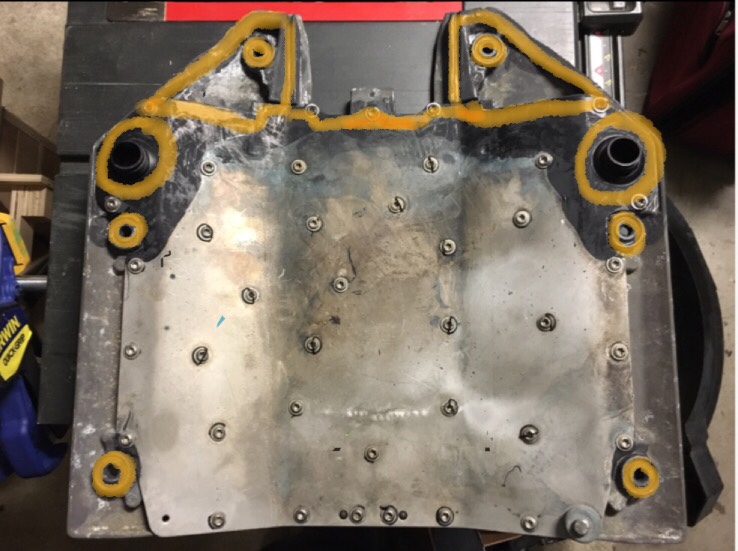
Once the ride plate was off I drained the last bit of coolant out of it and removed the o-rings off the threads where I previously removed the hose fittings from.
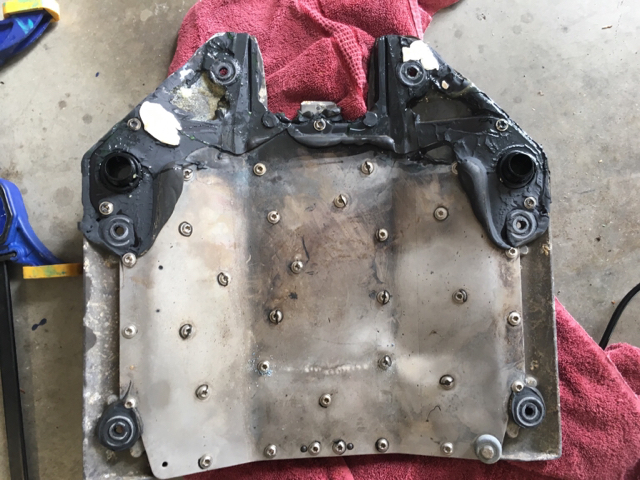
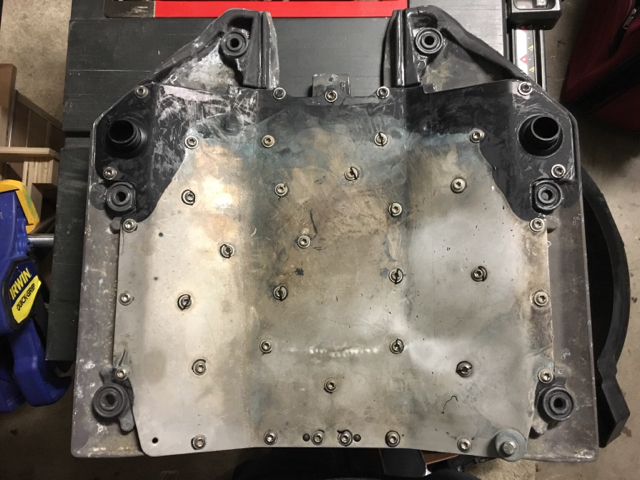
That's where I'm at. I need to clean the boat and the ride plate of the old gasket material and fix some gel coat that came off with the gasket before applying the new instant gasket.
I noticed when I bought the boat a couple years ago, that there was sealant everywhere seeping out of the connections. I gather work was done before and they went crazy with it.
Steps for removal:
Drain coolant - remove drain plug from ride plate.
Disconnect the intake and outlet hoses inside the hull. This required using an 8mm(if I remember correctly) socket on the hose retaining strap. The below picture shows the hose pulled off the hose fitting.
The hose on the starboard side was a bit more difficult to maneuver to and remove. I ended up removing the exhaust baffle (I believe that's what it is called) and the large rubber hose that was located directly next to the hose I was trying to remove. In the picture the baffle(large hollow black plastic piece) is gone, but was where my tools are sitting in the picture.
Next remove the hose fitting: in my case they both had black sealant/gasket material mounded around it. I took a box cutter to slice away and a pair of needle nose pliers to get the rest off the fitting. Then I used a pair of adjustable pliers and carefully unscrewed the fitting (standard loosen and tighten directions).
Here is the fitting by itself and the hole that was left over.
One thing to note is that the threaded piece the fitting screws into is not fixed and moves a bit. At first I thought I broke it but after I was done I noticed it was designed that way.
Next remove intake grate from underneath the boat. I believe there were four bolts to remove.
Then remove the six bolts from the ride plate. I used an impact driver for this. Two bolts came out no problem. The other four just spun. I went into the hull and removed the gunk off the end of the remaining bolts and found they had a nut and washer on that end. I haven't a clue if this is the standard design or if a previous owner added that. I ended up placing a 13mm socket wrench on the inside while going underneath and unscrewing. The remaining bolts came out.
This left me with prying off the ride plate. The manual indicates to use a bottle jack between the hull and ride plate. It also indicates to remove the jet drive. In my case I really did not want to remove as much so I just unbolted the reverse gate and Venturi (same four bolts) and left the impeller portion attached. I used a wide board with a towel over it as my top block to protect the hull from the jack end. I also used clamps (reversed the heads to spread) and started to extend the jack slowly, each time giving the tension a moment to release the old sealant. It came off fairly quickly and easily. Here is a pic of the setup.
Once the ride plate was off I drained the last bit of coolant out of it and removed the o-rings off the threads where I previously removed the hose fittings from.
That's where I'm at. I need to clean the boat and the ride plate of the old gasket material and fix some gel coat that came off with the gasket before applying the new instant gasket.