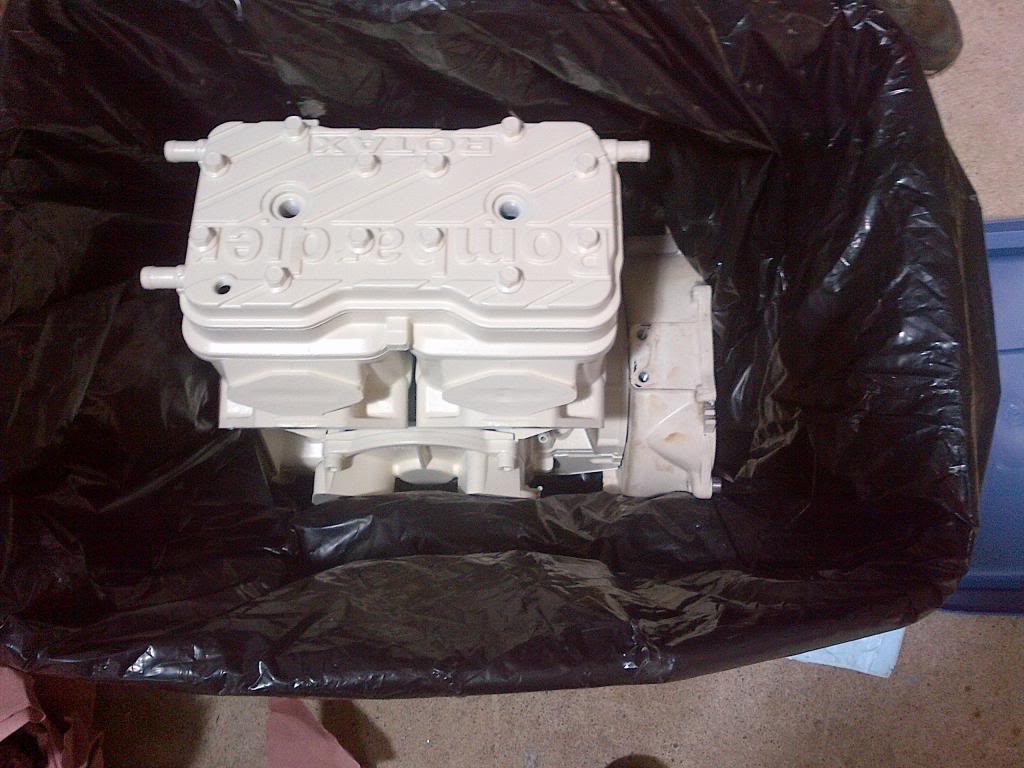
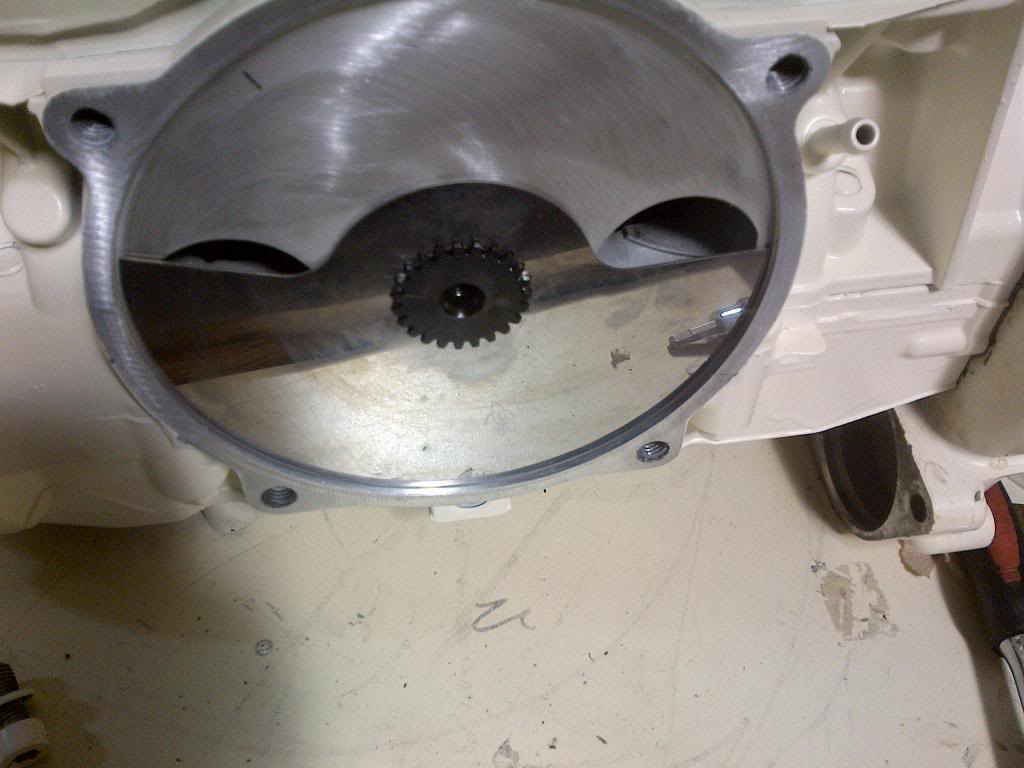
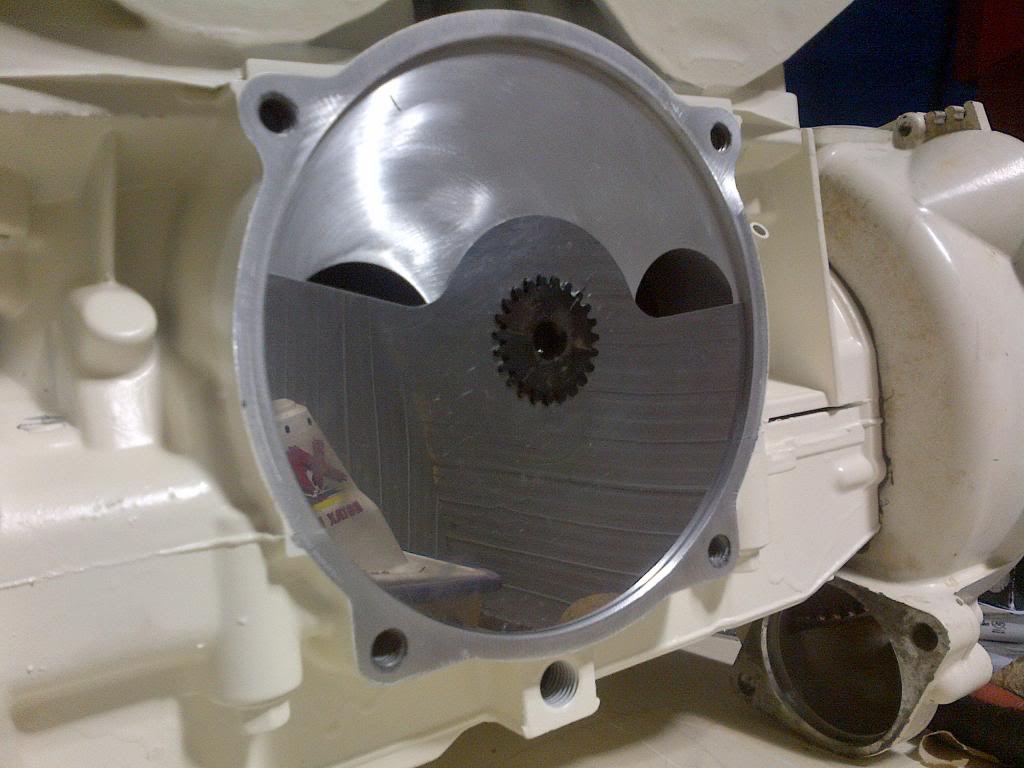
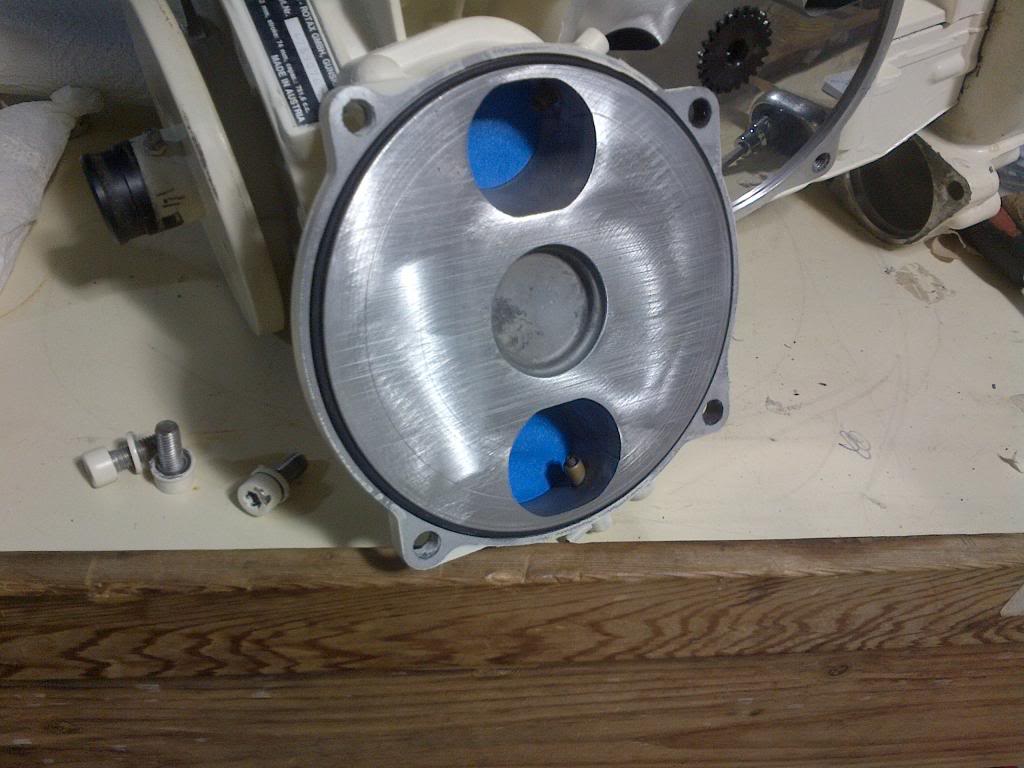
Okay, I cant be the only one who has a huge problem with the paint on the oil injection nipples? I mean for christ's sake, how long does it take to wrap a piece of tape around it? 5 seconds per line? Work with me here but an average novice could possibly just reattach the oil lines and not take that paint out of the nipple like kicker will have to, and then the brand new engine is going to roast because the rebuilder either couldnt take 30 seconds MAX to cover it like any normal person would do, i hope he put more care into the rest of the engine than he did the paintjob, because that is just pitifull to me.... you pay all of this money to get your ski back and the motor should be ready to drop in, you shouldnt have to do more work to it.