


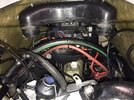
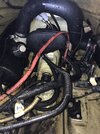
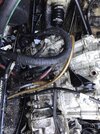
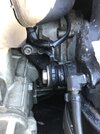
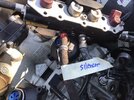
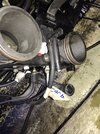
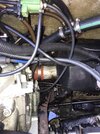
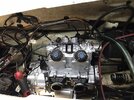
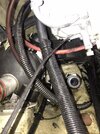
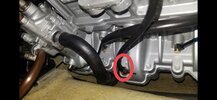
I bought two SeaDoo’s one with trailer which has title and one with no trailer and no title for parts. They both are 2002 GTX DI. I have to swap the parts Seadoo engine to the other one. The titled seadoo's engine is badly seized with a lot of corrosion in and out. My question would be what to watch for when I install the engine to the titled Seado and how to prevent it from seizing from water, moisture and rust? I am more worried about the internal parts of the motor. I live in a humid area. I would use the Jet ski mostly in fresh water. Any advice is highly appreciated.
One other question I have is how can I sell some of the parts that I don’t need and also how to get rid of the Haul of the no title parts ski?
Thanks in advance.
One other question I have is how can I sell some of the parts that I don’t need and also how to get rid of the Haul of the no title parts ski?
Thanks in advance.
") After hearing his procedure I ended up sending him the engine.
After hearing his procedure I ended up sending him the engine. If you message me your email address I'll send it to you.
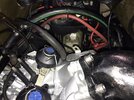


.JPEG")