


-
This site contains eBay affiliate links for which Sea-Doo Forum may be compensated.
You are using an out of date browser. It may not display this or other websites correctly.
You should upgrade or use an alternative browser.
You should upgrade or use an alternative browser.
New upholstery - Challenger 1800
- Thread starter jts32
- Start date
- Status
- Not open for further replies.


jts32
Active Member
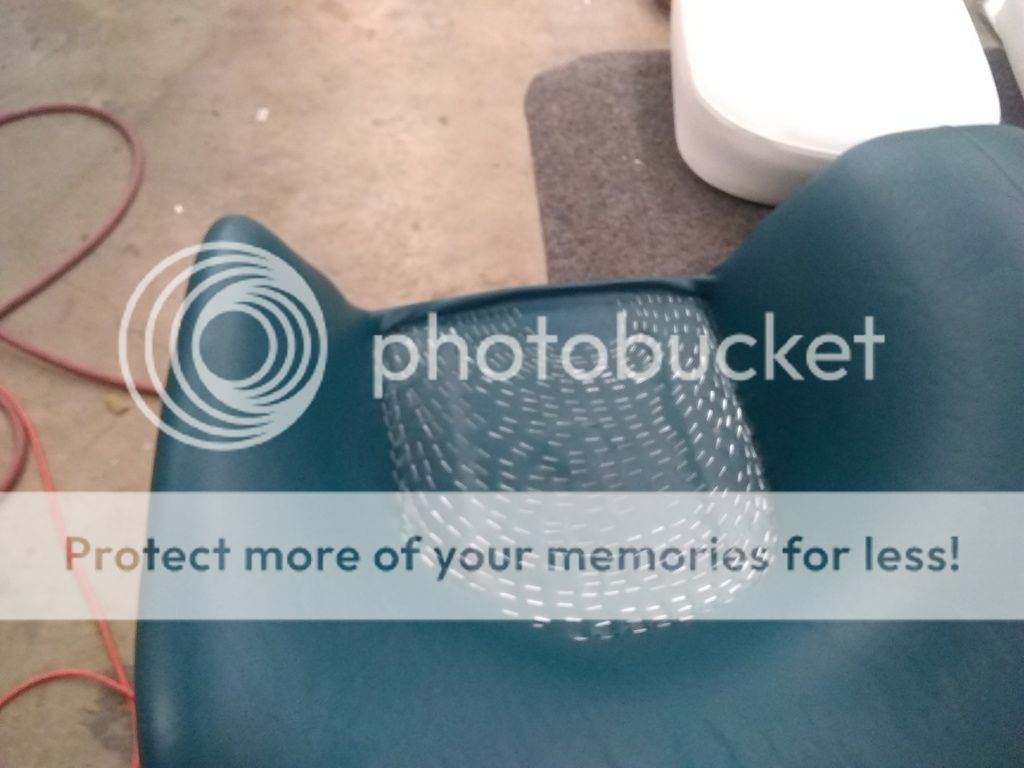
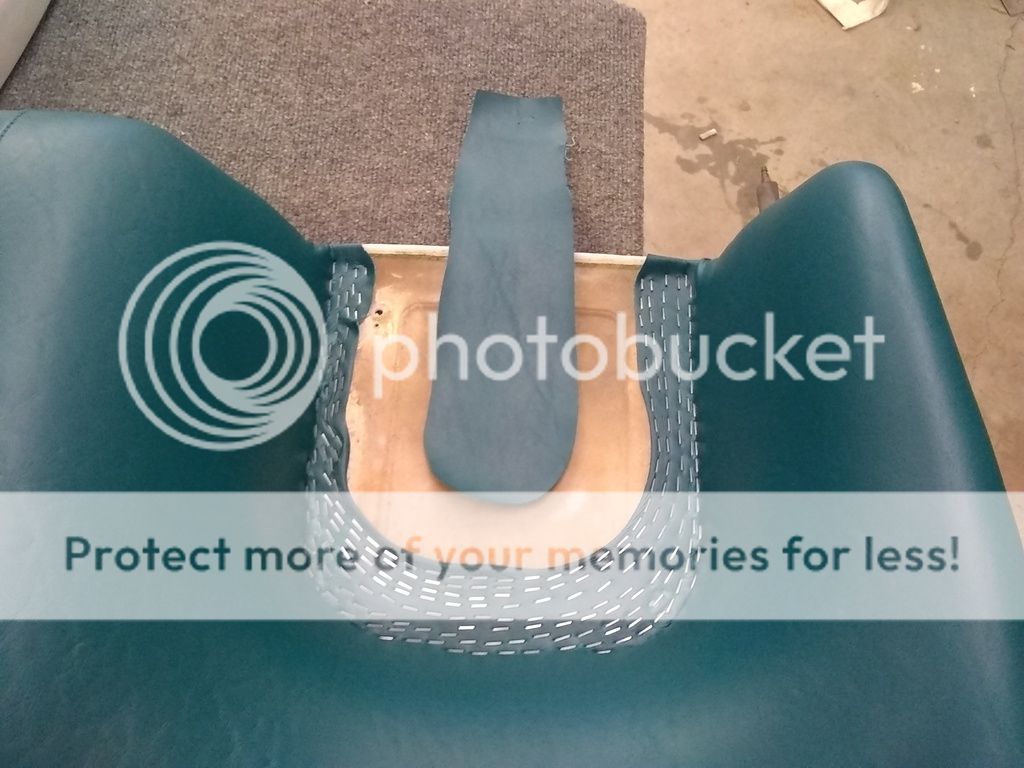
This vinyl is only 2 way stretch and isn't as workable as the 4 way stretch I've used before. It took a lot of heat to form the center seat sections. I found that removing a small piece of vinyl from the middle of the seat area first, made it easier to stretch, and saved many staples. Be careful not to removed too big of a piece. As you can see in the pic, the piece I removed became a much larger void after stretching. If I had removed any more, it would have been tough to get the first row of staples started.


LikeabossTM
Active Member
That's a great point to file away for future reference, thanks for highlighting it.This vinyl is only 2 way stretch and isn't as workable as the 4 way stretch I've used before. It took a lot of heat to form the center seat sections. I found that removing a small piece of vinyl from the middle of the seat area first, made it easier to stretch, and saved many staples. Be careful not to removed too big of a piece. As you can see in the pic, the piece I removed became a much larger void after stretching. If I had removed any more, it would have been tough to get the first row of staples started.


jts32
Active Member
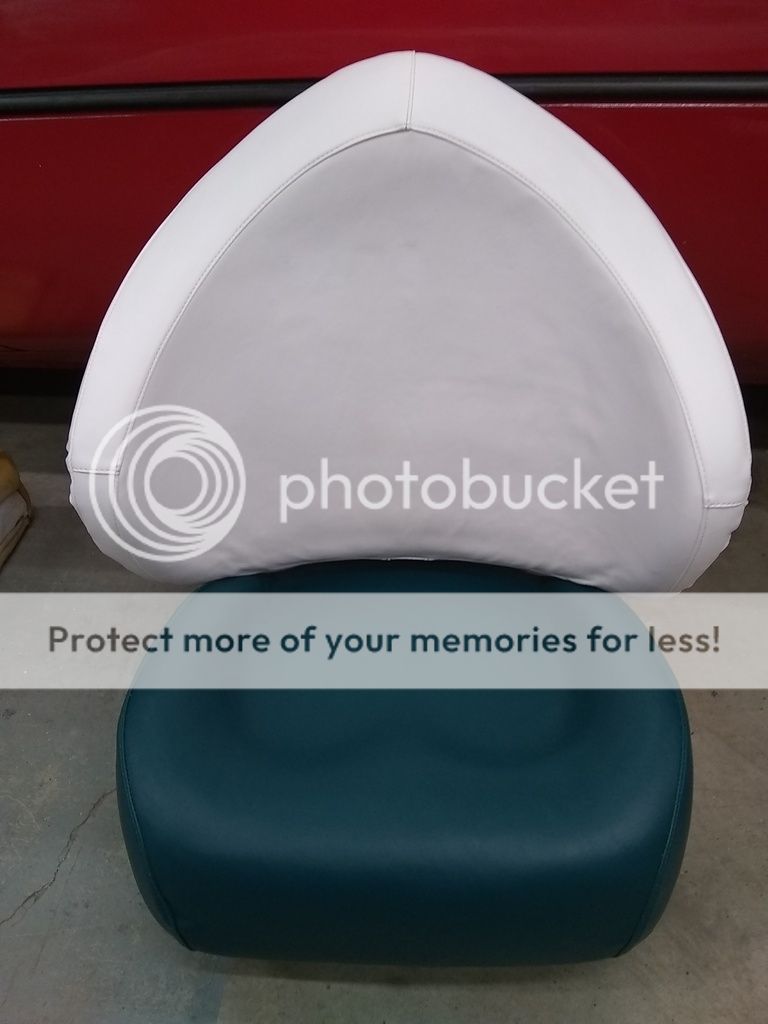
The captain and passenger seats were my biggest concerns for replacing the vinyl. All the vinyl is glued to foam, so nothing to stretch and staple to to remove any wrinkles. The original vinyl needs to be removed to expose the foam underneath so the adhesive has something it can grab to. I used heat to soften the hardened vinyl, making it easier to cut with a razor. I cut the old vinyl into 6 different strips, one down the center, one on each side where the seat bottom meets the vertical bolsters, and one on the top of each bolster. This made it easier to remove the old vinyl without damaging too much of the foam
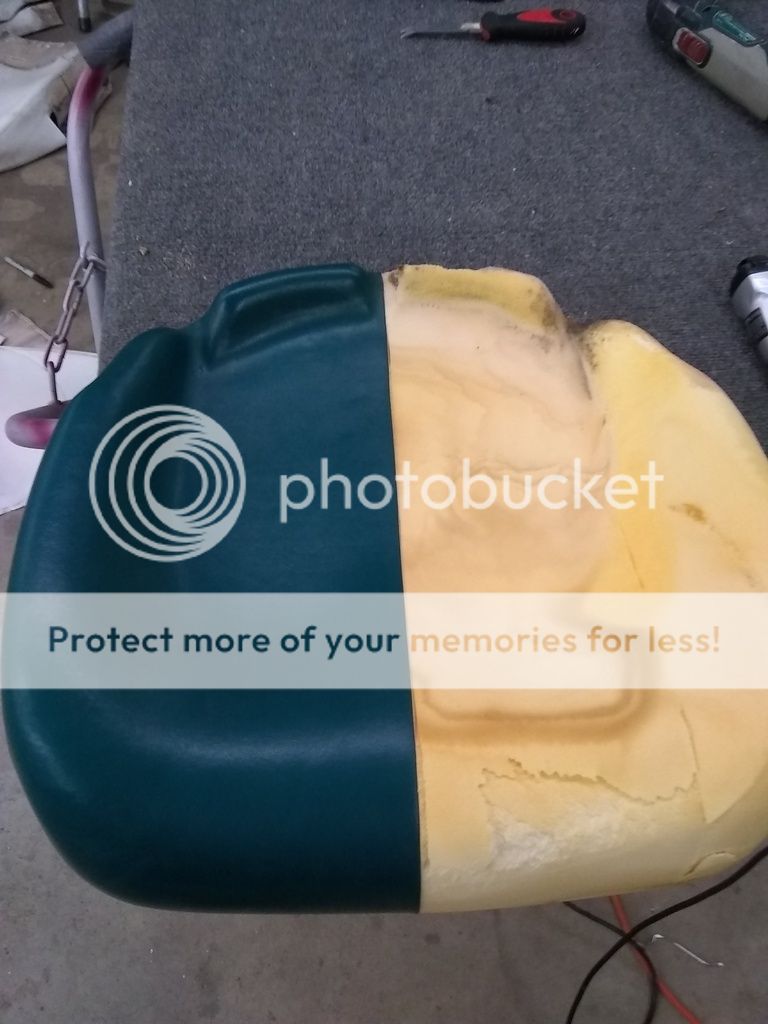
Killed me to cut this one up because there wasn't a damn thing wrong with it, but the captains seat needed to be redone, and the new vinyl isn't a perfect match to the factory color.

Killed me to cut this one up because there wasn't a damn thing wrong with it, but the captains seat needed to be redone, and the new vinyl isn't a perfect match to the factory color.
Last edited:
jts32
Active Member
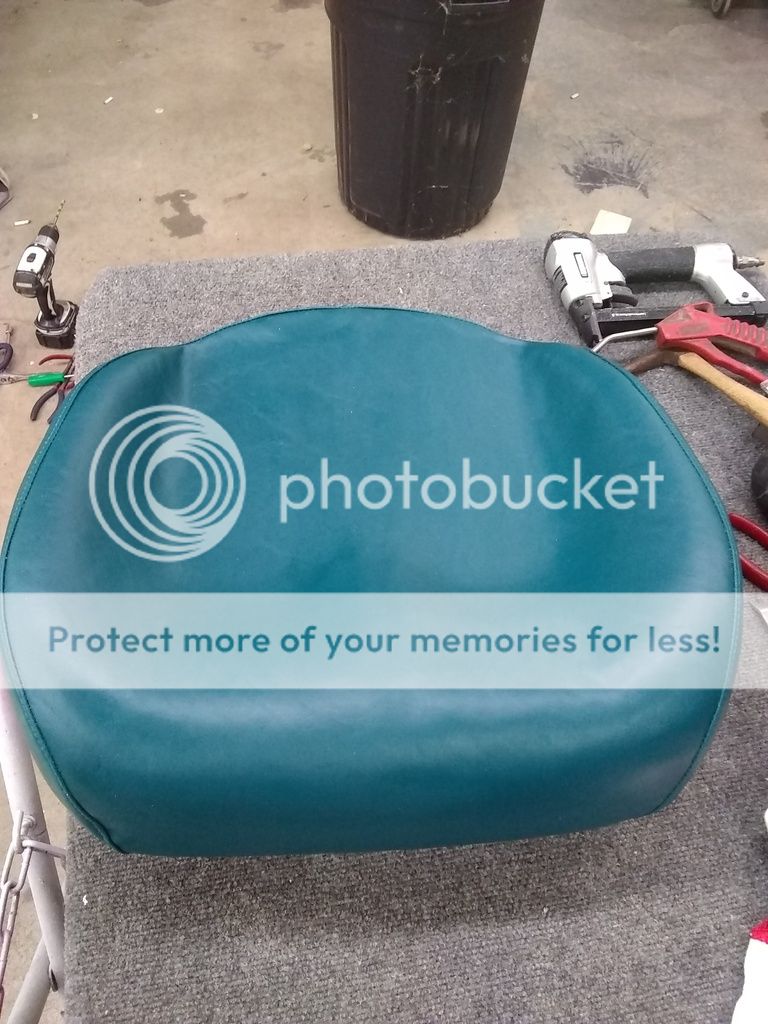
With this kit, the two bumps on the back of the seat must be removed and made level with the rest of the seat base. I then marked a center line, front to back, on both the foam base and new cover. I turned the cover inside out and sprayed adhesive down the center line on both the base and cover and installed. Once the center was set, I worked one side at a time, pulling back, spraying adhesive, and rolling into place to the top of each bolster. After set, finally sprayed the sides and front, and attached them to the foam base

Great job and great thread. Who makes the kit?
jts32
Active Member
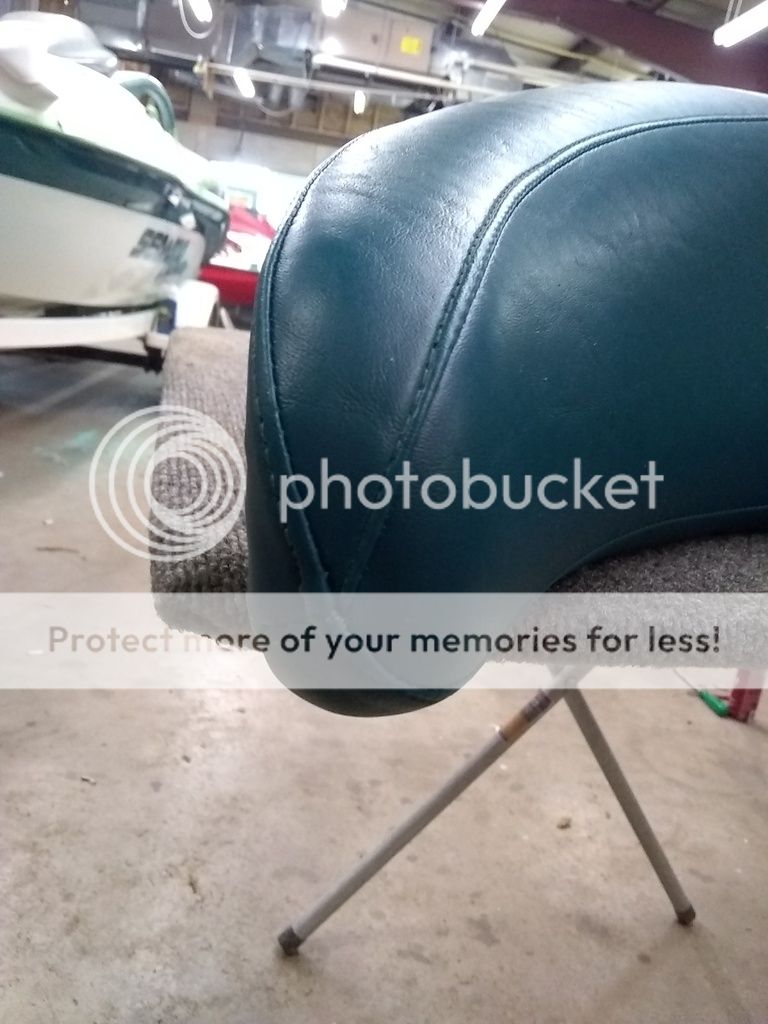
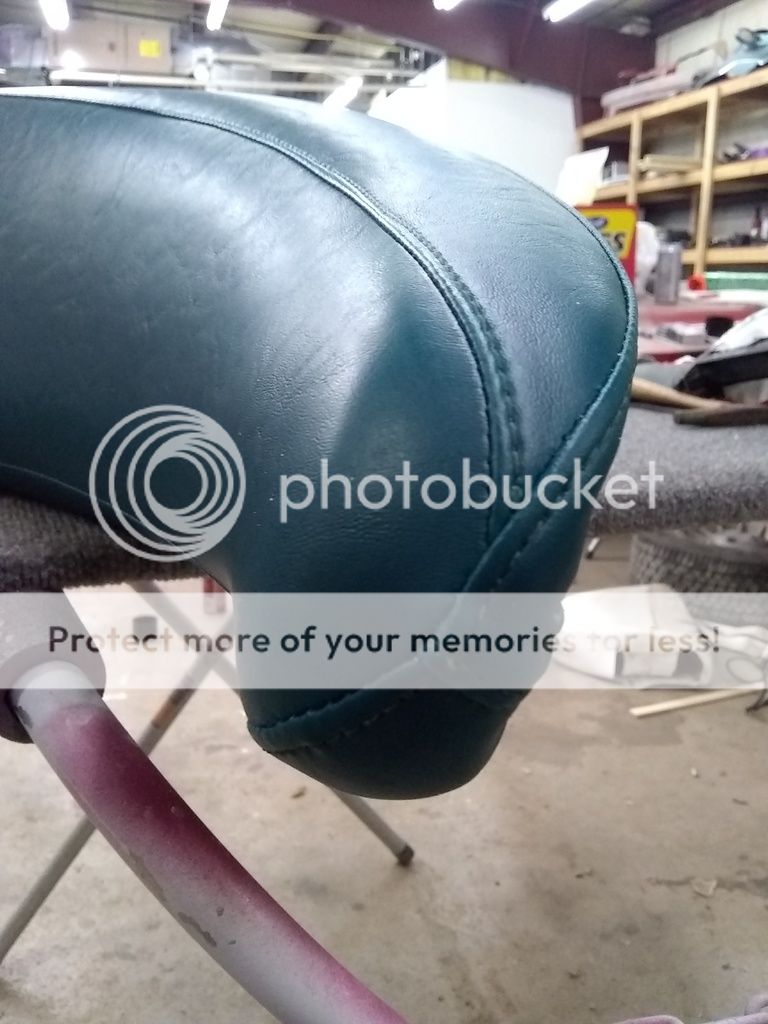
Got some time to work on the seat backs today. Basically the same process as the bottoms. The old vinyl needs to be removed first. Use a heat gun and remove one strip at a time. Work a 3-4" section at a time. Heat, peel back at 180 degrees and repeat. This seemed to work the best and cause the least amount of damage to the foam. If the foam starts to tear, stop and try removing from the opposite end.


jts32
Active Member
After that it's a matter of gluing and wrapping the cover around the edges of the seat. It's a messy, sticky process and required a lot of peeling the cover back off the foam and pulling and stretching until it looked good. Keep some adhesive cleaner handy, you will definitely need it.


jts32
Active Member
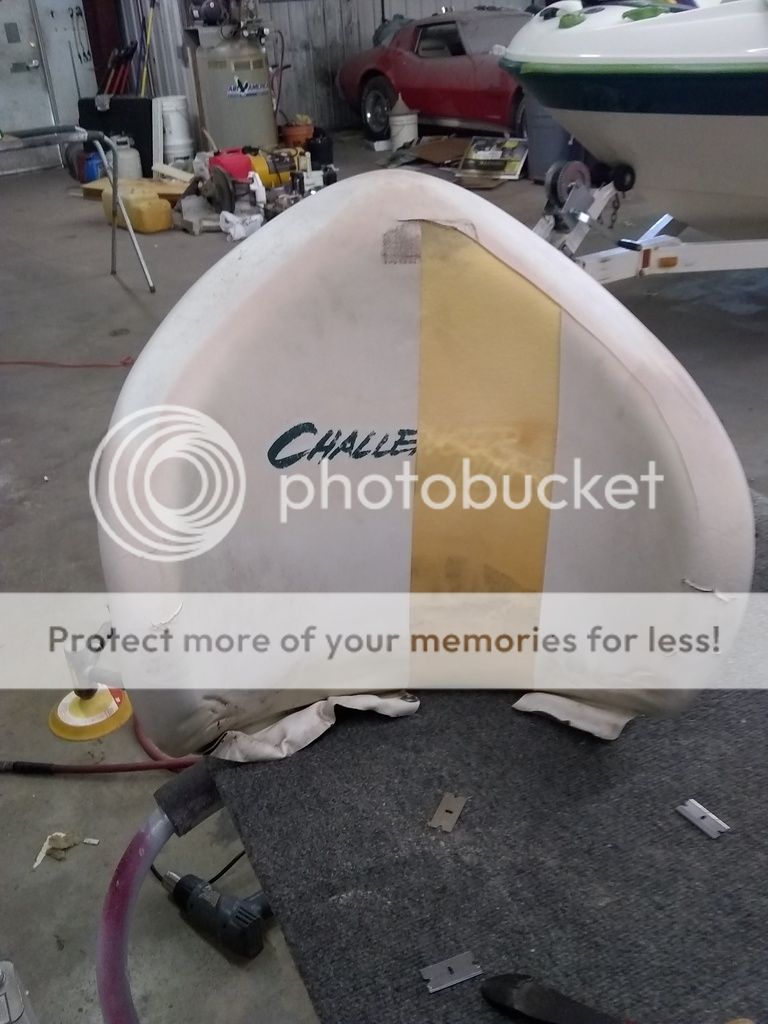
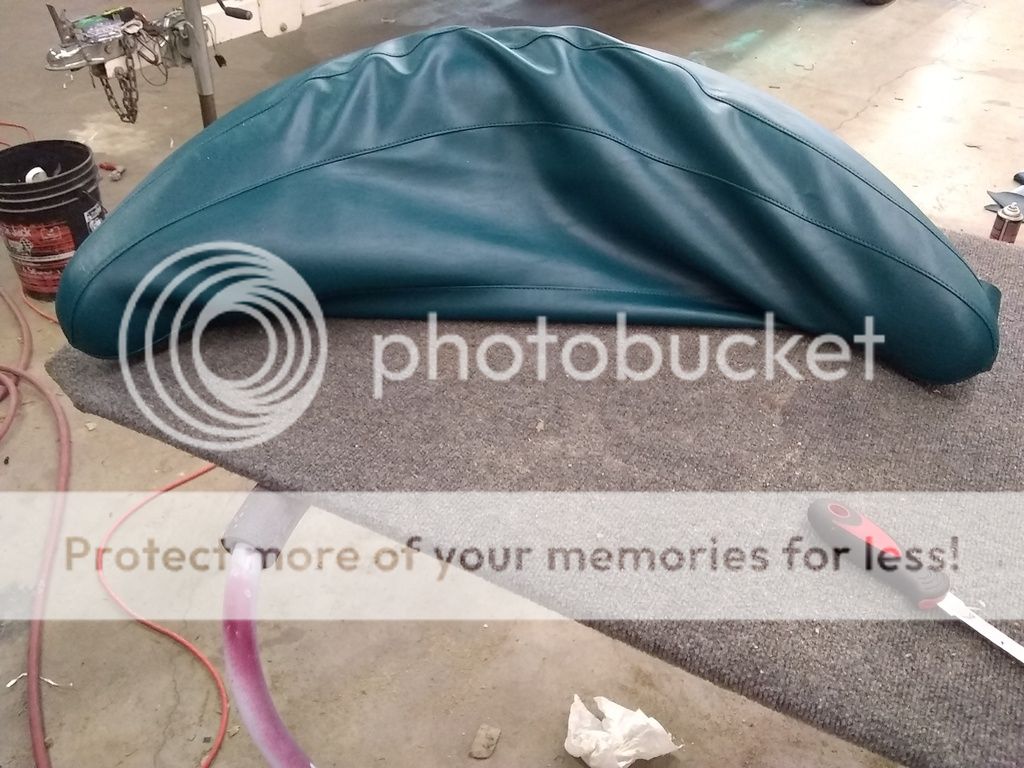
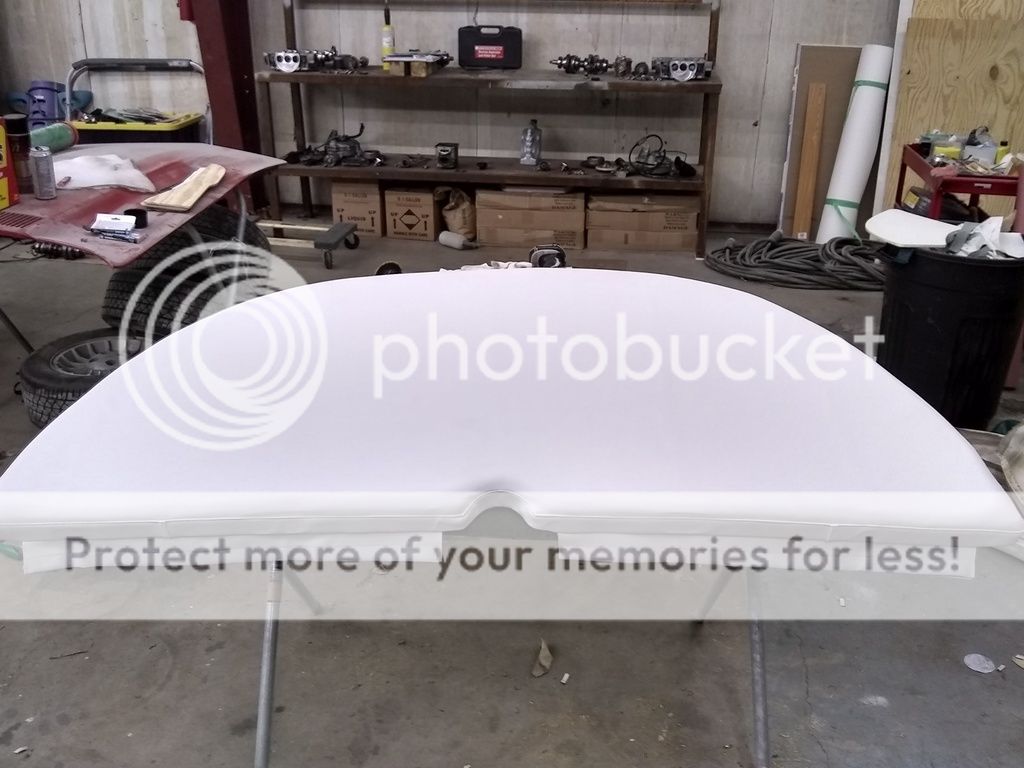
Worked on the bow cushion this morning. They overcomplicated this by making the new cover out of 4 pieces sewn together. I've recovered bow cushions before using a single piece of 4 way stretch and had great results. This new cover took a lot more effort to install, stretch, and staple, so that all the seams lined up and looked good. I tried a couple of different methods of starting the installation and found that starting with the outside corners worked best. There are 3 seams that come together on each corner. After getting these seams positioned, I put temporary staples in to hold the cover in place while moving forward.

jts32
Active Member
Before starting the installation, I marked the centerline on the back of the new cover. After the outside corners we're secure, I stretched the center of the cover until I got the seams where I wanted them and temporarily stapled both the top and bottom. It took quite a bit of heat to get the cover stretched and positioned.

jts32
Active Member
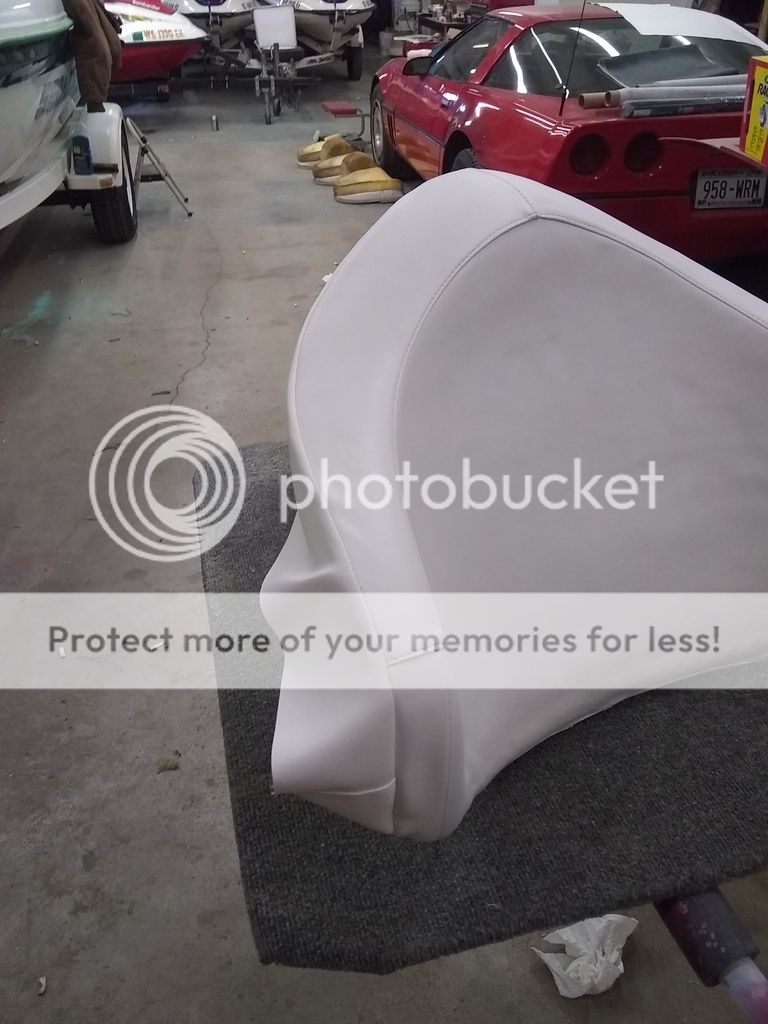
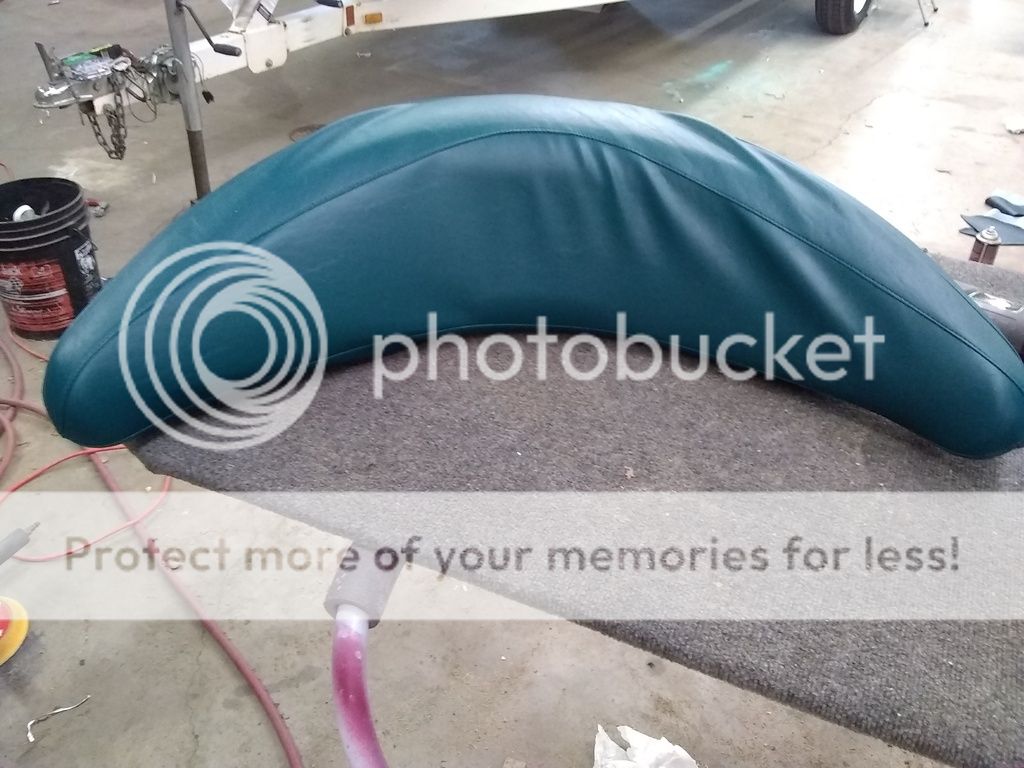
After the center was secure I worked from the center towards the outside on both the top and bottom. Heat, stretch, and temporarily stapled. Once I had the entire cover temporarily stapled and I was happy with the results (which took a lot of removing staples, restretching, and restapling) I did a final staple of two rows around the entire cover and trimmed off the extra vinyl.


jts32
Active Member
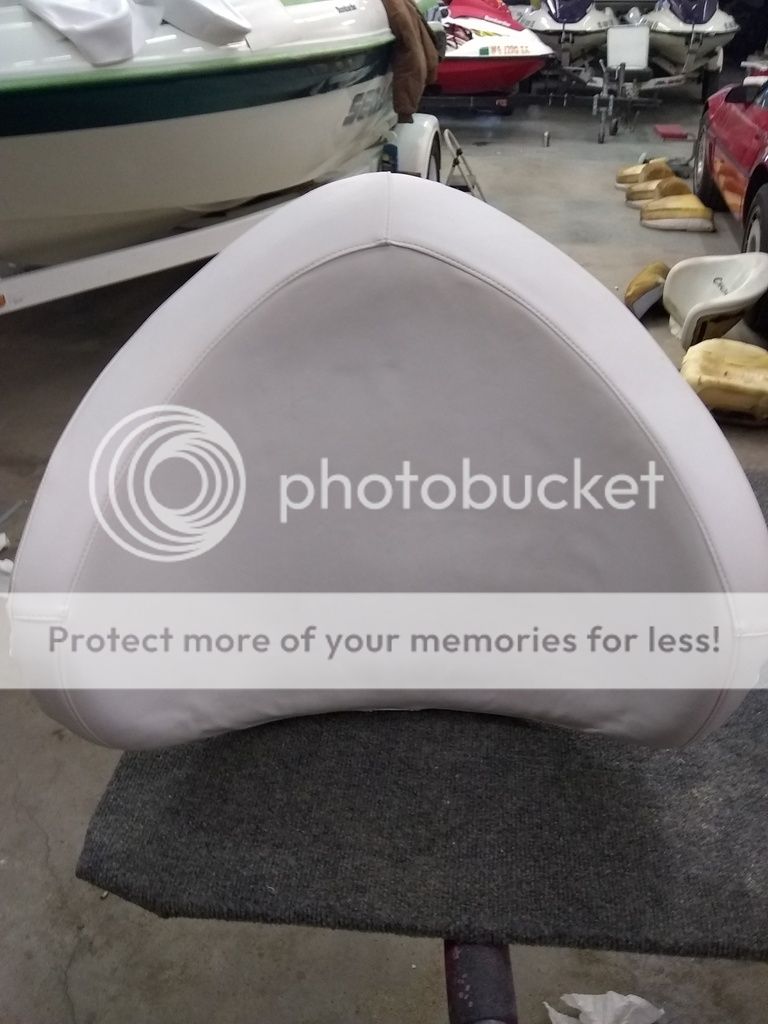
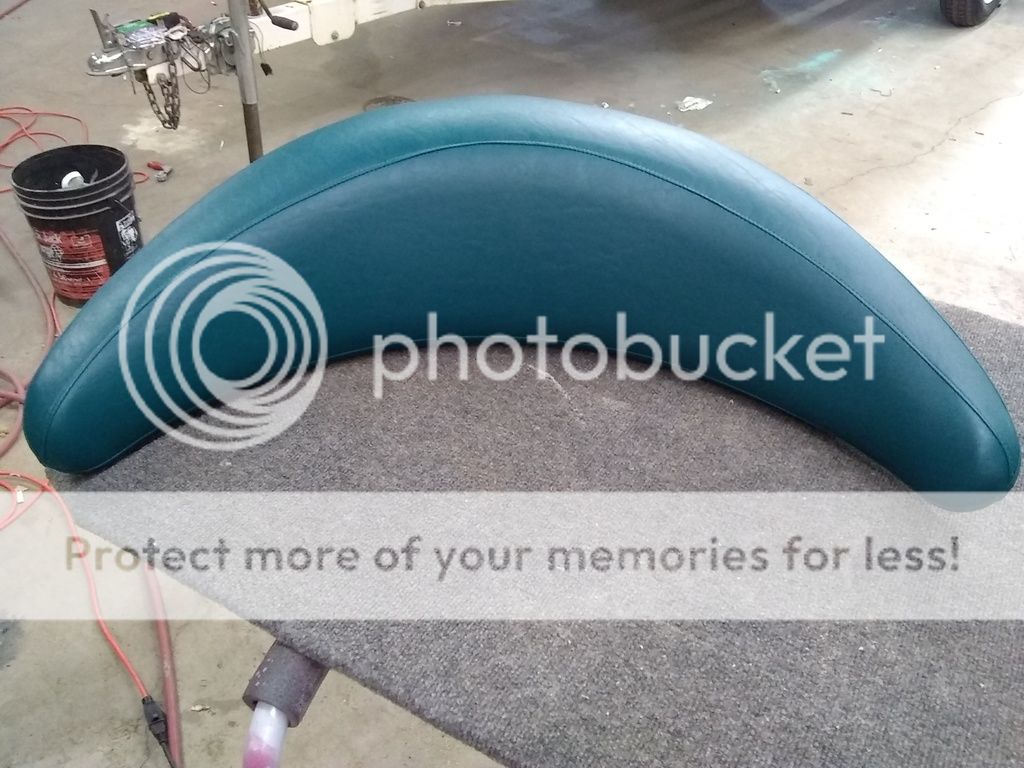
My only gripe about this kit so far is the lack of attention to detail on the assembly of the bow cover. The 3 seams on the outside corners line up perfectly on one side, and are off on the other. I know most people won't notice, but it pisses me off and will be something I look at everytime we use the boat. I guess if that's the worst that happens with this project, then I'll take it")


jts32
Active Member
Got time to install the sun pad cover today. This was one of the deciding factors for buying the Jet Armor kit over the Seadoo Upholstery kit. The Seadoo Upholstery kit comes with the materials for the sun pad, but you have to have a shop sew it together. The Jet Armor kit comes ready to go, including new Velcro. Just unzip the old cover and zip on the new one. Great fit.


- Status
- Not open for further replies.
Similar threads
- Replies
- 2
- Views
- 300
- Replies
- 11
- Views
- 536
- Replies
- 6
- Views
- 376
Share: