Krispy
Well-Known Member
I have been in the process of modernizing my 96xp recently and I wanted something to tie in to my new seat cover. I wanted something that mimicked the stock dash sticker but with some flair.
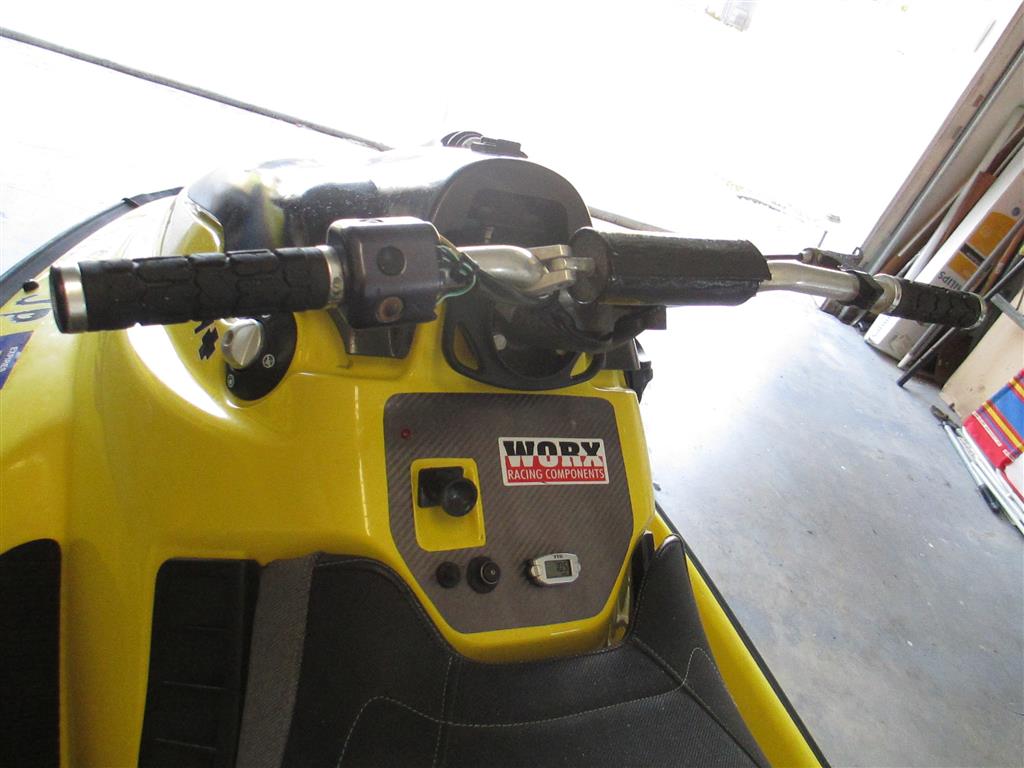
Stock Pic:

So I started by removing my tach and the choke and DESS post. See above.
Then I taped a plain piece of copy paper over the stock decal.

For this part I am going to take you back to grade school, pencil rubbings.
Using the side of my pencil I shaded around the perimeter of the decal making a outline on the paper.

The next part is extremely important, you must gather a children's cereal box with sugar as the main ingredient.

Using spray adhesive attach your pencil rubbing to the cardboard box.

While that is drying, lets go ahead and remove the factory decal. I used a heat gun, followed by some WD-40 to remove the rest of the residue.

Once it is removed, clean with a good solvent. I used acetone as it leaves nothing behind.

By this time your grade school pencil rubbing should be dried to the cardboard.
Cut along the traced outline making a nice cardboard template of the OEM sticker.

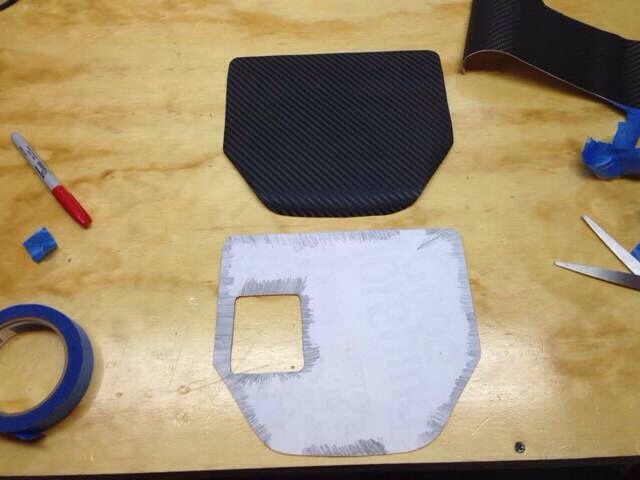
Now lets prep the material, for this sticker I wanted to use something simulating Carbon fiber. I ended up getting this small section of 3M di noc from a buddy.

Flatten your material before the next step.

Trace the outline of your template on the back of your material. Ignore the choke cutout, it ended up not being necessary.

Go ahead and cut the vinyl along the outline, You should now have a sticker ready to be applied. Clean the hull once more with acetone before going to the next step.
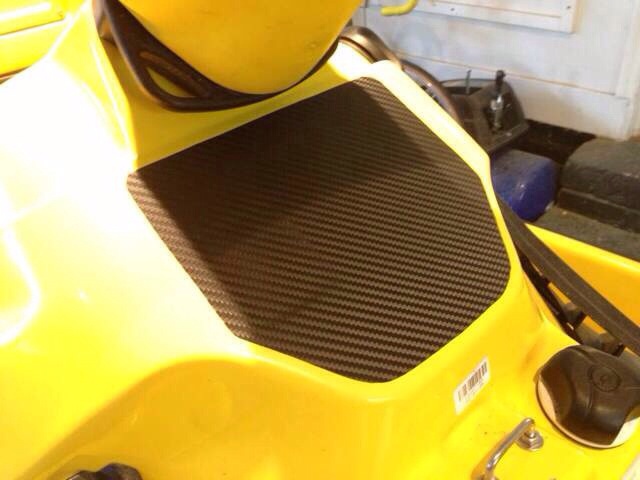
Then carefully apply the decal over the existing holes. I started at the bottom and worked my way up.

There is no soapy water under this decal so move slowly and push all air up to the top.

Now here is the tricky part, using the heat gun or a hair dryer on low go ahead and heat the material around the holes in the hull. The 3M material is great for this and will form fit to the hull.
Once it cools go ahead and trim to make room for the choke and DESS post.

Re install the choke and DESS post and enjoy your work.


Note: I will edit this in the morning. If you have any questions please let me know and I will do my best to answer them.
Stock Pic:
So I started by removing my tach and the choke and DESS post. See above.
Then I taped a plain piece of copy paper over the stock decal.
For this part I am going to take you back to grade school, pencil rubbings.
Using the side of my pencil I shaded around the perimeter of the decal making a outline on the paper.
The next part is extremely important, you must gather a children's cereal box with sugar as the main ingredient.
Using spray adhesive attach your pencil rubbing to the cardboard box.
While that is drying, lets go ahead and remove the factory decal. I used a heat gun, followed by some WD-40 to remove the rest of the residue.
Once it is removed, clean with a good solvent. I used acetone as it leaves nothing behind.
By this time your grade school pencil rubbing should be dried to the cardboard.
Cut along the traced outline making a nice cardboard template of the OEM sticker.
Now lets prep the material, for this sticker I wanted to use something simulating Carbon fiber. I ended up getting this small section of 3M di noc from a buddy.
Flatten your material before the next step.
Trace the outline of your template on the back of your material. Ignore the choke cutout, it ended up not being necessary.
Go ahead and cut the vinyl along the outline, You should now have a sticker ready to be applied. Clean the hull once more with acetone before going to the next step.
Then carefully apply the decal over the existing holes. I started at the bottom and worked my way up.
There is no soapy water under this decal so move slowly and push all air up to the top.
Now here is the tricky part, using the heat gun or a hair dryer on low go ahead and heat the material around the holes in the hull. The 3M material is great for this and will form fit to the hull.
Once it cools go ahead and trim to make room for the choke and DESS post.
Re install the choke and DESS post and enjoy your work.
Note: I will edit this in the morning. If you have any questions please let me know and I will do my best to answer them.
Attachments

Last edited by a moderator:
")