RESTO 1999 Challenger 1800 by Bo Longo

Note: This site contains eBay affiliate links for which SeaDooForum.com may be compensated
Status
Not open for further replies.

BoLongo

Active Member
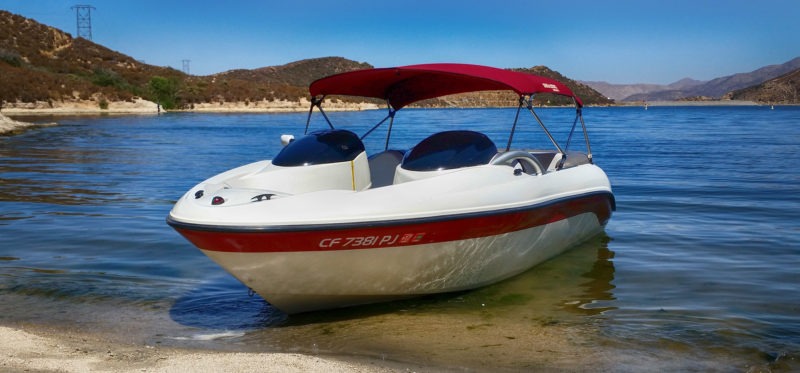
Last year I bought a weathered 1999 Challenger 1800. I thought I got a pretty good deal for $1400 but after about $4000 and roughly 200 hours of labor, I’m thinking $100 would have been too much to pay.

I didn’t document the restoration with photos but I will share some of the mods and changes I have done to the boat so far.

I'll start with the Trailer:


234.jpg


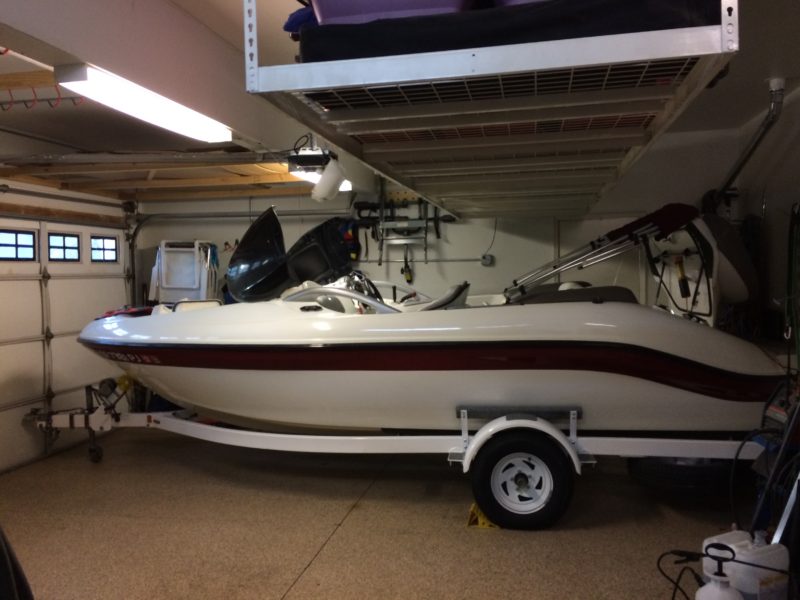
I shortened the tongue by 4” so it would fit in my garage

235.jpg


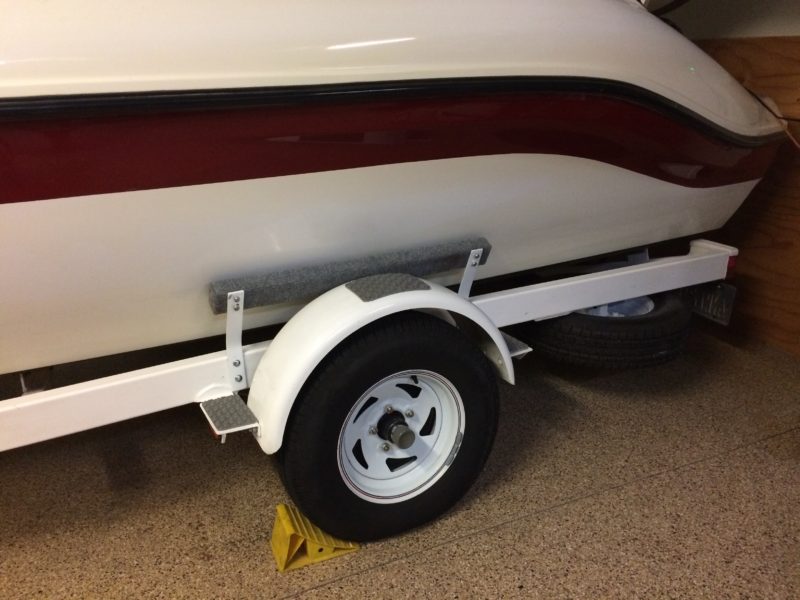
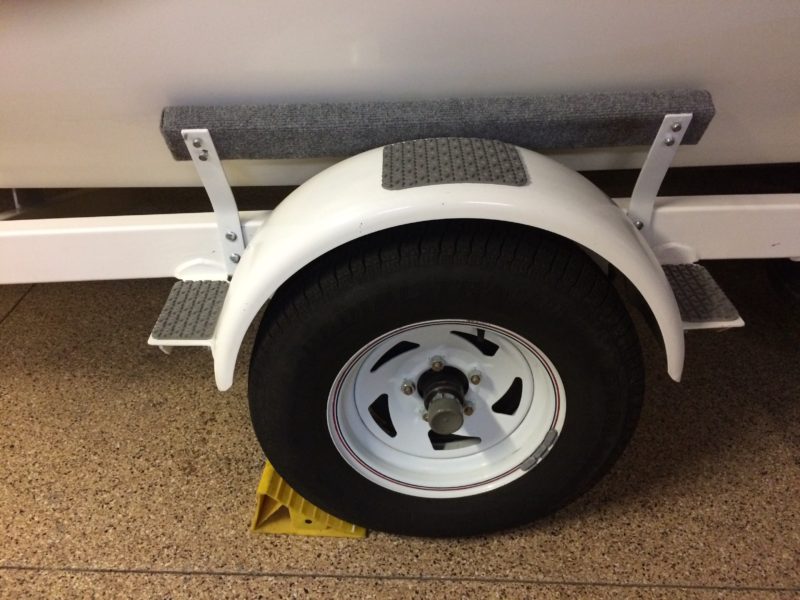
I added custom made boat guides and fenders that work perfect for getting the boat on the trailer straight the first time I pull it out of the water.

236.jpg


237.jpg


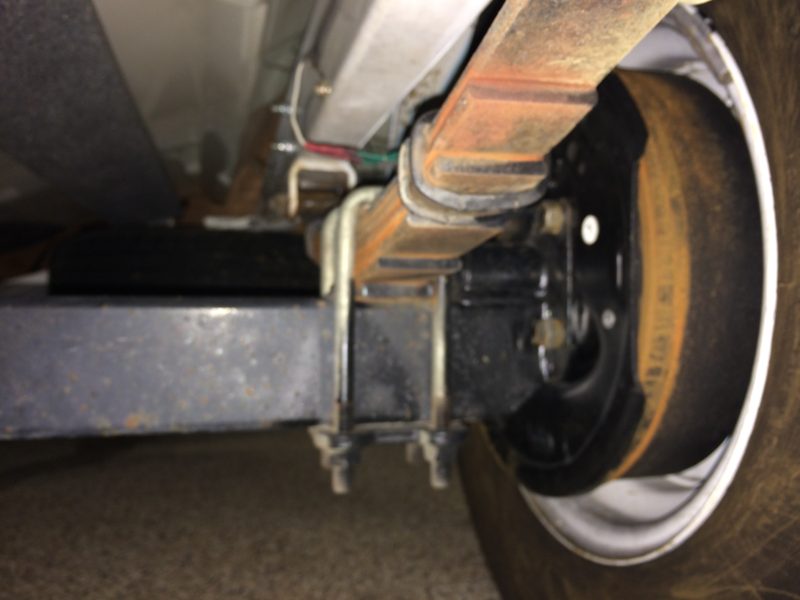
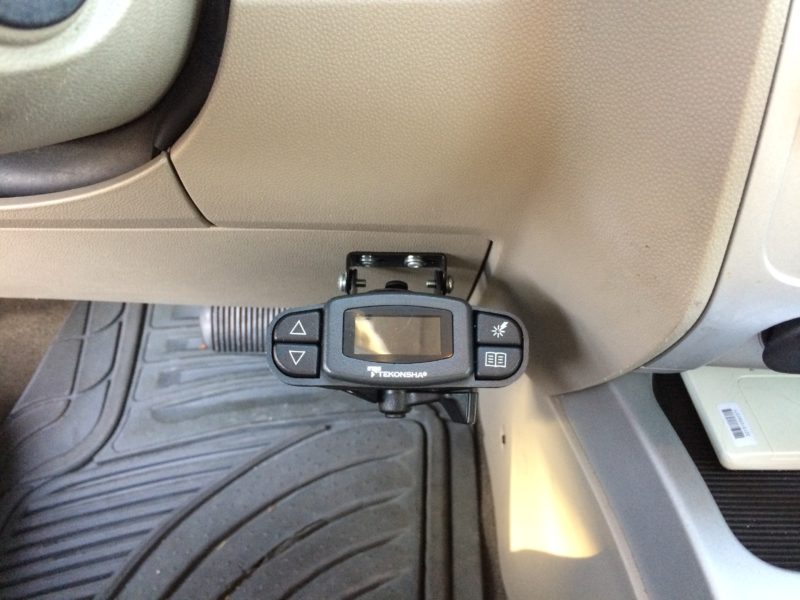
I added electric trailer brakes so I could pull the boat with my Ford Escape Hybrid. I get 30 MPG without the boat and I get 25 MPG pulling the boat. I need to save a little money getting the boat to the lake as I have burned more then 40 gallons in a day.

238.jpg


239.jpg


I will share more about the boat next.

240.jpg
 
Last edited by a moderator:
Back of the Boat

When it comes to SeaDoo Boats the party is in the front and its business in the back.

My boat is fast, I can get to 45 MPH with ease and by myself going down wind I can hit 50 MPH.
I credit the speed to my Concord impellers that were re-pitched by Impros in Corona. Dave set the impellers at different pitches to counter rotation so the steering wheel is straight making the boat faster.


224.jpg


Hands down the best money I spent on this boat is the trim tabs. The only kit I found that fits a Challenger 1800 is the Insta-Trim about $350.00. They are hydraulic, I really wanted electric but I could not find a set that came close to fitting for under $1,500. I do not have the Trim-Tab locator gauge yet but it’s on the list. The boat is amazing with the trim-tabs down, I can fly through chop and it launches off wakes like a jet ski. The best money spent so far.

225.jpg


226.jpg


When you install the trim-tabs reverse no longer works. Reverse never worked that great but no reverse was unacceptable. I needed a way to redirect the water under the trim tab. The answer came in the form of two .89 cent PVC 45 degree couplings.

227.jpg


I heated the PVC coupling with a heat gun so I could mould the coupling to fit the outside of the reverse bucket. I than riveted the coupling to the bucket.

228.jpg


229.jpg


230.jpg


As you can see when the bucket is in reverse the water is directed below the trim tab and when it is in forward it is above the trim tab. I now have reverse again.

231.jpg


232.jpg


233.jpg


Next I’ll get into the engine compartment.
 
Last edited by a moderator:
I'm not much of a camera guy outside my garage. I'm waiting on parts but hope to get out on the water the first of next week. I will take some side photos then. Are you breaking in your boat this weekend?
 
Engine Compartment

Last season, I spent more time in the engine compartment than I did in the driver’s seat. I have completely replaced the Evil engine so I am looking forward to a more enjoyable season this year.

214.jpg


The first thing I did was to revamp the fuel system. The stock fuel pumps were shot and had been discontinued so I replaced them with Mikuni Universal High Flow Pumps. I built a simple bracket using aluminum stock and attaching it to the same bracket used to mount the rectifiers. I wanted a fuel filter system to trap water so I went with a couple Suzuki outboard fuel filters. I rebuilt the carburetors a couple times because I did not use OEM rebuild kits the first time.

215.jpg


216.jpg


I added the largest battery I could find to fit the original location, but I had to modify the tray to get it to fit.

217.jpg


Coming from PWCs I knew how important it was to be able to see the cooling pissors so I could verify that the cooling system was working properly. Sea Doo had added the pissors at the back of the boat under the tow hook which could not be seen from the driver’s seat. I re-plumbed the pissors to the side of the boat following snikwad003's lead.

218.jpg


I replaced the carbon ring, my boots looked OK so I added a piece of 2” PVC Sch 40 pipe cut about a ¼ inch wide then I cut about an inch out of the circle so it could slip it over the boot connector to add more pressure on the carbon ring to prevent cavitation.

219.jpg


I moved the coil box and added a dry box so I could keep extra spark plugs, rectifier and fuel pump as well as all the tools I need to work on the boat.

220.jpg


I added an engine compartment light controlled by the navigation light switch.

221.jpg


I added EGT gauges to be able to measure the gas temperatures so I could be aware of a lean condition before I seized a motor. Here is the thread about installing the EGT gauges.
http://www.seadooforum.com/showthread.php?84883-EGT-gauge-no-more-burnt-pistons

222.jpg


223.jpg


I believe I am done in the engine compartment other than maintenance.

Next I will go over the interior of the boat.
 
Last edited by a moderator:
Some say the plastic air boxes help with air flow, but I do not believe they have any effect.
Obliviously on a PWC the air boxes prevent water from entering the carburetors.
My engine compartment is completely dry, so I see no reason to use the air boxes just my personal preference.
 
The carbs are tuned to the air pressures of the plastic air box. I would 100% reinstall the plastic air box

This can cause a major issue such as a lean condition. If your gonna run no air box you will need to change your jet sizes as one would for a aftermarket intake
 
I am still running factory jets, which are overly rich to prevent seizures during the warranty period.
I believe Sea Doo is running stock motors as rich as they possibly can.

I have EGT gauges and I can tell you my engines are running rich not lean based on temperatures.

I’m not suggesting anyone should not run the boxes, like I said personal preference.
 
For anyone interested I will share what I understand about fuel ratios in a gasoline engine which includes two strokes.

Stoichiometric 14.7:1 which means 14.7 parts of air to one part of fuel, which is the correct amount of air and fuel to produce a chemically complete combustion in a gasoline engine. Today’s computer controlled engines use O2 sensors to measure fuel mixture and make adjustments to fuel injection and timing to keep the combustion event as close to 14.7:1 as possible. So when the computer is working properly the computer controlled engine will not run rich or lean.

Examples of fuel ratios:
15.0:1 = Lean (causes the combustion temperatures to be hotter, which can destroy an engine)
14.7:1 = Stoichiometric (Complete combustion)
13.0:1 = Rich (causes the combustion temperatures to be cooler)
The higher the first number the more air in the mixture.

Carbureted engines do not have computers so the engineers try to find a safe ratio which would allow the engine to perform in all situations without becoming lean. Usually the engineers will target fuel ratios between 12.1:1 and 13.1:1, this is a rich mixture (a safe zone to account for issues that could cause the fuel mixture to become lean).

This is why computer controlled engines are more fuel efficient, they are running a fuel ratio close to 14.7:1 while carbureted engines have to run rich fuel ratios between 12.1:1 to 13.1:1

When I say that Sea Doo tunes their 2 stroke engines to run as rich as possible what I mean is they are targeting a fuel ratio at or below 12.1:1. As a result of the rich ratio the engine runs cooler, which helps prevent engine failures. A rich fuel mixture is not efficient, but it is safe.

This is a very simple explanation of a very complex subject. I hope this helps explain what is meant by a lean or rich running motor.

EGT (exhaust gas temperature) gauge measures the temperature of the exhaust. A lean running motor will run hotter than a rich running motor. You can use the EGT gauge to determine a lean or rich running motor based on the temperature of the exhaust.
 
Last edited by a moderator:
I'm back in love with my boat!

After four trips to the lake with intermittent ignition problems, I was ready to buy a new MPEM and sell my boat!

I decided to take one more trip through the electrical system checking all connections and grounds.

Today the boat ran great! Next stop Lake Powell on Father's Day. :hurray:

274.jpg


275.jpg


276.jpg
 
Hell yeah!!! Now we both have challengers in tip top shape! Have a safe fathers say. I'm taking my pops out for fishing on mine.
 
Just a FYI:
I have almost the same bimini cover. My main gripe was the back is to low to the sun deck. I made 4 - 12 inch extensions and raised the whole thing up. Its much much better. I would post pics but mine are ugly 10 minute fixes I made right before we left for the lake. Your DIY skillz seem better then mine.

Other then that very cool write up!
 
BoLongo your boat looks great a great job my congratulations, a question that teperatura of exhaust gas would be correct?
 
Status
Not open for further replies.
Back
Top