hotrodssnova
Member
I liked the jet boat so much, I had to buy it.
Found this ski on craigslist. It had a clean title and hadn't seen water since 2004. I reached in and grabbed the pto and spun the engine. It had great compression, and didn't grind when spun around. That sold me.
This is what it looked like:
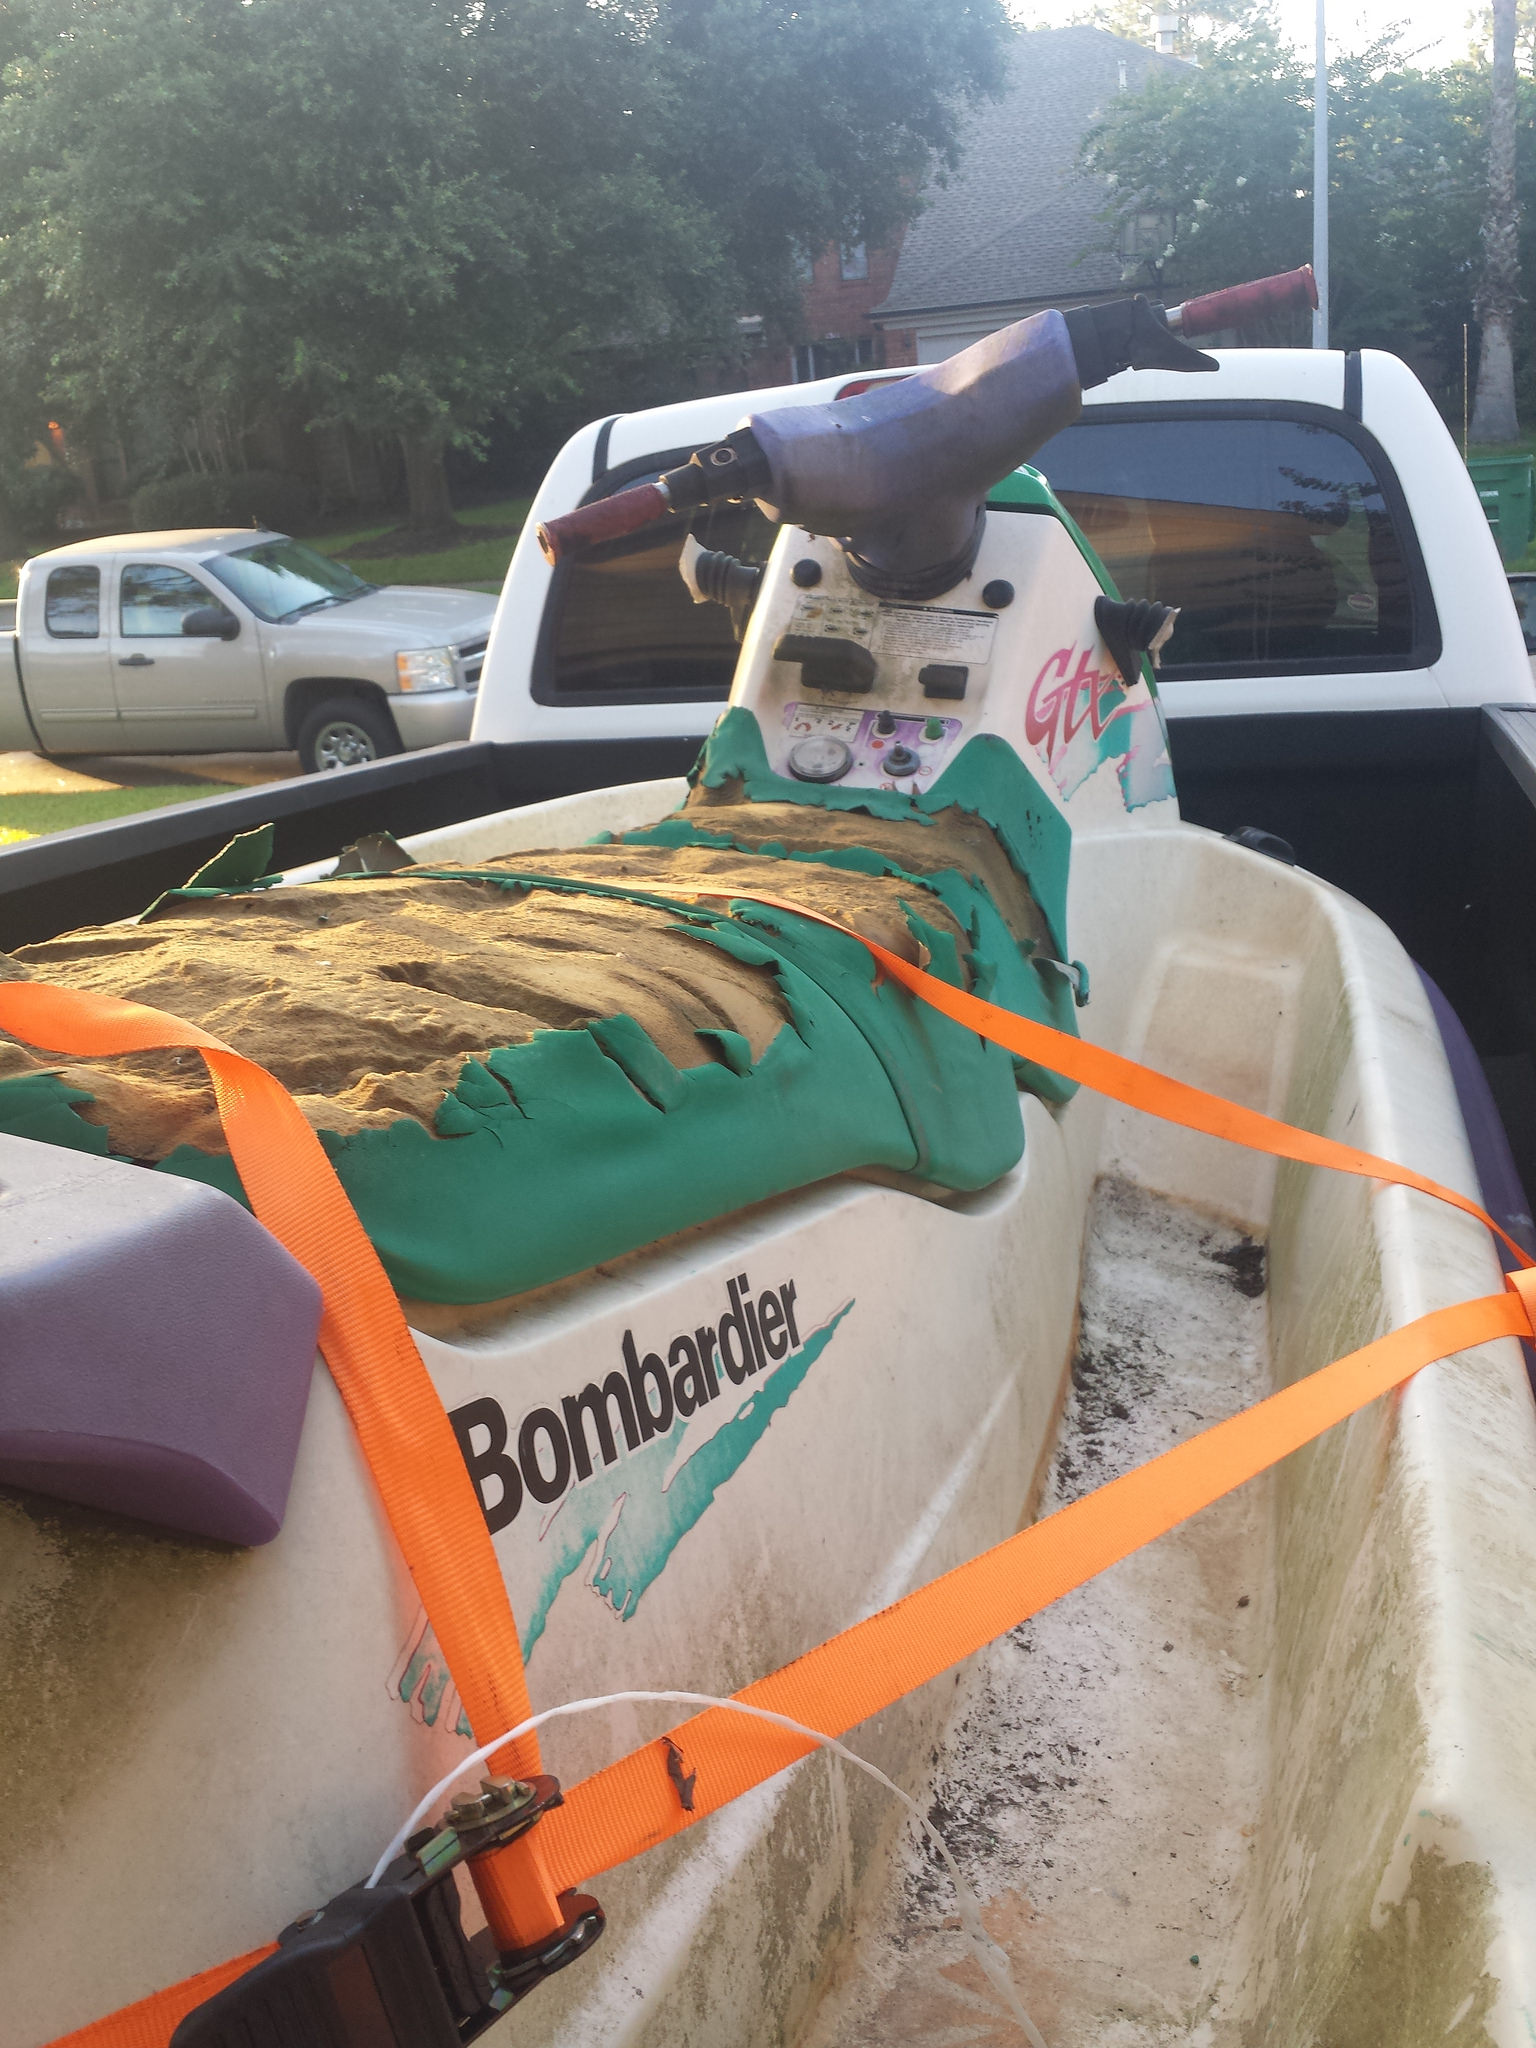
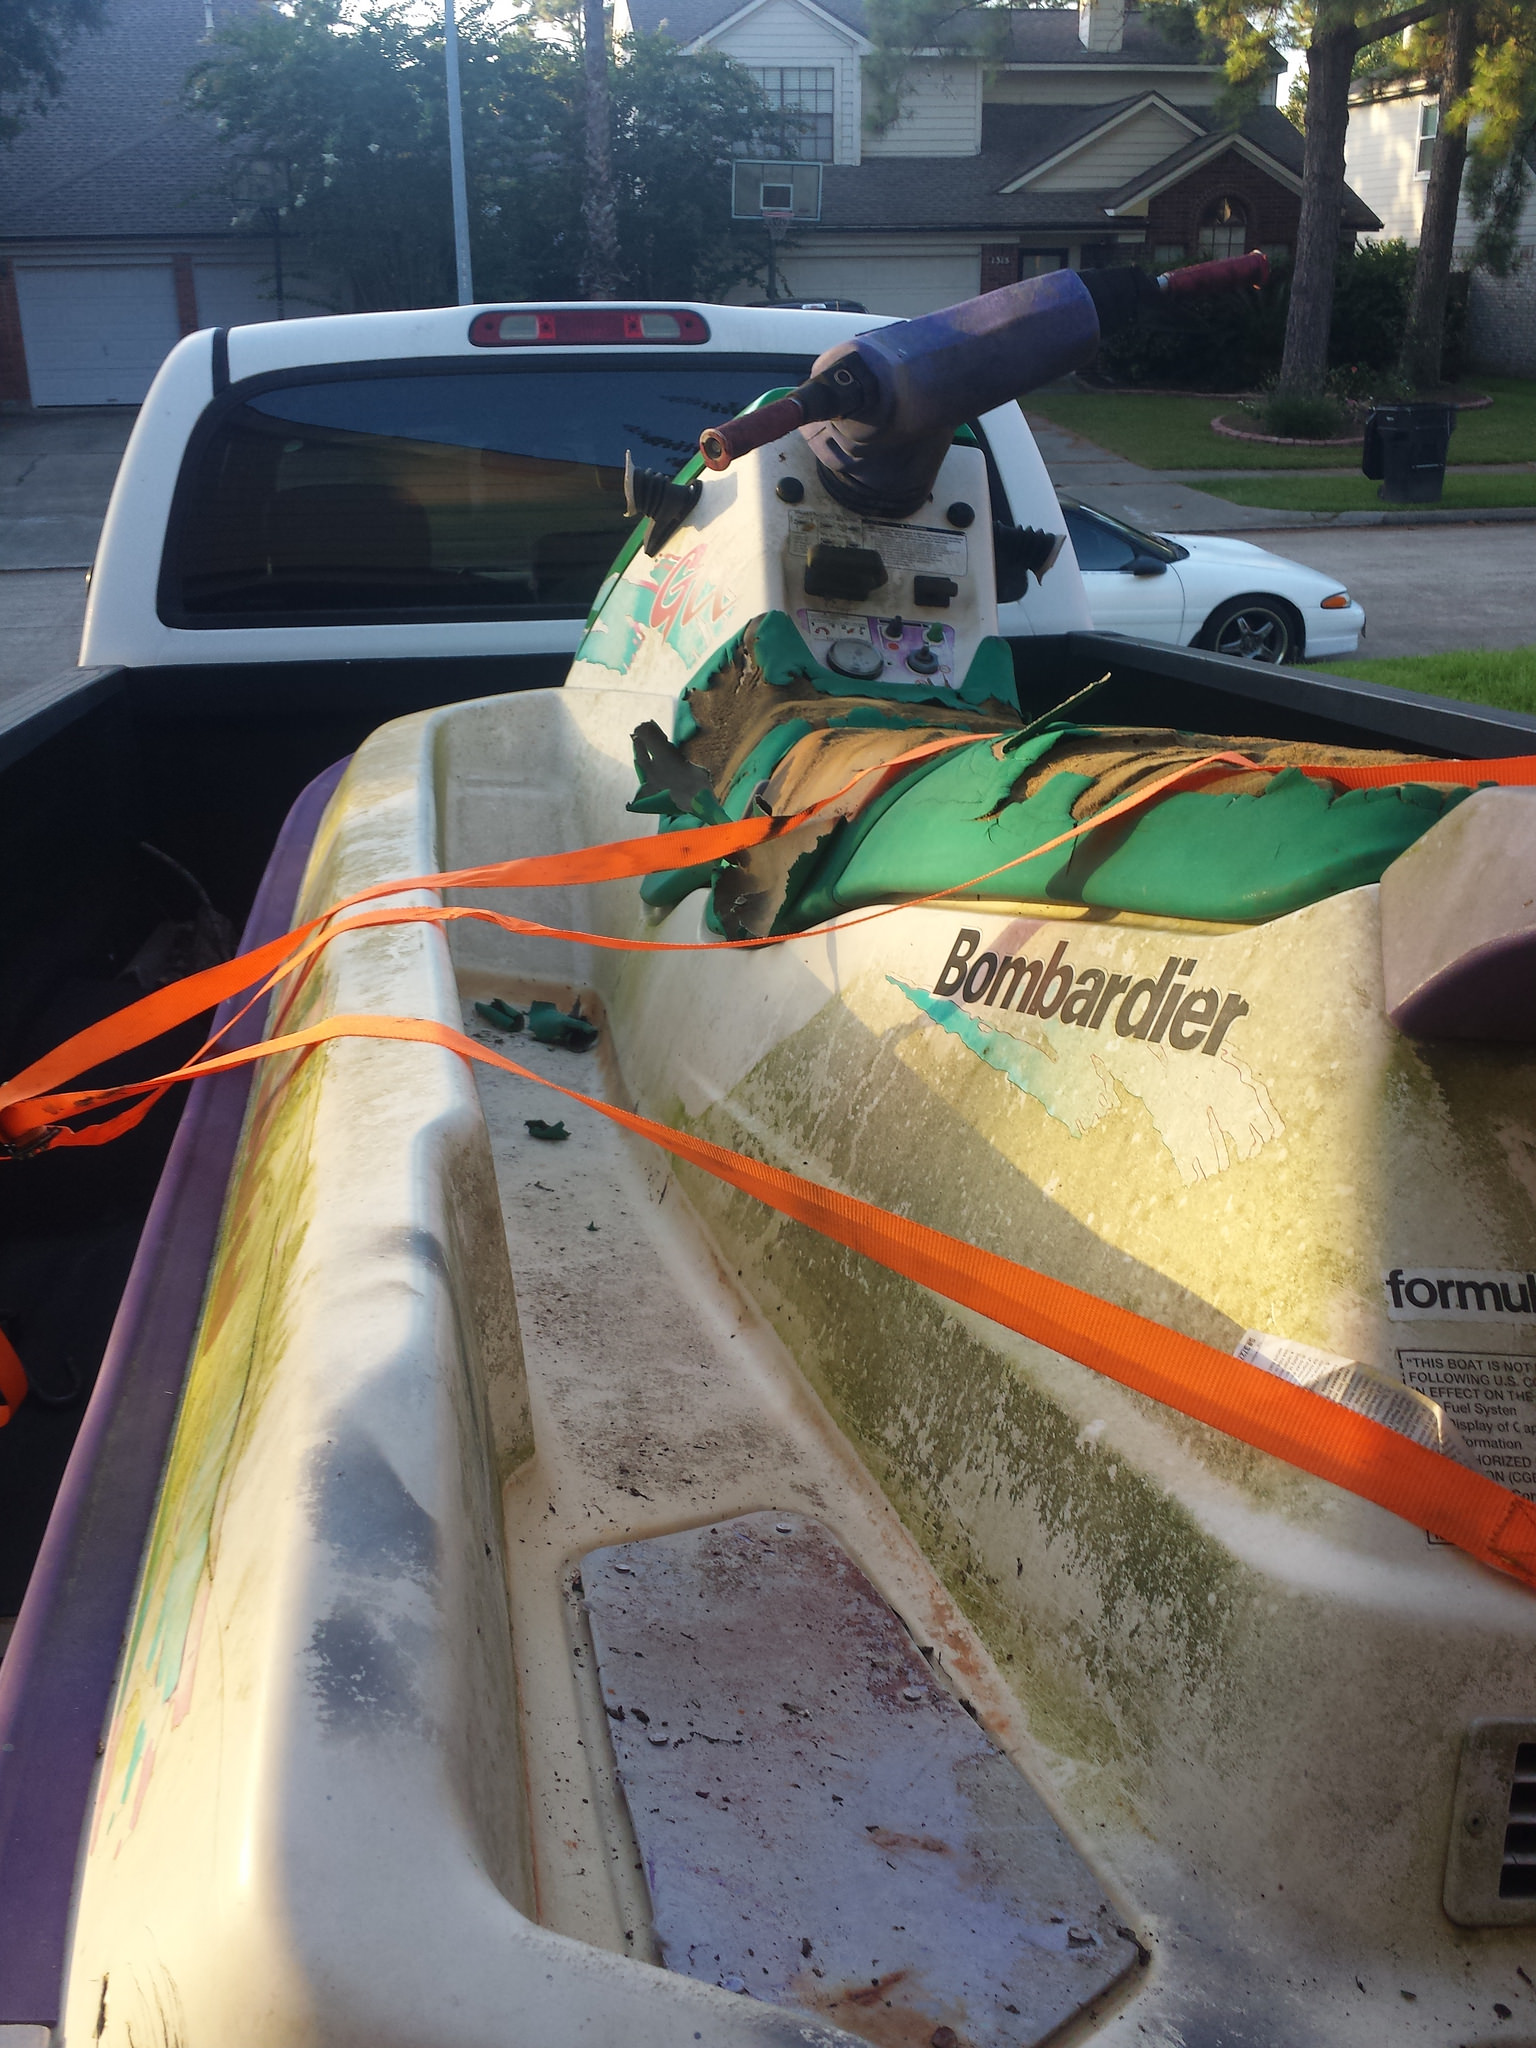
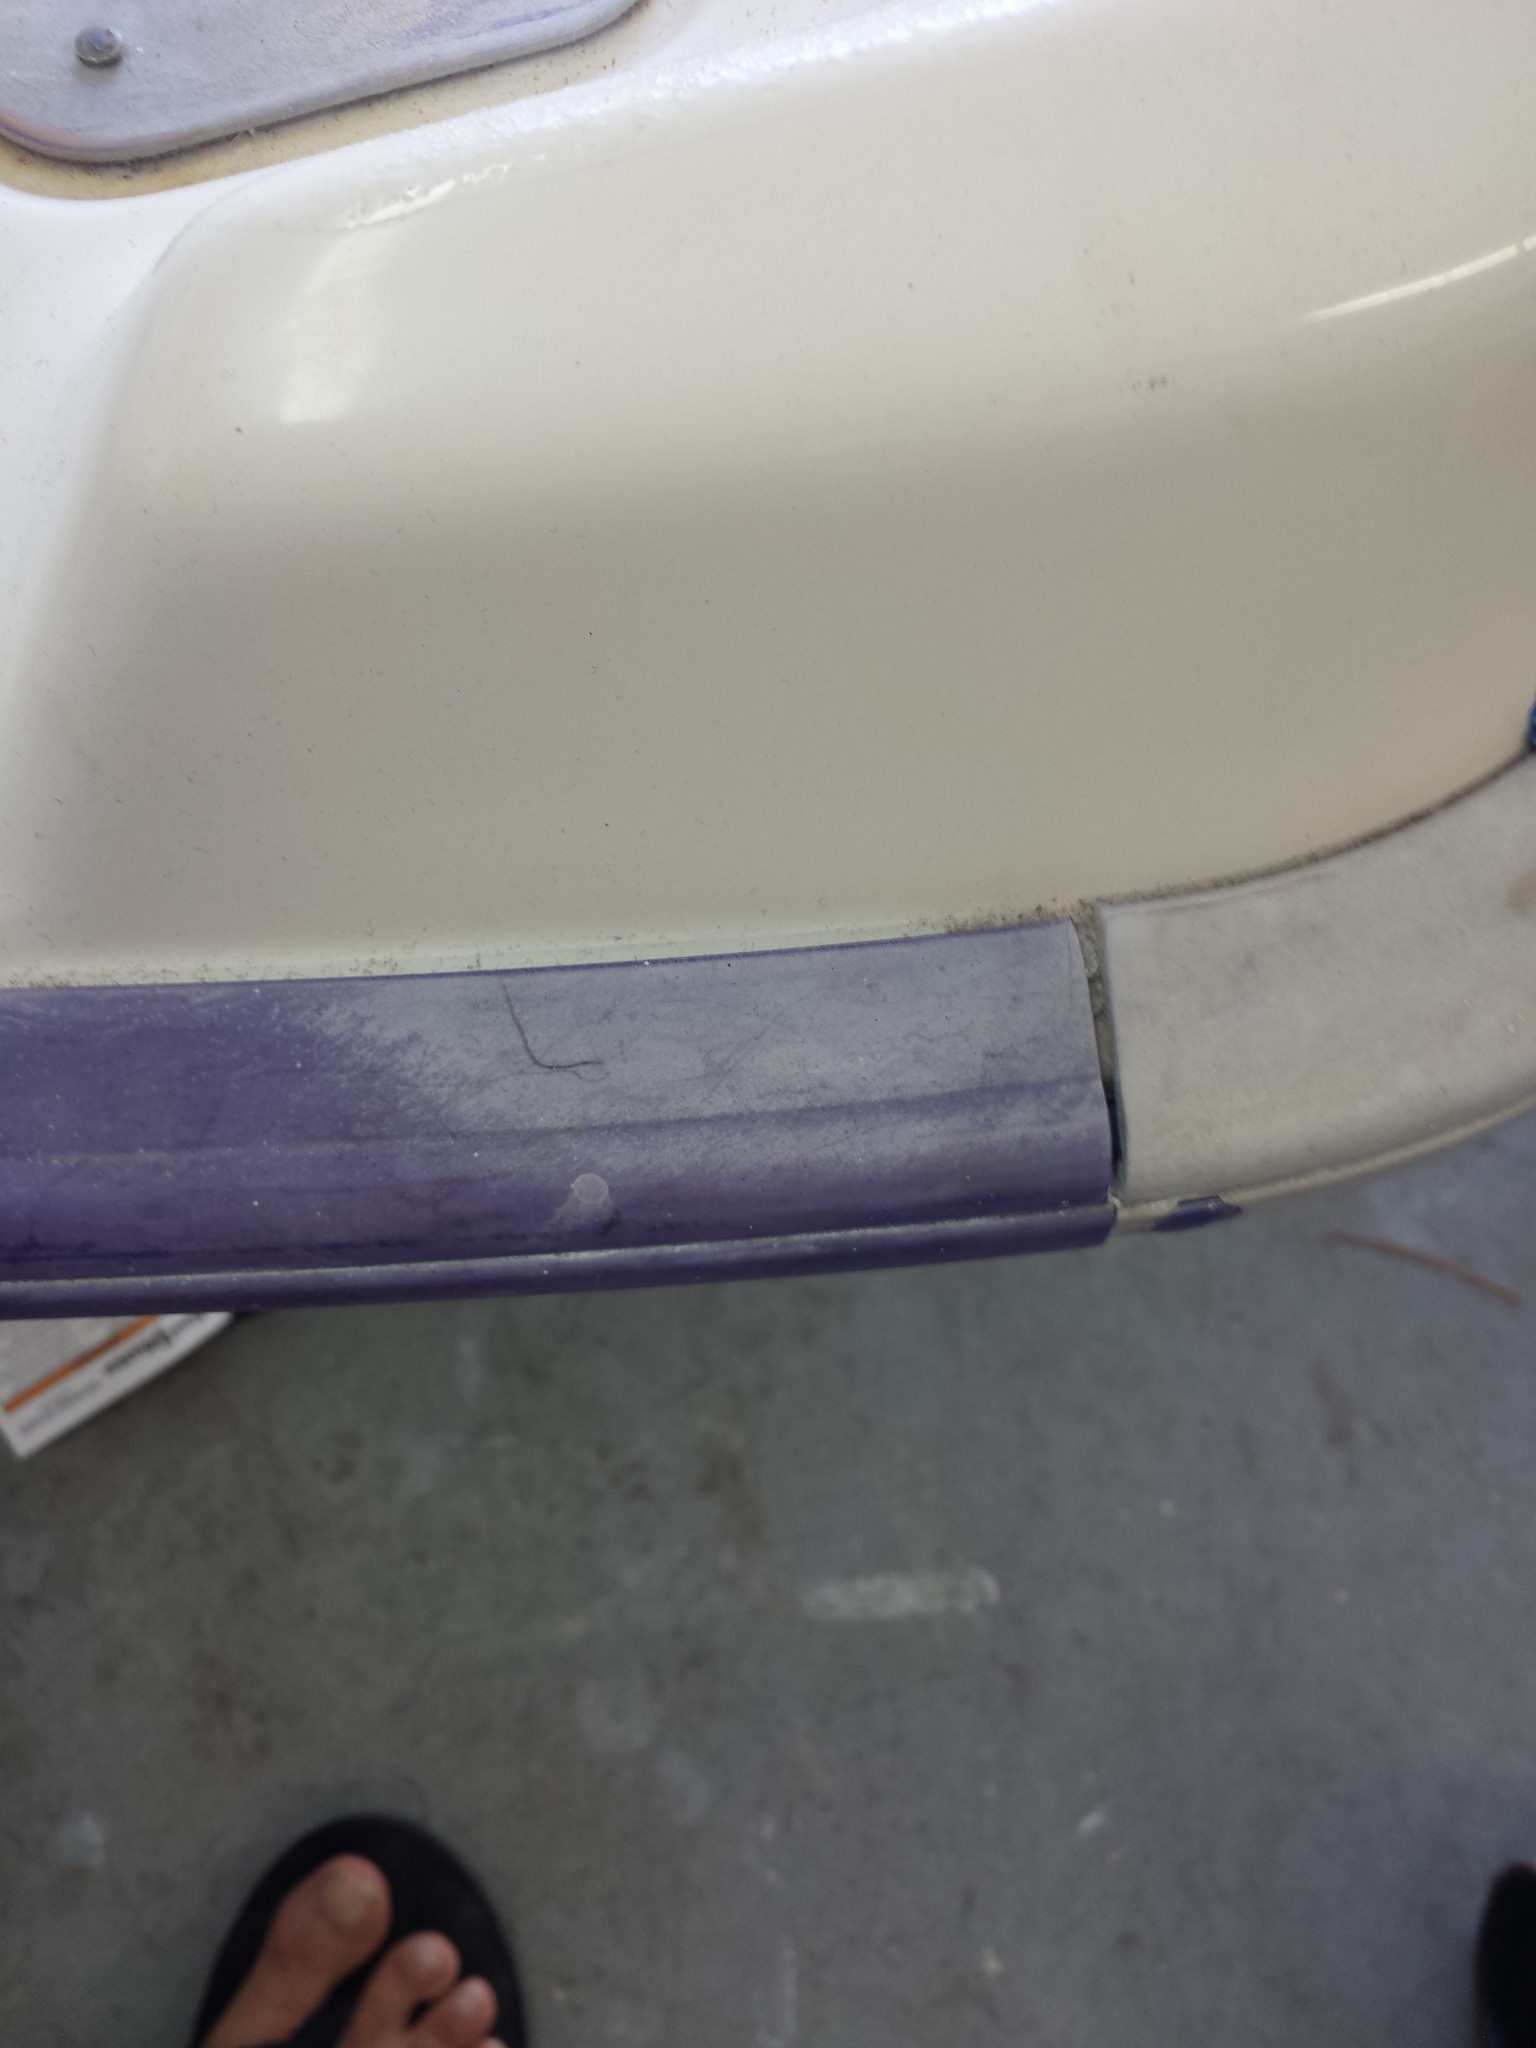
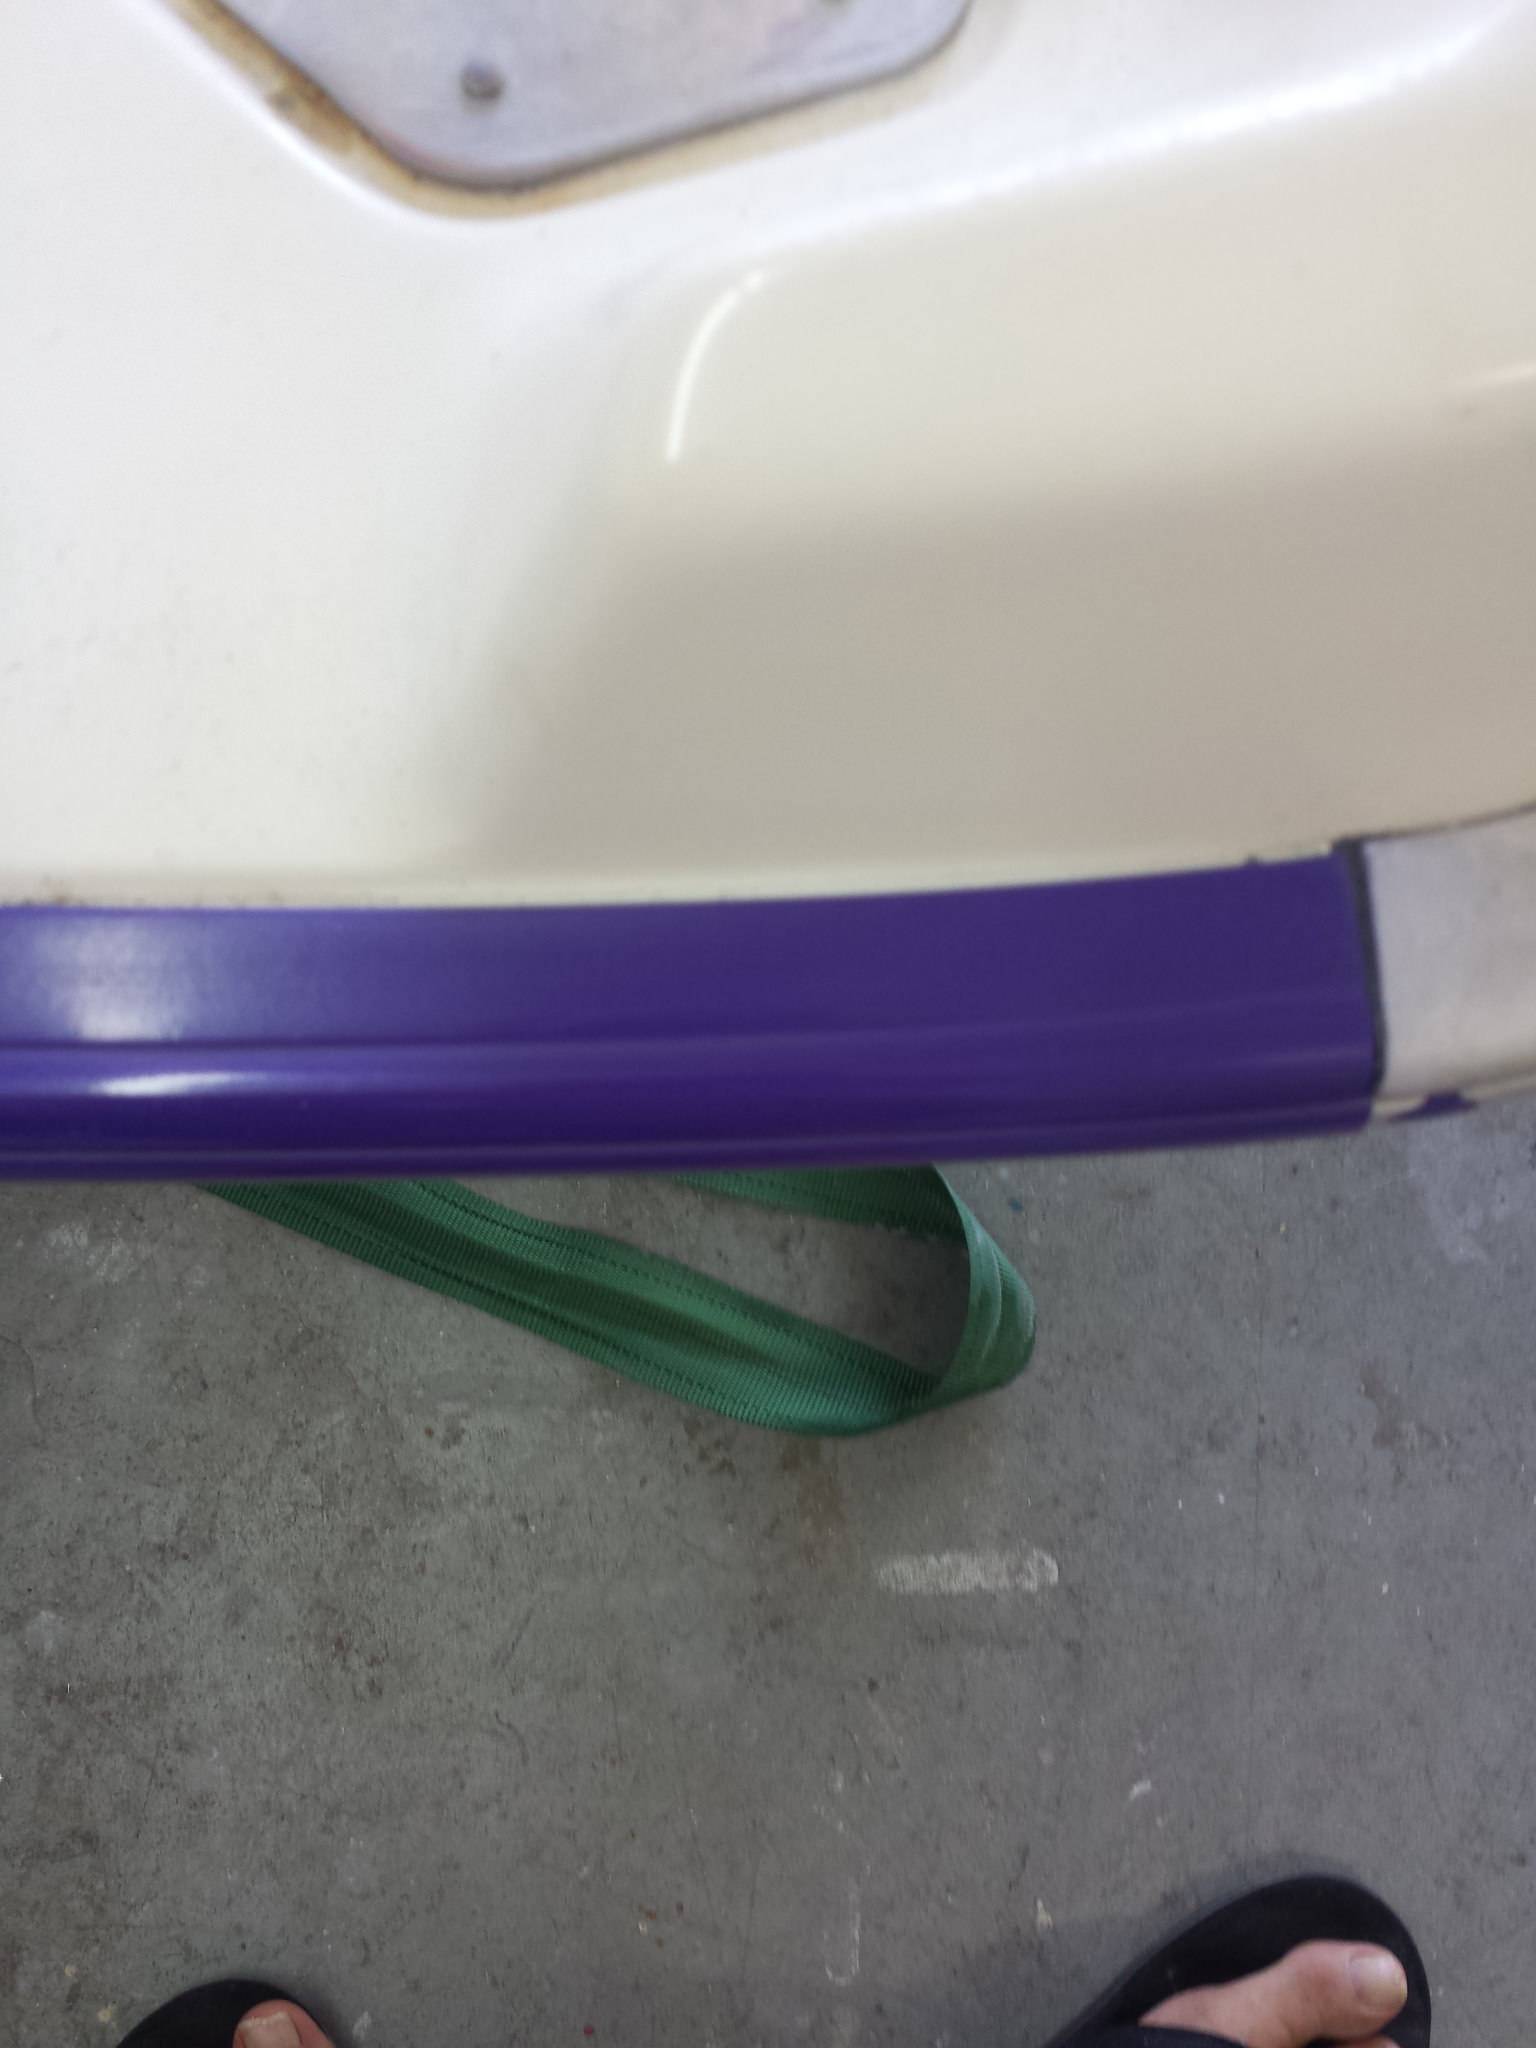
It was pretty nasty when I got it. The seat vinyl, hand grips, and traction mats will all be replaced. I think I can get new graphics to replace the faded ones. I am also going to paint the front cowl black and have a black and purple seat vinyl made up. They are fairly cheap, and there are several companies that make them. New foam is also needed. The seat will be the last thing I do.
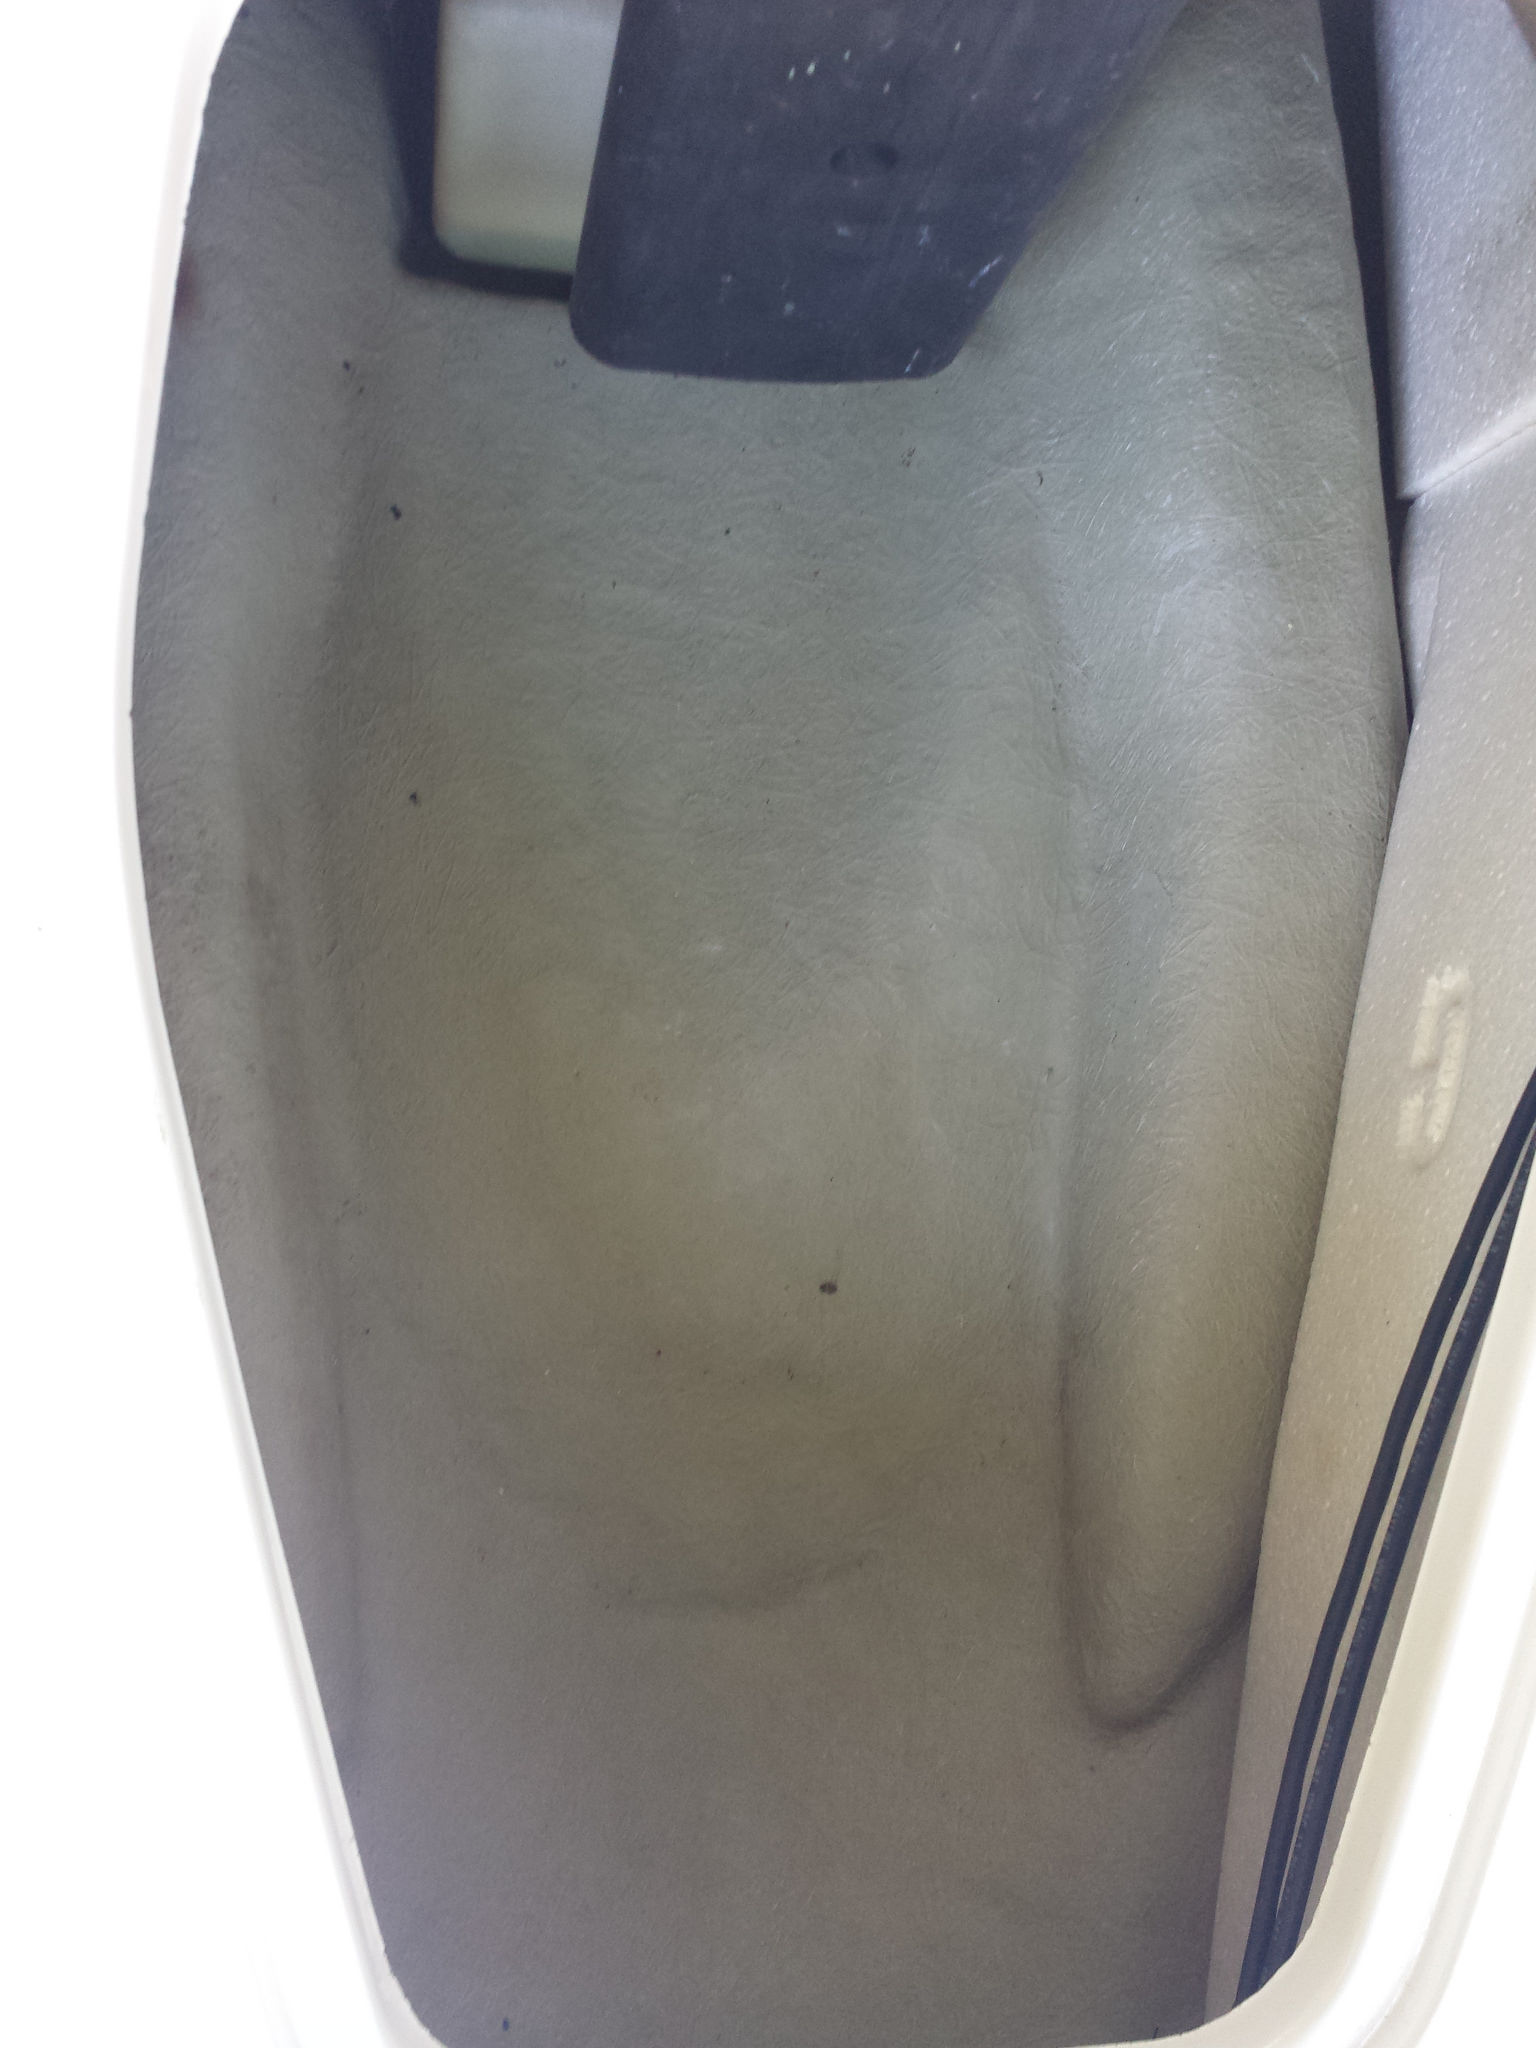
This is what the inside looked like when I picked it up. Clean as new! This is under the front cowl, where the storage bin goes.
Engine was very clean and no leaks in any lines.

The very first thing I did, was throw my spare battery in it and pull the spark plugs and ground the wires for a compression test. I was pleasantly surprised with a 160 psi reading on both cylinders. This was on a cold engine. It was still on the truck. I wanted to check that first before I did anything or spent any more money. With that good compression, I could proceed with the clean up.

Before

After
More before
More after
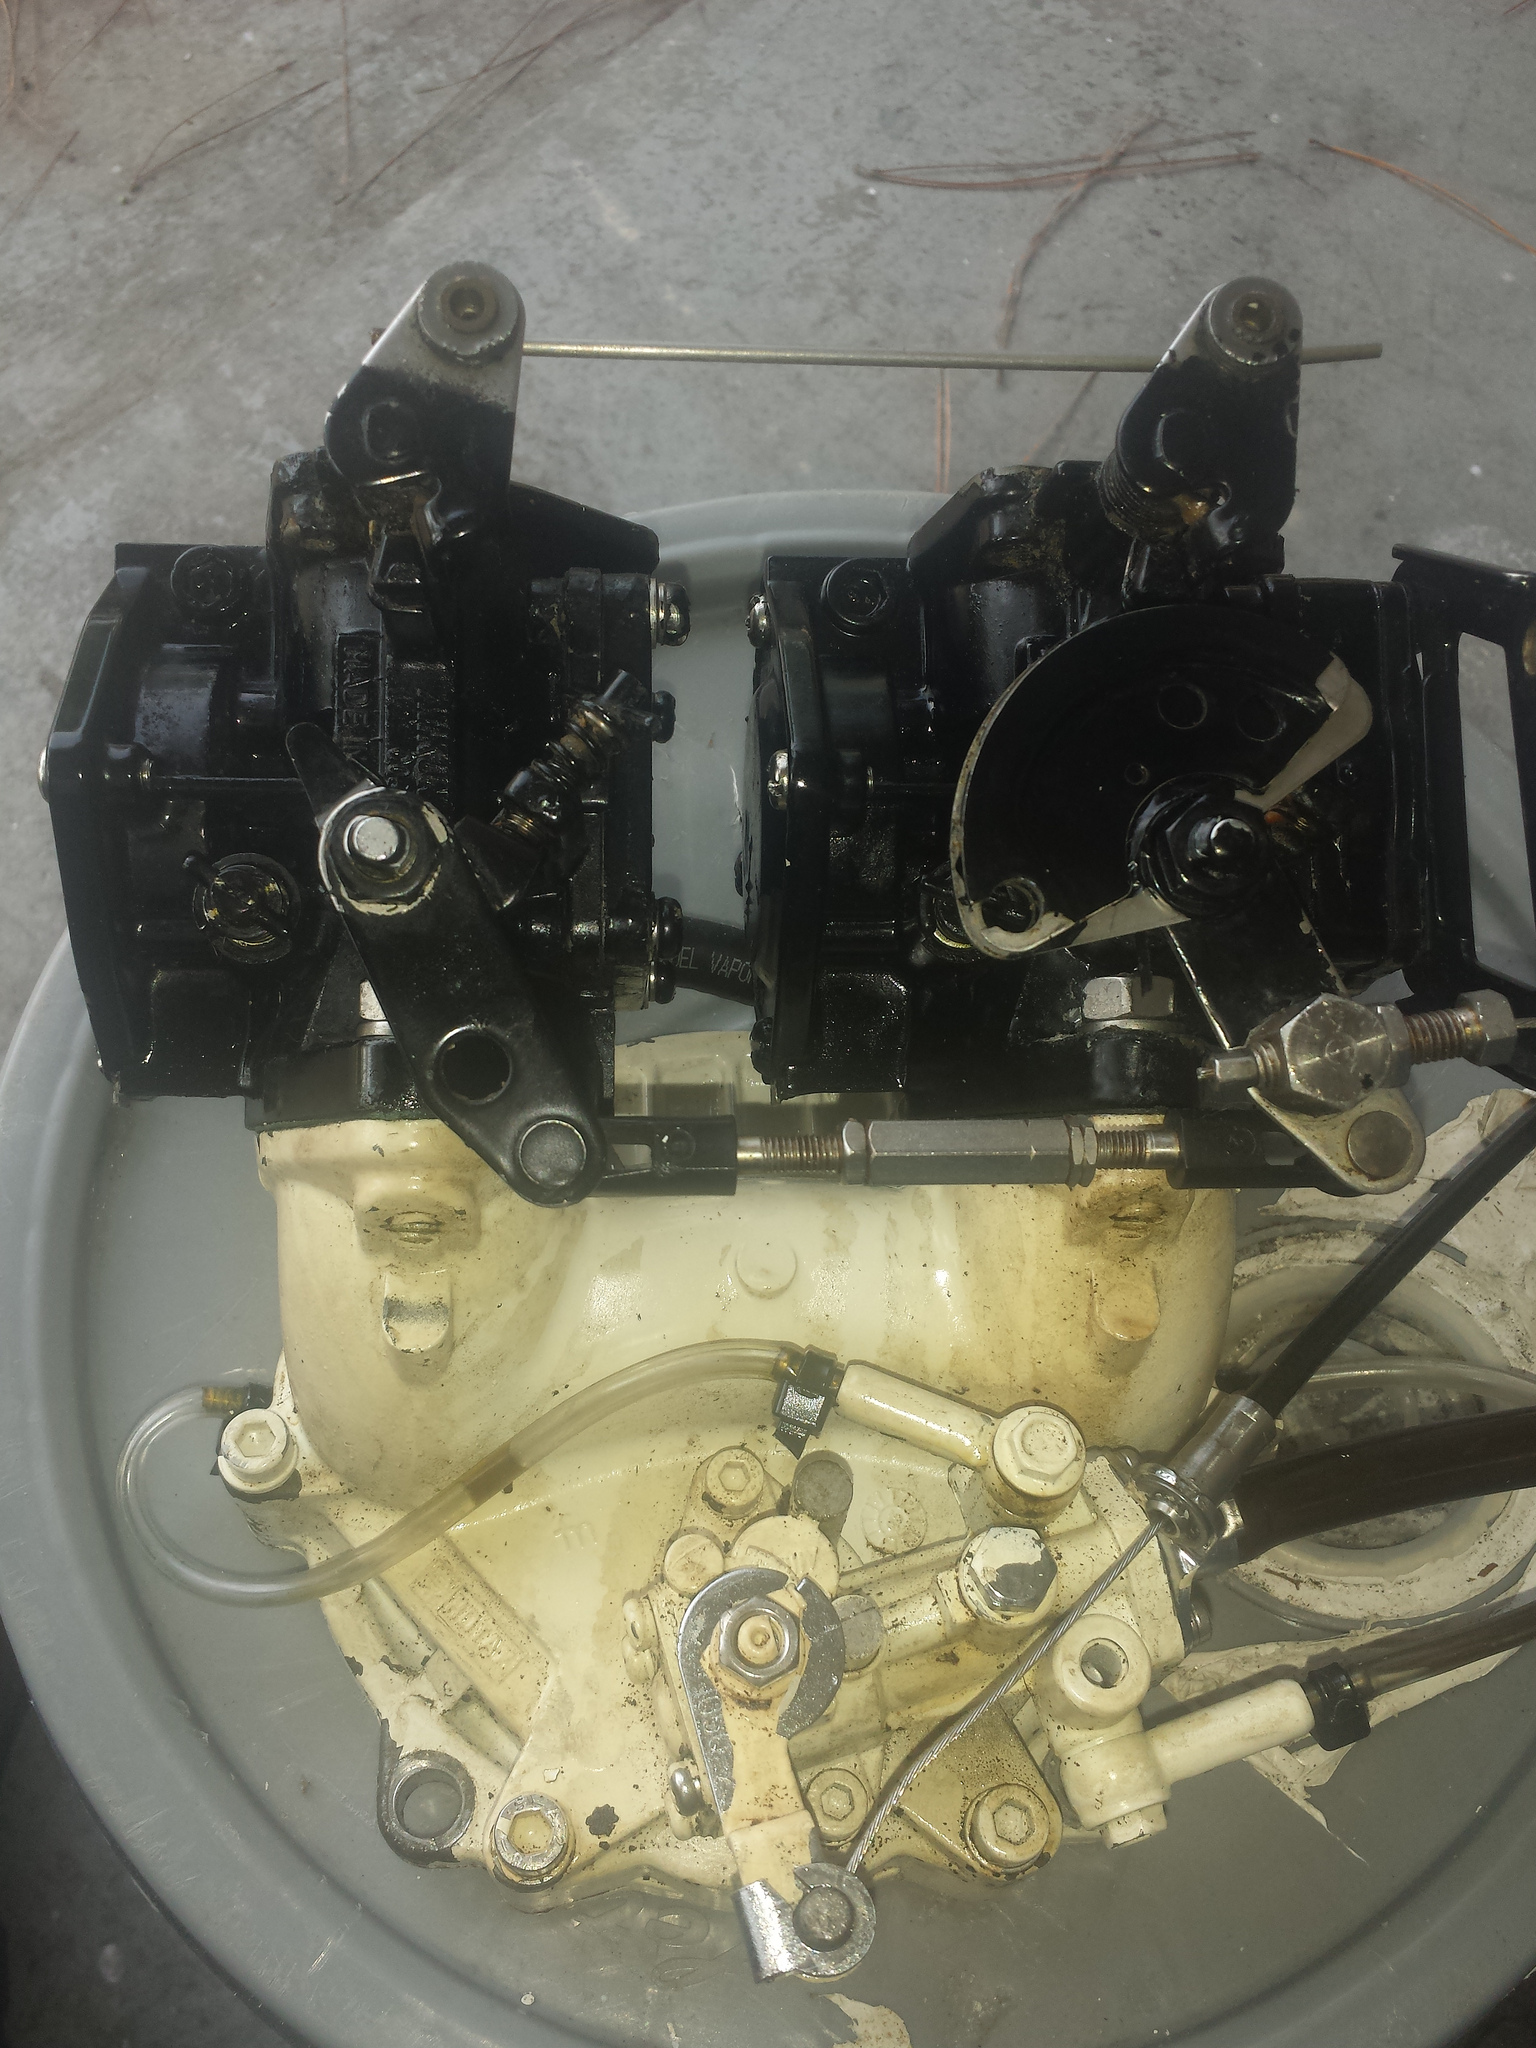
I replaced all the fuel lines. Cleaned the gas tank with soap and water, on the inside, cleaned the fuel selector valve and filter. The old fuel had turned to varnish, and the old fuel line deteriorated and settled in the fuel shut off valve. I also pulled the carbs and gave them a good cleaning. More on that in a bit.
After all that cleaning, and replacing lines and plugs, I poured some premix in the tank, couple squirts in the plug holes and carbs, and hit the button. Started up with a big cloud of smoke. I thought 'HELL YEAH!' Of course, it died a couple of times till the fuel from the tank filled the system. I hooked up a hose to cool the engine while I was going to set the idle. Started it up, water flowing, then i checked for fuel leaks. It appears that the pto side carb started leaking out the diaphragm vent hole. I figured that 10 years of sitting would be tough on something, and it was too much for the soft parts in the carbs. I have them pulled off now, and the rebuild kits are on the counter. That's on the to do list this week.
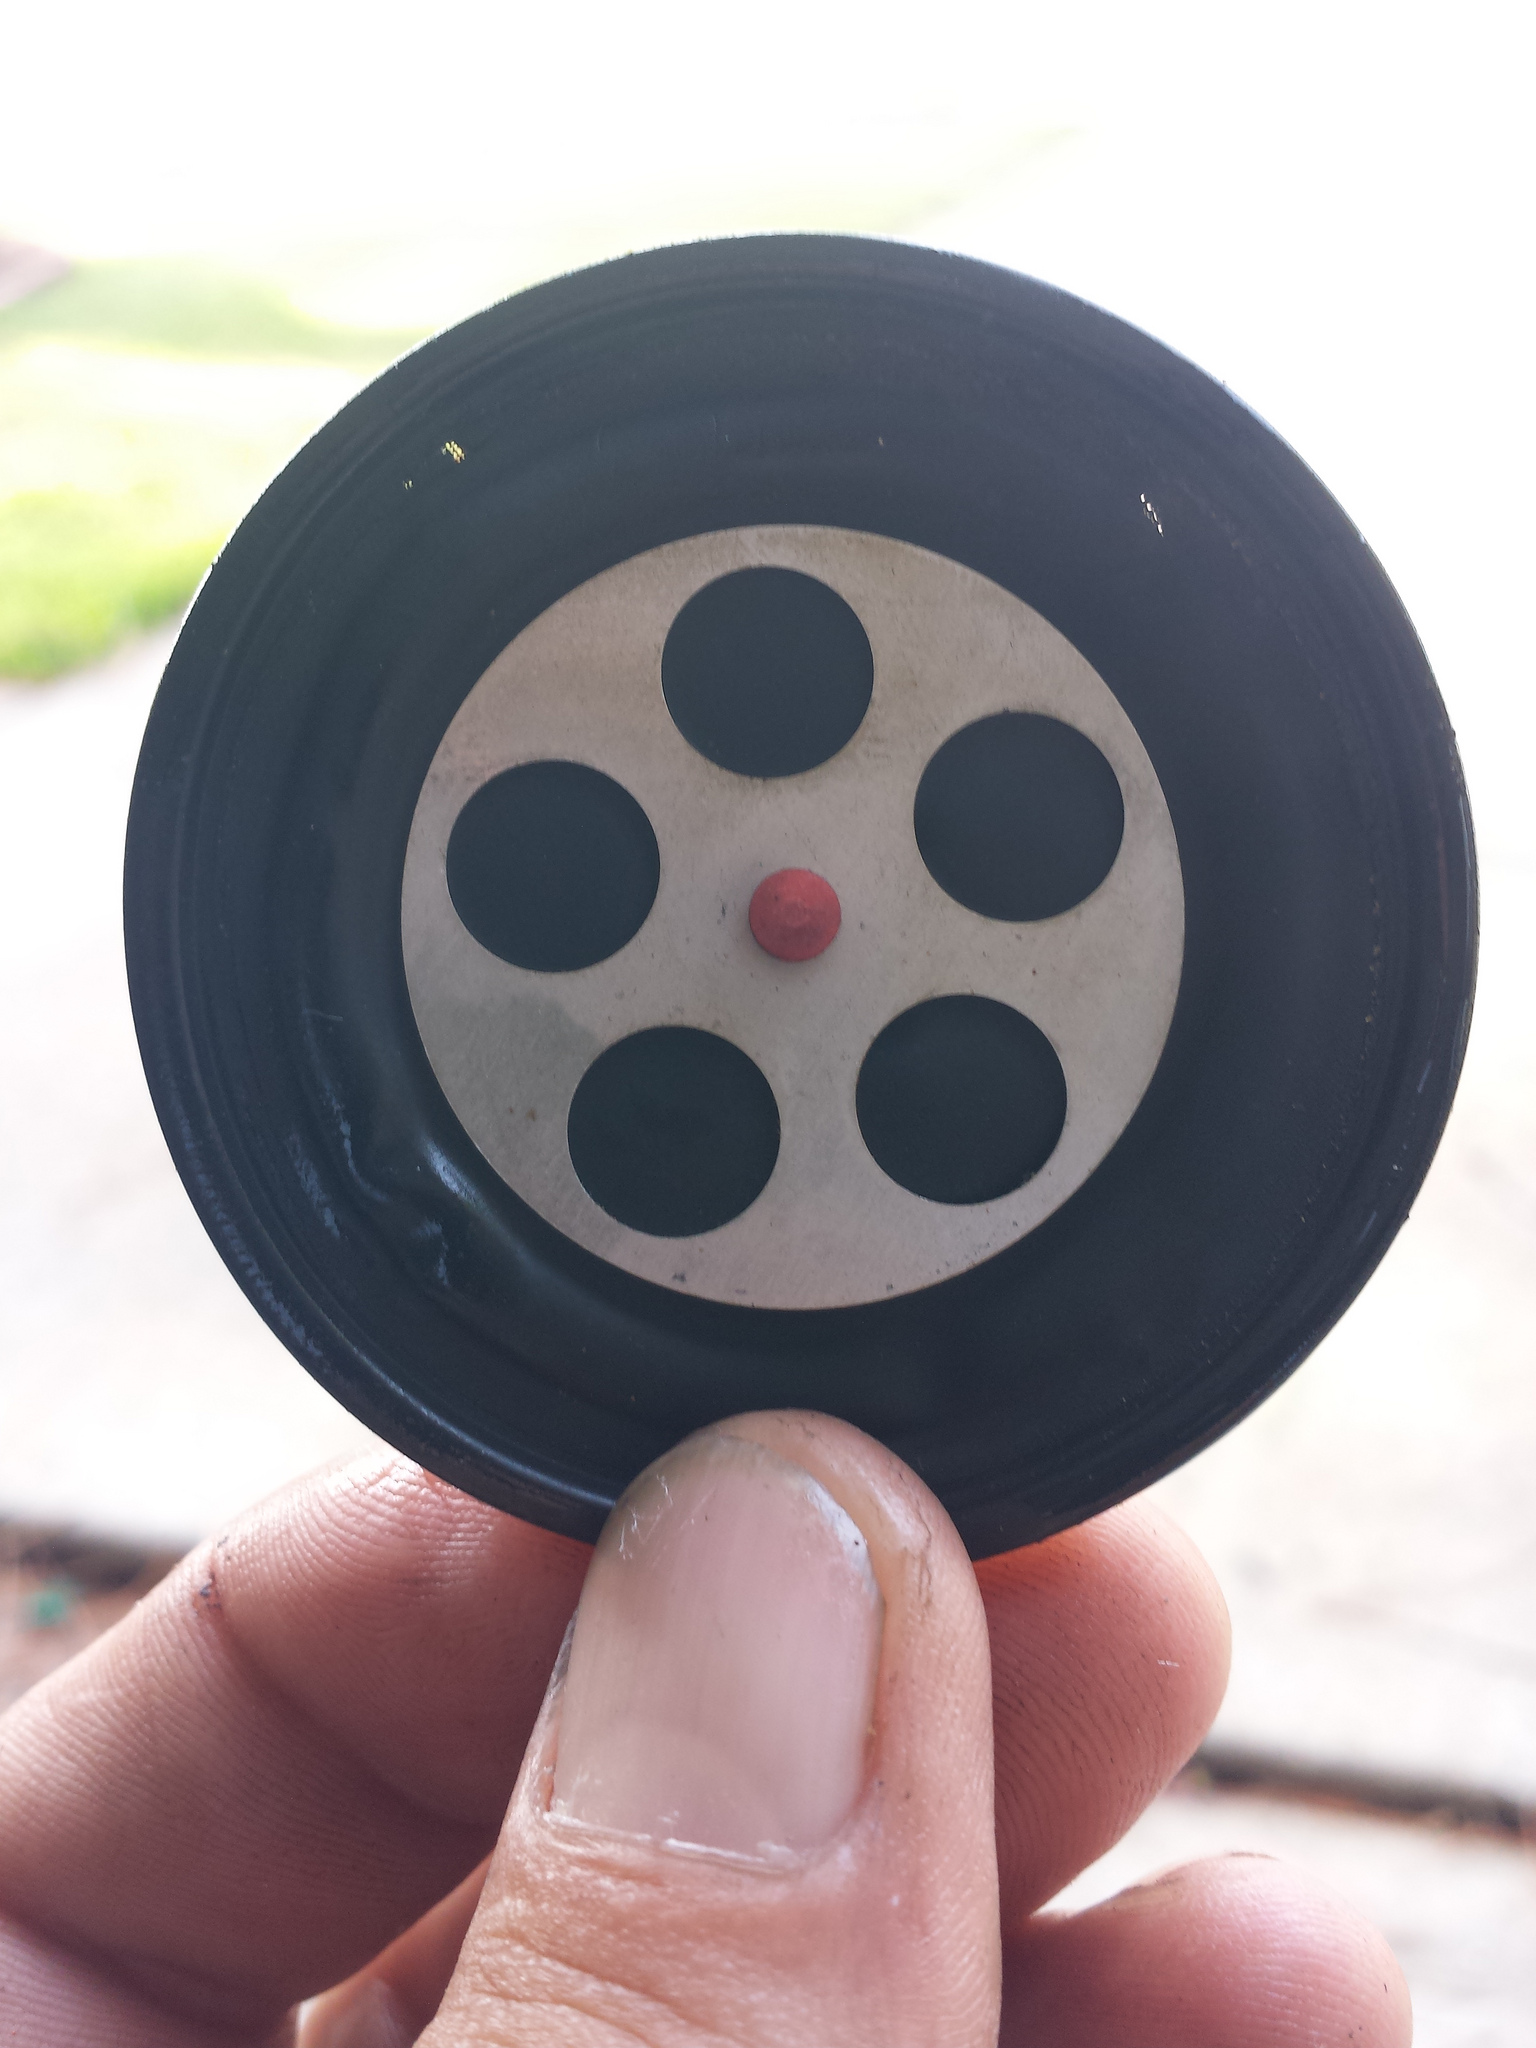
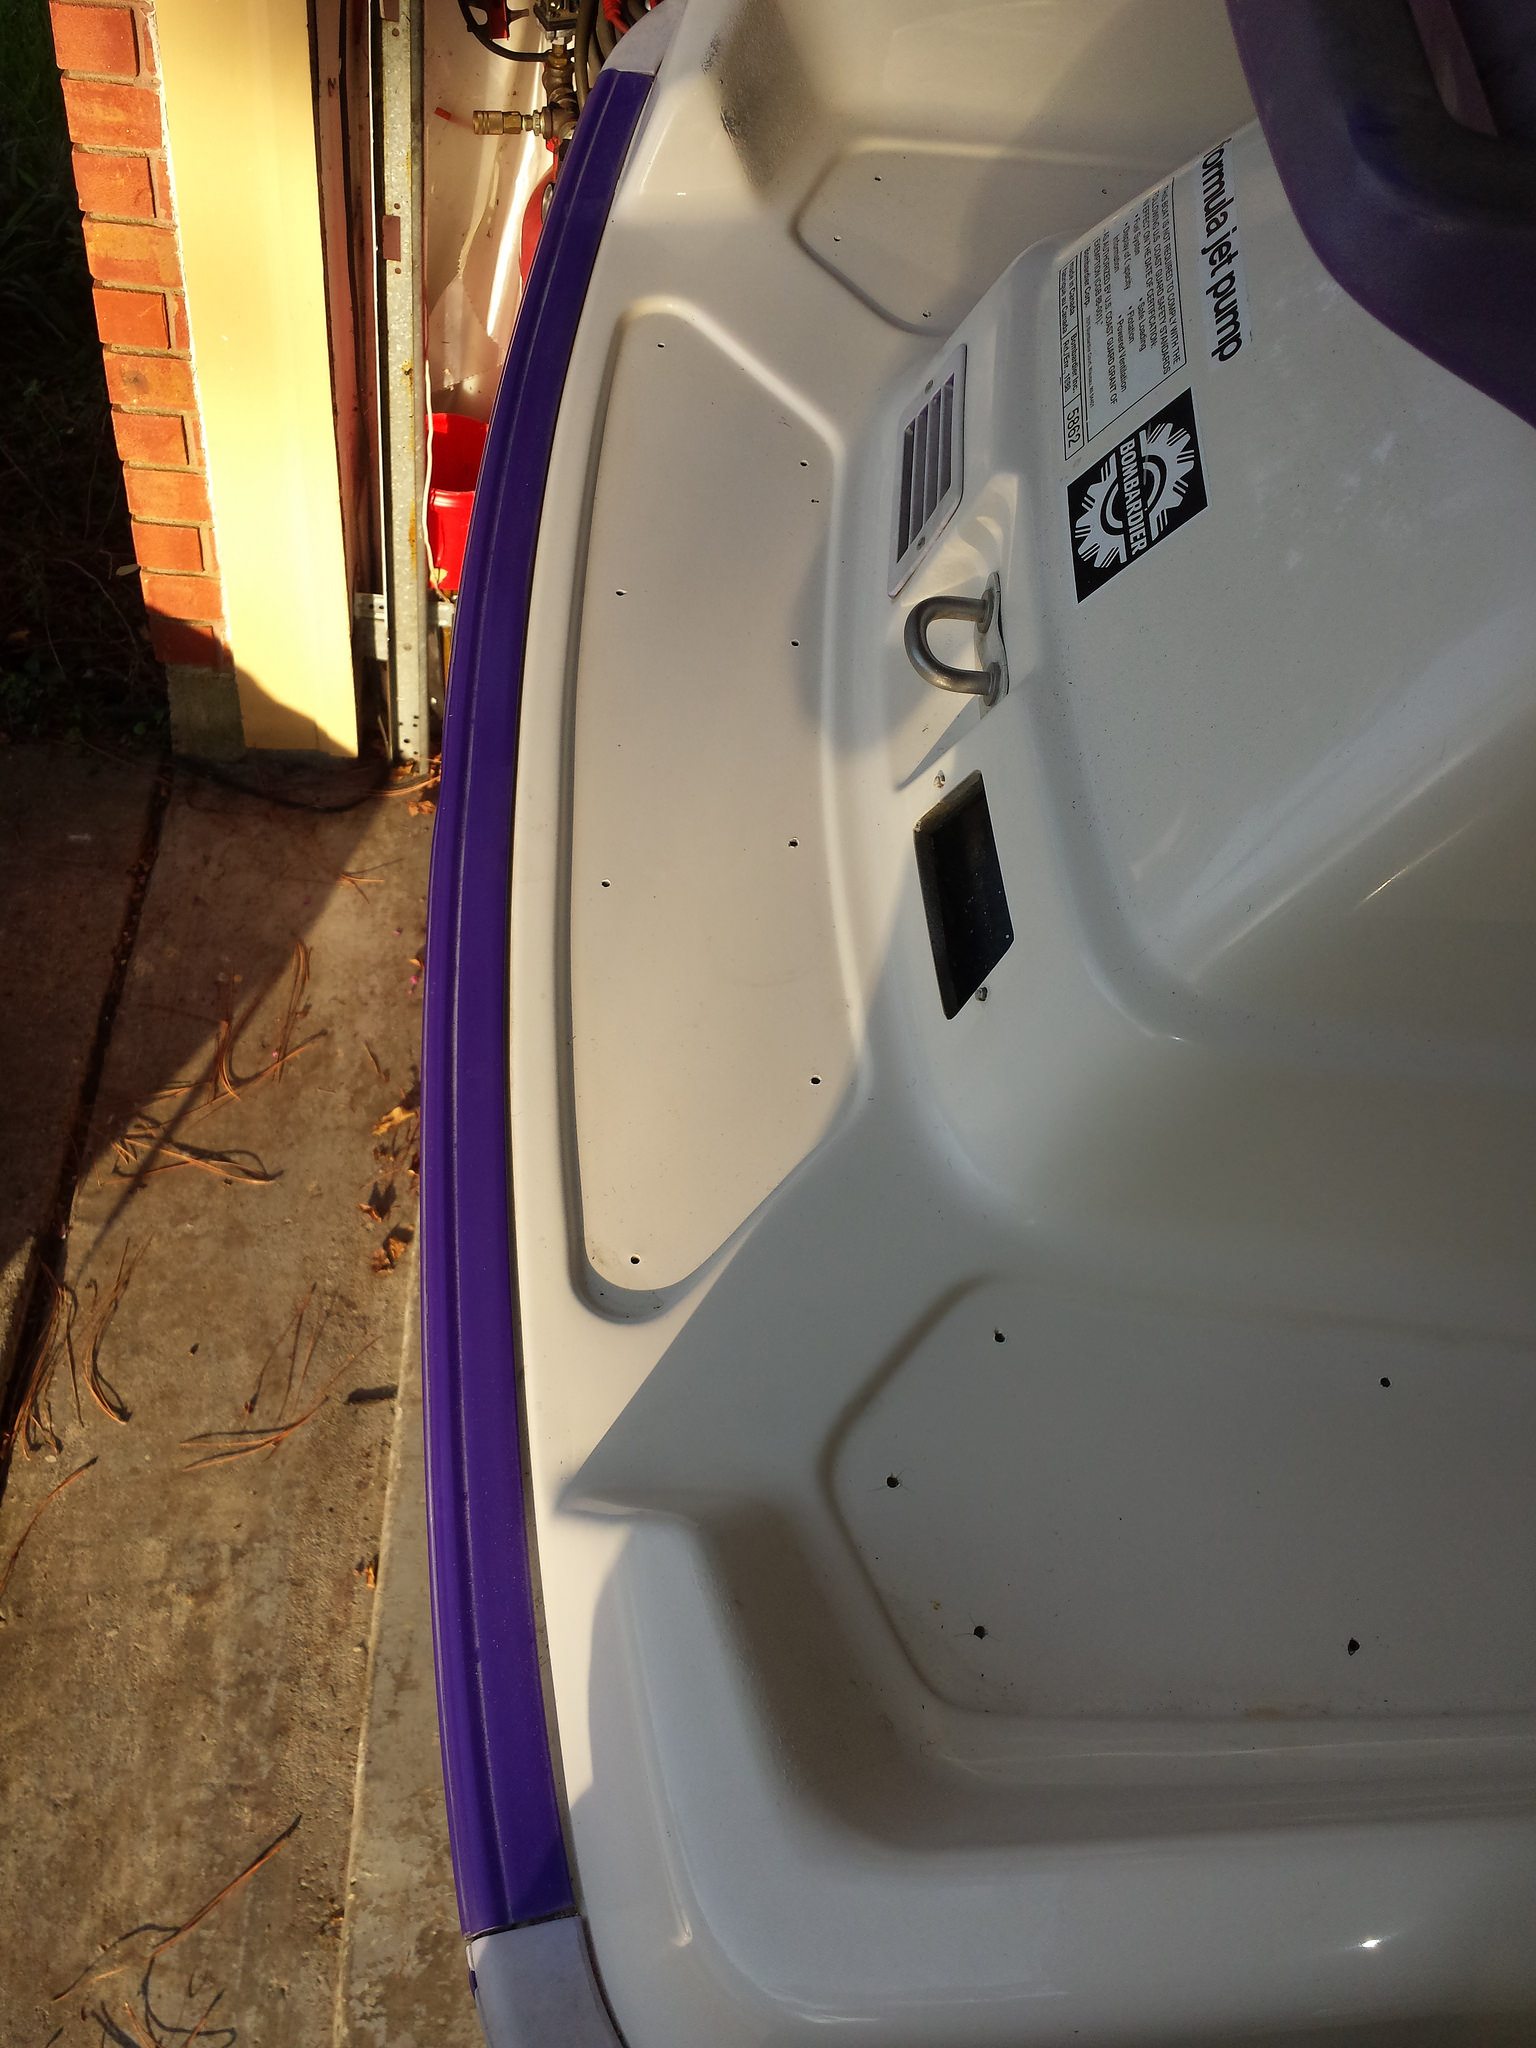
I believe the reason this ski was parked was due to the wear ring. It has quite the gap between the impeller and the ring. Have one of those on the way as well. I don't have pictures of the pump, but will have when I pull the impeller and ring.
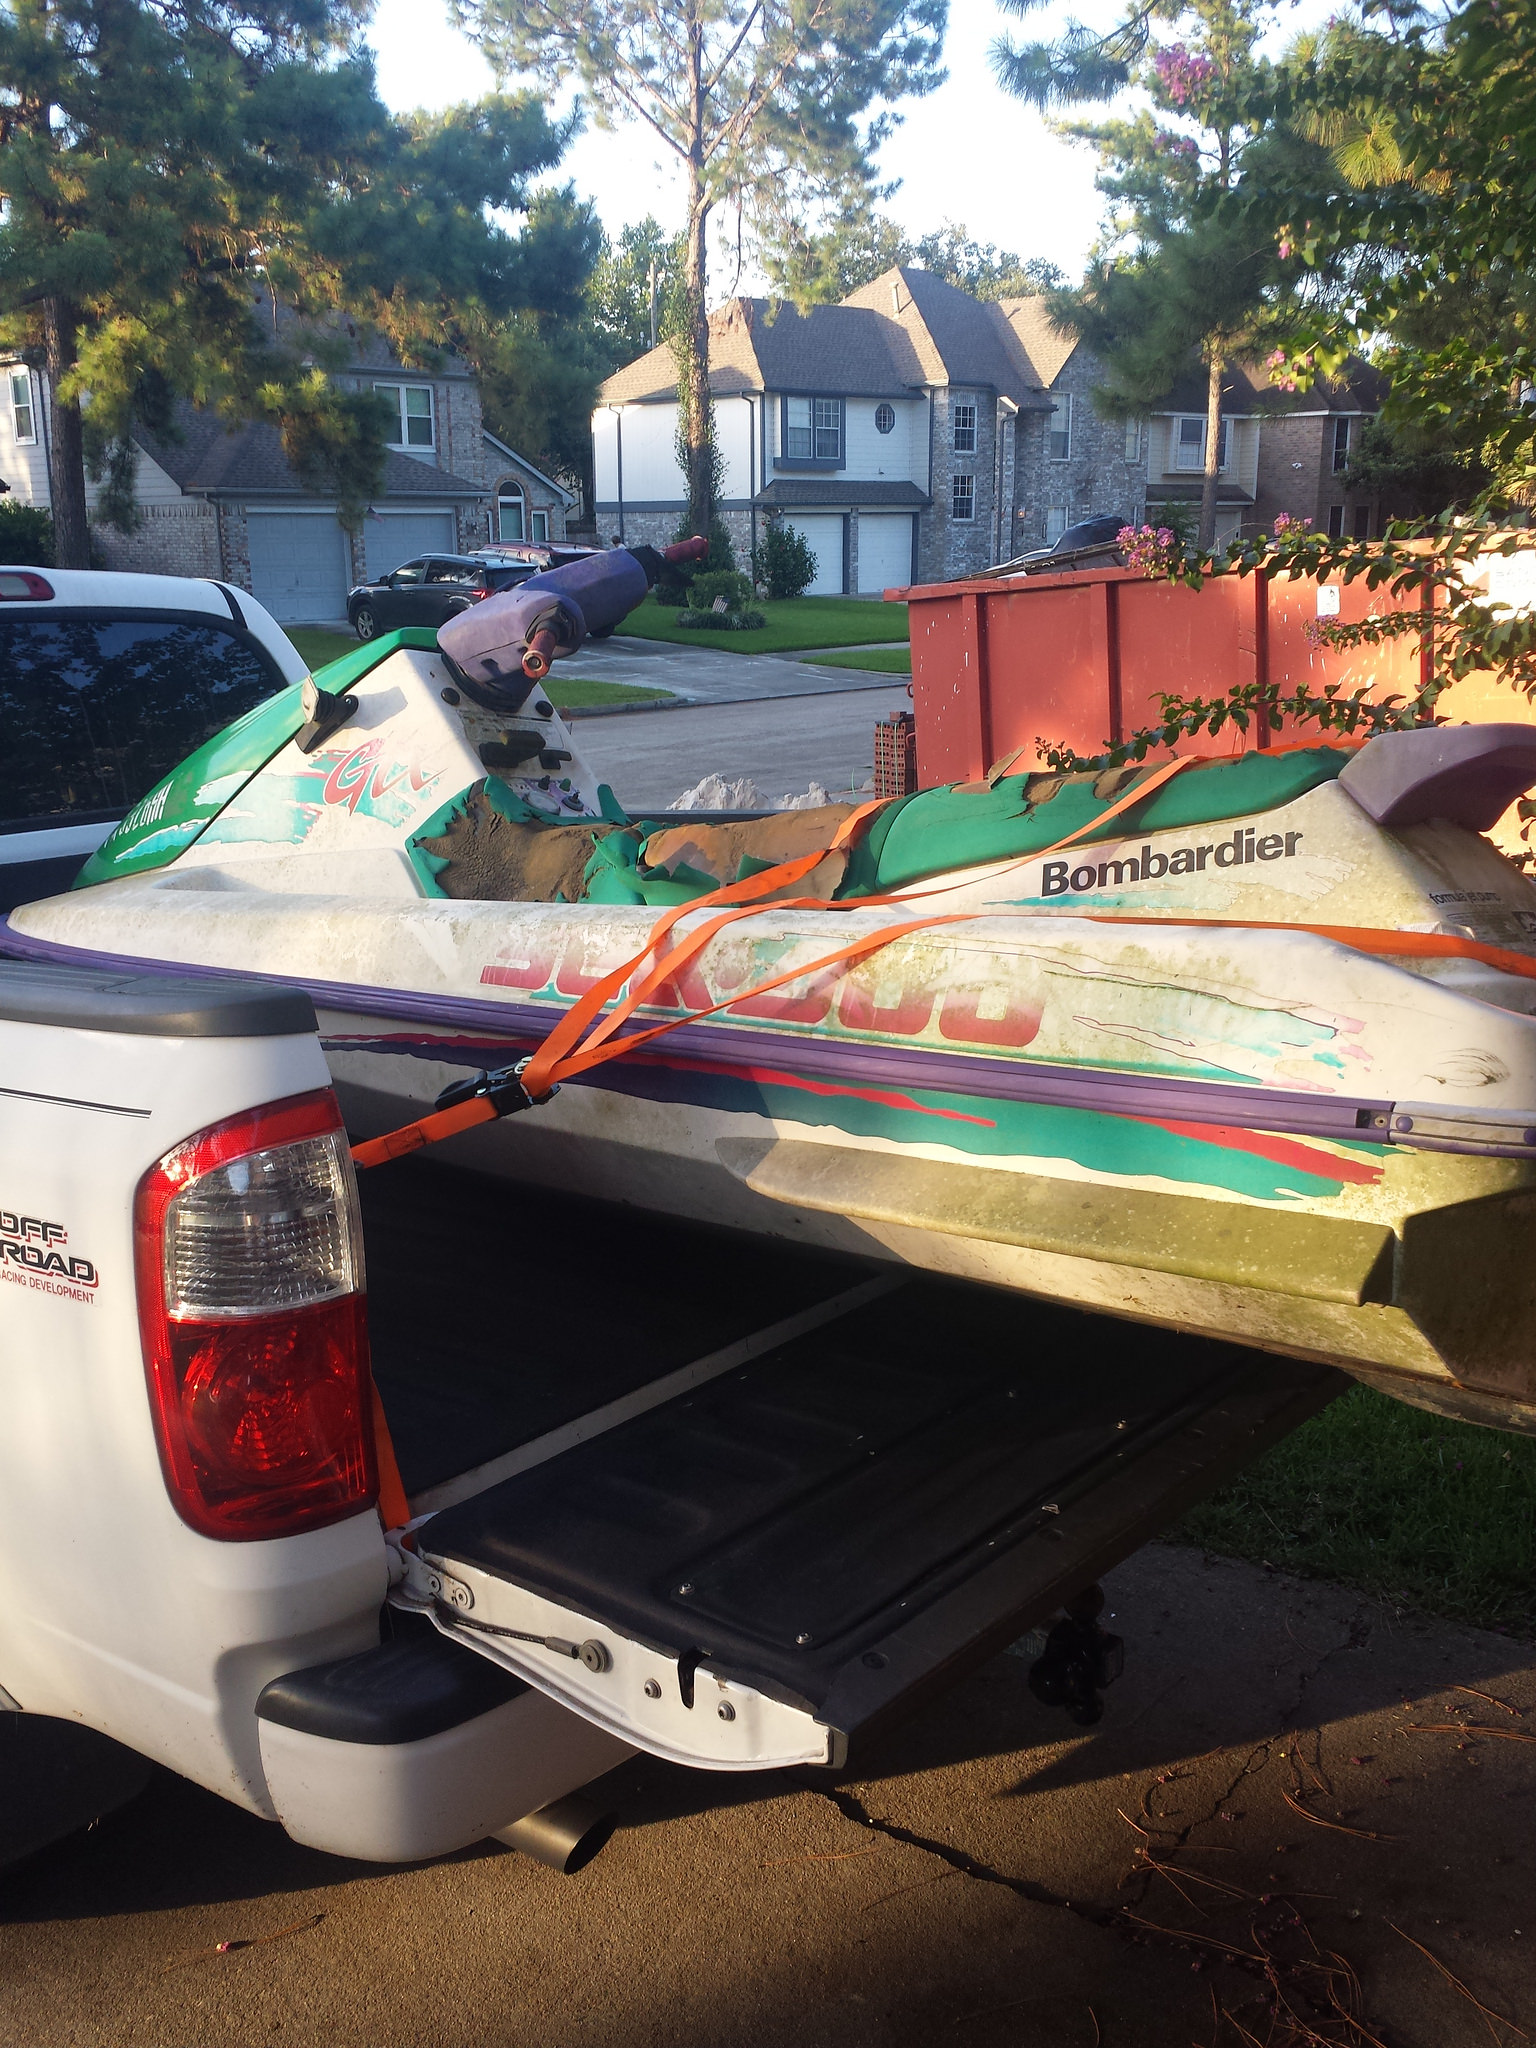
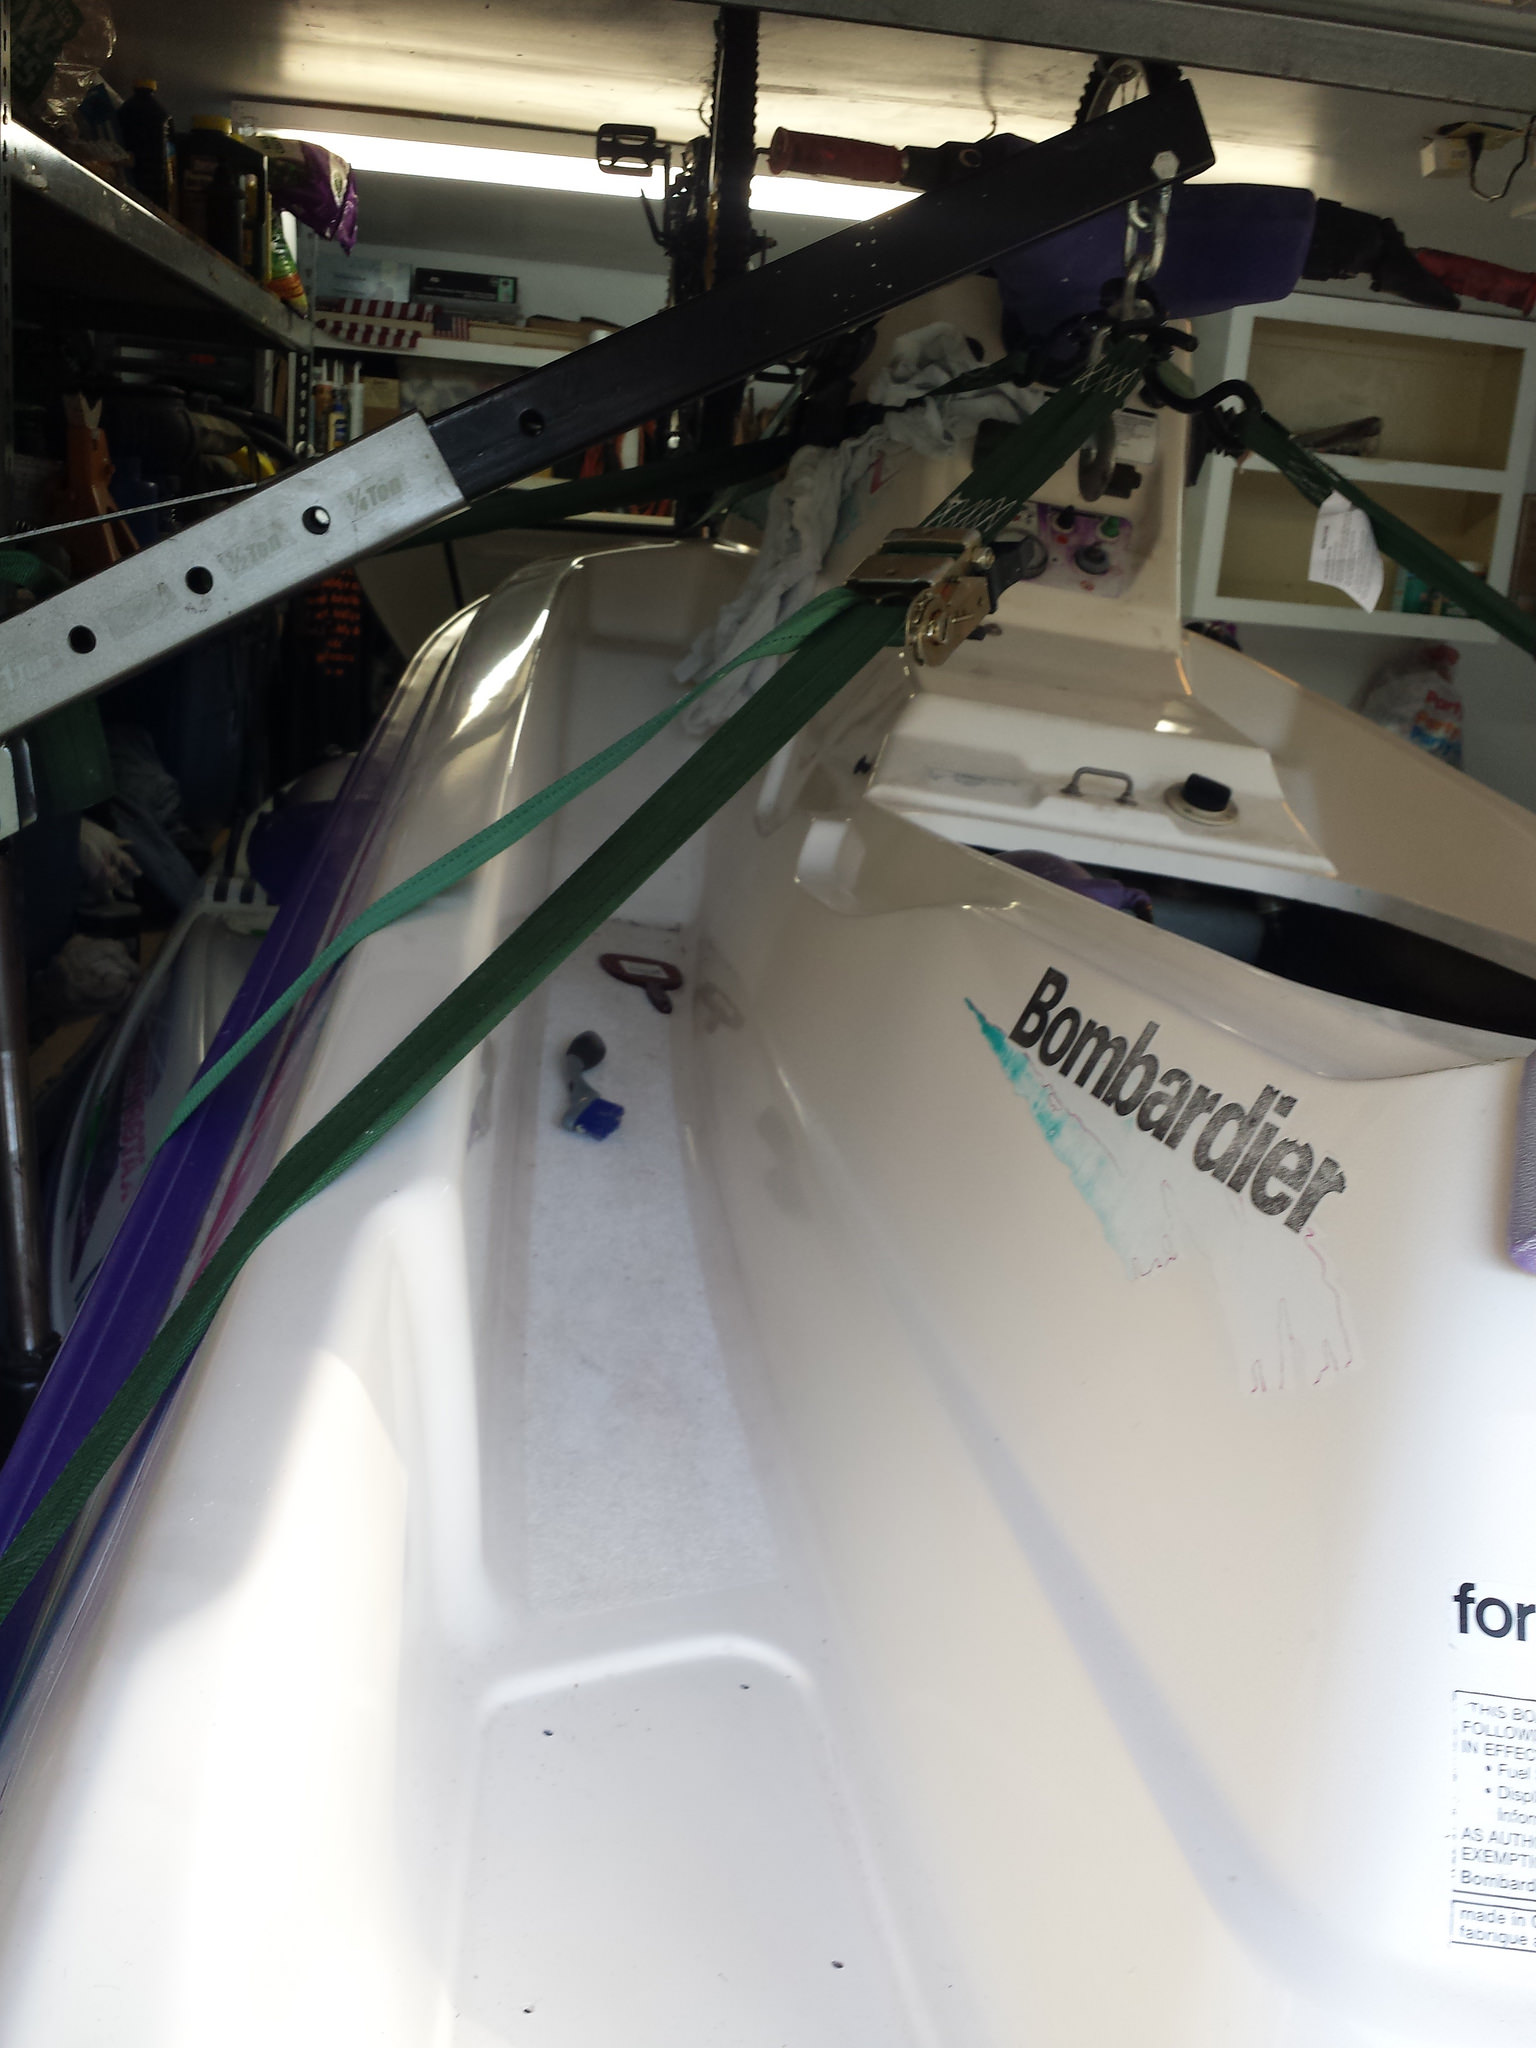
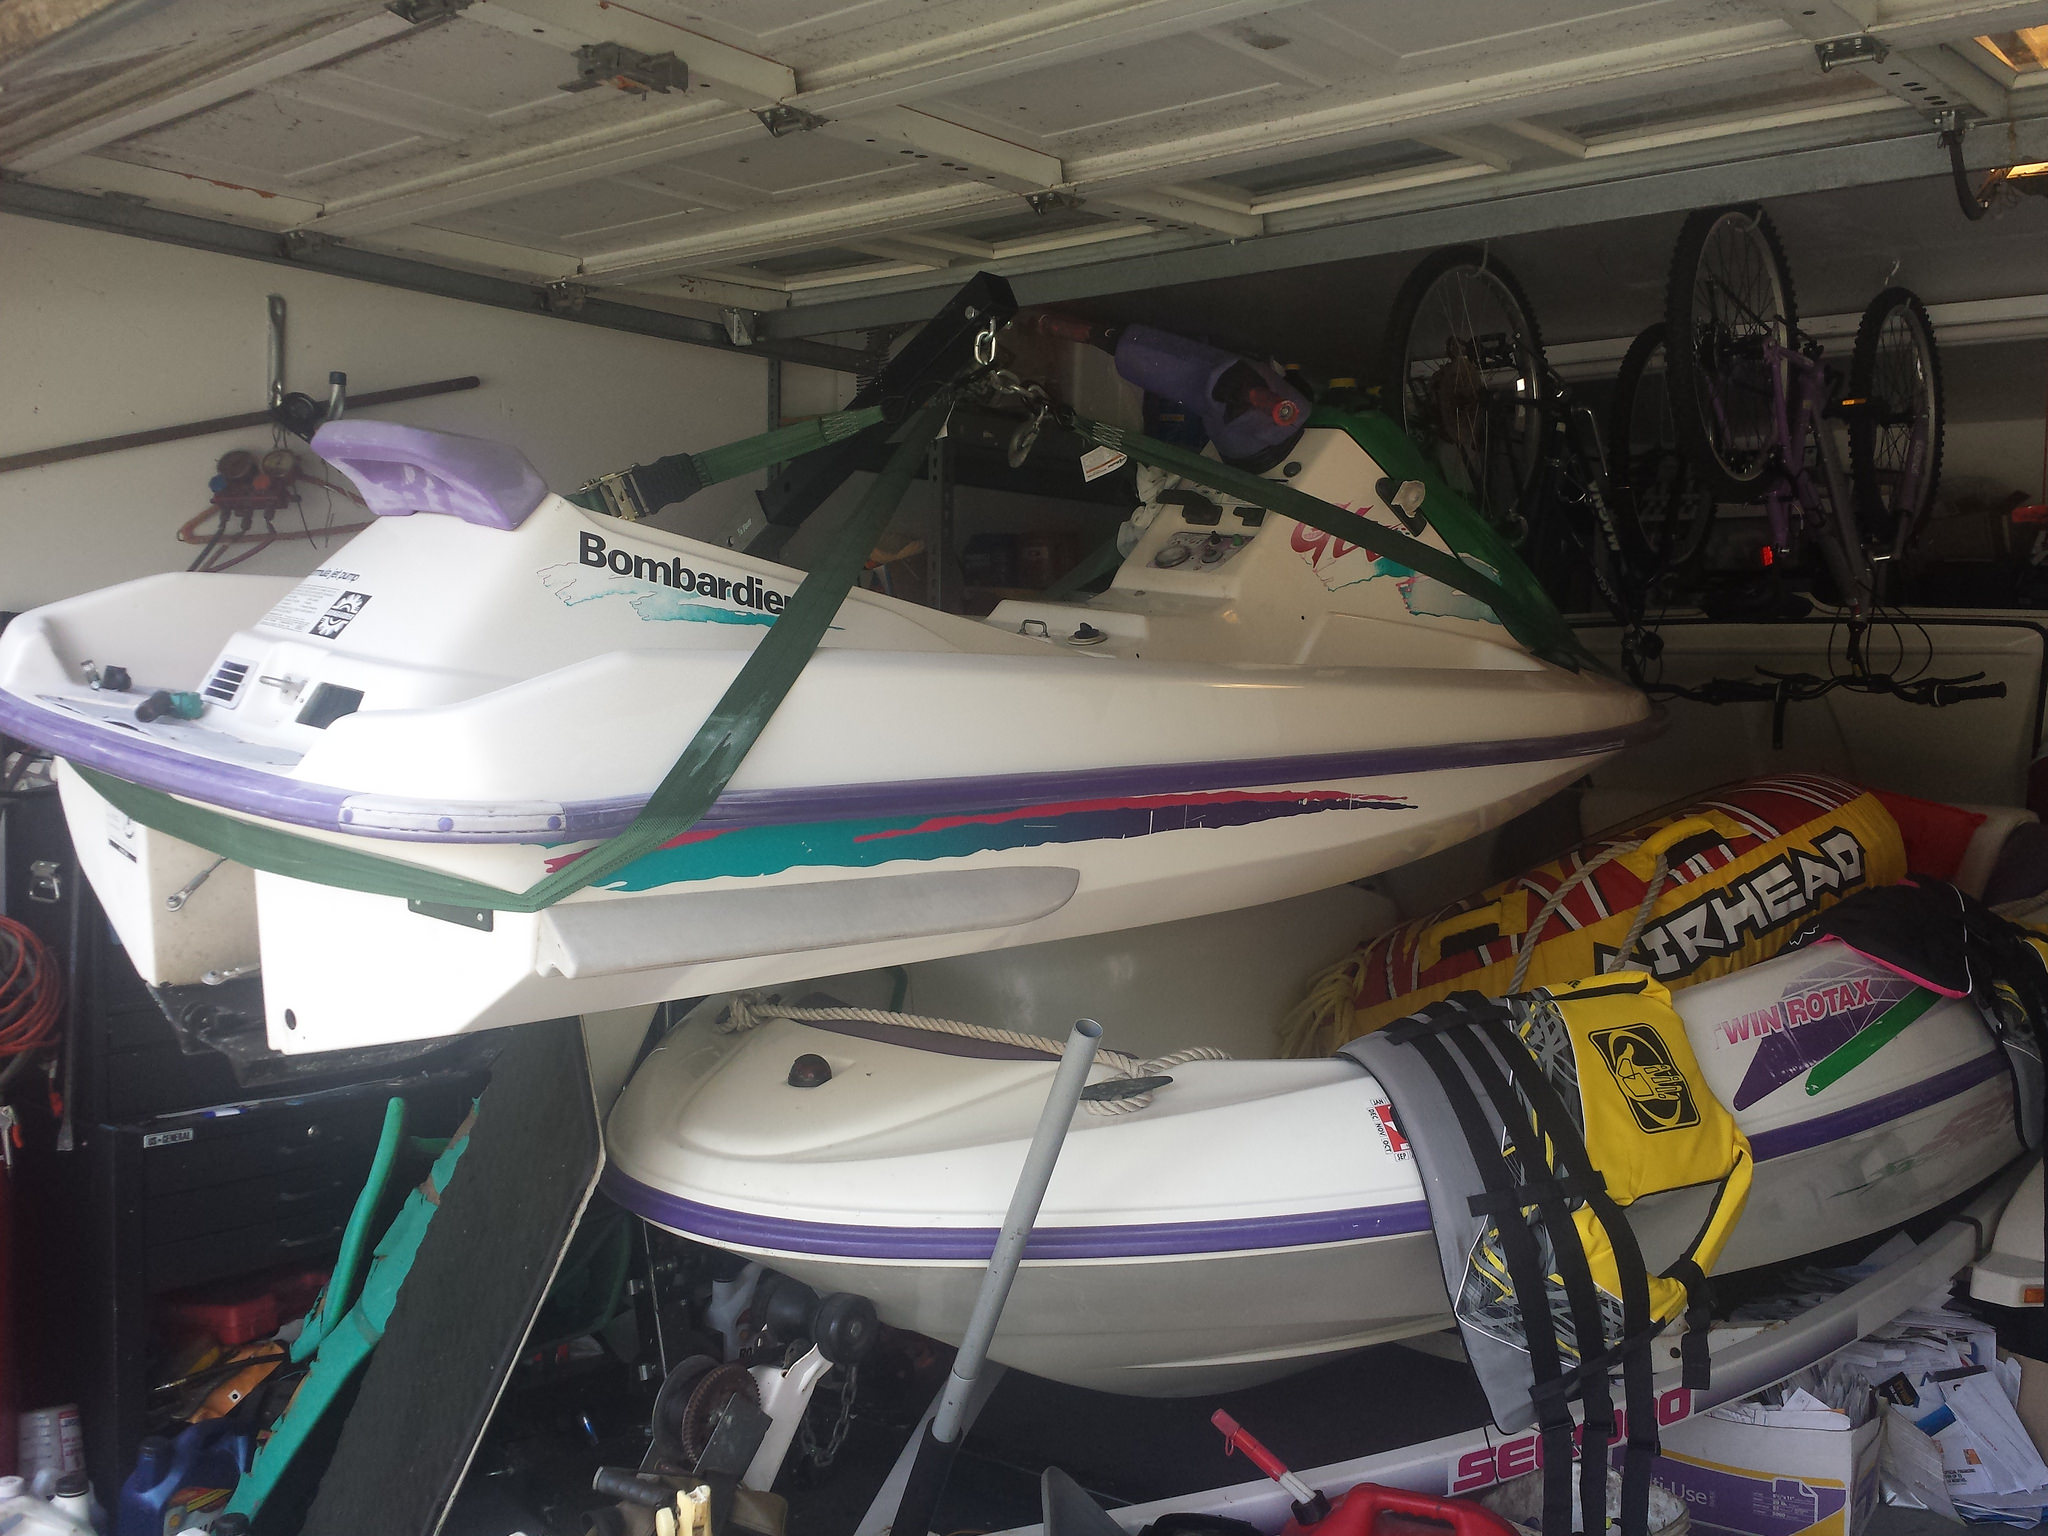
Due to the home owner's association, I can't park on the side of the house, and the back yard has very limited access. So.......this is how I store it for now:
I will update this as I go.
Found this ski on craigslist. It had a clean title and hadn't seen water since 2004. I reached in and grabbed the pto and spun the engine. It had great compression, and didn't grind when spun around. That sold me.
This is what it looked like:
It was pretty nasty when I got it. The seat vinyl, hand grips, and traction mats will all be replaced. I think I can get new graphics to replace the faded ones. I am also going to paint the front cowl black and have a black and purple seat vinyl made up. They are fairly cheap, and there are several companies that make them. New foam is also needed. The seat will be the last thing I do.
This is what the inside looked like when I picked it up. Clean as new! This is under the front cowl, where the storage bin goes.
Engine was very clean and no leaks in any lines.
The very first thing I did, was throw my spare battery in it and pull the spark plugs and ground the wires for a compression test. I was pleasantly surprised with a 160 psi reading on both cylinders. This was on a cold engine. It was still on the truck. I wanted to check that first before I did anything or spent any more money. With that good compression, I could proceed with the clean up.
Before
After
More before
More after
I replaced all the fuel lines. Cleaned the gas tank with soap and water, on the inside, cleaned the fuel selector valve and filter. The old fuel had turned to varnish, and the old fuel line deteriorated and settled in the fuel shut off valve. I also pulled the carbs and gave them a good cleaning. More on that in a bit.
After all that cleaning, and replacing lines and plugs, I poured some premix in the tank, couple squirts in the plug holes and carbs, and hit the button. Started up with a big cloud of smoke. I thought 'HELL YEAH!' Of course, it died a couple of times till the fuel from the tank filled the system. I hooked up a hose to cool the engine while I was going to set the idle. Started it up, water flowing, then i checked for fuel leaks. It appears that the pto side carb started leaking out the diaphragm vent hole. I figured that 10 years of sitting would be tough on something, and it was too much for the soft parts in the carbs. I have them pulled off now, and the rebuild kits are on the counter. That's on the to do list this week.
I believe the reason this ski was parked was due to the wear ring. It has quite the gap between the impeller and the ring. Have one of those on the way as well. I don't have pictures of the pump, but will have when I pull the impeller and ring.
Due to the home owner's association, I can't park on the side of the house, and the back yard has very limited access. So.......this is how I store it for now:
I will update this as I go.